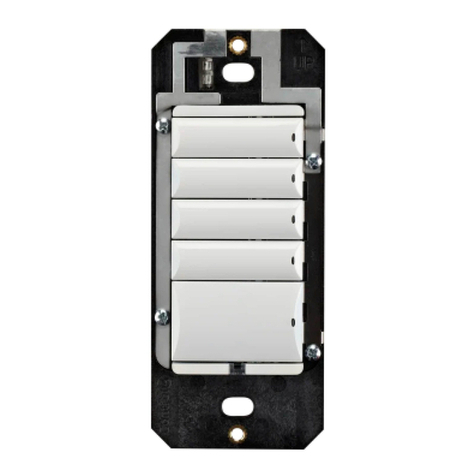
Wireless Keypad Wires Wires Inside Keypad
Tabletop Base
White (neutral) Either power cable lead
Black (load) The other power cable lead
Green (ground) None, but cap with wire nut
Tip: To ensure the connected wires will fit into
the base, trim the wires on the keypad to 2 - 3
inches in length before connecting them to the
tabletop base wires.
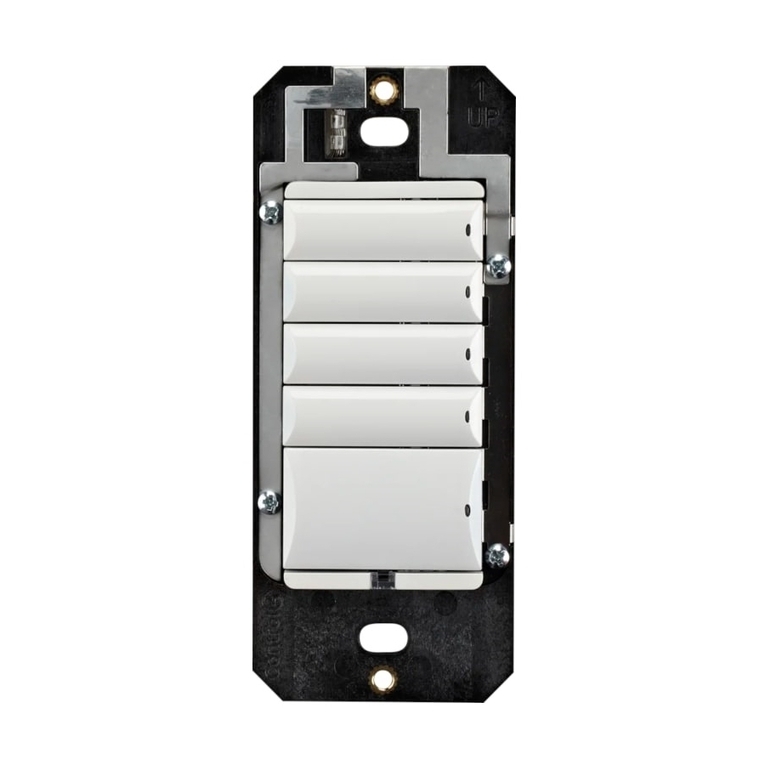
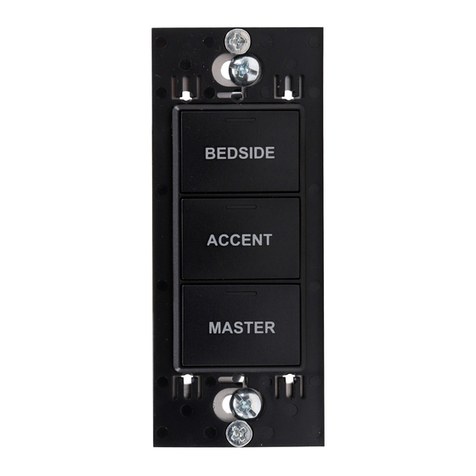
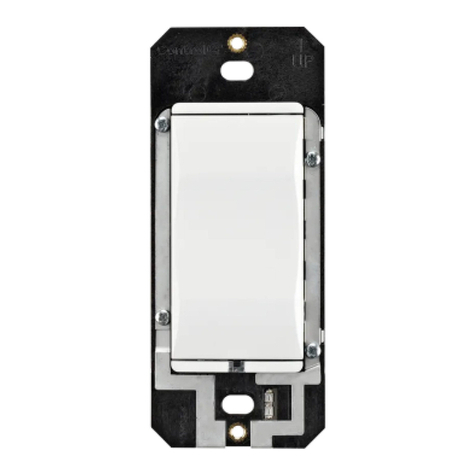
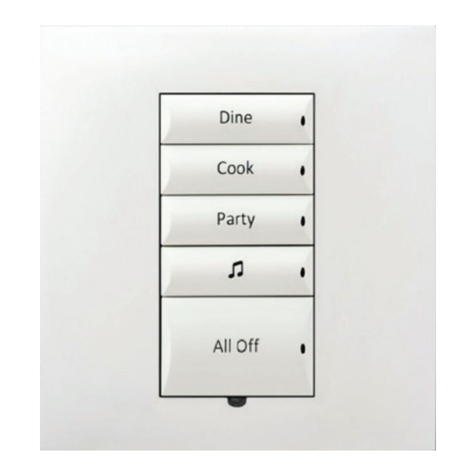
5 Install the keypad into the keypad tabletop base.
a Ensure the keypad is
installed in the correct
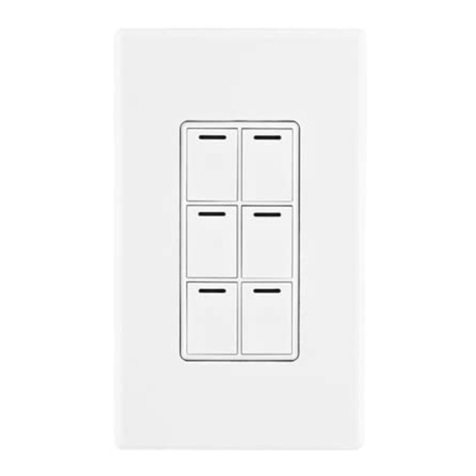
orientation, with LEDs
on the top of each
button.
b Ensure the wire
connections with wire
nuts are pushed toward the back of the base
cavity to ensure they do not interfere with
the back of the keypad.
6 Place the keypad tabletop
faceplate in place, ensuring
that the faceplate sits flush
against the screw posts
inside the base.
7 While holding the
faceplate in place, replace
and tighten the screws
to secure the keypad and
faceplate to the keypad
tabletop base.
Keypad Tabletop Kit
Installation Guide
8 Plug the installed tabletop
keypad into a power outlet
in a convenient location,
such as near a night stand
or a table near the room
entrance.
9 Configure the device using
Composer Pro.
Regulatory Information
Industry Canada Statement
This Class B digital apparatus complies with Canada ICES-003.
Cet appareil numérique de la classe B est conforme à la norme NMB-
003 du Canada.
ETL Statement
ETL Control Number: 3129831
For use with Control4 Wireless Keypads. When used
with a Control4 Wireless Keypad, this is a double
insulated product.
This product has been tested by ETL and was found to comply with
the Standard for Safety for Information Technology Equipment:
UL/ANSI Standard 60950 (First Edition)
CSA Standard C22.2 No. 60950-1-03 Information Technology
Equipment
Recycling
For information about Control4’s recycling program, go to
www.control4.com/recycling.
Warranty
Limited 2-year Warranty. Refer to http://www.control4.com/warranty.
About this Document
Part Number: 200-00065 Rev B, 3/28/2011
