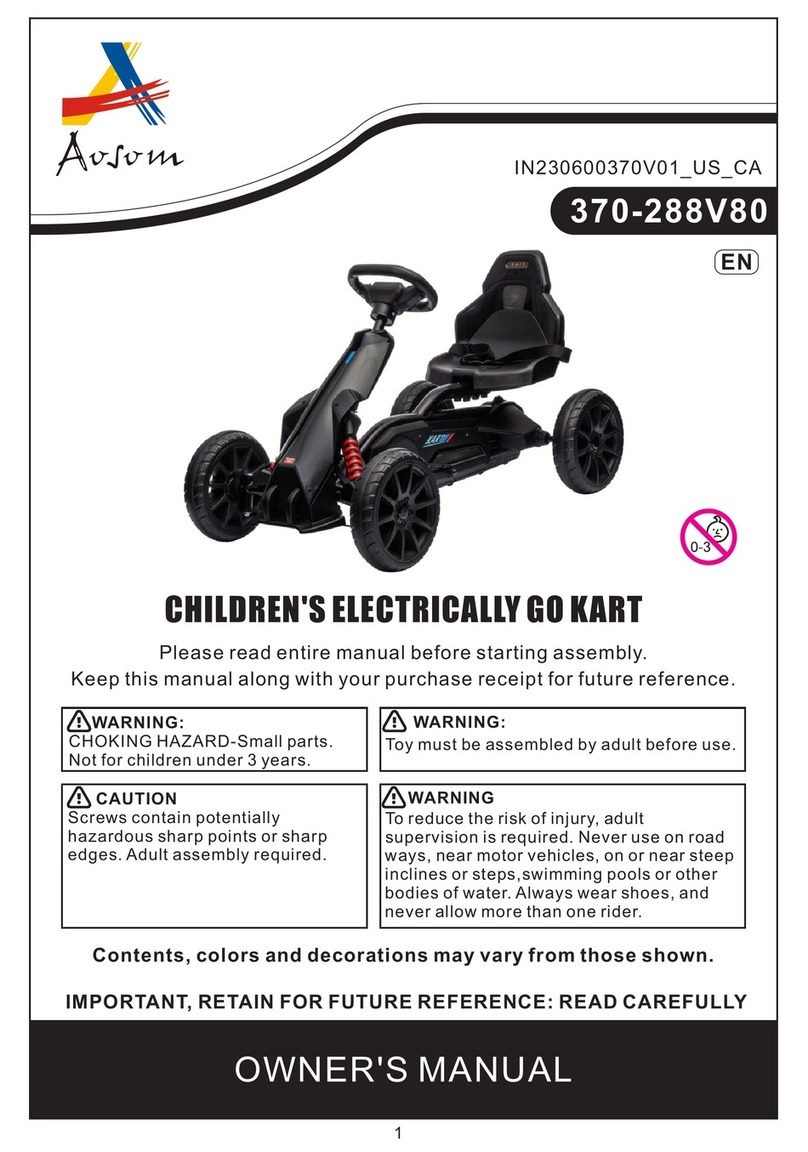
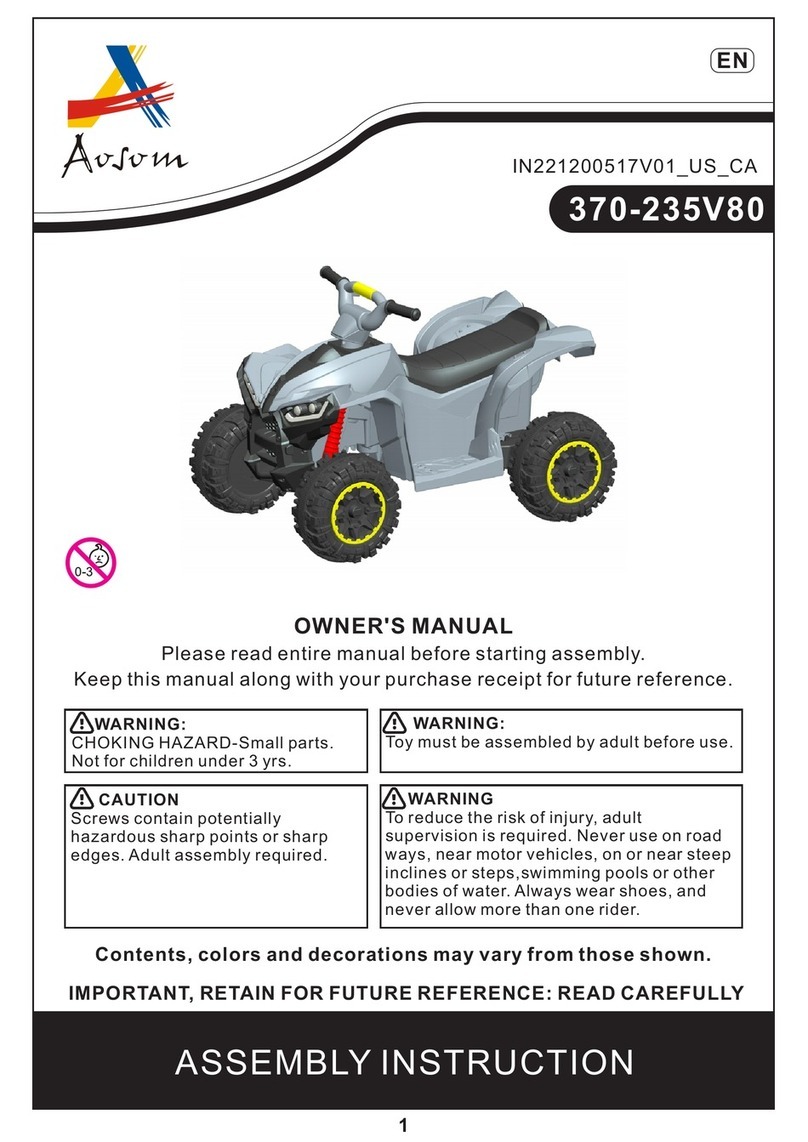
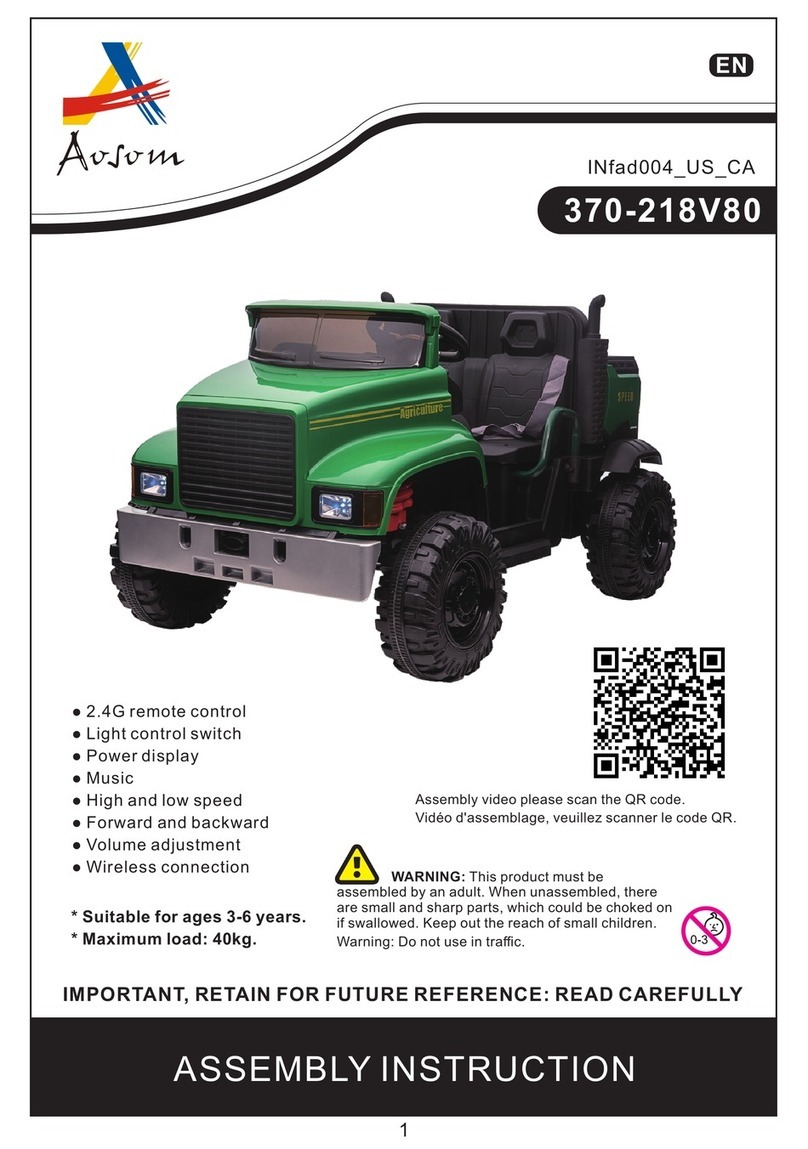
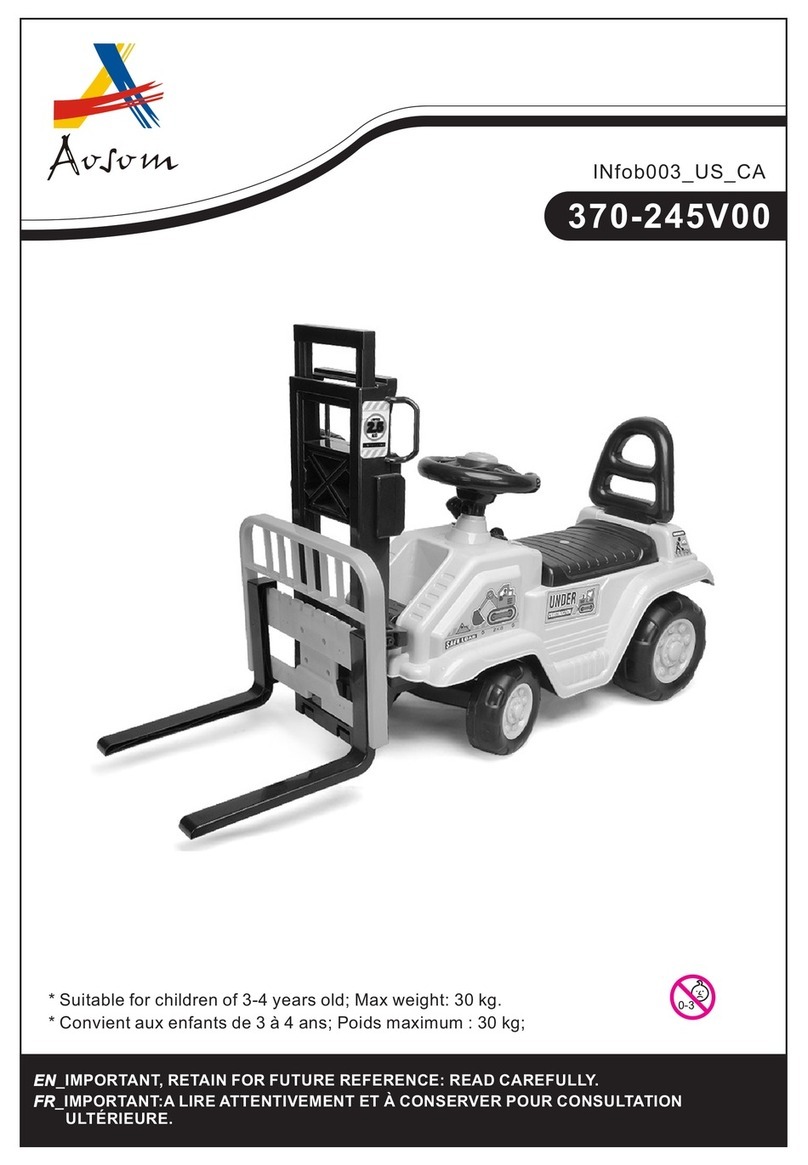
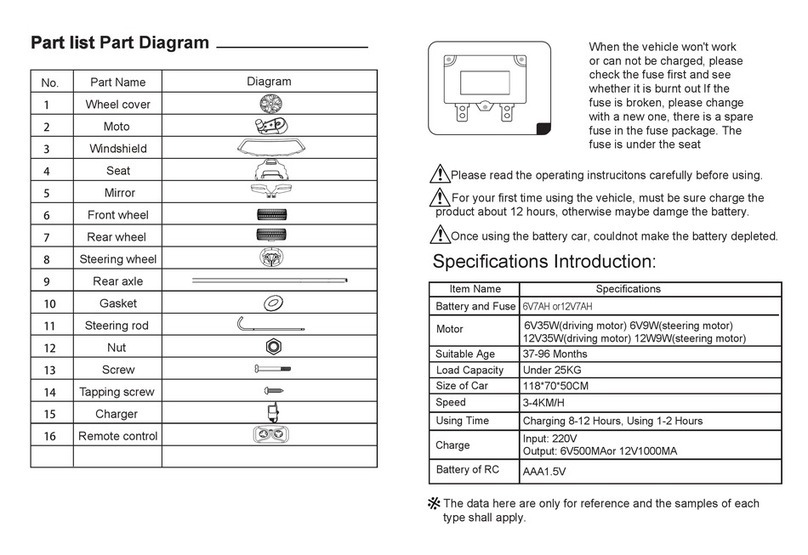
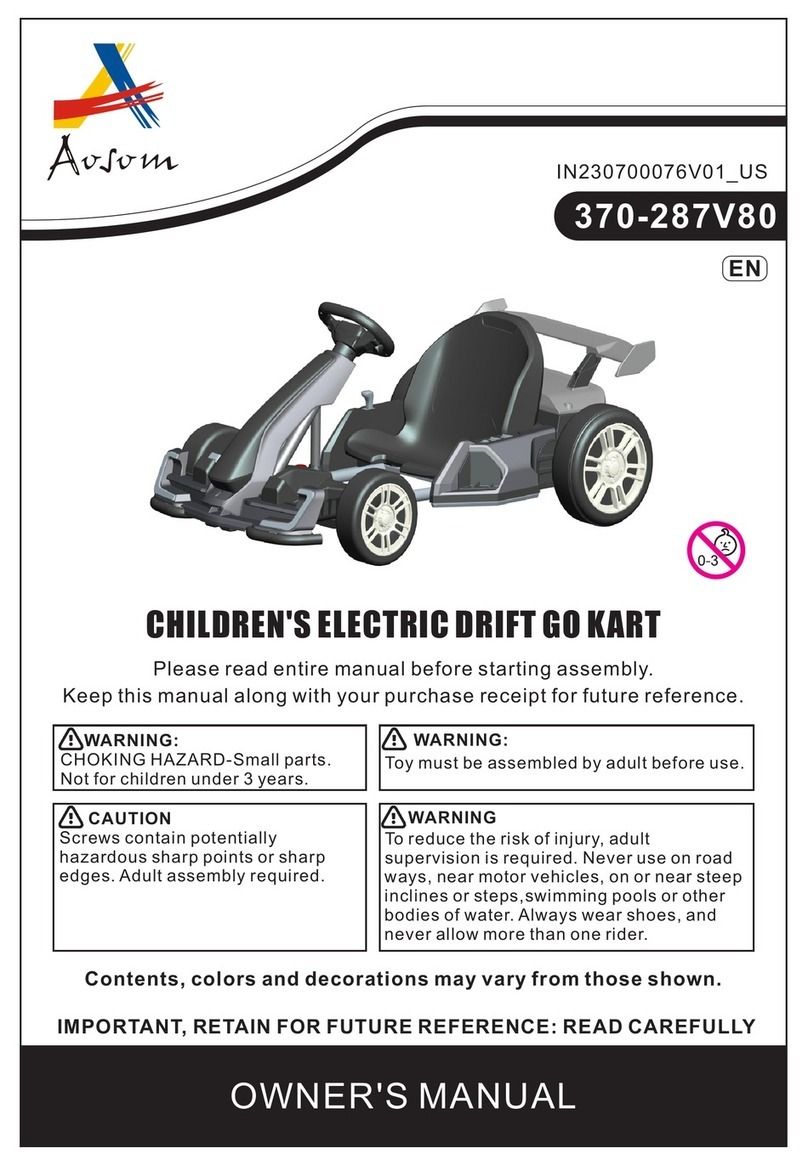
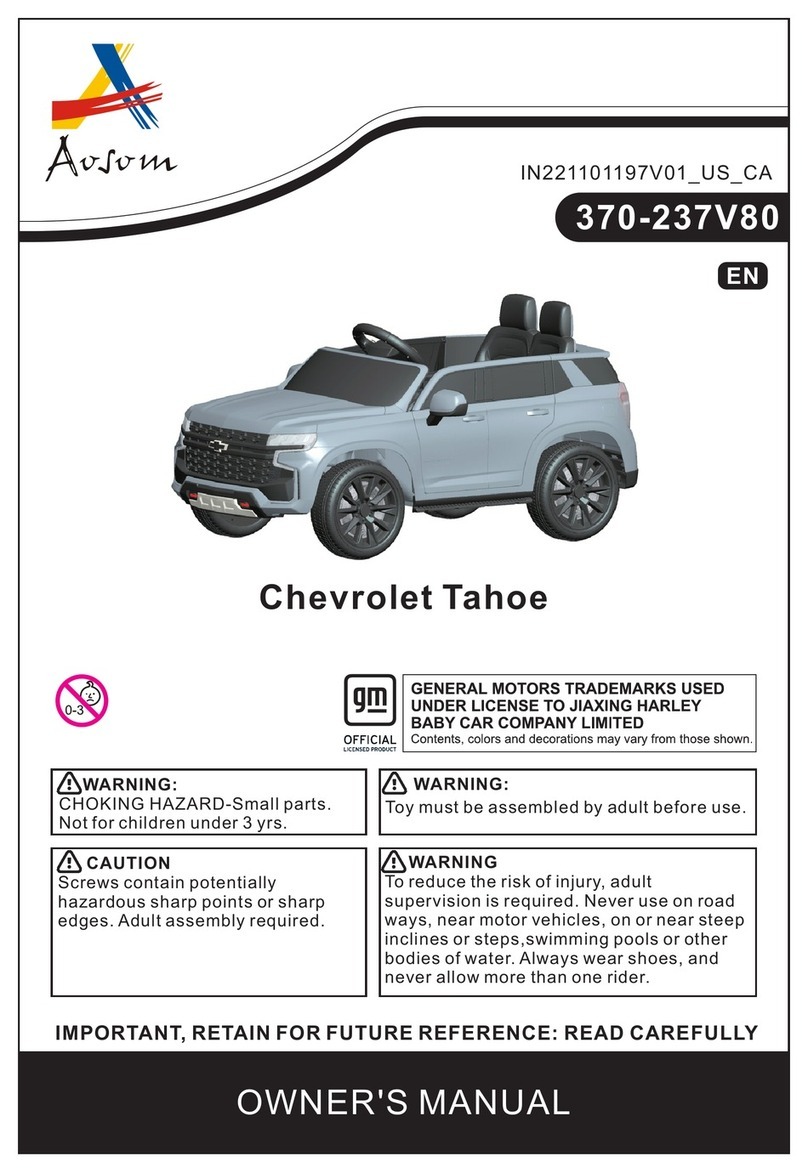
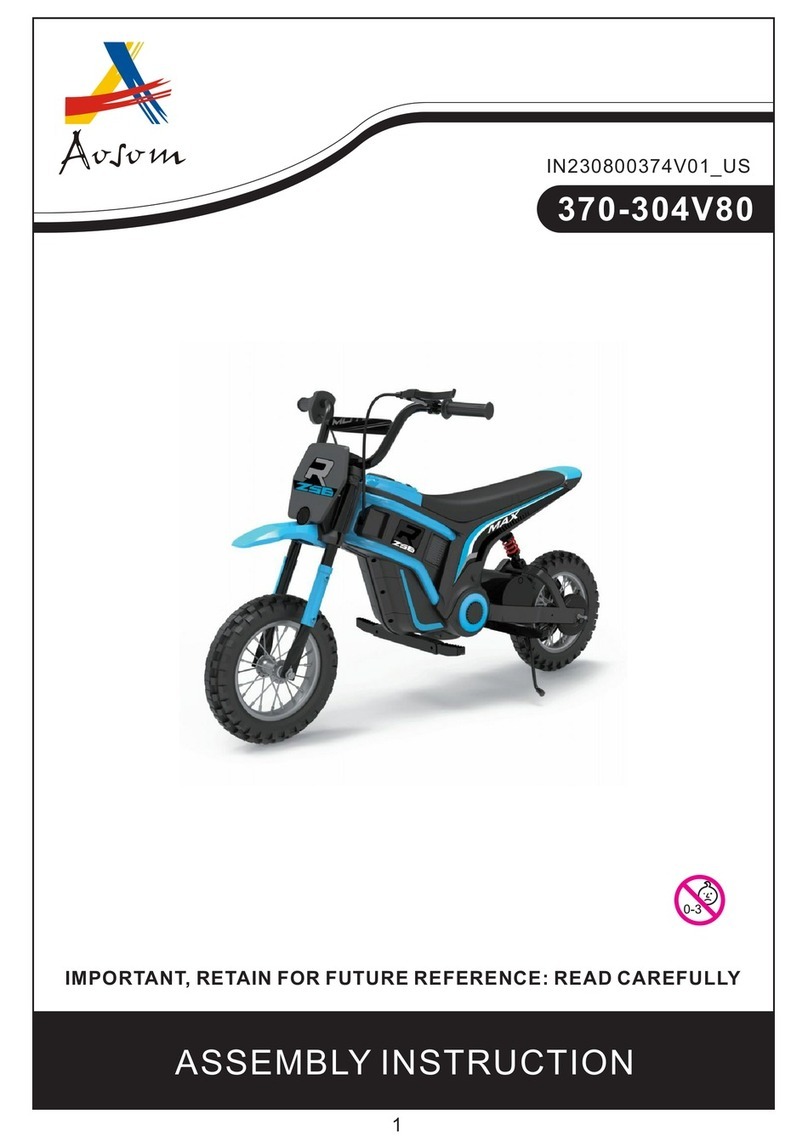
Aosom 370-168V80 User manual

ASSEMBLY INSTRUCTION
INfaa040_US
370-168V80
MOTORCYCLE
OWNER'S MANUAL
Please read entire manual before starting assembly.
Keep this manual along with your purchase receipt for future reference.
WARNING:
CHOKING HAZARD-Small parts.
Not for children under 2 yrs.
WARNING:
Toy must be assembled by adult before use.
CAUTION
Screws contain potentially
hazardous sharp points or sharp
edges. Adult assembly required.
WARNING
To reduce the risk of injury, adult
supervision is required. Never use on road
ways, near motor vehicles, on or near steep
inclines or steps,swimming pools or other
bodies of water. Always wear shoes, and
never allow more than one rider.
Contents, colors and decorations may vary from those shown.
IMPORTANT, RETAIN FOR FUTURE REFERENCE: READ CAREFULLY

FOR THE SAFETY OF YOUR CHILD, PLEASE READ ALL WARNINGS AND
ASSEMBLY/USE INSTRUCTIONS. KEEPTHIS GUIDE FOR FUTURE REFERENCE.
●ADULT ASSEMBLY REQUIRED. The product contains small parts, which are for
adult assembly only. keep small children away when assembling.
●always remove protective material and poly bags and dispose before assembly.
●never leave child unattended. direct adult supervision is required.
●always keep child in view when child is in vehicle.
●Keep Children within Safe Riding Areas:
- Never use in roadways, near motor vehicles, on lawn space, on or near steep
inclines or steps, swimming pools or or any other dangerous area.
●Use the toy only on flat surfaces. Such as inside your house, garden or playground.
●Never use in the dark. A child could encounter unexpected obstacles and have an
accident. Operate the vehicle only in the daytime or a well-lit area.
●Please avoid running on sand or any other rough ground.
●always wear shoes.
●always sit on the seat.
●this toy has no brake.
●It is prohibited to change the circuit or add other electric parts
●Inspect wires and connections of the vehicle periodically.
●Do not let any child touch the wheels or be near them when the car is moving.
●This vehicle has adjustable play seat belts. Please instruct children how to tie the
safety belt before using, guarantee the security.
Specifications:
Battery:
Motor:
Suitable ages:
Maximum weight:
Speed :
Power way:
Use of time:
Charger:
Charging type
Charg: 12 hours ; Use: hours8- 0.58
Input AC 220V, 50Hz, output DC 6 V1000 mA
WARNING
1.The pictures in this instruction is only for explaining the operation and structure of
the product, when there's any difference with the real product, please confirm with the
real product.
2.In order to improve the quality of the product,we may amend some structure or
appearance of the product without notification.Thank you for your understanding.
6V/4.5AH*1
15W*2
25kg
1.5-2.5km/h
2-4

STORAGE BATTERY INFORMATION AND MAINTENANCE
●Please charge to hours before first time use.8 12
●Please use the suitable adapter to charge storage battery, otherwise the ride-on will
be damaged.
●Please charge the car once the speed is slower than normal, otherwise it will
decrease storage battery life.
●Please fully charge the battery before you put your ride-on away, and remember to
recharge the battery every 30 days. This will ensure the normal use of the battery,
otherwise, the battery might not hold a charge without proper maintenance.
● Batteries may leak fluids that can cause chemical burn injury or ruin your product.
● To avoid battery leakage: Do not mix old and new batteries or batteries of different
types: alkaline, standard (carbon-zinc) or rechargeable (nickel-cadmium).
● Insert batteries as indicated inside the battery compartment. Remove batteries
during long periods of non-use.
●Always remove exhausted batteries from the product. Dispose of batteries safely.
Do not dispose of batteries in a fire. The batteries may explode or leak.
● Never short-circuit the battery terminals.
● Non-rechargeable batteries are not to be recharged.
● Use only batteries of the same or equivalent type as recommended.
● Do not charge non-rechargeable batteries.
● Remove rechargeable batteries from the product before charging.
● If removable rechargeable batteries are used, they are only to be charged under
adult supervision
● Every single charging can not go over hours. Both charger and storage batteries 24
will occur mildly warm during charging. Do not use mal-functioned adapter or storage
battery unless they are repaired.
●Charger and storage batteries are not considered as toys.
●Please make periodical inspection for storage battery, especially for adapter wires
and plugs.
●Please turn off the switch when the ride-on is not in use. Please do a full charge after
long periods of inactivity.
●Charge in well ventilated, dry place. Do not open the battery or the charger.
● Tighten the screws with a screwdriver. DO NOT over tighten
Disposal Of Battery:
1.Your sealed lead-acid battery must be recycled or disposed of in an environmentally
sound manner.
2.Do not dispose of your lead-acid battery in a fire. The battery may explode or leak.
3.Do not dispose of a lead-acid battery in your regular, household trash. The
incineration, land filling or mixing of sealed lead-acid batteries with house-hold trash
is prohibited by law.

PREVENT FIRE AND ELECTRIC SHOCK:
- Use the only rechargeable battery and charger supplied with your vehicle.
-NEVER substitute the battery or the charger with another brand. Using another
battery or charger may cause a fire or explosion.
-Do not use the battery or charger for any other product. Overheating, fire or
explosion could occur.
- NEVER modify the electric circuit system. Tampering with the electric system may
cause a shock, fire or explosion or may permanently damage the system.
-Do not allow direct contact between battery terminals. Fire or explosion can occur.
-Do not allow any type of liquid on the battery or its components.
-Explosive gasses are created during charging. Do not charge near heat or flammable
materials. Charge the battery in a well- ventilated area ONLY.
- NEVER pick up the battery by the wires or charger. Damage can occur to the battery
and may cause a fire. Pick up the battery by the case ONLY.
Charge the battery in a dry area ONLY.
●Battery posts, terminals and related accessories contain lead and lead compounds,
chemicals known to the State of California to cause cancer and reproductive harm.
Wash hands after handling.
●Do not open the battery. Battery contains lead acid and other materials that are toxic
and corrosive.
●Do not open the charger. Exposed wiring and circuitry inside case may cause
electric shock.
ONLY adults may handle or charge the battery. NEVER allow child to handle or charge
the battery. Battery is heavy and contains lead acid (electrolyte).
●Do not drop the battery. Permanent damage to the battery could occur or cause
serious injury.
●Before charging the battery, check for wear or damage to the battery, charger, its
supply cord and the connectors. DO NOT charge the battery if any damage to parts
has occurred.
Do not allow the battery to drain completely. Recharge the battery after each use or
once a month if not used regularly.
●Do not charge battery upside down.
●Always secure the battery with the bracket. Battery can fall out and injure a child if
vehicle tips over.
●It is parents' responsibility to check main parts of the toy before using, Must
regularly examine for potential hazard, such as the battery, charge, cable or cord,
plug, screws are fastening enclosure of other parts and that in the event of such
damage, the toy must not be until that damage had been properly removed. Make sure
the plastic parts of the vehicle are not cracked or broken.
●Occasionally use a lightweight oil to lubricate moving parts such as wheels.
●Park the vehicle indoors or cover it with a tarp to protect it from wet weather.
●Keep the vehicle away from sources of heat, such as stoves and heaters. Plastic
parts may melt.
●Recharge the battery after each use. Only an adult can handle the battery. Recharge
the battery at least once a month when the vehicle Raider is not being used.
●Do not wash the vehicle with a hose. Do not wash the vehicle with soap and water.
Do not drive the vehicle in rainy or snowy weather. Water will damage the motor,
electric system and battery.
●Clean the vehicle with a soft, dry cloth. To restore shine to plastic parts, use a non-
wax furniture polish. Do not use car wax. Do not use abrasive cleaners.
●Do not drive the vehicle in loose dirt, sand or fine gravel which could damage moving
parts, motors or the electric system.
●When not using, all the electrical source should be turn off. Turn off the power switch
and disconnect the battery connection.
• Plug the battery connector into the charger port.
• Plug the charger Into a standard wall outlet. The charger may feel warm during
charging.
• Only use the 12 volt charger to charge your 12 volt battery.
• Note: if power flow to the wall outlet is controlled by a switch , make sure the
switch is "ON”
• Before first-time use, charge the battery for at least 12 hours. Never charge the
battery longer than 24 hours.
• Recharge the battery for at least 8-10 hours after each use of your vehicle.
• Do not charge or store battery upside down. Charging produces explosive gases.
Charge away from flames, sparks and lit cigarettes. Charge in a well ventilated
area.
• Once the battery is charged, disconnect the battery connector from the charger
connector. Unplug the charger from the wall outlet. The battery is now ready to be
installed in your vehicle. Please see the following Battery installation Section for
detailed instructions on installing your vehicle:
Battery Replacement
Take out the seat and insert the wire terminal to
the connector, check other electric wires to make
sure all is connected well.
Charge the Battery
The first charge will take about 12 hours.
1.Insert the charger connector into the charger port.
2.Plug the charger into a standard 120V or 230Vwall outlet.
3.After charging it complete( at least 8-10 hours, but not more than 24 hours, with first
charge taking about 12 hours)unplug the charger from the wall outlet and unplug the
battery connector from the charger port.

• Please identify all parts before assembly and save all packaging material until
assembly is completed to ensure that no parts are discarded.
• Metal parts have been coated with lubricant for protection during shipment. Wipe
all metal parts with a paper towel to remove any excess lubricant.
PART
LIST
Handleba r Windshie ld
Main body
I9
E1
D1
C1
B1
A1
H2
G2
F2
Training Wheel
Front Axle
Front Wheel
Socket Tool Washer
(8x 22x1.3mm)
N1
M1
L1
K1
J1
Screw
(4x16mm)
Screw
(M5x30)
Nut
(M5)
Remote Control Operation. please read the attached manual separately.
Manual
O1
Charger Front Fork
Front Fork
Decoration
(Left/Right)
Manual
+1(spare) +1(spare)

Children can be harmed by small parts, sharp edges and sharp points in the vehicles
unassembled state, or by electrical items. Care should be taken in unpacking and
assembling the vehicle. Children should not handle parts, including the battery, or
help in the assembly of the vehicle.
Assembly
Front Fork Decoration Assembly
Put the front fork decoration to the fork as
the picture shown on the right, make all
the holes in one line, same process for
the left side.
Front Wheel Assembly
Take out the front fork, front axle front
wheel, in sequence as picture shown.
Insert the axle to the hole of the fork and
fasten it with nut for both side.
Front Fork Assembly
Insert the fork to the main body as
picture shown.
Handlebar Assembly
Take out the handlebar, place it onto
the turning shaft and fasten it with
bolt and nut.
12
34

Windshield Assembly
Insert the windshield to the slots on the
main body.
Battery assembly
Plug connect as the picture shown.
Seat Assembly
Insert the seat to the slots of the main
body, fasten it with 1 screw.
56
7 8
Training Wheel Assembly
Put training Wheel as picture show and
fast with 4 screw, Repeat the process
for the other side.

Operating your vehicle
Power switch
Switch button ON and OFF.
Forward
Push the shifter in upward position and press
the accelerator slowly.
Reverse
Push the shifter in downward position and
press the accelerator slowly.
Low speed
Vehicle has been pre-set to operate at low
speed (1.5 mph). Once your child has
mastered safe driving skills and under stands
the Safe Driving Rules.
High speed
vehicle to be driven at the higher speed (2.5
mph) maximum.
Make sure your child can safely steer and
operate the vehicle and knows the rules for
safe driving.
Stop
Vehicle will automatically stop after the
accelerator is released.
Sound effect
Press the music button.
Safety device
AUTO POWER OFF. lf the motor is overloaded
for any reason, including improper usage, an
electrical circuit breaker will automatically cut
off the power, then resume after the parts have
cooled!
Maintenance
Clean with a dry, soft cloth only. Do not wash
with water or corrosive agents.
Store vehicle in a dry area when not in use,
since moisture could cause the metal
components and electrical parts to corrode.
Remember to charge the battery monthly while
the vehicle is not in regular use.
Check and tighten all screws and coverings
regularly.
Check all plastic parts for cracks. Replace as
necessary.
ON/OFF Button
High &Low Speed Forward& Reverse
music

Troubleshooting
car does
not move
Circuit breaker tripped
Loose wire or connectors
Old battery will not
accept a full charge
Undercharged battery
Charger is not working
Damaged switch
Circuit breaker may "trip" and stop the
vehicle if it is overloaded or the driving
conditions too severe. The breaker will
automatically reset after approximately
10 seconds, and the vehicle will operate
normally. To avoid repeated automatic
shut downs, do not overload the vehicle
by exceeding the weight limited of 25kg
(55 lbs).Or by towing anything behind
the vehicle. Do not drive up hills or run
into fixed objects, which can cause the
wheels to stop spinning while power is
still being supplied to the motors.
Check all wires and connectors Make
sure that the motor harness connector is
plugged in tightly to the battery, and that
there are no loose wires around the
motor.
An old or improperly cared battery may
be dead. If you are unsure whether it is
dead or not, you can have it tested at
your Service Canter.
A new battery should have been charged
for at least 12 hours before using the
vehicle for the first time. After that, it
must be recharge the battery for at least
8-10 hours after each use. Never charge
longer than 24 hours. Check all
connectors; make sure the charger is
plugged into the wall. Make sure the
power flow to the outlet is on.
You must have a volt meter in order to
tell whether the charger is working or
not. If you think there maybe a problem
with the charger, take it to the Service
Center where they will test it for you.
When exposed to water or moisture,
switches can become corroded, or can
jam due to loose dirt, sand or gravel.
Contact your Service Center for
diagnosis and repair.
Problem Possible Cause Solution

Car was
running but
suddenly
stopped
Loose wire or connectors
Circuit breaker tripped
Check all wires and connectors. Make
sure that the motor harness connector
is plugged into the battery tightly, and
that there are no loose wires around
the motor.
Circuit breaker may "trip" and stop the
vehicle if it is overloaded or the driving
conditions too severe. The breaker
will automatically reset after
approximately 10 seconds, and the
vehicle will operate normally. To avoid
repeated automatic shutdowns, do not
overload the vehicle by exceeding the
weight limited of 25kg (55 lbs), or by
towing anything behind the vehicle.
Do not drive up hills or run into fixed
object, which can cause the wheels to
stop spinning while power is still being
supplied to the motors. lf breaker
continually trips, contact your Service
Center.
Short
operating
time (less
than 1 hours
per charge)
Undercharged battery
Overcharged battery
Old battery will not
accept a full charge
A new battery should have been
charged for at least 12hours before
using the vehicle for the first time. After
that, it must be recharge the battery for
at least 8-10 hours after each use.
Never charge longer than 24 hours.
Check all connectors; make sure the
charger is plugged into the wall. Make
sure the power flow to the outlet is on.
Never charge battery longer than 24
hours. lf you think the battery maybe
damage due to overcharging, contact
Service Center for testing.
Even with proper care, a rechargeable
battery does not last forever. Average
battery life is 1 to 3 years depending on
vehicle use and use conditions.
Replace the battery with a new
rechargeable battery. Do not substitute
parts. To get a replacement battery,
please contact Service Center.
Problem Possible Cause Solution

Vehicle is
sluggish
Undercharged
battery
Battery needs
charging
Old battery will not
accept a full charge
Vehicle is overloaded
Driving conditions
are too stressful
A new battery should have been charged
for at least 12hours before using the
vehicle for the first time. After that, it must
be recharge the battery for at least 8-10
hours after each use. Never charge longer
than 24 hours. Check all connectors;
make sure the charger is plugged into the
wall. Make sure the power flow to the
outlet is on.
Be sure to charge the battery after each
use.
Even with proper care, a rechargeable
battery does not last forever. Average
battery life is 1 to 3 years depending on
vehicle use and use conditions. Replace
the battery with a new rechargeable
battery. Do not substitute parts. To get a
replacement battery, please contact
Service Center.
Allow no more than 1 rider at a time, follow
the 25kg (55lbs) weight capacity and don't
tow anything behind the vehicle.
Use only on a generally level ground.
Intermittent
vehicle
operation
When the
accelerator is
pressed, the
vehicle won't
run without a
push
Motor gear
box makes a
loud grinding
or clacking
noise
Charger get
warm during
use
Battery makes
gurgling or
sizzling noise
while charging
Loose wire or
connector
Motor or electrical
switch damage
Loose wire or
connector
"Dead Spot on motor
Broken gears
This is normal and
should not be concern
Some noise and
swelling is normal and
should not be a
concern
Check all wires around the motors and all
connectors to make sure they are tight.
Contact your Service Center for diagnosis
and repair.
Check all wires around the motors and all
connectors to make sure they are tight.
Contact your Service Center for diagnosis
and repair.
Contact your Service Center for diagnosis
and repair.
No action required.
No action required. lf the battery does not
make noise while charging. It does not
mean it is not accepting the charging.
Problem Possible Cause Solution

Note: Some parts shown are assembled to both sides of the vehicle.
No. Part
1.Front Wheel Axle
2.Front Wheel
3.Front Decoration Parts
4.Training Wheels
5.Motor Cover Decorations
6.Motor Cover
No. Part
7.Rear Drive Assembly
8.Rear Axle
9.Rear Wheel
10.Fender
11.Rear Decoration Parts
12.Main Body
No. Part
13.Seat
14.Handle Bar
15.Front Fork Sets
16.Windshield
17.Head Part
Quantity
2pc
1pc
1pc
1pc
2pcs
1pc
Quantity
1pc
1pc
2pcs
2pcs
2pcs
2pcs
Quantity
1pc
1pc
1pc
1pc
1pc

Table of contents
Other Aosom Motorized Toy Car manuals

Aosom
Aosom BMW S1000 RR User manual

Aosom
Aosom 370-245V00 User manual

Aosom
Aosom 370-221V00 User manual

Aosom
Aosom 370-082 User manual

Aosom
Aosom 370-109V80 User manual

Aosom
Aosom 370-141V80 User manual

Aosom
Aosom 370-109V80 User manual

Aosom
Aosom 370-079 User manual

Aosom
Aosom 370-189V80 User manual

Aosom
Aosom 370-196 User manual

Aosom
Aosom 370-172V80 User manual

Aosom
Aosom 370-288V80 User manual

Aosom
Aosom 370-166V80 User manual

Aosom
Aosom 370-259V00 User manual

Aosom
Aosom QLS-5188 Manual

Aosom
Aosom 370-260V80 User manual

Aosom
Aosom Mercedes-Benz SLC 300 Final Edition... User manual

Aosom
Aosom 370-219V00 User manual

Aosom
Aosom 370-287V80 User manual

Aosom
Aosom 370-149V80 User manual