TURNING CONTROL ON & OFF
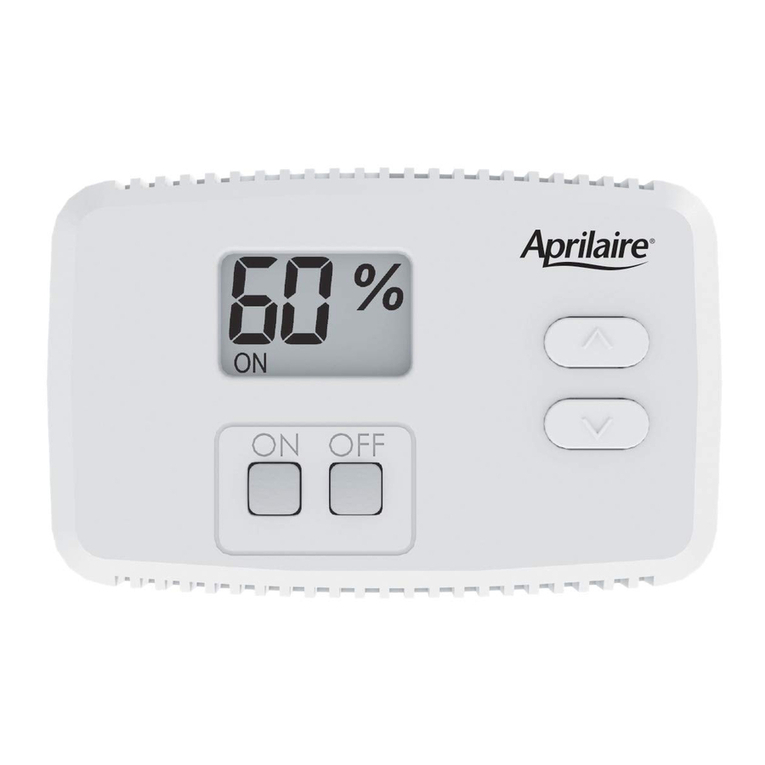
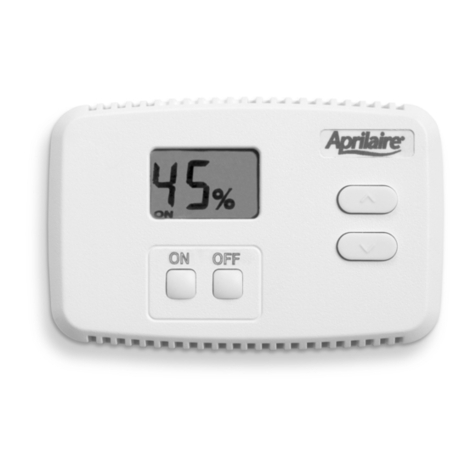
Begin by pressing the ON button. “ON” will appear on the display. This means the control is
on, but it does not necessarily mean the humidifier is running. In order for the control to turn
on your humidifier, several conditions must be met:
1) The control and humidifier must be powered,
2) the RH level in the conditioned space must be below the set point, and
3) your furnace or furnace blower must be running.
When these conditions are met and the humidifier is operating, “ON” will blink in the control
display.
NOTE: If you have an Aprilaire Model 800 Steam Humidifier and a Model 850 Fan Pack, they
will operate independently of any HVAC (Heating, Ventilating and Air Conditioning) equipment.
To disable the humidifier, press the OFF button. The control will remain on and display “OFF”
plus the actual RH but will not allow the humidifier to operate. The control must be ON in
order to adjust the RH setting.
SETTING THE DESIRED RH LEVEL
Use the and buttons to display and raise or lower the RH setting. When pressing the
and buttons, “SET” and the RH setting will be displayed. Each press of the buttons will
change the setting by 1% RH. If a button is pressed and held, the setting will change 1% RH
every 1/2 second. “SET” will disappear and the display will once again show the actual RH 5
seconds after the buttons are pressed.
OPERATING LIMITS
If the temperature in the space to be conditioned drops below 40°F or rises above 99°F, the
control will not allow the humidifier to operate. Under these conditions, the display will
blink “ON” and “
*”. Once the temperature is in the normal operating range, the control will
once again allow the humidifier to operate and the blinking “ON” and “
*” will no longer be
displayed.
Table 1 – Outdoor Temperature and Recommended Indoor RH Setting
Outdoor Temperature Recommended Indoor RH Setting
+40°F 45%
+30°F 40%
+20°F 35%
+10°F 30%
0°F 25%
-10°F 20%
-20°F 15%
ADJUSTING THE RH DISPLAY OFFSET
If you have another device that displays RH in your home, it may not match the Model 65
Control display due to placement or a difference in calibration. If you want the devices to
match, the RH displayed by the Model 65 control can be adjusted higher or lower by up to five
percentage points. Allow the control to acclimate to the space for 48 hours before adjusting
the offset.
The control must be on in order to adjust the offset. Press and hold the OFF button for 5
seconds or until the display shows a value between -5% and +5%. Use the and buttons
to adjust the offset. The control will revert back to the normal display mode after 5 seconds.
CLEANING THE CONTROL
The outside surface of the control may be cleaned with cloth dampened with water or glass
cleaner. Do not spray liquid onto the control. Do not use abrasive or solvent-based cleansers
on the control. Damage to the control or RH sensor could result.
