Aqara Hub M2 User manual


Aqara Hub M2 Quick Start Guide · 01
Hub M2使用說明書 · 11
Bedienungsanleitung des Hub M2 · 17
Manuale di istruzione del Hub M2 · 25
Manual de usuario de Hub M2
Mode d’emploi pour Hub M2
· 33
· 41
Руководство пользователя Hub М2 · 50
Hub M�取扱説明書 · 59
허브 M2사용설명서 · 67

* This product is for indoor use only.
Product Introduction
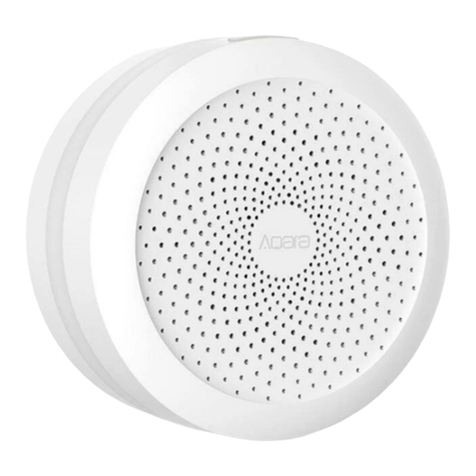
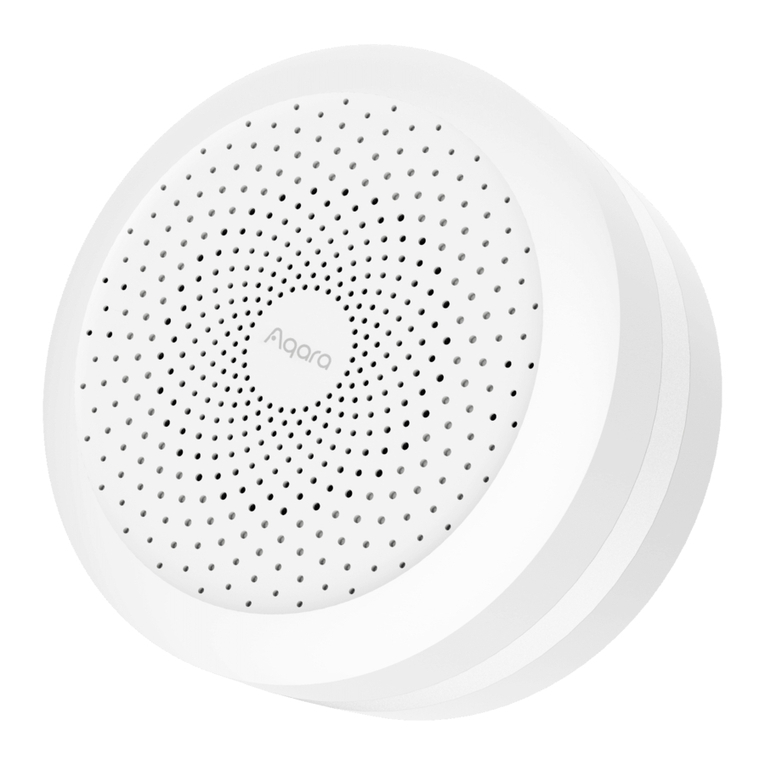
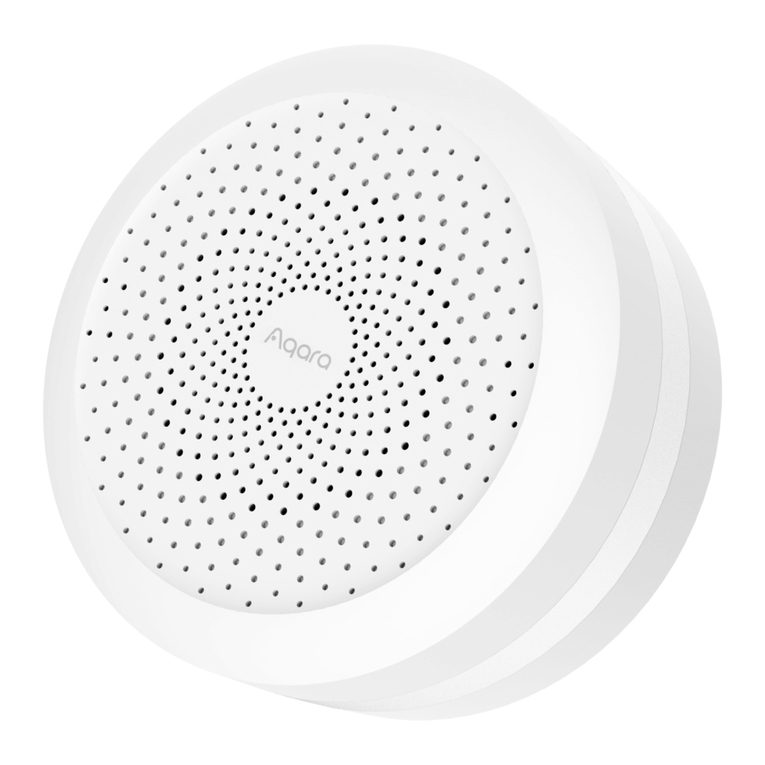
The Aqara Hub M2 is a smart home control center. It can be connected with a WiFi or Ethernet
network, and supports interaction and connection with Aqara Zigbee accessories. It also has an
IR remote control function, which can add and manage the control of different IR devices. The
Aqara Hub M2 allows you to control your Aqara accessories more conveniently.
Indicator light
Button
LAN Port Micro-B
Power Port
USB Type A Port
(Reserved)
Infrared emission area Infrared receiving area
01

02
Search for "Aqara Home" on the app store (Apple Store , Google Play ,Huawei App Gallery etc) or
scan the QR code. Download and install the Aqara Home app.
Quick Setup
1. Download the app
Choose the installation location of the hub: the hub should be 2-6 meters away from the
router in the house, and avoid metal obstacles between the hub and the router or around the
hub.
2. Set up the hub
2m~6m
1

03
* If you need to use wired network communication between the hub and the router, please use a network cable
with RJ45 network port to connect the LAN ports of the hub and your router, and wait for the orange and green
lights on the side of the network port to light up.
Power the hub on: please use the 5V-1A or 5V-2A adapter (purchase it separately) and the USB
power cable to power the hub on.
2

04
Wait for the yellow/red hub indicator light to change from always on to flashing.
Make sure that the mobile phone is connected with the 2.4GHz Wi-Fi network.
3
4
*
*
If you use a dual-band router, please make sure your phone is connected with 2.4GHz Wi-Fi or disable 5GHz Wi-Fi.
Keep your phone close to the hub and make sure both of them are connected with the same Wi-Fi network.
* For iOS users, if you want to realize Apple HomeKit control, please scan or manually enter the HomeKit Setup
Code (keep the code in a safe place in case you need to add it again) on the bottom of the hub or on the manual
according to the app instructions during the hub adding process, and bind the hub to HomeKit. Aer it is bound
successfully, you can view the added hub in Apple Home app.
Please open the Aqara Home app, click “+” in the upper right corner, select “Hub M2” and
follow the instructions to complete adding the hub.
If you fail to add the hub, please press the button on the hub for more than 10 seconds until
the yellow/red light flashes quickly, and then add it again. If you need any help, please
contact www.aqara.com/en/support.html.
5
6
*
*
*
*
*
*
Please make sure the device is connected with the 2.4GHz Wi-Fi network.
Wi-Fi name or password may contain special characters. Please replace them with ordinary characters and try
again.
The device does not support the WAP/WAP2 Wi-Fi network.
Please check whether the router turns on the Wi-Fi connection watcher function, which causes network
connection failures.
Please check whether the router turns on the AP isolation function, which causes the phone to not be able to
search for the hub within the LAN.
It is recommended not to connect it to a bridge network.
If the device could not be added, please follow these steps:
05
*
*
*
”Failed to add accessory”. Due to multiple adding failures, the error information of iOS cache cannot be removed.
Please restart the iOS device and reset the hub.
”Accessory already added”. Aer restarting the iOS device and reset the hub, you can manually enter the HomeKit
setup code and add it again.
”Accessory not found”. Please wait for 3 minutes aer resetting the hub. You can manually enter the HomeKit setup
code and add it again.
Trouble adding to HomeKit :
3. Device Operations
Add an accessory: aer the hub is successfully added, please refer to the accessory
installation guide to add an accessory.
Control IR home appliances: please configure the brands and models of the IR home
appliances you need to control in the app according to the app guidelines, and then perform
the corresponding app control and automation control.
1
2
4. Restore to Factory Settings
Quick press the button on the hub ten times.

06
Indicator Light Description
Light Color Description
Yellow/Red
Aer the hub powers on, the system is starting up.
The hub enters the initialization status, waiting for
network connection; Flashing appears aer the first
use or within fieen minutes aer the reset
Light Status
Steady on
Flashing
Blue
Wi-Fi is connecting; the hub is connecting to the
network.
Working normally
White The hub enters the network connection failure
status; only aer you power the hub on/off or reset
the hub, it can enter the status to wait for the
network connection
Purple The hub is allowed to add accessoriesFlashing
Steady on
Flashing
Steady on
Flashing
Wi-Fi is connecting; app is connecting to the hub;
the network is down; the hub is reconnecting to the
network aer it is powered off and on
*Due to updates to the device firmware, the actual operation may be slightly different from the above description.
Please follow the instructions in the current version of the Aqara Home app or operate the device according the
actual device status.

Specifications
Model: HM2-G01
Dimensions:φ100.5×30.75mm(φ3.95×1.21 in.)
Input Power: 5V 1A or 5V 2A
Wireless Protocol: Wi-Fi IEEE 802.11 b/g/n 2.4GHz, Zigbee3.0 IEEE 802.15.4, BLE 5.0
Operating Temperature: -5°C~+50°C(23°F~122°F)
Operating Humidity: 0%-95%RH, no condensation
Support System: Android 6.0 or iOS 12.0 and above
Wi-Fi Operation Frequency: 2412-2472 MHz
Wi-Fi Maximum Output Power< 20 dBm
Bluetooth Operation Frequency: 2402-2480 MHz
Bluetooth Maximum Output Power< 13 dBm
Zigbee Operation Frequency: 2405-2480 MHz
Zigbee Maximum Output Power < 13 dBm
Notice
CommunicationbetweeniPhone,iPad,AppleWatch,HomePod,orMacandtheHomeKit-
enabled Aqara Hub M2 issecuredbyHomeKittechnology.
AcustomerwhoownsanAppleTV(4thgenerationorlater)withtvOS10orlater,aniPadwithiOS
10orlater,oraHomePodcancontrolHomeKit-enabledaccessoriesawayfromhomeand
automaticallythroughtriggerssuchastimeofday,location,sensordetection,ortheactionofan
accessory.
UseoftheWorkswithApplebadgemeansthatanaccessoryhasbeendesignedtowork
specificallywiththetechnologyidentified inthebadgeandhasbeencertifiedbythedeveloper
tomeetAppleperformancestandards.Appleisnotresponsiblefortheoperationofthisdevice
oritscompliancewithsafetyandregulatorystandards.
07

FCC ID: 2AKIT-HM2-G01
Federal Communications Commission (FCC) compliance statement:
1. This device complies with part 15 of the FCC Rules.
Operation is subject to the following two conditions:
(1)This device may not cause harmful interference.
(2) This device must accept any interference received, including interference that may cause
undesired operation.
2. Changes or modifications not expressly approved by the party responsible for compliance
could void the user's authority to operate the equipment.
Note: This equipment has been tested and found to comply with the limits for a Class B digital
device, pursuant to part 15 of the FCC Rules. These limits are designed to provide reasonable
protection against harmful interference in a residential installation.
This equipment generates, uses and can radiate radio frequency energy and, if not installed and
used in accordance with the instructions, may cause harmful interference to radio communica-
tions. However, there is no guarantee that interference will not occur in a particular installation.
If this equipment does cause harmful interference to radio or television reception, which can be
determined by turning the equipment off and on, the user is encouraged to try to correct the
interference by one or more of the following measures:
-Reorient or relocate the receiving antenna.
-Increase the separation between the equipment and receiver.
-Connect the equipment into an outlet on a circuit different from that to which the
receiver is connected.
-Consult the dealer or an experienced radio/TV technician for help.
RF Exposure statement:
This equipment complies with FCC radiation exposure limits set forth for an uncontrolled
environment. This equipment should be installed and operated with minimum distance of 20
cm between the radiator and your body. This transmitter must not be co-located or operating in
conjunction with any other antenna or transmitter.
08

IC: 22635-HM2G01
IC NOTICE TO CANADIAN USERS
This device contains licence-exempt transmitter(s)/receiver(s) that comply with Innovation,
Science and Economic Development Canada’s licence-exempt RSS(s). Operation is subject to
the following two conditions:
(1) This device may not cause interference.
(2) This device must accept any interference, including interference that may cause undesired
operation of the device.
This Class B digital apparatus complies with Canadian ICES-003.
This device complies with RSS-247 of Industry Canada. Operation is subject to the condition that
this device does not cause harmful interference.
This equipment complies with IC radiation exposure limits set forth for an uncontrolled
environment. This equipment should be installed and operated with minimum distance of 20
cm between the radiator and your body. This transmitter must not be co-located or operating in
conjunction with any other antenna or transmitter.
L'émetteur/récepteur exempt de licence contenu dans le présent appareil est conforme aux CNR
d’Innovation, Sciences et Développement économique Canada applicables aux appareils radio
exempts de licence. L'exploitation est autorisée aux deux conditions suivantes :
(1)L'appareil ne doit pas produire de brouillage;
(2)L'appareil doit accepter tout brouillage radioélectrique subi, même si le brouillage est
susceptible d'en compromettre le fonctionnement.
Cet appareil numérique de la Classe B conforme à la norme NMB-003 du Canada.
Cet appareil est conforme à la norme RSS-247 d'Industrie Canada. Le fonctionnement est
soumis à la condition que cet appareil ne provoque pas d'interférences nuisibles.
Cet équipement est conforme aux limites d’exposition aux rayonnements de la IC établies pour
unenvironnement non contrôé. Cet équipement doit être installé et fonctionner à au moins
20cm de distance d’un radiateur ou de votre corps.Cet émetteur ne doit pas être co-localisé ou
fonctionner en conjonction avec une autre antenne ou un autre émetteur.
09

10
Hereby, [Lumi United Technology Co., Ltd.] declares that the radio equipment type
The Bluetooth® word mark and logos are registered trademarks owned by Bluetooth SIG, Inc.
and any use of such marks by [Lumi United Technology Co., Ltd.] is under license. Other
trademarks and trade names are those of their respective owners.
Under normal use of condition, this equipment should be kept a separation distance of at least
20cm between the antenna and the body of the user.
EU Declaration of Conformity
All products bearing this symbol are waste electrical and electronic equipment (WEEE
as in directive 2012/19/EU) which should not be mixed with unsorted household
waste. Instead, you should protect human health and the environment by handing
over your waste equipment to a designated collection point for the recycling of waste electrical
and electronic equipment, appointed by the government or local authorities. Correct disposal
and recycling will help prevent potential negative consequences to the environment and human
health. Please contact the installer or local authorities for more information about the location
as well as terms and conditions of such collection points.
WEEE Disposal and Recycling Information
[Hub M2, HM2-G01] is in compliance with Directive2014/53/EU. The full text of the EU declaration
of conformity is available at the following internet address: https://www.aqara.com/DoC/
Other manuals for Hub M2
2
Table of contents
Other Aqara Home Automation manuals

Aqara
Aqara Zigbee User manual

Aqara
Aqara M1S User manual

Aqara
Aqara E1 User manual

Aqara
Aqara Hub E1 User manual

Aqara
Aqara Zigbee Installation guide

Aqara
Aqara Cube T1 Pro User manual

Aqara
Aqara E1 User manual

Aqara
Aqara ZHWG11LM Dimensions and installation guide

Aqara
Aqara SSM-U02 User manual

Aqara
Aqara Hub M1S Gen User manual