6 7
EN EN
III. Intended use
EOlife X is a manual ventilation training device for CPR. It is intended for use on an adult manikin or adult patient simulator
and is not intended for use on humans.
EOlife X is not approved for the following uses:
oIn a hyperbaric chamber
oNear magnetic resonance imaging machines
IV. Safety
oBefore using the product, read these instructions carefully. Failure to follow the instructions can lead to improper use
and expose the user or persons nearby to risks.
oThe use of defective devices may put the user at risk.
oThe EOlife X device, its battery, charger and the FlowSense X sensor must be stored and used as described in the
instructions for use (see “X. Technical data”).
oThe device can be safely used outdoors, as it is rainproof, splashproof and cannot be penetrated by solid objects larger
than 1mm (IP44 rating). However, it should be handled with care and kept away from powerful water jets and dust.
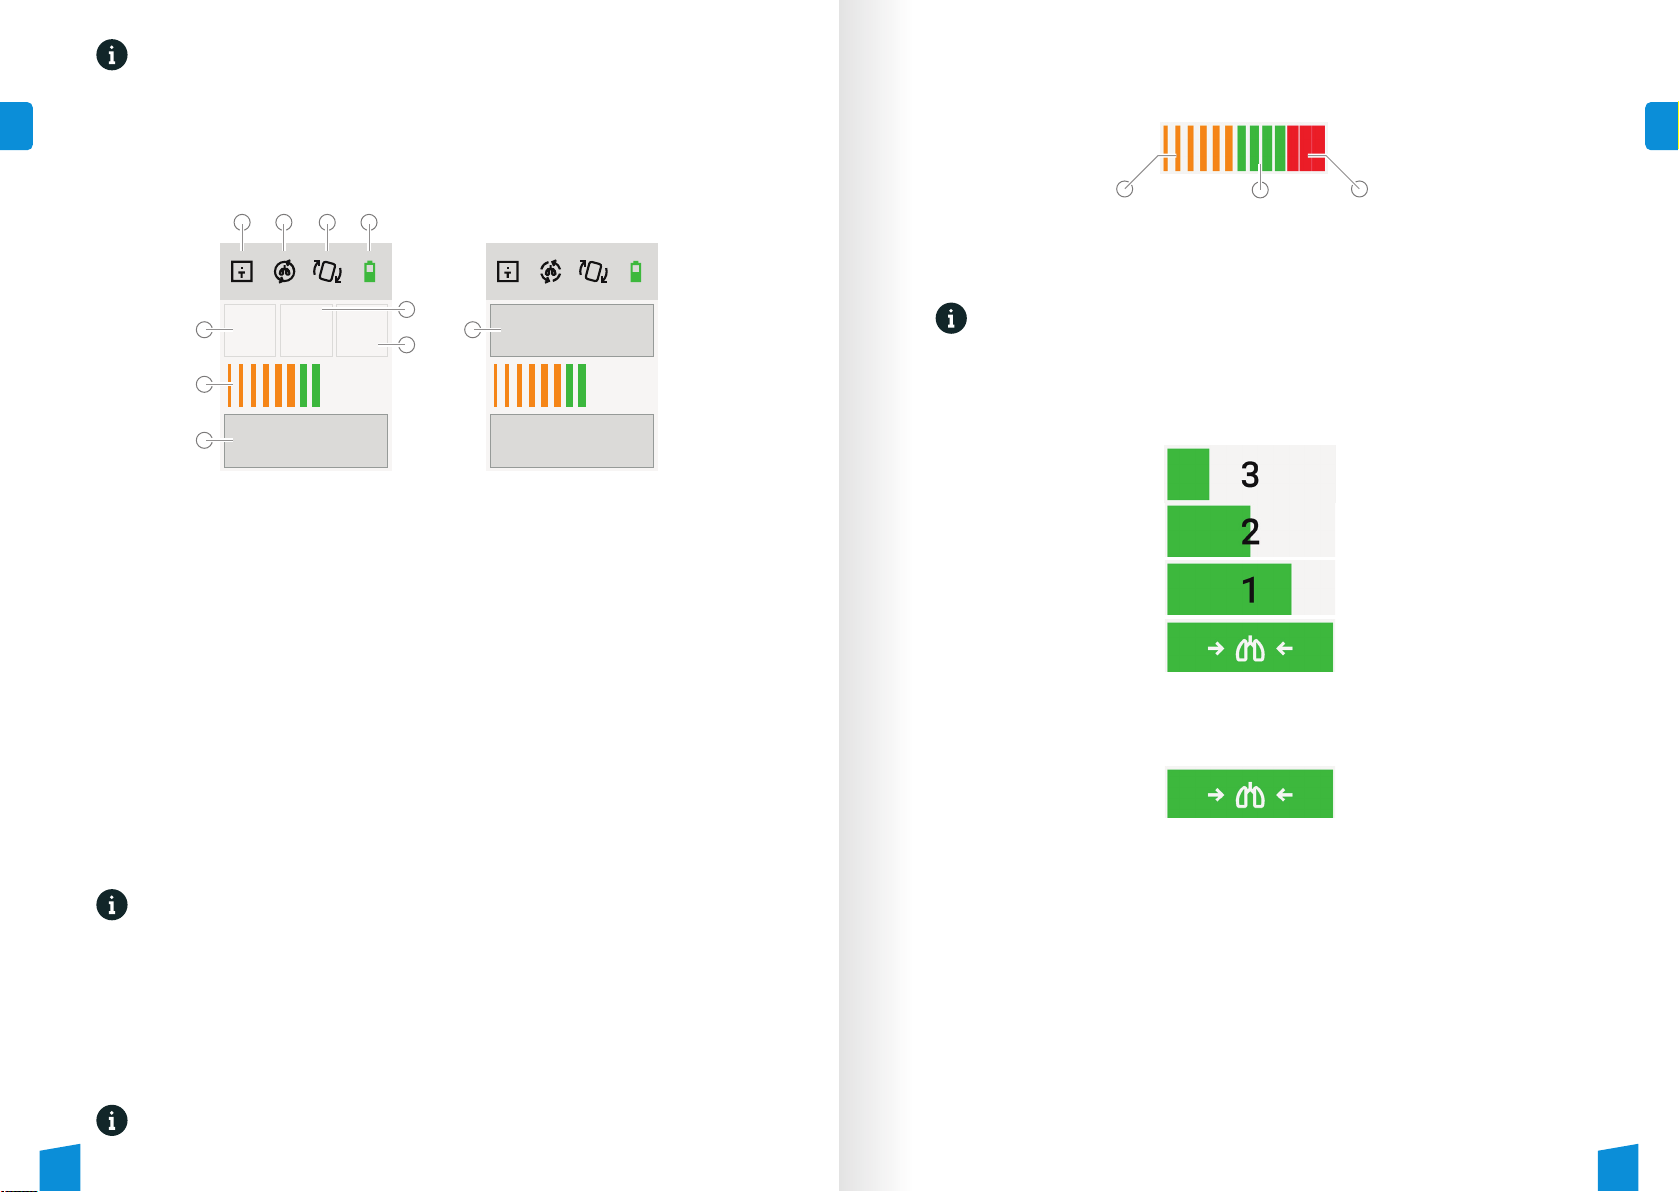
oAlways check the battery level before using EOlife X. We advise recharging the battery after each use. Change the battery
if the charge is below 20%. We also advise having a spare operational battery in case this is needed.
oUsing a battery with a low charge at temperatures below 0°C greatly reduces the run time and can cause EOlife X to stop
functioning after a short time. If the device is used at low temperatures, the battery should be fully charged.
oDo not remove the battery when EOlife X is switched on.
• Use the device as intended (see “III. Intended use”).
• Comply with the restrictions on use (see “III. Intended use”).
• Carefully read the safety instructions in these instructions for use.
• Comply with all the sections in these instructions.
Precautions
• Only use the EOlife X device and its accessories if they do not show any visible damage.
EOlife X is not intended for use on humans. EOlife X should only be used on a manikin or patient simulator.
Avoid using EOlife X next to or in combination with other devices as this could cause it to malfunction. If devices must
be used next to each other or together, monitor both devices to check that they are functioning properly.
To ensure that EOlife X functions effectively you must follow the instructions provided by ARCHEON.
Never use the EOlife X device or its accessories in a hyperbaric chamber as this could cause an explosion.
Portable high frequency communication devices (e.g. wireless devices, antennas and their cables) in close proximity
to EOlife X can interfere with the device and reduce its performance. Keep EOlife X at least 30 cm from portable high
frequency communication devices.
The EOlife X electronic unit, the FlowSense X sensor, the battery and the charger must be discarded at the end of their
lifetime as instructed in “IX. 3 d) Disposal”.
Handling the battery improperly could seriously injure the user and persons nearby. The battery must not be disposed
of in a fire, opened, deformed or short-circuited. The battery must be protected from humidity, high temperatures and
high pressure (see “X. Technical data”).
The use of accessories, transducers and cables other than those specified or supplied could increase the
electromagnetic emissions or decrease the electromagnetic immunity of the device and cause it to malfunction.
Warnings
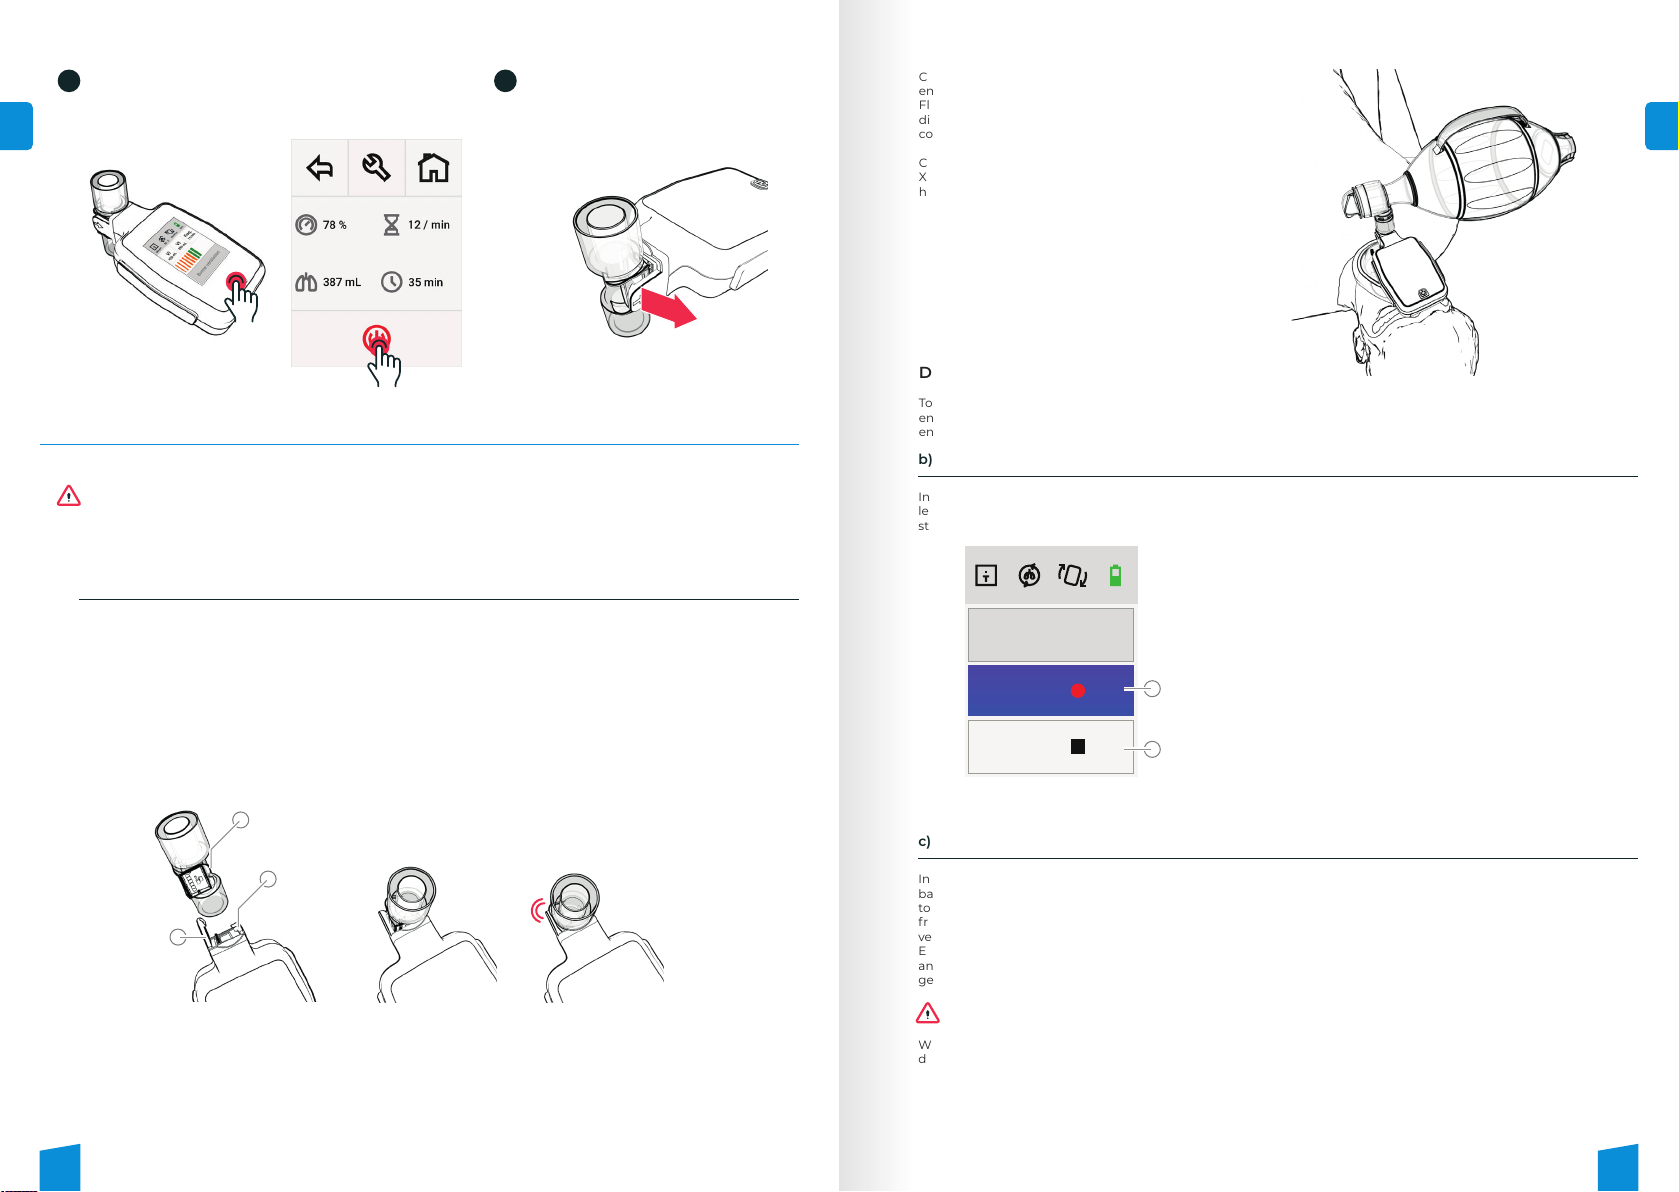
FlowSense X sensor
Removable battery
Touch screen
Red
LED
Bumpers
Physical
ON/OFF button
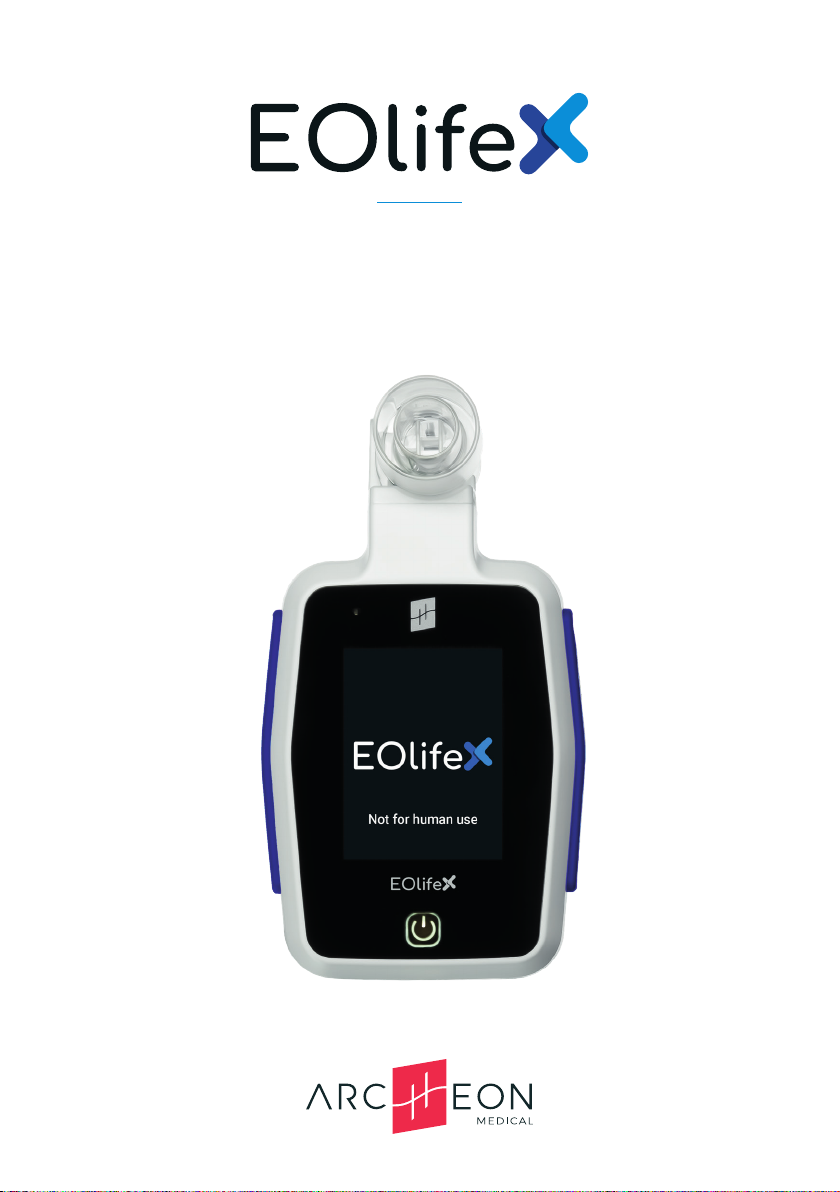
V. Product description
oThe device is a portable machine that includes the EOlife X electronic unit, its removable and rechargeable battery, its
charger and the FlowSense X sensor.
oEOlife X is used with the FlowSense X sensor which is positioned between a non-invasive ventilation interface (mask),
invasive ventilation interface (endotracheal tube), or any type of supraglottic airway device, and a standard self-inflating
bag to manually ventilate a manikin.
oEOlife X allows the user to choose the resuscitation mode (continuous ventilation or CPR with a 30:2 compression/
ventilation ratio), the patient’s height and the training mode (blind ventilation or monitored ventilation).
oEOlife X records the ventilation data, which can be exported to another device for research and analysis. EOlife X includes
a Bluetooth low energy wireless module to communicate with such devices.
• Monitored ventilation training:
Based on the inspiratory and expiratory flow rates measured during ventilation, EOlife X calculates and records the
main ventilation parameters (insufflation volumes, tidal volumes, ventilation frequency and leakage) and gives real-
time feedback on the ventilation performed. EOlife X also shows the target ventilation values (in accordance with the
guidelines issued by the AHA and ERC international scientific committees in 2015) to guarantee adequate ventilation.
• Blind ventilation training:
Based on the inspiratory and expiratory flow rates measured during ventilation, EOlife X calculates and records the
main ventilation parameters (insufflation volumes, tidal volumes, ventilation frequency and leakage) but does not give
the user real-time feedback on the ventilation performed and does not show target ventilation values.
Note
The ventilation interface and the
self-inflating bag are accessories not
supplied by ARCHEON.
Self-inflating bag
Mask