manuals.online logo
Brands
  1. Home
  2. •
  3. Brands
  4. •
  5. Aries
  6. •
  7. Automobile Accessories
  8. •
  9. Aries 4407 User manual

Aries 4407 User manual

PAGE 1 • 4407-INS-RC • 800.798.0813 • NEED ASSISTANCE? • ARIESAUTOMOTIVE.COM
INSTALLATION MANUAL 4407
Level of Difficulty
Easy
Scan
for helpful
install tips
Notes and Maintenance
Before you begin installation, read all instructions thoroughly.
Proper tools will improve the quality of installation and reduce the time required.
To protect the product, wax after installing. Regular waxing is recommended to
add a protective layer over the finish. Do not use any type of polish or wax that may
contain abrasives that could damage the finish.
For stainless steel and aluminum, polish may be used to clear small scratches
and scuffs on the finish. Mild soap may be used also to clean the product.
Refer to the table to the left when securing hardware during the
installation process to help prevent damage to the product or vehicle.
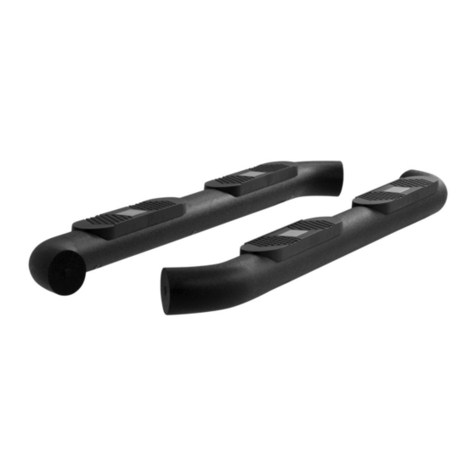
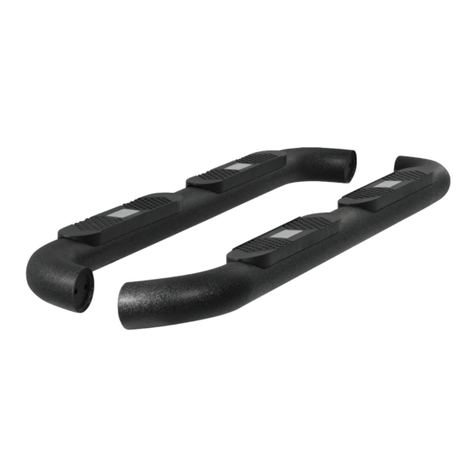
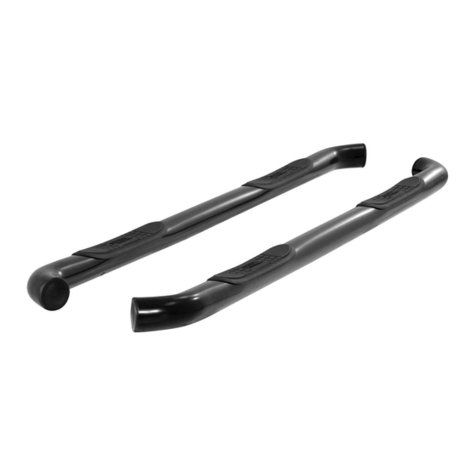
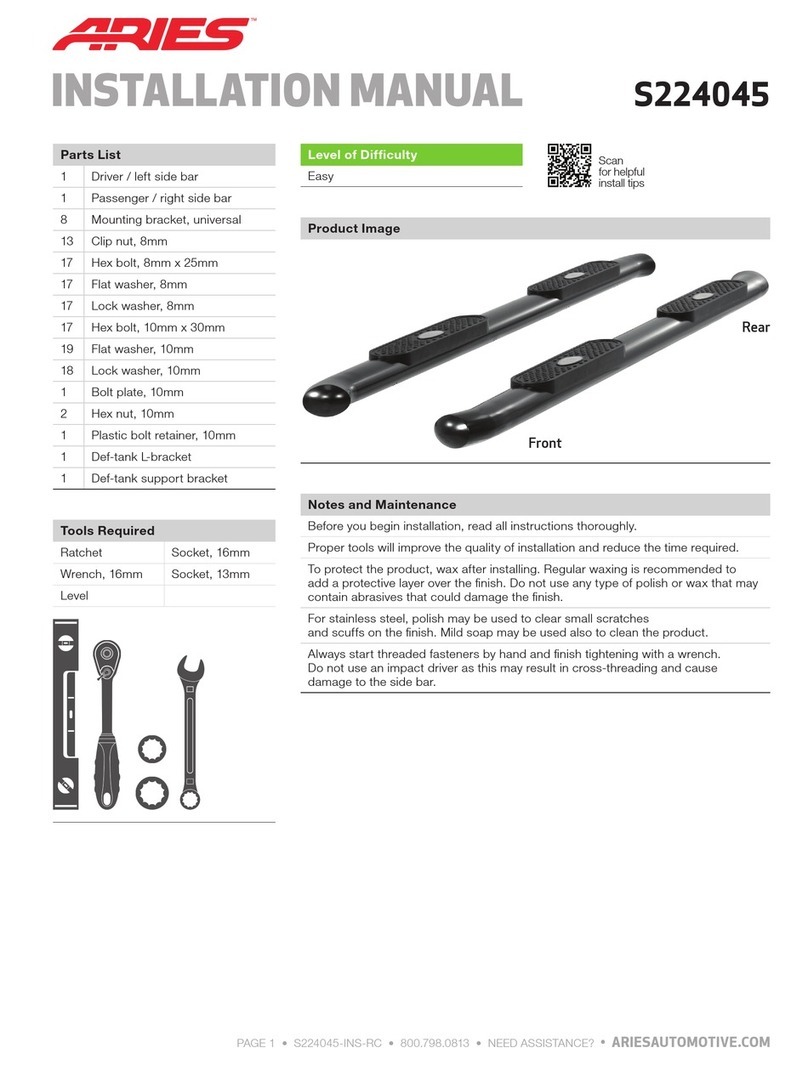
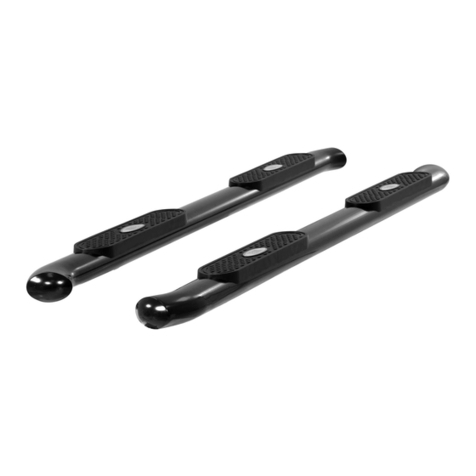
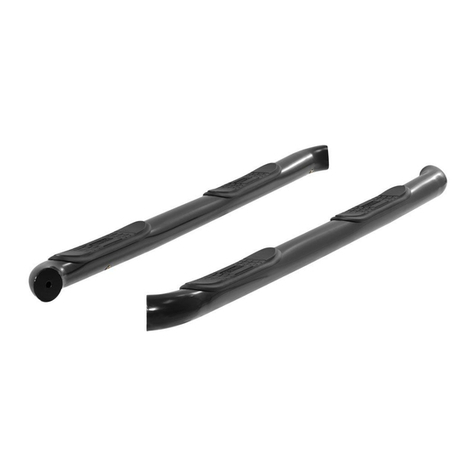
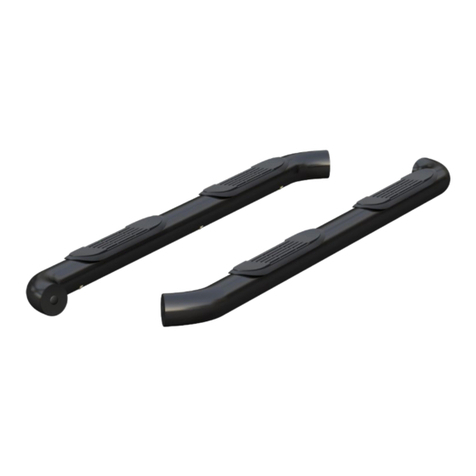
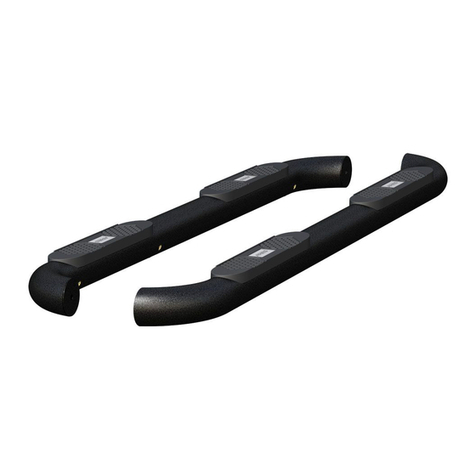
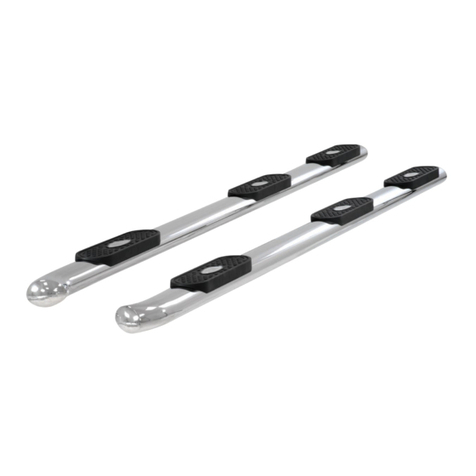
Product Image
Parts List
1Driver / left side bar
1Passenger / right side bar
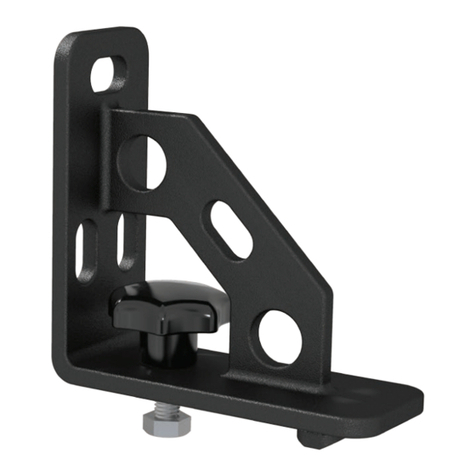
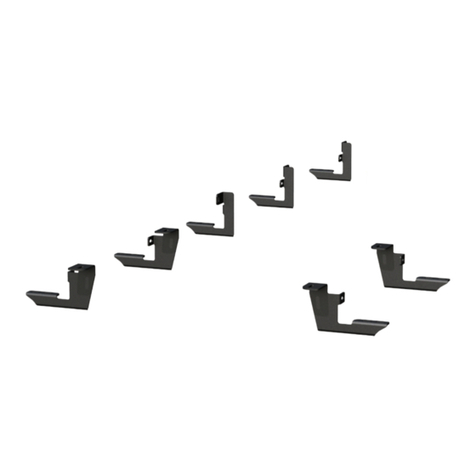
5Mounting bracket, universal
1Def-tank bracket
1Def-tank L-bracket
6Bolt plate, stainless steel
24 Flat washer, M6
24 Nylock nut, M6 x 1, CL8.8
11 Flat washer, M8
11 Lock washer, M8
11 Hex head cap screw,
M8 x 1.25 - 30mm, CL8.8
11 Clip nut, M8
3Flat washer, M10
2Lock washer, M10
1Hex head cap screw,
M10 x 1.5 - 30mm, CL8.8
2Nut, M10 x 1.5, CL8.8
1Bolt plate, M10
Additional Hardware*
24 T-bolt, M8 x 1.25 - 25mm, CL8.8
24 Flat washer, M8
24 Lock washer, M8
24 Hex nut, M8 x 1, CL8.8
* Aluminum boards are supplied
with additional hardware.
Quantities listed are in addition
to the standard supplied hardware.
Tools Required
Ratchet Socket, 10mm
Ratchet extension Socket, 13mm
Wrench, 16mm Socket, 16mm
Level Torque Specifications
METRIC
M6 bolt 3 ft.-lbs.
SAE
1/4" bolt 3 ft.-lbs.
M8 bolt 7 ft.-lbs. 5/16" bolt 7 ft.-lbs.
M10 bolt 16 ft.-lbs. 3/8" bolt 16 ft.-lbs.
M12 bolt 28 ft.-lbs. 7/16" bolt 20 ft.-lbs.
1/2" bolt 28 ft.-lbs.
ARIESAUTOMOTIVE.COM • NEED ASSISTANCE? • 800.798.0813 • 4407-INS-RC • PAGE 2
Step 1
Locate the mounting tabs along the
bottom edge of the vehicle body.
For crew cab models, use the first,
second and fifth mount locations.
For Extended cab and Double cab
models, use the first, second and
fourth mount locations.
For Regular cab models,
only use two brackets per side.
Step 2
2A - Starting at the front driver side
mount location, place a universal bracket
over the two factory mount locations.
Attach the bracket to the body panel
using two M8 hex bolts with lock
and flat washers.
The bolts should be snug,
but do not tighten at this time.
2B - Some models will require the use
of an M8 clip nut for the bottom mount
location if the vechicle is not supplied
with the threaded mount.
If required, slide an M8 clip nut over the
mounting tab with the nut on the
top surface.
Attach the bracket to the body panel
using an M8 hex bolt, lock and flat
washer.
Step 3
Repeat steps 2A and 2B to install
the second bracket over the second
mounting tab location from step 1.
PAGE 3 • 4407-INS-RC • 800.798.0813 • NEED ASSISTANCE? • ARIESAUTOMOTIVE.COM
Step 4
Locate the fourth tab location from step 1
and remove the rubber plug from the
access hole.
Insert a clip nut through the access hole
and align it over the adjacent small hole.
Step 5
Repeat step 2B to secure the bottom of
the bracket with an M8 clip nut, bolt, lock
and flat washer.
Attach the bracket to the body panel
using an M8 hex bolt, lock and flat
washer.
Step 6
Carefully place the side bar onto the
brackets with the larger step pad
towards the front of the vehicle.
Step 7A - For Polished Stainless Steel Side Bars
Insert the bolt plate into the bottom
channel of the side bar, and attach
with a M6 flat washer and nylock nut.
Snug the hardware with a 10mm socket.
To allow for adjustments, do not over
tighten.
ARIESAUTOMOTIVE.COM • NEED ASSISTANCE? • 800.798.0813 • 4407-INS-RC • PAGE 4
Step 9
Moving to the passenger side of the
vehicle, locate the front mounting bracket
location. Due to the DEF tank, a special
two-piece bracket is required in this
location.
Begin the install by locating the round
factory hole in the bottom of the rocker
panel closest to the front mounting tab.
Remove the plastic plug to expose
the mounting hole in the rocker panel.
Note: On 2017 models, the DEF
tank shield will need to be removed
and trimmed before reinstallation.
Step 7B - For Semi-Gloss Black, Aluminum Side Bars
Insert four T-bolts into the bottom
channels of the side bar as shown.
Slide the bolts forward to the front bracket
and insert them through the bracket
cradle. Repeat this for the middle and
rear brackets.
Secure the side bar to the brackets using
twelve M8 flat washers, lock washers
and hex nuts.
Snug the hardware,
but do not fully tighten.
Step 8
Adjust and level the side bar, centering it
between the front and rear wheel wells.
With the side bar in position, it is
recommended to tighten all brackets
to the vehicle first, followed by the
side bar connections.
PAGE 5 • 4407-INS-RC • 800.798.0813 • NEED ASSISTANCE? • ARIESAUTOMOTIVE.COM
Step 10
Insert the M10 bolt plate into the access
hole in the rocker panel.
Place the DEF tank L-bracket over the
M10 stud and secure it with a flat washer,
lock washer and nut.
Do not fully tighten the
hardware at this time.
Step 11
Slide an M8 clip nut over the mounting
tab and fasten the DEF tank bracket with
an M8 hex bolt, flat washer and lock
washer.
Do not fully tighten the
hardware at this time.
Step 12
Bolt the mounting bracket to the side
of the 'L' support bracket using a M10
hex bolt, two flat washers, a lock washer
and nut.
Step 13
For 2017 diesel models only: Trim
DEF tank shield as needed and reinstall.
ARIESAUTOMOTIVE.COM • NEED ASSISTANCE? • 800.798.0813 • 4407-INS-RC • PAGE 6
Step 14
Repeat steps 3 through 8 on the
passenger side of the vehicle.
Congratulations on the installation of
your new ARIES 6" oval side bars.
With the side bars installed, periodic
inspections should be performed to ensure
all mounting hardware remains tight.
To protect your investment, see the
'Notes and Maintenance' section on
the first page of this instruction manual.

Other Aries Automobile Accessories manuals

Aries S224054-2 User manual

Aries

Aries S224054-2 User manual

Aries B35-2000 User manual

Aries

Aries B35-2000 User manual

Aries 1110313 User manual

Aries

Aries 1110313 User manual

Aries 3069 User manual

Aries

Aries 3069 User manual

Aries 35-2000 User manual

Aries

Aries 35-2000 User manual

Aries 205040 User manual

Aries

Aries 205040 User manual

Aries 35700 User manual

Aries

Aries 35700 User manual

Aries 209045 User manual

Aries

Aries 209045 User manual

Aries 2164003 User manual

Aries

Aries 2164003 User manual

Aries 2165102 User manual

Aries

Aries 2165102 User manual

Aries 2055100 User manual

Aries

Aries 2055100 User manual

Aries B35-5008 User manual

Aries

Aries B35-5008 User manual

Aries 215039 User manual

Aries

Aries 215039 User manual

Aries S223015-2 User manual

Aries

Aries S223015-2 User manual

Aries 3020000 User manual

Aries

Aries 3020000 User manual

Aries 363006-2 User manual

Aries

Aries 363006-2 User manual

Aries AL235017 User manual

Aries

Aries AL235017 User manual

Aries 2081101 User manual

Aries

Aries 2081101 User manual

Aries 2072101 User manual

Aries

Aries 2072101 User manual

Aries S223005 User manual

Aries

Aries S223005 User manual

Aries 2162001 User manual

Aries

Aries 2162001 User manual

Aries 2162000 User manual

Aries

Aries 2162000 User manual

Aries ActionTrac User manual

Aries

Aries ActionTrac User manual

Aries 2153000 User manual

Aries

Aries 2153000 User manual

Popular Automobile Accessories manuals by other brands

Aldor Automotive FOR1TRSU Assembly manual

Aldor Automotive

Aldor Automotive FOR1TRSU Assembly manual

Prorack Kayak Carrier manual

Prorack

Prorack Kayak Carrier manual

Nav TV NTV-KIT899 installation manual

Nav TV

Nav TV NTV-KIT899 installation manual

Whispbar K383W Fitting instructions

Whispbar

Whispbar K383W Fitting instructions

EFILive CM2350B user guide

EFILive

EFILive CM2350B user guide

Piaa LP570 installation instructions

Piaa

Piaa LP570 installation instructions

Clarion BT1 owner's manual

Clarion

Clarion BT1 owner's manual

Altox TRACKER-4 Operation manual

Altox

Altox TRACKER-4 Operation manual

Whispbar K756W Fitting instructions

Whispbar

Whispbar K756W Fitting instructions

Techcool CB06 Use manual

Techcool

Techcool CB06 Use manual

iDataLink Maestro RR install guide

iDataLink

iDataLink Maestro RR install guide

Haztec 7-1222-288-50-C installation instructions

Haztec

Haztec 7-1222-288-50-C installation instructions

ABL Wallbox eM4 Single operating manual

ABL

ABL Wallbox eM4 Single operating manual

Prorack K943 Fitting instructions

Prorack

Prorack K943 Fitting instructions

Prorack K422 Assembly and Fitting Instructions

Prorack

Prorack K422 Assembly and Fitting Instructions

Perrycraft Easy Go 01 Fitting instructions

Perrycraft

Perrycraft Easy Go 01 Fitting instructions

HAKR A 50 NZK 4 installation instructions

HAKR

HAKR A 50 NZK 4 installation instructions

TrailFX TFX5521 quick start guide

TrailFX

TrailFX TFX5521 quick start guide

manuals.online logo
manuals.online logoBrands
  • About & Mission
  • Contact us
  • Privacy Policy
  • Terms and Conditions

Copyright 2025 Manuals.Online. All Rights Reserved.