ARIESAUTOMOTIVE.COM •NEED ASSISTANCE? •877.287.8634 •2152001-INS-RB•PAGE 4
Step 9
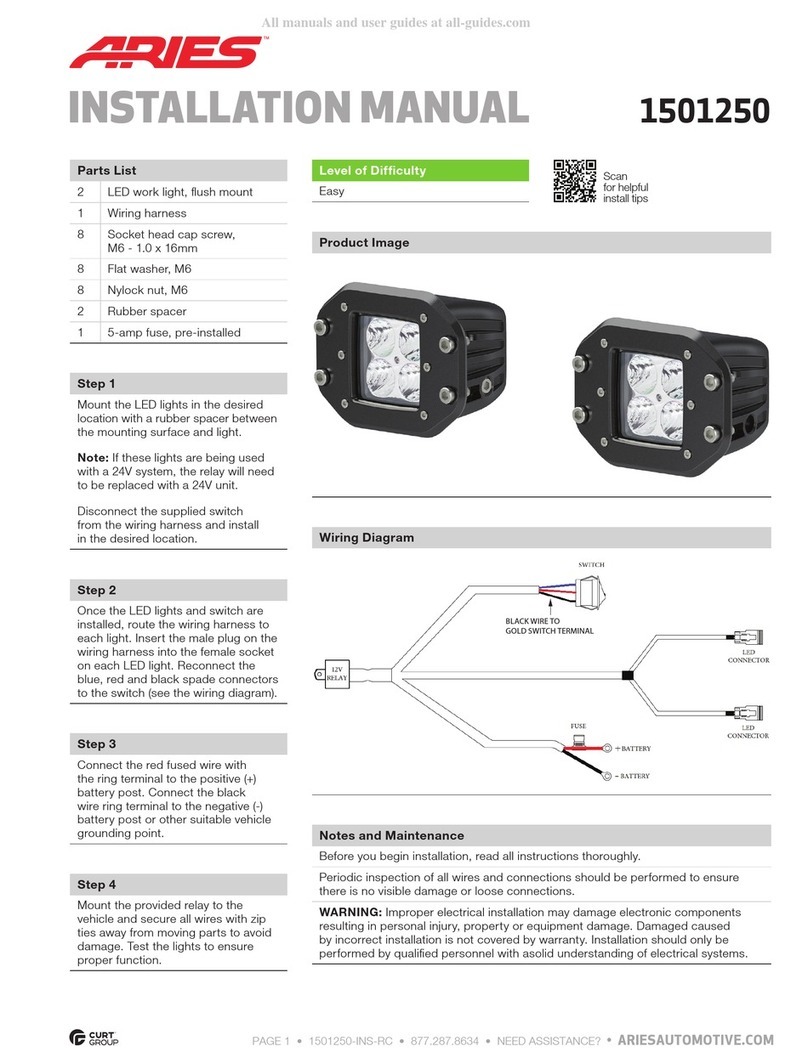
Disconnect the supplied switch
from the wiring harness and install
in the desired location.
With the switch installed, route the wiring
harness to the LED lights and the switch.
Reconnect the blue, red and black spade
connectors to the switch as shown.
Note: The black wire connects
to the gold switch terminal.
Plug the male connector on the wiring
harness into the female connector
attached to the LED lights.
Step 10
Connect the red fused wire with the ring
terminal to the positive battery post.
Connect the black wire ring terminal
to the negative battery post or other
suitable vehicle grounding point.
Mount the supplied relay to the vehicle
and secure all wires with zip ties away
from moving parts to avoid damage.
Test the lights to ensure proper function.
Step 8
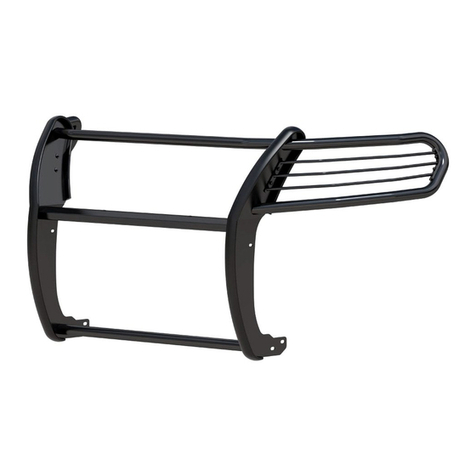
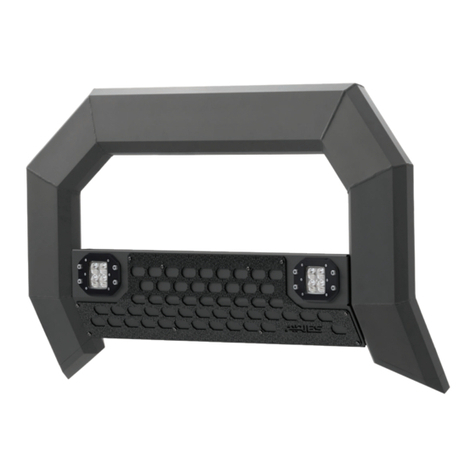
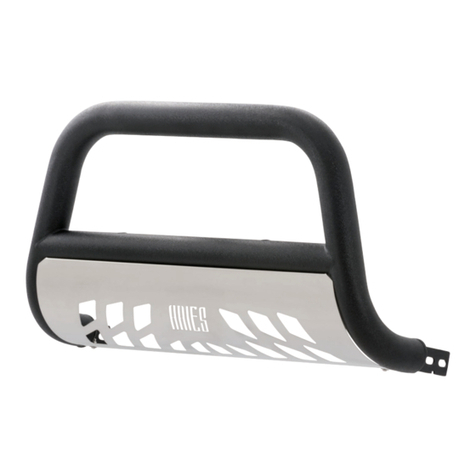
Level and adjust the bull bar into the
desired position and tighten all hardware
to the recommended torque specifications
listed in the table on the first page.
If your bull bar is not equipped
with lights, skip to step 11.
If your bull bar is equipped with lights,
complete steps 9 and 10.
Note: If the LED lights are being used
with a 24V system, the 12V relay will
need to be replaced with a 24V unit.
