manuals.online logo
Brands
  1. Home
  2. •
  3. Brands
  4. •
  5. Aries
  6. •
  7. Automobile Accessories
  8. •
  9. Aries S224047 User manual

Aries S224047 User manual

ARIESAUTOMOTIVE.COM •PRODUCT SUPPORT: 877.287.8634 •S224047-INS-RA •04/25/2023 •ECN10210 •PAGE 1
Product Registration and Warranty
ARIES stands behind our products with
industry-leading warranties. To get copies
of the product warranties, register your
purchase or provide feedback, visit:
warranty.curtgroup.com/surveys
INSTALLATION MANUAL S224047
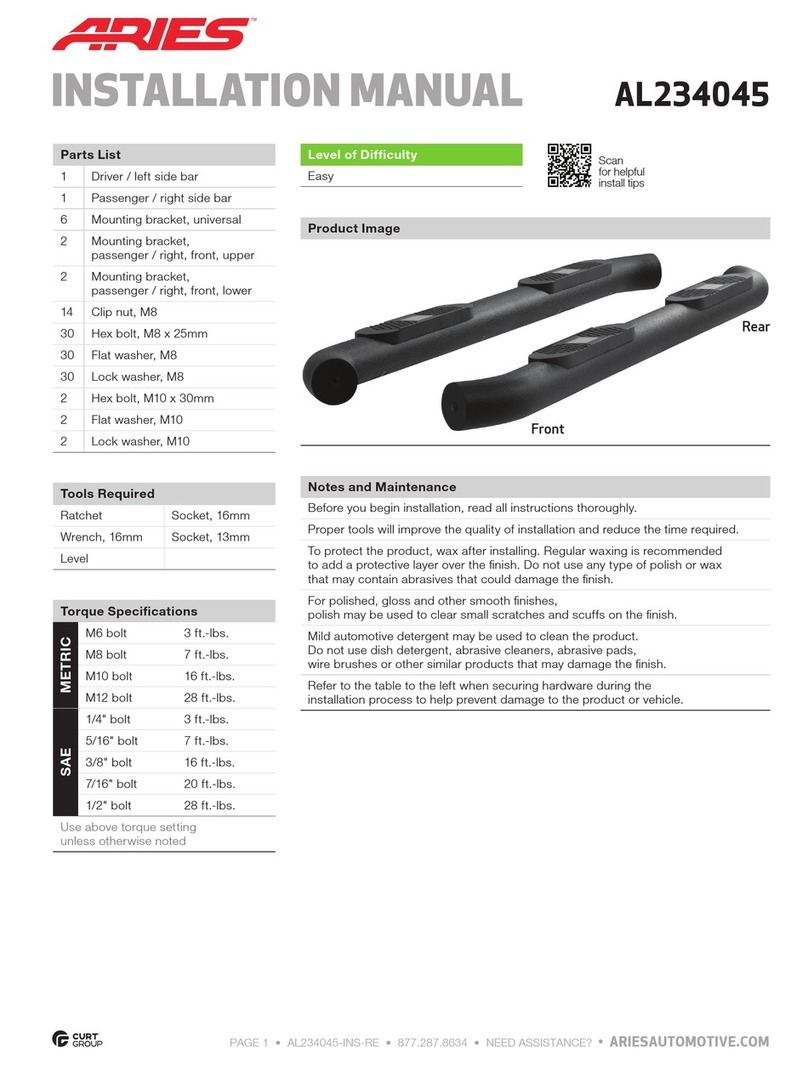
Parts List
Qty Description
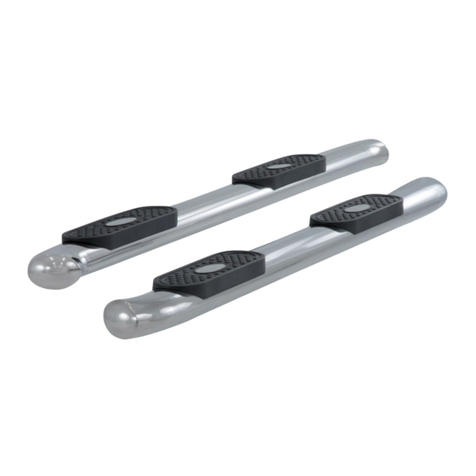
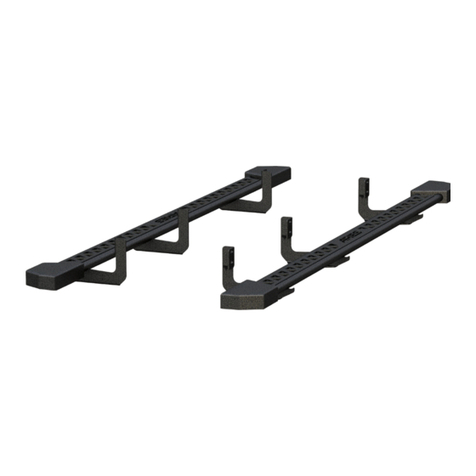
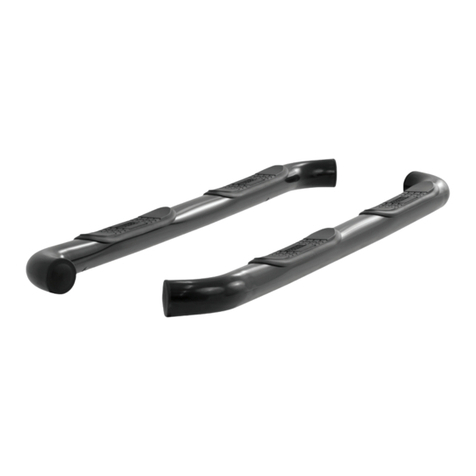
1Driver / left running board*
1Passenger / right running board*
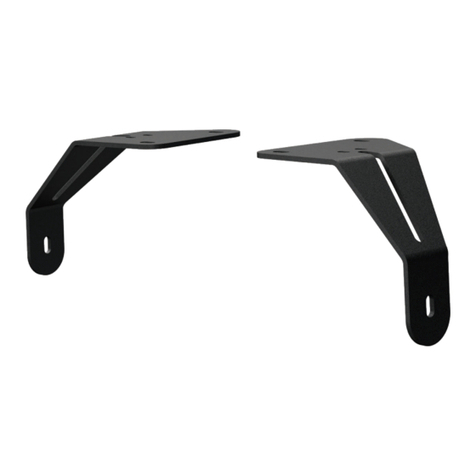
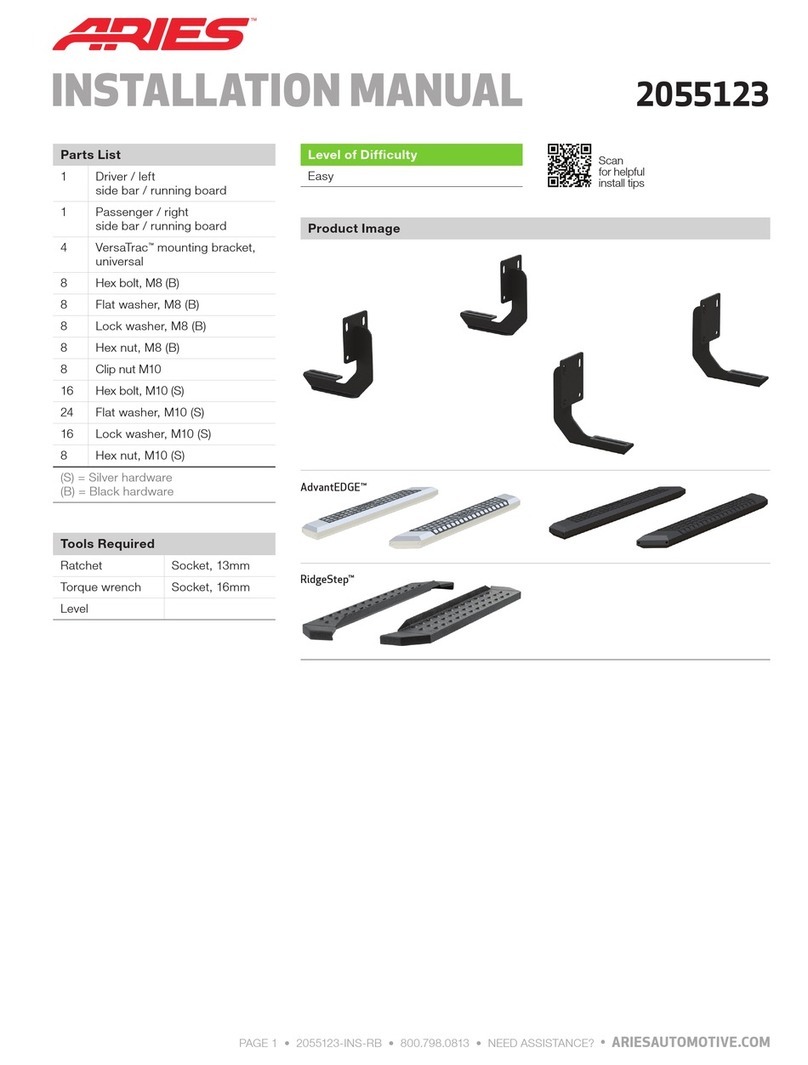
2Mounting bracket, front
2Mounting bracket, rear
16 Hex bolts, M10
16 Lock washers, M10
16 Flat washers, M10
Maintenance
Mild automotive detergent may be used to clean the product. Do not use dish detergent, abrasive
cleaners, abrasive pads, wire brushes or other similar products that may damage the finish.
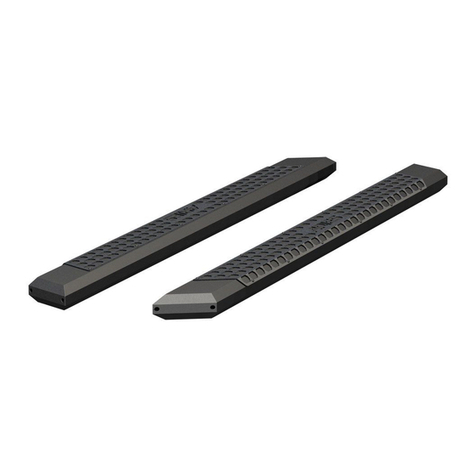
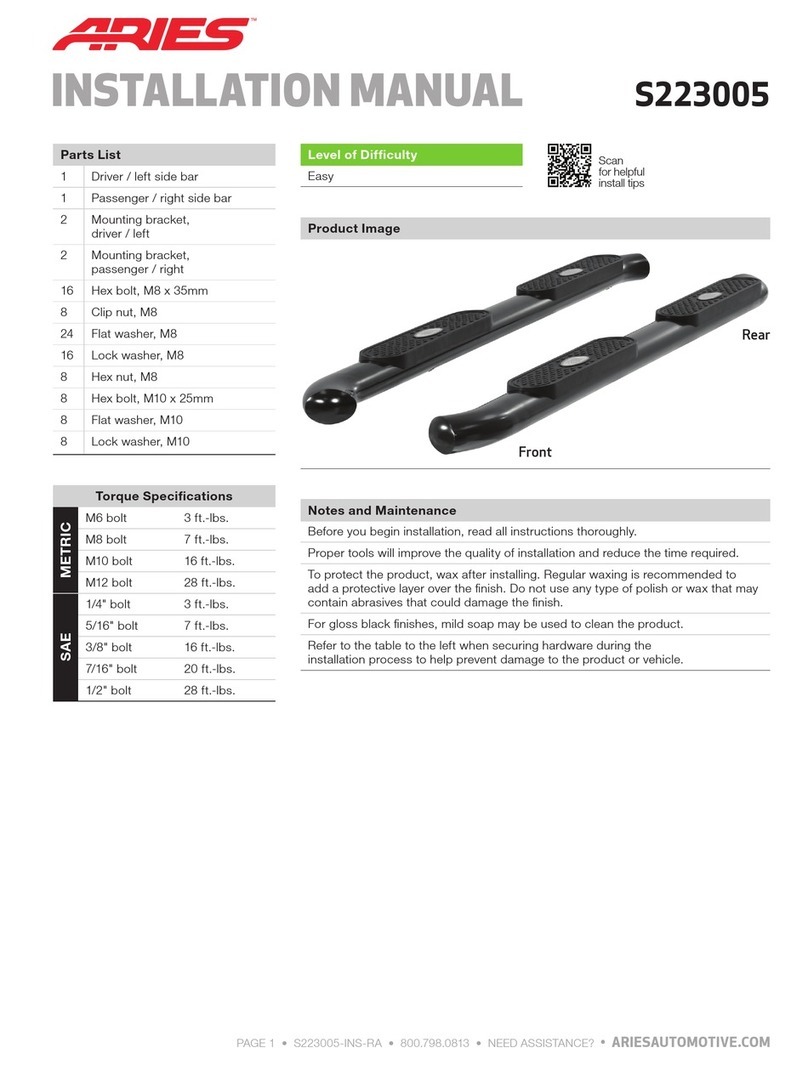
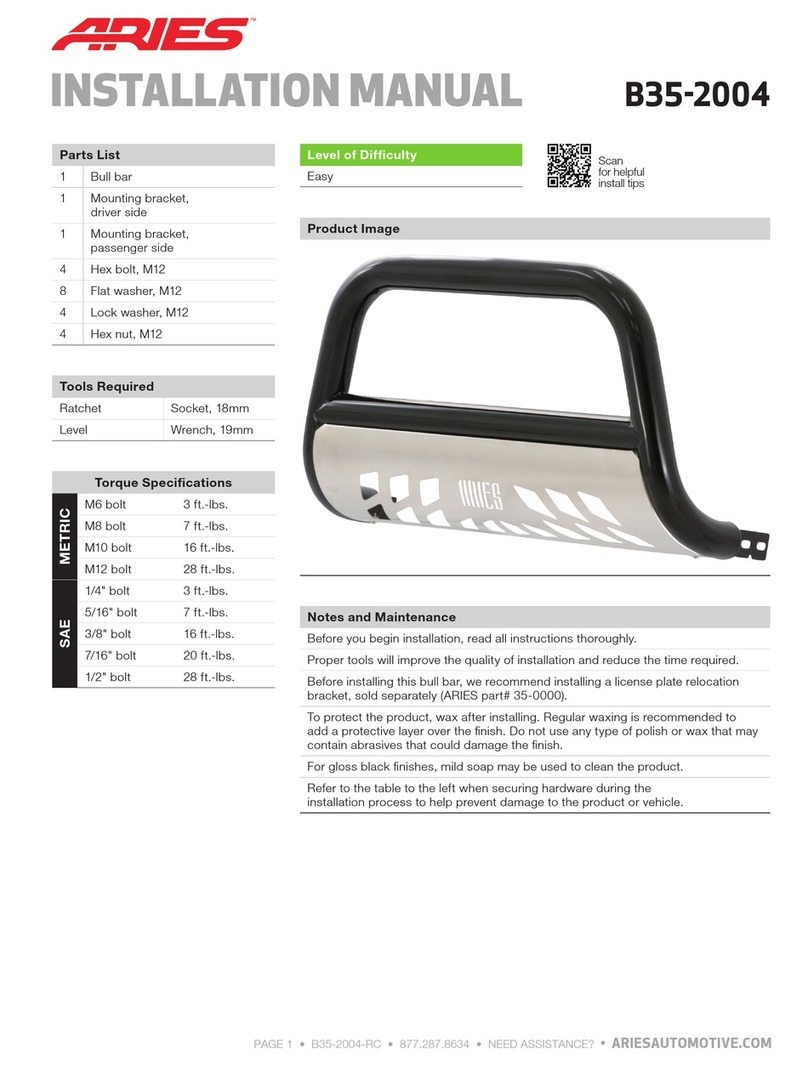
Product Photo
Brackets and Hardware
Front
FrontFront
Rear
Rear
Rear
Torque Specifications
M8 bolt 7 ft-lbs.
M10 bolt 16 ft-lbs.
Use above torque setting unless otherwise noted
Level of Difficulty
Easy
Installation difficulty levels are based on time
and effort involved and may vary depending on
the installer level of expertise, condition of the
vehicle and proper tools and equipment.
NOTICE
Visit www.ariesautomotive.com for a full-color copy of this
instruction manual, as well as helpful videos, guides and much more!
Before you begin installation, read all instructions thoroughly.
Proper tools will improve the quality of installation and reduce the time required.
Periodic inspection of your product should be performed
to ensure all hardware and / or components remain secure.
To help prevent damage to the product or vehicle, refer to the specified
torque specifications when securing hardware during the installation process.
Tools Required
Socket, 13mm Ratchet
Socket, 16mm Torque wrench
Wrench, 16mm Flathead screwdriver
ARIESAUTOMOTIVE.COM •PRODUCT SUPPORT: 877.287.8634 •S224047-INS-RA •04/25/2023 •ECN10210 •PAGE 2
PROCEDURE:
1. REMOVE CONTENTS FROM BOX. VERIFY ALL PARTS ARE PRESENT. READ INSTRUCTIONS
CAREFULLY BEFORE STARTING INSTALLATION.
2. Starting from underneath the Passenger/Right body panel, locate the front mounting location and the
threaded holes in the body panel, (Figure 1). Remove the plastic plugs covering the holes.
3. Select the Passenger/Right Front Mounting Bracket. Attach the Mounting Bracket tothe front location
with (2) 10mm Hex Bolts, (2) 10mm Lock Washers and (2) 10mm Flat Washers, (Figure 2). Do not
tighten hardware.
4. Repeat Steps 2 & 3 to attach Center Mounting Bracket and Rear Mounting Bracket to the center and
rear locations, (Figures 3—6). Do not tighten hardware. NOTE: The Center and Rear Mounting
Brackets are similar but are unique. The Center Mounting Brackets have a smooth back and the Rear
Mounting Brackets will have a small hole in the back, (Figure 4).
5. Select the Passenger/Right Sidebar. Place the Sidebar onto the cradles of the Mounting Brackets.
IMPORTANT: Do not rotate or slide the Sidebar front to back or damage to the finish may result. Attach
the Sidebar to the Mounting Brackets with (6) 8mm Combo Bolts, (Figure 7). Do not tighten hardware.
6. Level and adjust the Sidebar and tighten all hardware.
7. Repeat Steps 1—6 to attach the Driver/Left Sidebar.
8. Do periodic inspections to the installation to make sure that all hardware is secure and tight.
To protect your investment, Do not use any type of polish or wax that may contain abrasives that could damage the
finish. Mild soap may be used to clean the Sidebars.
Passenger/Right side Installation Pictured
(Fig 1) Passenger/Right front mounting location
Front
(Fig 2) Attach the Passenger/Right Front
Mounting Bracket to the front location
(2) 10mm Hex Bolts
(2) 10mm Lock Washers
(2) 10mm Flat Washers
ARIESAUTOMOTIVE.COM •PRODUCT SUPPORT: 877.287.8634 •S224047-INS-RA •04/25/2023 •ECN10210 •PAGE 3
(Fig 3) Passenger/Right center mounting location
Front
(Fig 4) The Center and Rear Mounting
Brackets are similar but are unique
The Rear Brackets
have a small hole
in the back
Passenger/Right side Installation Pictured
(Fig 6) Passenger/Right rear mounting location
Rear
(Fig 7) Attach the Passenger/Right
Sidebar to the Mounting Brackets
(2) 10mm Hex Bolts
(2) 10mm Lock Washers
(2) 10mm Flat Washers
(Fig 5) Attach (1) Passenger/Right Center
Mounting Bracket to the center location
Front
(2) 8mm Combo Bolts

Other Aries Automobile Accessories manuals

Aries P3067 User manual

Aries

Aries P3067 User manual

Aries 2055100 User manual

Aries

Aries 2055100 User manual

Aries S223015 User manual

Aries

Aries S223015 User manual

Aries P35-2004 User manual

Aries

Aries P35-2004 User manual

Aries Avicenum LYMPHO 360 User manual

Aries

Aries Avicenum LYMPHO 360 User manual

Aries B35-5008 User manual

Aries

Aries B35-5008 User manual

Aries 2055100 User manual

Aries

Aries 2055100 User manual

Aries 2074140 User manual

Aries

Aries 2074140 User manual

Aries 2055123 User manual

Aries

Aries 2055123 User manual

Aries 2156001 User manual

Aries

Aries 2156001 User manual

Aries S225044-2 User manual

Aries

Aries S225044-2 User manual

Aries 2074110 User manual

Aries

Aries 2074110 User manual

Aries 3020000 User manual

Aries

Aries 3020000 User manual

Aries 2169000 User manual

Aries

Aries 2169000 User manual

Aries 2074111 User manual

Aries

Aries 2074111 User manual

Aries S223005-2 User manual

Aries

Aries S223005-2 User manual

Aries 4092 User manual

Aries

Aries 4092 User manual

Aries 1110315 User manual

Aries

Aries 1110315 User manual

Aries 2051158 User manual

Aries

Aries 2051158 User manual

Aries 205044 User manual

Aries

Aries 205044 User manual

Aries S223044-2 User manual

Aries

Aries S223044-2 User manual

Aries 209045 User manual

Aries

Aries 209045 User manual

Aries 2074106 User manual

Aries

Aries 2074106 User manual

Aries AL239042 User manual

Aries

Aries AL239042 User manual

Popular Automobile Accessories manuals by other brands

Lund Tonno Pro installation instructions

Lund

Lund Tonno Pro installation instructions

CIRCLE 1000 user guide

CIRCLE

CIRCLE 1000 user guide

APS IA10SAA1B installation instructions

APS

APS IA10SAA1B installation instructions

WINK 93503 quick guide

WINK

WINK 93503 quick guide

Havis-Shields 2004-2008 Ford Econoline Van C-VS-1800-ECO Install instructions

Havis-Shields

Havis-Shields 2004-2008 Ford Econoline Van C-VS-1800-ECO Install instructions

Rhino-Rack 43104 Fitting instructions

Rhino-Rack

Rhino-Rack 43104 Fitting instructions

Cruz 924-8 Series Assembly instructions

Cruz

Cruz 924-8 Series Assembly instructions

Excalibur RF-50-EDP Operation guide

Excalibur

Excalibur RF-50-EDP Operation guide

REBEL OFF ROAD XPLOR BED RACK installation instructions

REBEL OFF ROAD

REBEL OFF ROAD XPLOR BED RACK installation instructions

MayPole Erde MP6812 Assembly and usage instructions

MayPole

MayPole Erde MP6812 Assembly and usage instructions

CCEA SIRIO Q installation manual

CCEA

CCEA SIRIO Q installation manual

Cruz 925-77 Series Assembly instructions

Cruz

Cruz 925-77 Series Assembly instructions

AA Products APX2503 instruction manual

AA Products

AA Products APX2503 instruction manual

Twinny Load A 26 Fitting instructions

Twinny Load

Twinny Load A 26 Fitting instructions

Metra Electronics 98-5999 installation instructions

Metra Electronics

Metra Electronics 98-5999 installation instructions

ROKIOTOEX Coyote Crossbars installation guide

ROKIOTOEX

ROKIOTOEX Coyote Crossbars installation guide

Brink 3615 Fitting instructions

Brink

Brink 3615 Fitting instructions

Sealey BS2.V4 instructions

Sealey

Sealey BS2.V4 instructions

manuals.online logo
manuals.online logoBrands
  • About & Mission
  • Contact us
  • Privacy Policy
  • Terms and Conditions

Copyright 2025 Manuals.Online. All Rights Reserved.