manuals.online logo
Brands
  1. Home
  2. •
  3. Brands
  4. •
  5. Aries
  6. •
  7. Automobile Accessories
  8. •
  9. Aries 2055126 User manual

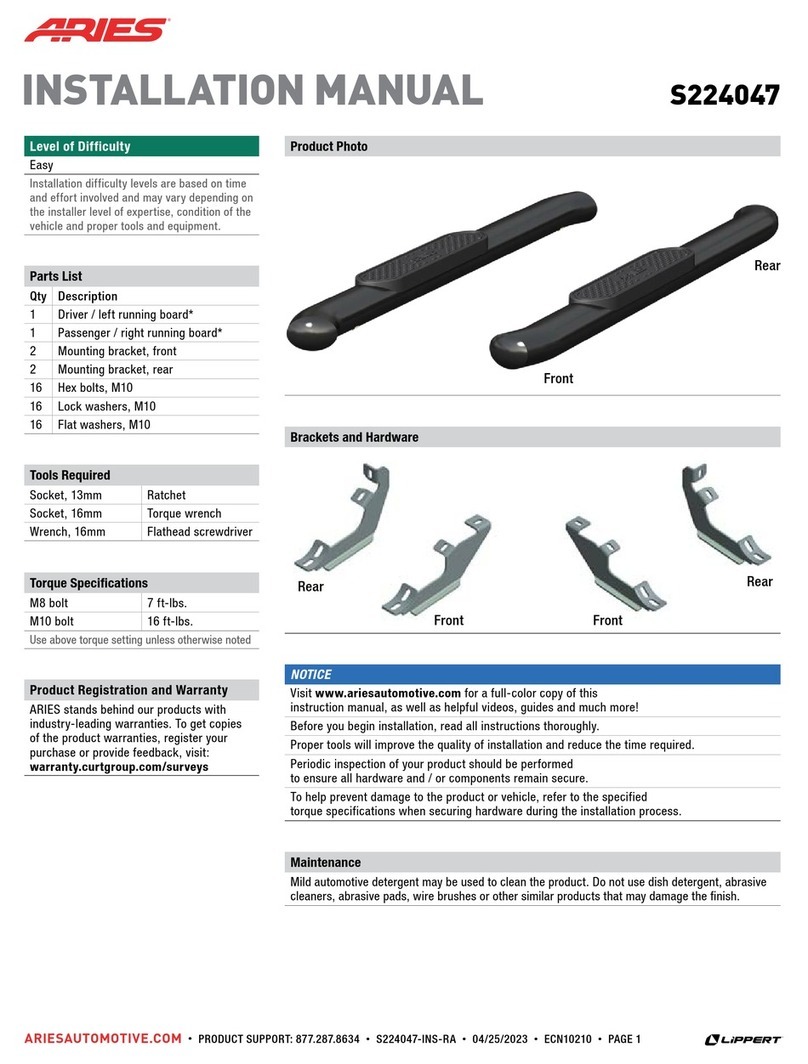
Aries 2055126 User manual

PAGE 1 • 2055126-INS-RA • 800.798.0813 • NEED ASSISTANCE? • ARIESAUTOMOTIVE.COM
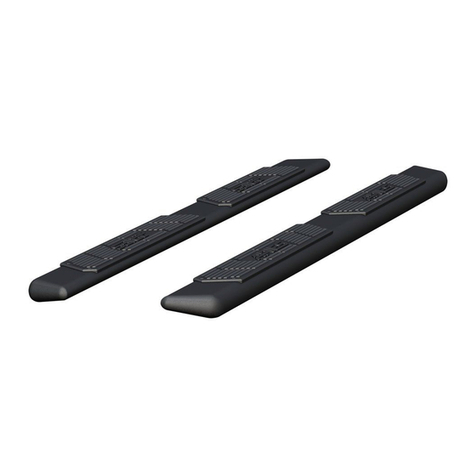
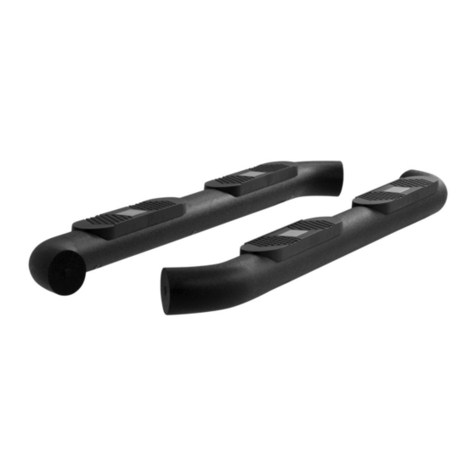
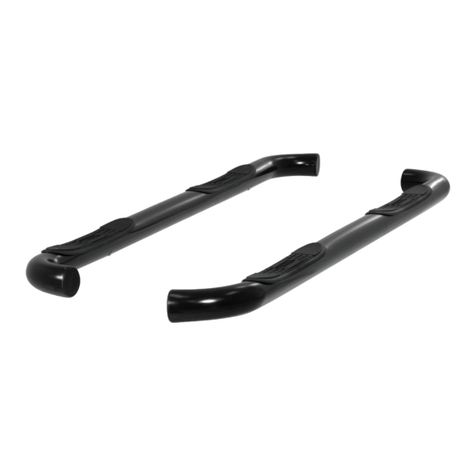
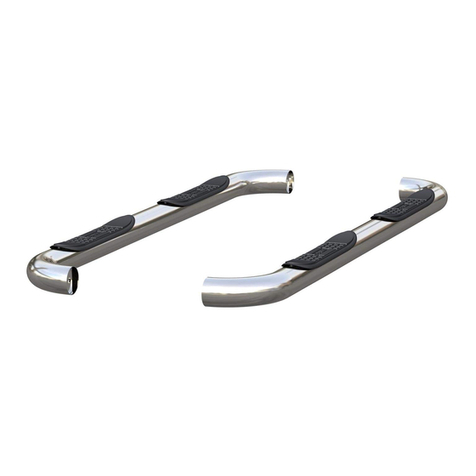
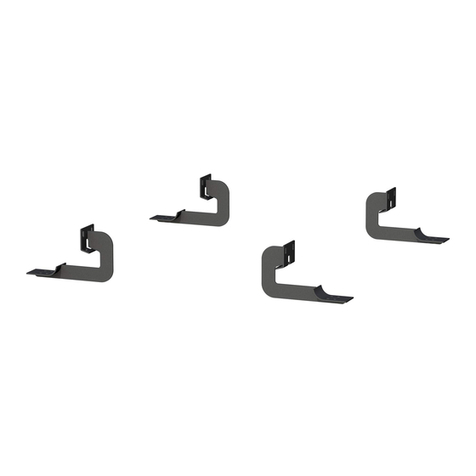
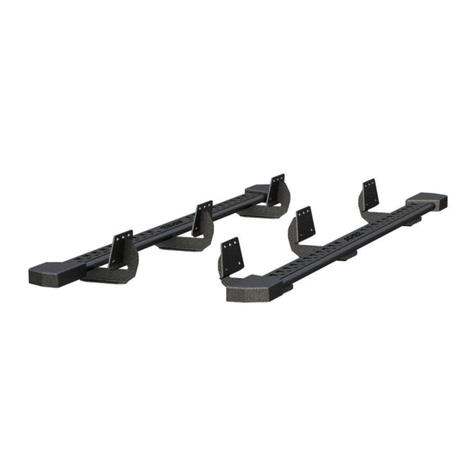
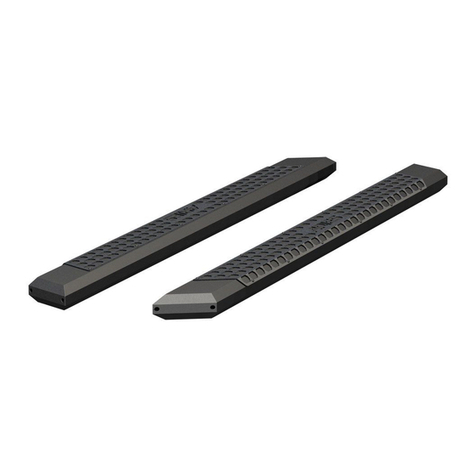
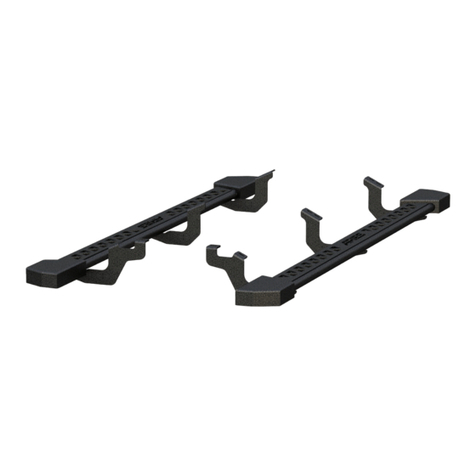
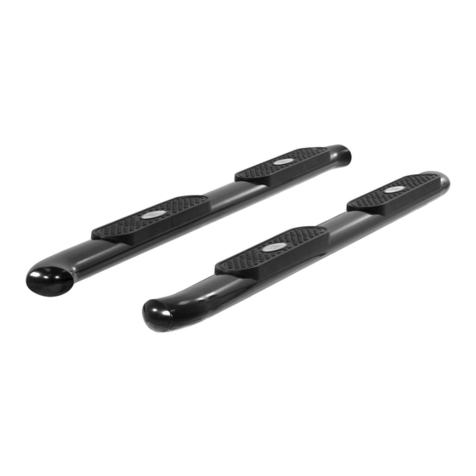
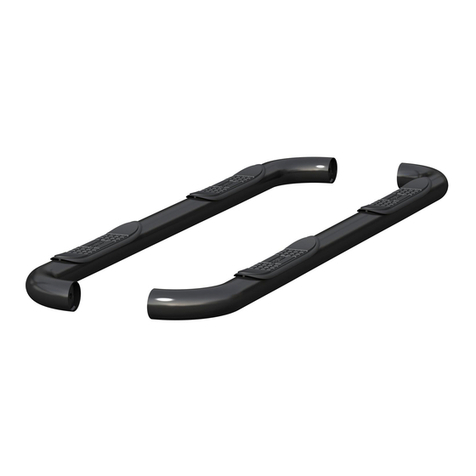
Product Image
Notes and Maintenance
Before you begin installation, read all instructions thoroughly.
Proper tools will improve the quality of installation and reduce the time required.
For black finishes, mild soap may be used to clean the product.
Refer to the table below when securing hardware during the
installation process to help prevent damage to the product or vehicle.
Level of Difficulty
Easy
Parts List
1Driver / left running board
1Passenger / right running board
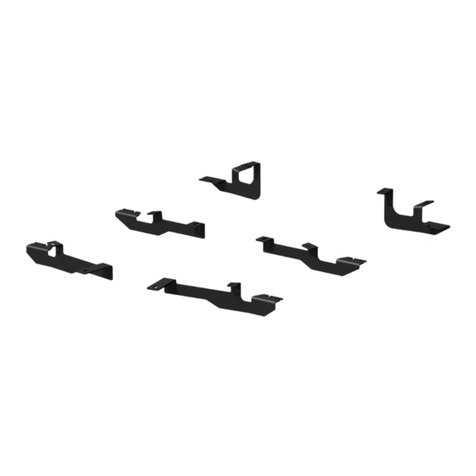
1Driver / left
mounting bracket, front
1Driver / left
mounting bracket, rear
1Passenger / right side
mounting bracket, front 1
1Passenger / right side
mounting bracket, front 2
1Passenger / right side
mounting bracket, middle
2Passenger / right side
mounting bracket, rear
1Thread set tool, M8
3Threaded insert, M8
24 Hex bolts, M8 - 1.25 x 25mm
24 Flat washer, M8
24 Lock washer, M8
10 Clip nuts, M8
2Plastic bolt retainer, M10
2Bolt plate, M10 - 1.50 x 35mm
2Flat washer, M10
2Lock washer, M10
2Hex nut, M10
2Plastic bolt retainer, M12
2Bolt plate, M12 - 1.75 x 40mm
2Flat washer, M12
2Lock washer, M12
2Hex nut, M12
Tools Required
Torque wrench Socket, 13mm
Extension Socket, 16mm
5/16" drill bit Socket, 18mm
7/16" drill bit Flathead
screwdriver
Scan
for helpful
install tips
Front
Rear
INSTALLATION MANUAL 2055126
Torque Specifications
METRIC
M6 bolt 3 ft.-lbs.
SAE
1/4" bolt 3 ft.-lbs.
M8 bolt 7 ft.-lbs. 5/16" bolt 7 ft.-lbs.
M10 bolt 16 ft.-lbs. 3/8" bolt 16 ft.-lbs.
M12 bolt 28 ft.-lbs. 7/16" bolt 20 ft.-lbs.
-- -- 1/2" bolt 28 ft.-lbs.
RidgeStep™
Driver side
Passenger side
ARIESAUTOMOTIVE.COM • NEED ASSISTANCE? • 800.798.0813 • 2055126-INS-RA • PAGE 2
Step 1
Starting on the driver-side, locate
the two mounting points on the
underside of the vehicle.
Step 2
Locate the driver-side front mounting
bracket, remove the hole plug and
insert an M10 bolt plate. Slide a plastic
bolt retainer over the threads of the
bolt plate to hold the bolt plate in place.
Slide an M8 clip nut over
the lower mounting point.
Note: The lower mounting holes may
need to be enlarged to 5/16" to allow
for an M8 hex bolt to fit.
Step 3
Place the front driver-side mounting
bracket over the mounting points.
Secure the top mounting point using
an M10 flat washer, M10 lock washer
and M10 hex nut.
Finish securing the the bracket using
an M8 hex bolt, M8 lock washer and
M8 flat washer.
Snug the hardware,
but do not fully tighten.
PAGE 3 • 2055126-INS-RA • 800.798.0813 • NEED ASSISTANCE? • ARIESAUTOMOTIVE.COM
Step 4
Locate the driver-side rear mounting
point. Insert an M12 bolt plate into the
upper mounting point. Slide a plastic
bolt retainer over the threads of the
bolt plate to hold the bolt plate in place.
Slide an M8 clip nut over
the lower mounting hole.
Place the driver-side rear mounting
bracket over the mounting points
and secure the bracket to the upper
mounting point using an M12 flat
washer, M12 lock washer and M12
hex bolt. Secure the lower mounting
point using an M8 hex bolt, M8 lock
washer and M8 flat washer.
Snug the hardware,
but do not fully tighten.
Note: Some vehicles may require
the lower mounting hole to be drilled.
Mark the location of the lower slot
on the pinch weld and drill a 5/16" hole.
Install the bracket using the supplied M8
clip nut, hex bolt, lock washer
and flat washer, as instructed.
Step 5
Locate the short driver-side running
board. Slide the two C-shaped track
mounting brackets into the rail slots.
Step 6
Carefully place the running board
onto the mounting brackets.
Align the C-shaped track mounting
brackets with the mounting brackets
on the vehicle.
Attach the C-shaped track mounting
brackets to the mounting brackets
using M8 hex bolts, lock washers
and flat washers.
Snug the hardware,
but do not fully tighten.
ARIESAUTOMOTIVE.COM • NEED ASSISTANCE? • 800.798.0813 • 2055126-INS-RA • PAGE 4
Step 8
Repeat steps 2 through 4 to install
the two front mounting brackets.
Step 9
Locate the middle passenger-side
mounting point and remove the
tape covering the mounting holes.
Slide an M8 clip nut in through the
access hole and over the smaller
adjacent hole.
Slide a second M8 clip nut over the
lower mounting hole. Secure the
mounting bracket to the vehicle.
Snug the hardware,
but do not fully tighten.
Step 10a.
Repeat step 9 to install the
fourth and fifth mounting brackets.
Note: On some vehicles, drilling
may be required to install the middle
and two rear mounting brackets.
Step 7
Starting on the passenger side,
locate the five mounting points.
PAGE 5 • 2055126-INS-RA • 800.798.0813 • NEED ASSISTANCE? • ARIESAUTOMOTIVE.COM
Step 10c.
Install the M8 threaded inserts
in the 7/16" holes with the supplied
thread set tool.
Screw the left hand nut completely onto
the thread set tool and slide the metal
spacer onto the larger thread until it rests
against the left hand nut.
Place an M8 flat washer on the small
thread followed by an M8 threaded
insert. Thread the M8 insert onto
the small end of the tool until it seats
the washer against the shoulder
between the M10 and M8 threads.
Step 10b.
If drilling is required, level the
running board using the front
mounting brackets as an anchor point.
Hold the rear brackets in position
against the side of the body panel
and mark the slot locations.
Drill 7/16" holes for the top mounting
location on the middle bracket and
two rear brackets.
Drill 5/16" holes for the lower
mounting locations through
the pinch weld of the vehicle.
1. Passenger / right, middle location
2. Passenger / right, 4th location
3. Passenger / right, 5th location
1
3
2
ARIESAUTOMOTIVE.COM • NEED ASSISTANCE? • 800.798.0813 • 2055126-INS-RA • PAGE 6
Step 11
Locate the long passenger-side running
board. Slide five C-shaped track
mounting brackets into the rail slots.
Repeat steps 6 and 7 to secure the
running board to the mounting brackets.
Snug the hardware,
but do not fully tighten.
Step 12
At this time, adjust the running board
to the desired location.
With the running board in position, it is
recommended to tighten all brackets to
the vehicle first, followed by the running
board connections.
For recommended torque specifications,
refer to the table on page one.
Step 10d.
Place the M8 insert into the 7/16"
drilled hole. Using an open-ended
wrench, hold the left hand nut on
the thread set tool.
With a socket, turn the head of the bolt
clockwise until the left hand nut and
metal spacer contact the M8 washer
and M8 insert. After tension is felt,
carefully compress the insert in the hole
while applying slight pressure to keep it
seated (approximately two full rotations).
WARNING: Over tightening the
insert may damage to the thread set
tool and / or vehicle rocker panel.
Only compress the M8 insert enough
to seat it in the hole without rotating.
Follow steps 8 through 10 to complete
the installation to the two remaining
rear passenger-side brackets.
An M8 clip nut will no longer
be required for the top mounting
location on the rear brackets.
PAGE 7 • 2055126-INS-RA • 800.798.0813 • NEED ASSISTANCE? • ARIESAUTOMOTIVE.COM
Step 14
Congratulations on the installation
of your new ARIES RidgeStep™6 1/2"
running boards.
With the running boards installed,
periodic inspections should be
performed to ensure all mounting
hardware remains tight.
To protect your investment, see the
'Notes and Maintenance' section on
the first page of this instruction manual.

Other Aries Automobile Accessories manuals

Aries 2081205 User manual

Aries

Aries 2081205 User manual

Aries AL235040 User manual

Aries

Aries AL235040 User manual

Aries S224054-2 User manual

Aries

Aries S224054-2 User manual

Aries S223015 User manual

Aries

Aries S223015 User manual

Aries 4499 User manual

Aries

Aries 4499 User manual

Aries 2081101 User manual

Aries

Aries 2081101 User manual

Aries B35-5008 User manual

Aries

Aries B35-5008 User manual

Aries 2156050 User manual

Aries

Aries 2156050 User manual

Aries S224046 User manual

Aries

Aries S224046 User manual

Aries 4504 User manual

Aries

Aries 4504 User manual

Aries 204032 User manual

Aries

Aries 204032 User manual

Aries 2157002 User manual

Aries

Aries 2157002 User manual

Aries 2070450 User manual

Aries

Aries 2070450 User manual

Aries 2074153 User manual

Aries

Aries 2074153 User manual

Aries 2154001 User manual

Aries

Aries 2154001 User manual

Aries 1110311 User manual

Aries

Aries 1110311 User manual

Aries 2074141 User manual

Aries

Aries 2074141 User manual

Aries 25630AB User manual

Aries

Aries 25630AB User manual

Aries 205003 User manual

Aries

Aries 205003 User manual

Aries 3020000 User manual

Aries

Aries 3020000 User manual

Aries S223046-2 User manual

Aries

Aries S223046-2 User manual

Aries 2055117 User manual

Aries

Aries 2055117 User manual

Aries 2051101 User manual

Aries

Aries 2051101 User manual

Aries 2074120 User manual

Aries

Aries 2074120 User manual

Popular Automobile Accessories manuals by other brands

ARB Airlocker RD161 installation guide

ARB

ARB Airlocker RD161 installation guide

Erickson BIG BED JUNIOR quick start guide

Erickson

Erickson BIG BED JUNIOR quick start guide

Aerpro APFIND2 user manual

Aerpro

Aerpro APFIND2 user manual

DV8 MPBR-01 installation manual

DV8

DV8 MPBR-01 installation manual

Vhedia X Series manual

Vhedia

Vhedia X Series manual

Kuda 196550 Installation instruction

Kuda

Kuda 196550 Installation instruction

Akai FMT-06BT operating manual

Akai

Akai FMT-06BT operating manual

Renault Radio Classic manual

Renault

Renault Radio Classic manual

Bolymin BE905A2 user manual

Bolymin

Bolymin BE905A2 user manual

Havis C-DMM-3008 installation instructions

Havis

Havis C-DMM-3008 installation instructions

Expedition One GERI GEN 2 installation guide

Expedition One

Expedition One GERI GEN 2 installation guide

Stag 400 DPI installation guide

Stag

Stag 400 DPI installation guide

TrailFX A7099S quick start guide

TrailFX

TrailFX A7099S quick start guide

Thule 1682 instructions

Thule

Thule 1682 instructions

BENDIX AUTOVUE FLC-20 Service data

BENDIX

BENDIX AUTOVUE FLC-20 Service data

Safe Fleet PRIME DESIGN HBR-E-FT43B manual

Safe Fleet

Safe Fleet PRIME DESIGN HBR-E-FT43B manual

Snow Performance Boost Cooler manual

Snow Performance

Snow Performance Boost Cooler manual

Classic Accessories RV Ladder Cover Instructions & Care

Classic Accessories

Classic Accessories RV Ladder Cover Instructions & Care

manuals.online logo
manuals.online logoBrands
  • About & Mission
  • Contact us
  • Privacy Policy
  • Terms and Conditions

Copyright 2025 Manuals.Online. All Rights Reserved.