manuals.online logo
Brands
  1. Home
  2. •
  3. Brands
  4. •
  5. Aries
  6. •
  7. Automobile Accessories
  8. •
  9. Aries 2164003 User manual

Aries 2164003 User manual

ARIESAUTOMOTIVE.COM •NEED ASSISTANCE? •8 7 7. 2 8 7. 8 6 3 4 •RA •PAGE 1
INSTALLATION MANUAL
Parts List
1Bull bar
1Driver / left mounting bracket
1Passenger / right mounting bracket
4Hex bolt, M8
4Flat washer, M8
4Nylock nut, M8
4Bolt plate, M12
4Flat washer, M12
4Nylock nut, M12
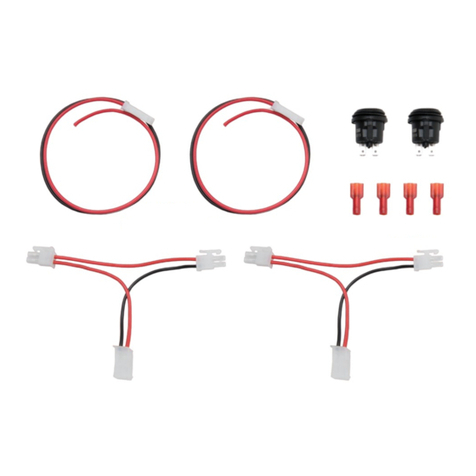
1* LED wiring harness*
* Wiring harness only included
with LED equipped models
Tools Required
Ratchet Extension
Level Wrench set
Socket set -- Maintenance
To protect the product, wax after installing. Regular waxing is recommended
to add a protective layer over the finish. Do not use any type of polish or wax
that may contain abrasives that could damage the finish.
For polished, gloss and other smooth finishes,
polish may be used to clear small scratches and scuffs on the finish.
Mild automotive detergent may be used to clean the product. Do not use dish detergent, abrasive
cleaners, abrasive pads, wire brushes or other similar products that may damage the finish.
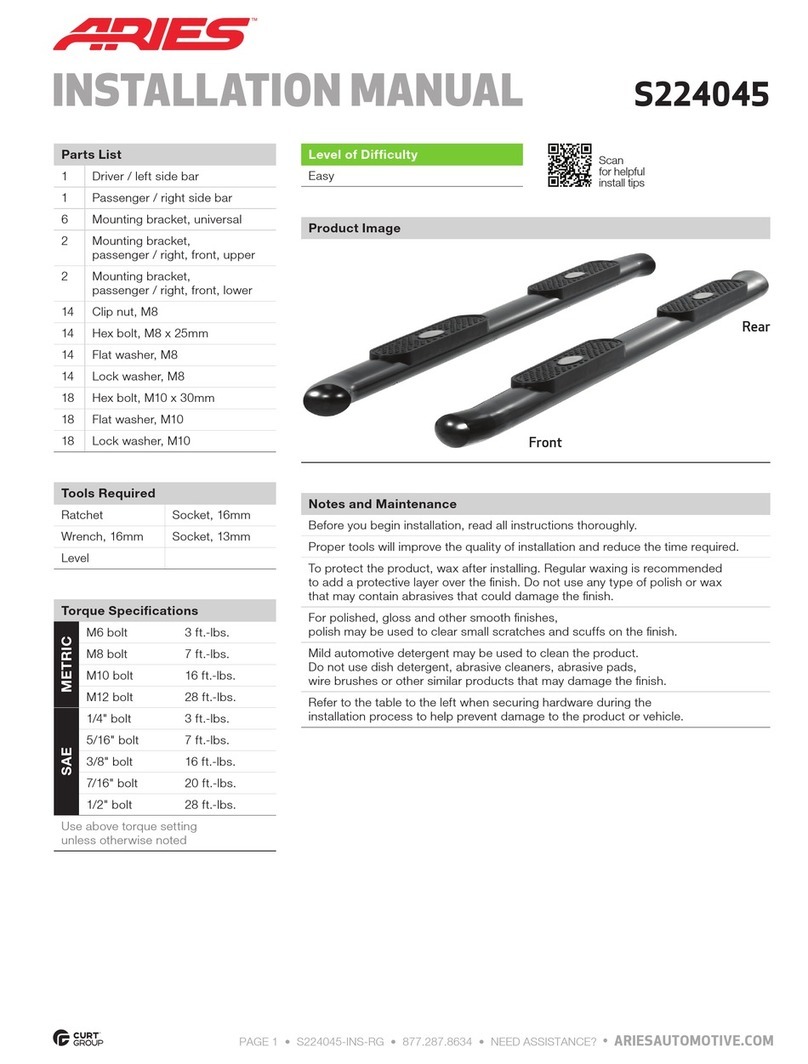
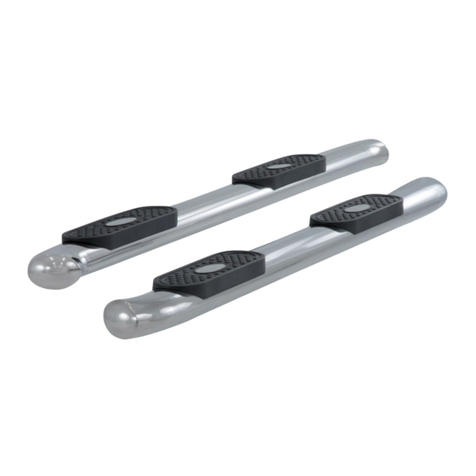
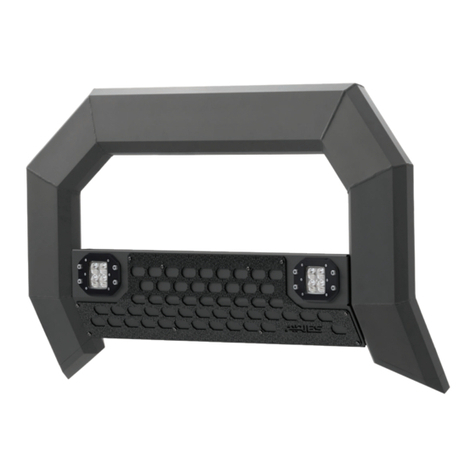
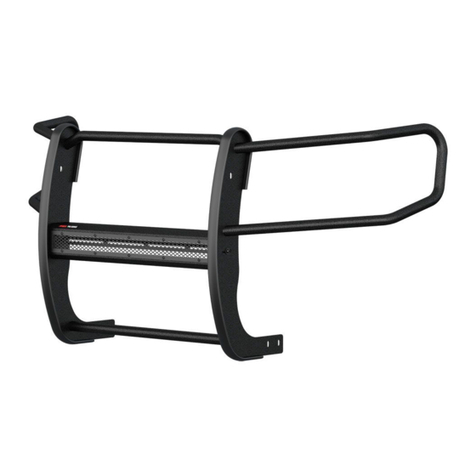
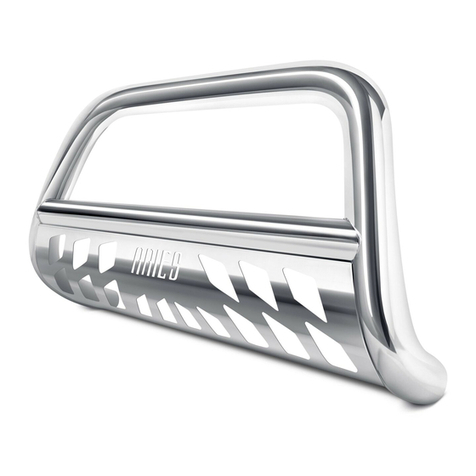
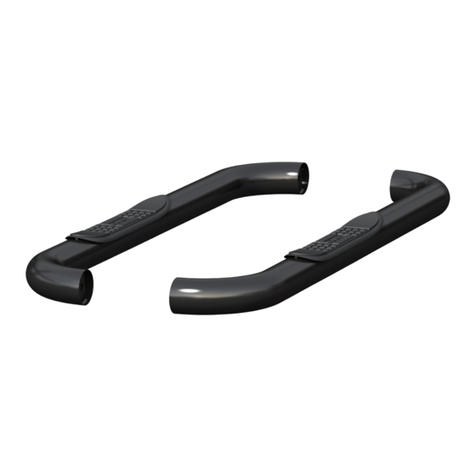
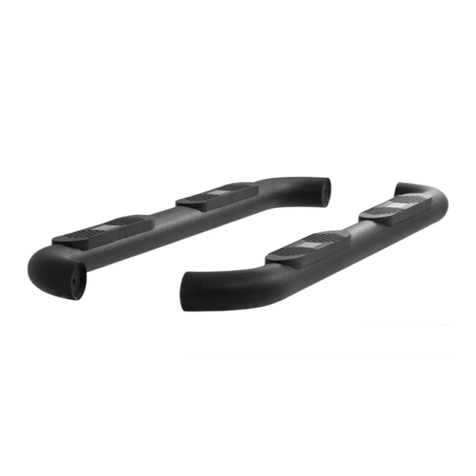
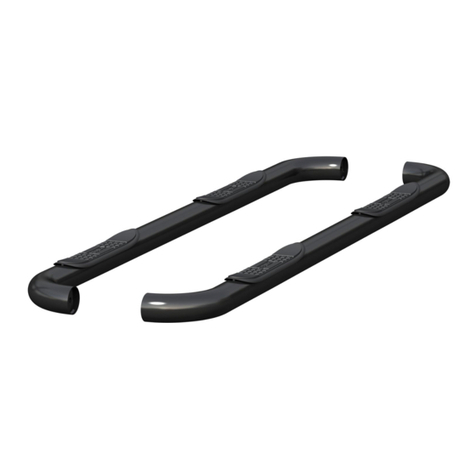
Product Photo
2164003 2164103
Torque Specifications
M8 bolt 7 ft-lbs.
M12 bolt 28 ft-lbs.
Use above torque setting unless otherwise noted
Level of Difficulty
Moderate
NOTICE
Before you begin installation, read all instructions thoroughly.
Proper tools will improve the quality of installation and reduce the time required.
To help prevent damage to the product or vehicle, refer to the specified
torque specifications when securing hardware during the installation process.
Product Registration and Warranty
CURT Group stands behind our products with industry-leading warranties.
Provide feedback and help us to improve our products by registering your purchase at:
warranty.curtgroup.com/surveys
ARIESAUTOMOTIVE.COM •NEED ASSISTANCE? •8 7 7. 2 8 7. 8 6 3 4 •RA •PAGE 2
Step 1
For vehicles without tow hooks, skip to step 2.
Remove and set aside the driver-side and passenger-side tow hooks.
Step 4
With help, lift the bull bar into place and
align the bolts into the mounting brackets.
Secure the bull bar to the brackets
using the M8 flat washers and locking
nuts (Chevrolet - pictured). Snug the
hardware, but do not fully tighten.
Step 2
Place the driver-side mounting bracket
up to the vehicle and secure the bracket
using the supplied M12 hardware. Snug
the hardware, but do not fully tighten.
Chevrolet: Mount the bracket inside the
frame to the outboard wall with flanges bent in.
GMC: Mount the bracket inside the frame to
the inboard wall with flanges bent out (pictured).
Repeat on the passenger side of the vehicle. GMC
Step 3
Lay the bull bar on a flat surface.
Insert two M8 hex bolts on each side
into the inner rail slot (GMC - pictured)
or outer rail slot (Chevrolet).
GMC
Chevrolet
Step 5
Level and adjust the bull bar into the desired
position and tighten all hardware to the
recommended torque specifications
listed on the table on the first page.
ARIESAUTOMOTIVE.COM •NEED ASSISTANCE? •8 7 7. 2 8 7. 8 6 3 4 •RA •PAGE 3
Step 7
Connect the red fused wire with the
ring terminal to the positive battery post.
Connect the black wire ring terminal
to the negative battery post or other
suitable vehicle ground point.
Mount the supplied relay to the vehicle
and secure all wires with zip ties away
from moving parts to avioid damage.
Test the lights to ensure proper function.
Step 6
If your bull bar is not equipped
with lights skip to step 8.
NOTICE
If the LED lights are being used
with a 24V system, the 12V relay will
need to be replaced with a 24V unit.
Disconnect the supplied switch from the
wire harness and install in desired location.
With the switch installed, route the wire
harness to the LED lights and the switch.
Reconnect the blue, red, and black spade
connectors to the switch as shown. The black
wire connects to the gold switch terminal.
Plug the male connector on the wire harness into
the female connector attached to the LED lights
Step 8
Congratulations on the installation of
your new ARIES AdvantEDGE bull bar.
With the bull bar installed, periodic
inspections should be performed to ensure
all mounting hardware remains tight.
To protect your investment, see the
‘Notes and Maintenance’ section on
the first page of this instruction manual.
This manual suits for next models

1

Other Aries Automobile Accessories manuals

Aries 2162000 User manual

Aries

Aries 2162000 User manual

Aries 2081004 User manual

Aries

Aries 2081004 User manual

Aries 25201 User manual

Aries

Aries 25201 User manual

Aries 1500100 User manual

Aries

Aries 1500100 User manual

Aries B35-2004 User manual

Aries

Aries B35-2004 User manual

Aries P35-2004 User manual

Aries

Aries P35-2004 User manual

Aries AL235033 User manual

Aries

Aries AL235033 User manual

Aries B35-2004-3 User manual

Aries

Aries B35-2004-3 User manual

Aries 2169000 User manual

Aries

Aries 2169000 User manual

Aries S223015-2 User manual

Aries

Aries S223015-2 User manual

Aries 2074140 User manual

Aries

Aries 2074140 User manual

Aries 4092 User manual

Aries

Aries 4092 User manual

Aries Avicenum LYMPHO 360 User manual

Aries

Aries Avicenum LYMPHO 360 User manual

Aries 202020 User manual

Aries

Aries 202020 User manual

Aries AL234046 User manual

Aries

Aries AL234046 User manual

Aries P2066 User manual

Aries

Aries P2066 User manual

Aries 2082082 User manual

Aries

Aries 2082082 User manual

Aries 201000 User manual

Aries

Aries 201000 User manual

Aries 203039 User manual

Aries

Aries 203039 User manual

Aries 2154000 User manual

Aries

Aries 2154000 User manual

Aries 209045 User manual

Aries

Aries 209045 User manual

Aries 203046 User manual

Aries

Aries 203046 User manual

Aries 2074141 User manual

Aries

Aries 2074141 User manual

Aries 2156001 User manual

Aries

Aries 2156001 User manual

Popular Automobile Accessories manuals by other brands

Rola RMX430 manual

Rola

Rola RMX430 manual

Tuffy 143 quick start guide

Tuffy

Tuffy 143 quick start guide

Camcar 40126 AL Mounting instructions

Camcar

Camcar 40126 AL Mounting instructions

Bestop 29280 installation instructions

Bestop

Bestop 29280 installation instructions

Rear view safety RVS-770613 Product manual instaliation instructions

Rear view safety

Rear view safety RVS-770613 Product manual instaliation instructions

Metra Electronics 95-2009 installation instructions

Metra Electronics

Metra Electronics 95-2009 installation instructions

Directed Xpresskit DBALL2 installation guide

Directed

Directed Xpresskit DBALL2 installation guide

Cruz Evo Rack E23-170 Assembly instructions

Cruz

Cruz Evo Rack E23-170 Assembly instructions

Vmac VR7000 9037 installation manual

Vmac

Vmac VR7000 9037 installation manual

Connects2 Vision CAM-17 user manual

Connects2

Connects2 Vision CAM-17 user manual

PNEUMATIC KU-CE-DS40-00 installation instructions

PNEUMATIC

PNEUMATIC KU-CE-DS40-00 installation instructions

Lippert Curt 18150 installation manual

Lippert

Lippert Curt 18150 installation manual

Winplus TypeS BT56883 Care & use instructions

Winplus

Winplus TypeS BT56883 Care & use instructions

Racks Brax HD Hitch Series Assembly and mounting instructions

Racks Brax

Racks Brax HD Hitch Series Assembly and mounting instructions

Menabo PRO TOUR INDOOR Fitting instructions

Menabo

Menabo PRO TOUR INDOOR Fitting instructions

Fieryred JT-LT2-UFA 2 user manual

Fieryred

Fieryred JT-LT2-UFA 2 user manual

NEO PODMAZV1 Installation guide and user's manual

NEO

NEO PODMAZV1 Installation guide and user's manual

iDataLink Maestro RR install guide

iDataLink

iDataLink Maestro RR install guide

manuals.online logo
manuals.online logoBrands
  • About & Mission
  • Contact us
  • Privacy Policy
  • Terms and Conditions

Copyright 2025 Manuals.Online. All Rights Reserved.