ASROCK Rack 2U4N-F/X202 User manual
Other ASROCK Rack Computer Hardware manuals
ASROCK Rack
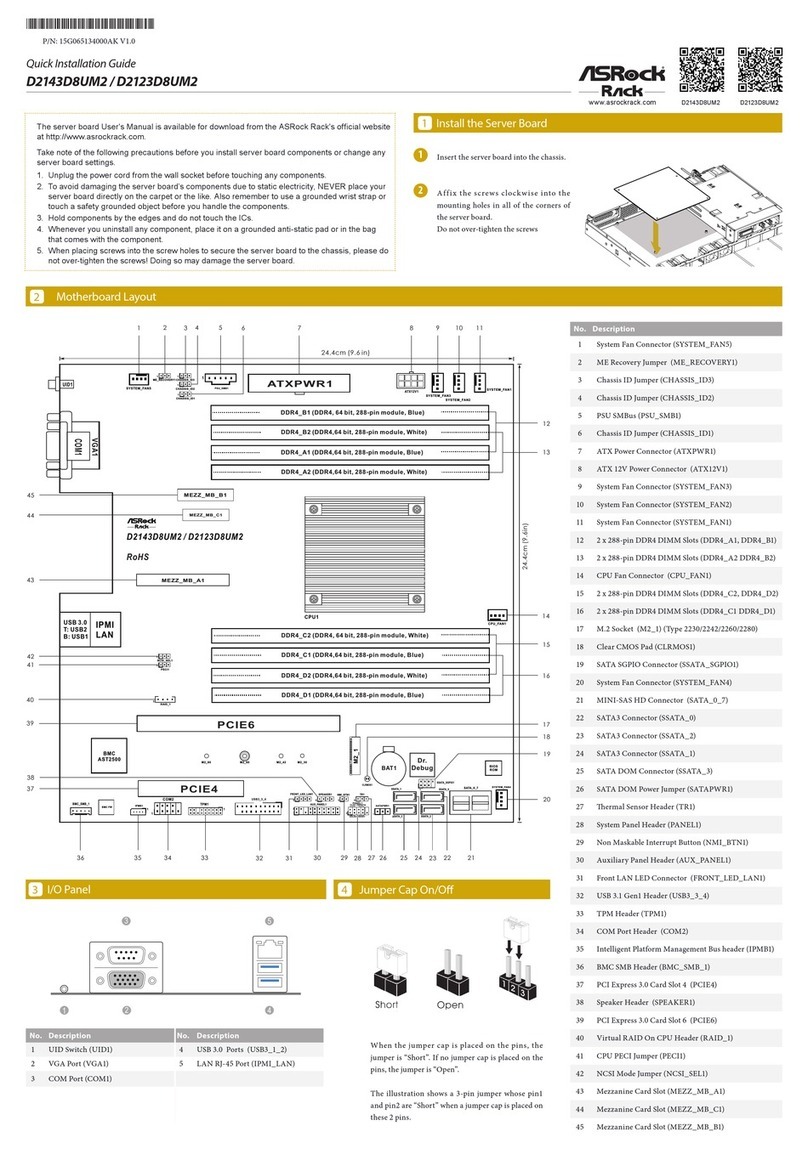
ASROCK Rack D2143D8UM2 User manual
ASROCK Rack
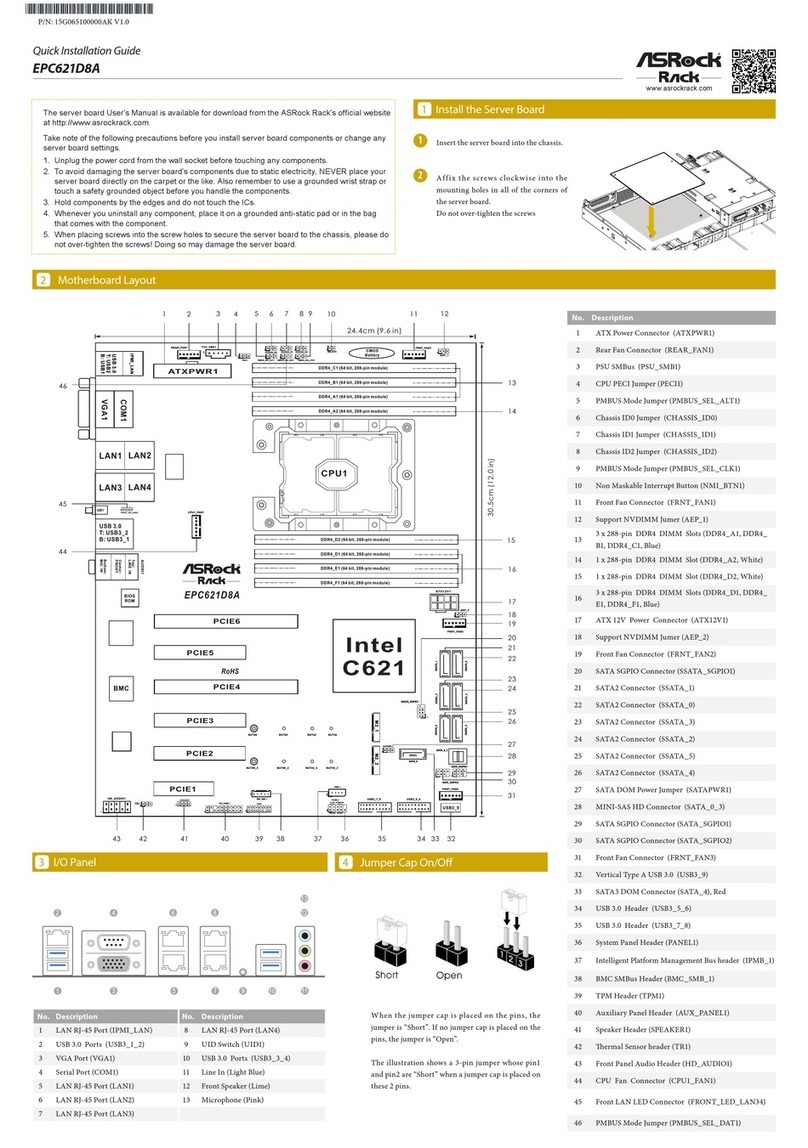
ASROCK Rack EPC621D8A User manual

ASROCK Rack
ASROCK Rack 1U4G-ROME User manual
ASROCK Rack
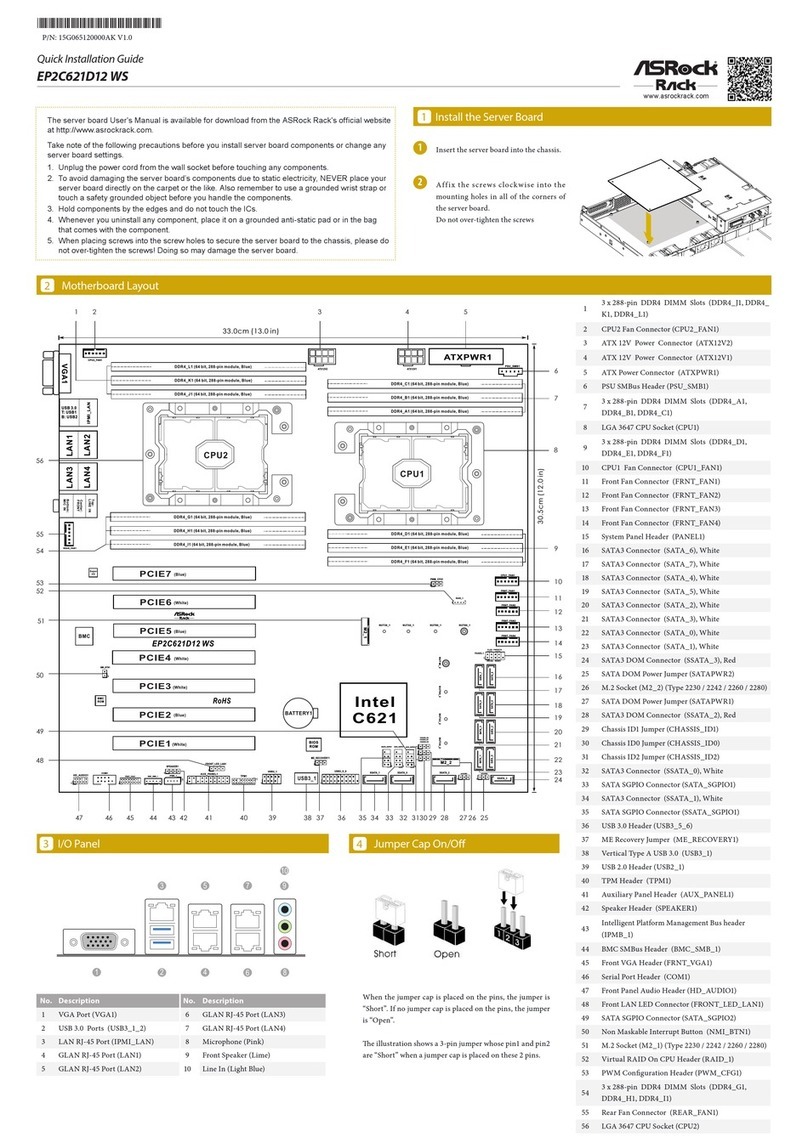
ASROCK Rack EP2C621D12 WS User manual
ASROCK Rack
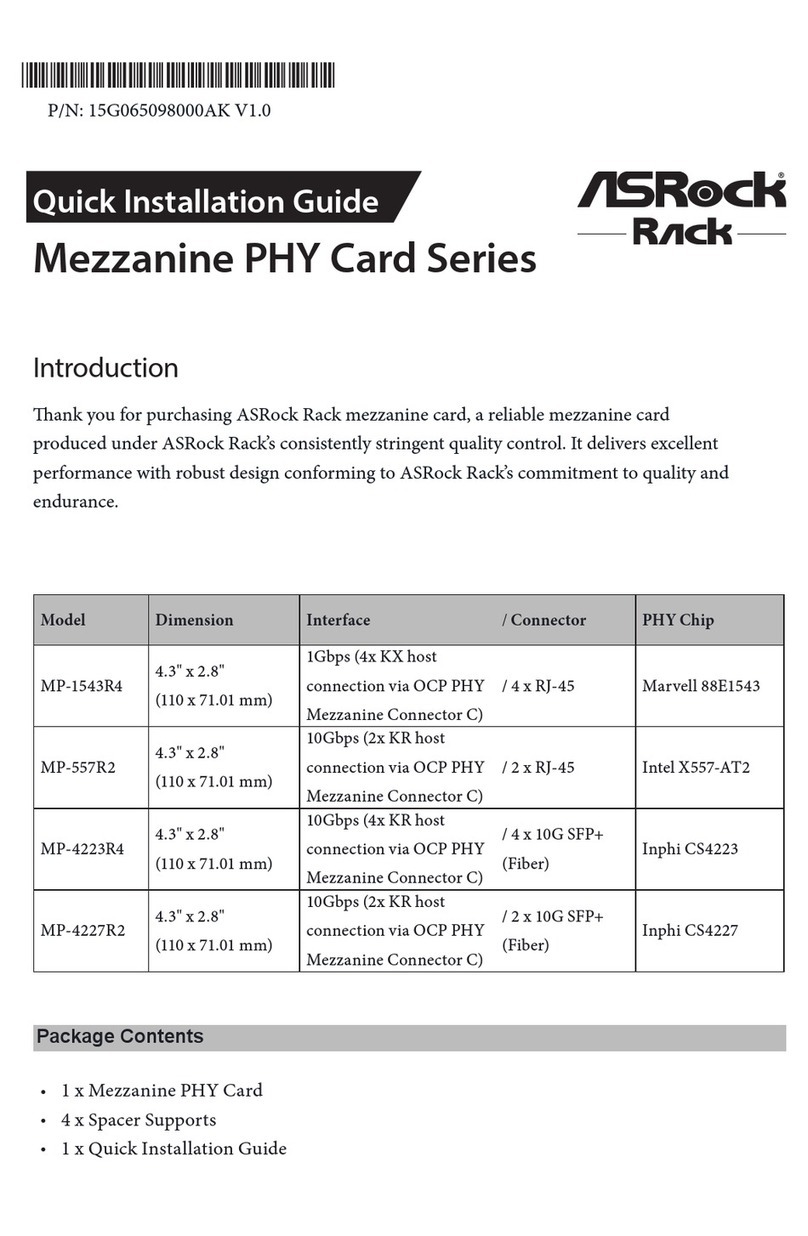
ASROCK Rack MP-1543R4 User manual
ASROCK Rack
ASROCK Rack 1U12XL C622 RPSU User manual
ASROCK Rack
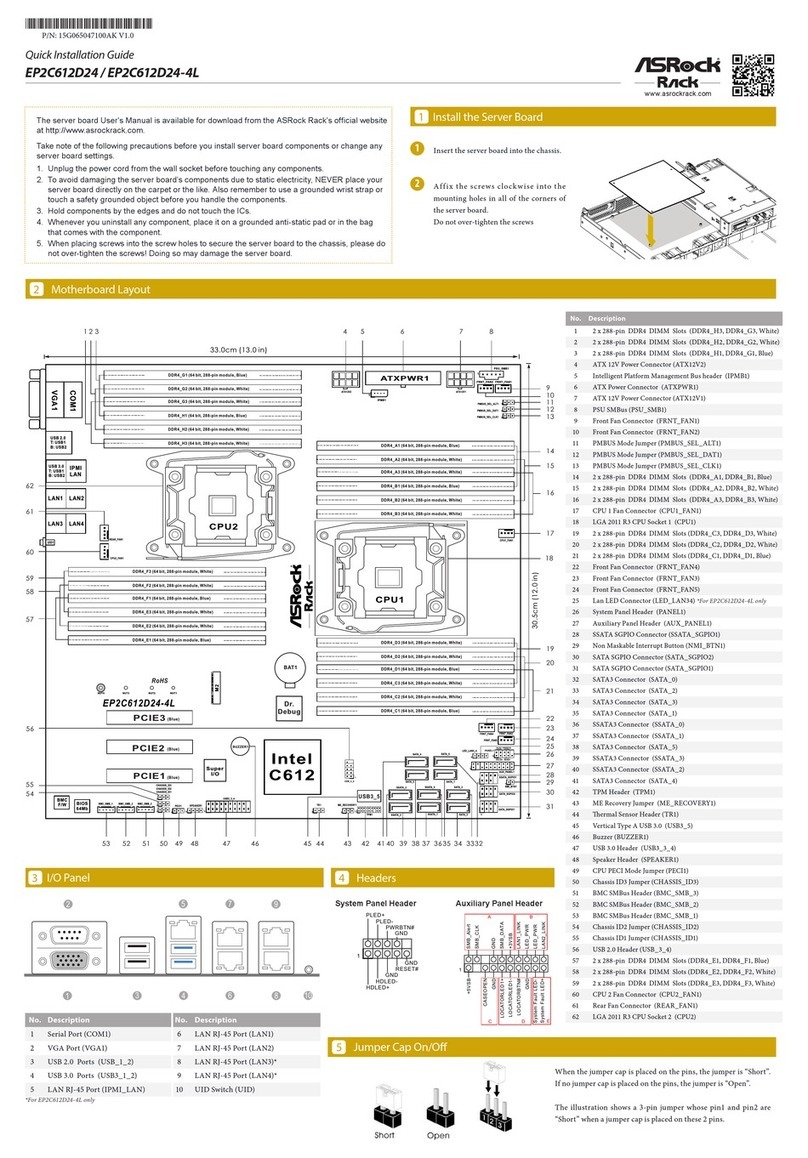
ASROCK Rack EP2C612D24 User manual
ASROCK Rack
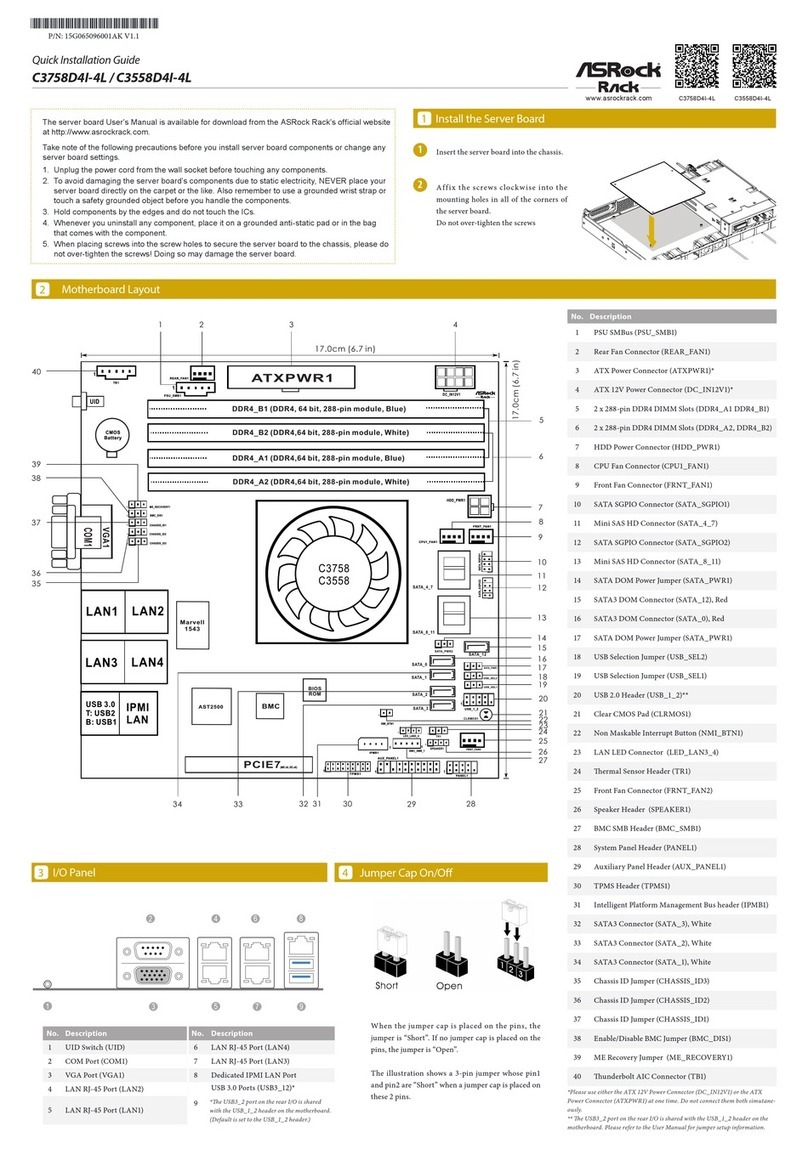
ASROCK Rack C3758D4I-4L User manual

ASROCK Rack
ASROCK Rack EP2C622D16FM User manual
ASROCK Rack
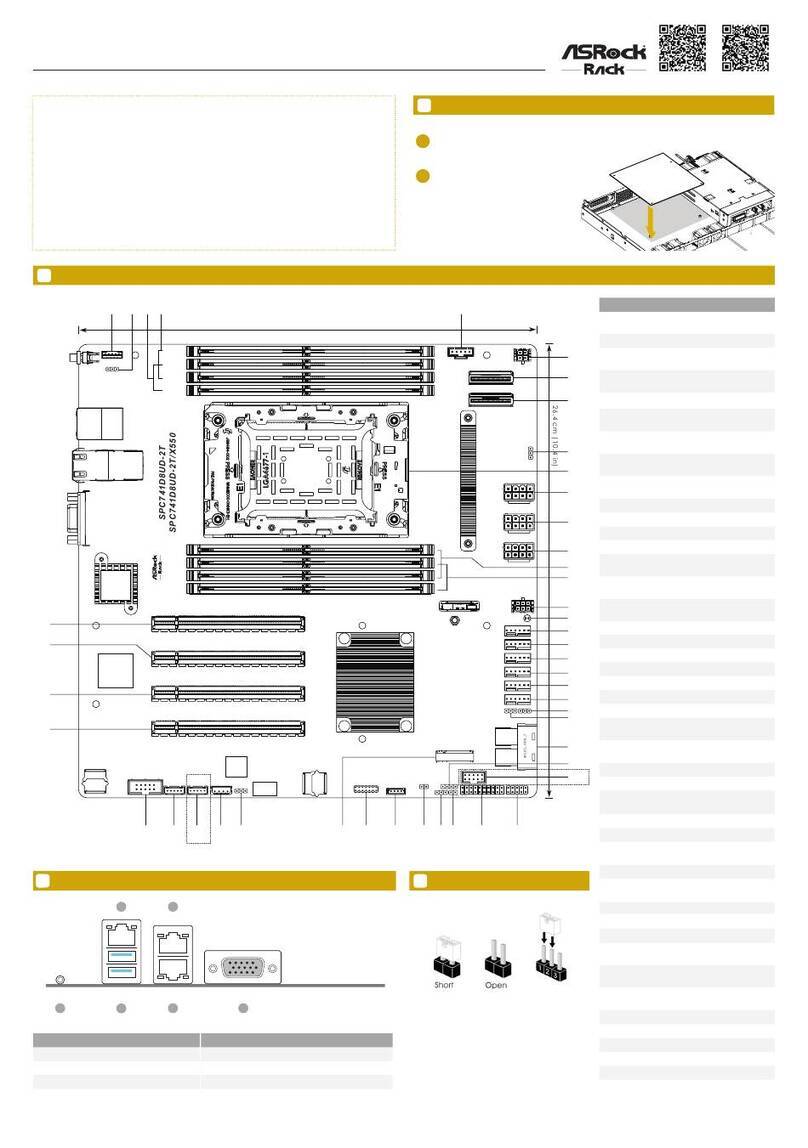
ASROCK Rack SPC741D8UD-2T User manual
Popular Computer Hardware manuals by other brands

EMC2
EMC2 VNX Series Hardware Information Guide

Panasonic
Panasonic DV0PM20105 Operation manual

Mitsubishi Electric
Mitsubishi Electric Q81BD-J61BT11 user manual

Gigabyte
Gigabyte B660M DS3H AX DDR4 user manual

Raidon
Raidon iT2300 Quick installation guide

National Instruments
National Instruments PXI-8186 user manual


