manuals.online logo
Brands
  1. Home
  2. •
  3. Brands
  4. •
  5. ATEN
  6. •
  7. Power Distribution Unit
  8. •
  9. ATEN Altuscn PN5212 User manual

ATEN Altuscn PN5212 User manual

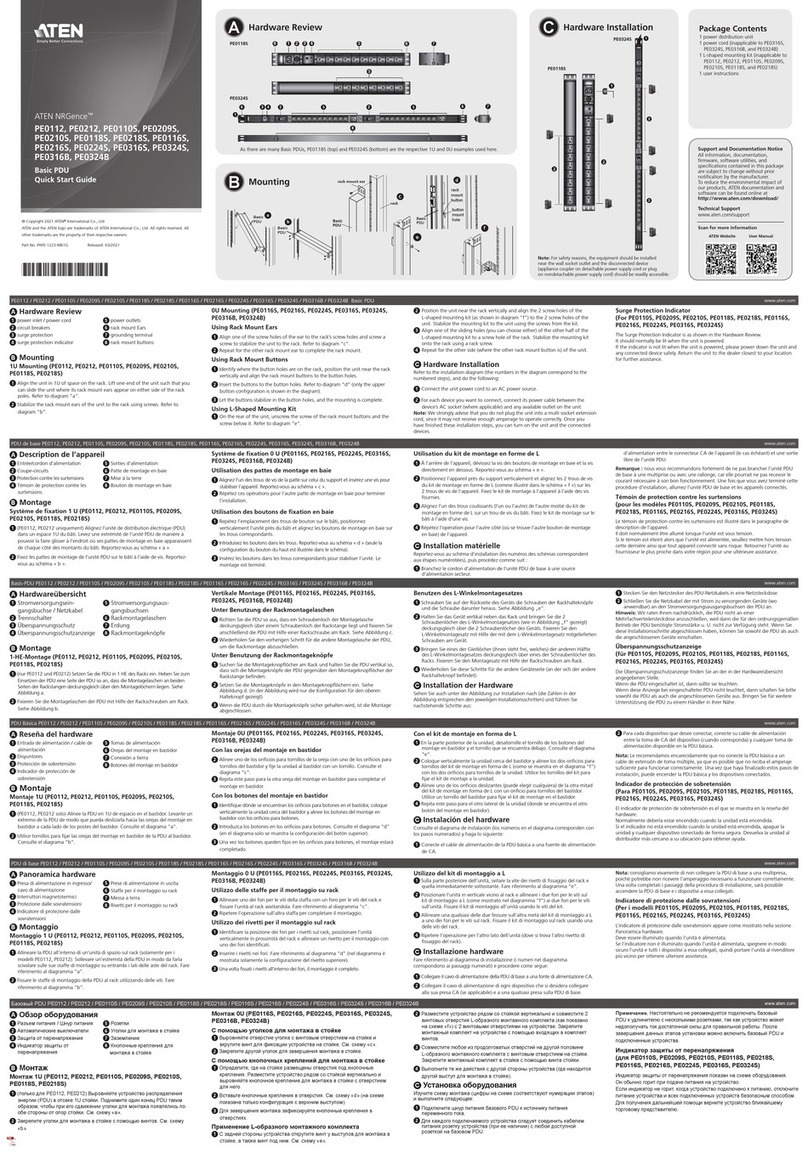
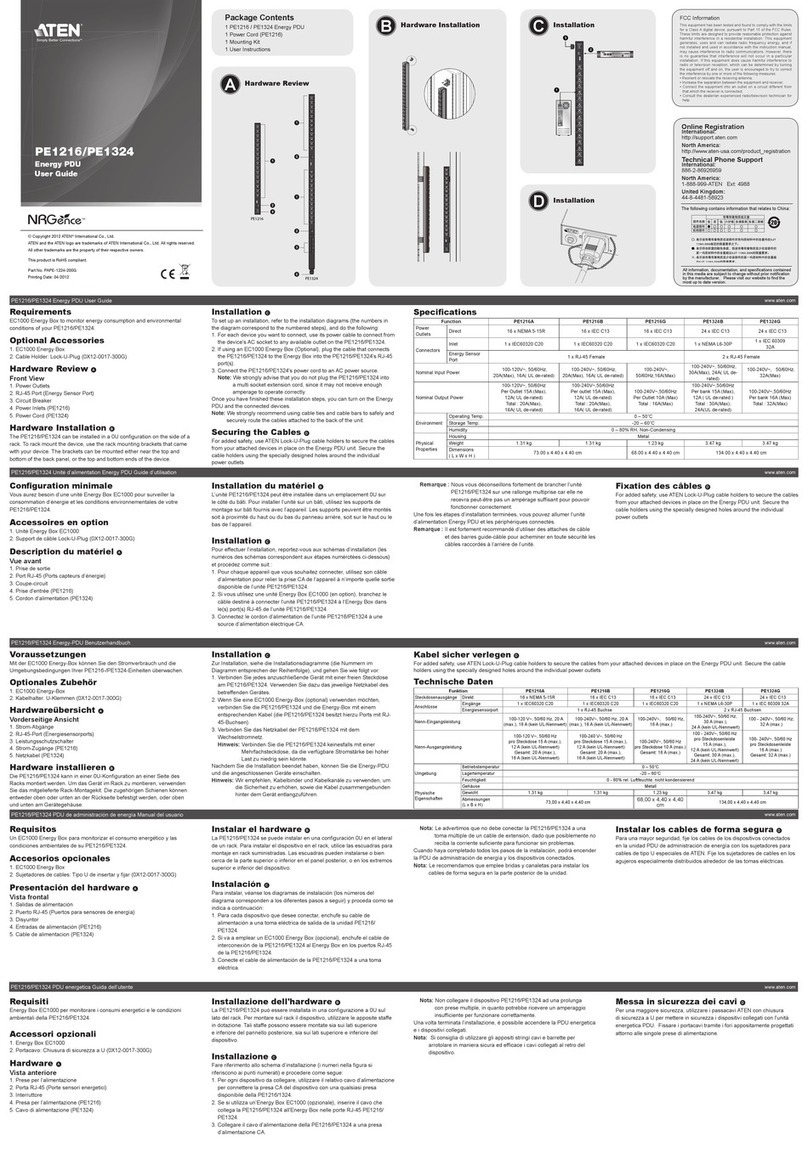
Package Contents
1
3Hardware Review (Port and LED Panel)
The PN5212/PN5320 package consists of:
1 PN5212 or PN5320 Power Distribution Unit
3 Serial Adapters
1 SA0149 (RJ45F to DB9F)
1 SA0150 (RJ45F to DB9M)
1 SA0151 (RJ45F to DB9F)
Single Stage Installation
In a single stage installation, there are no additional PN5212 / PN5320 stations daisy chained down from
the first unit. To set up a single stage installation, refer to the installation diagram (the numbers in the
diagram correspond to the numbered steps), and do the following
1. Use a grounding wire to ground the PN5212 / PN5320 by connecting one end of the wire to its
grounding terminal, and the other end of the wire to a suitable grounded object.
Note: Do not omit this step. Proper grounding helps to prevent damage to the unit from surges or static
electricity.
2. For each device you want to connect, use its power cable to connect from the device's AC socket to
any available outlet on the PN5212 / PN5320.
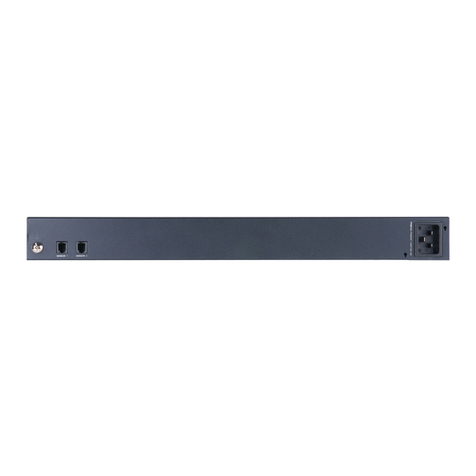
3. Plug the cable that connects the PN5212 / PN5320 to the LAN into the PN5212 / PN5320's LAN port.
4. (Optional) If you wish to use a console terminal connection, use Cat 5e cable to connect the PN5212 /
PN5320’s PON IN/Console port to the SA0151(DTE) adapter supplied with your package. Connect
the adapter’s serial connector to the COM port of the computer you will use for the console terminal.
5. Connect the PN5212/PN5320’s power cord to an AC power source.
Note: We strongly advise that you do not plug the PN5212/PN5320 into a multi socket extension cord,
since it may not receive enough amperage to operate correctly.
Once you have finished these installation steps, you can turn on the PN5212 / PN5320 and the connected
devices.
Note: We strongly recommend using cable ties and cable bars to safely and securely route the cables
attached to the back of the unit.
Hardware Installation
5-2
Rack Mounting
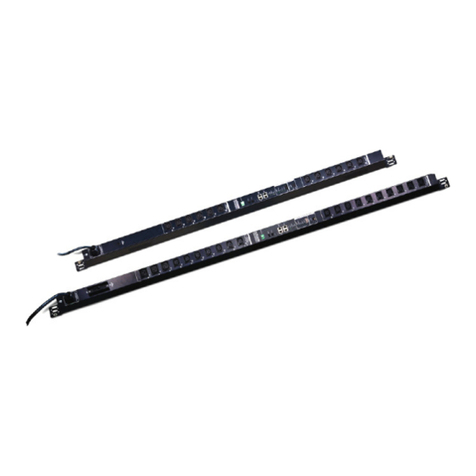
The PN5212 / PN5320 can be installed in a 0U configuration on the side of a rack. To rack mount
the device, use the rack mounting brackets that came with your device.
1. The brackets can be mounted either on the back panel, or the top and bottom of the device.
2. L bracket, mounting style 1 3. L bracket, mounting style 2
4. Z bracket, mounting style 1,
front and rear view.
5-1 Hardware Installation
1. Station Selection
2. Readout Section
3. Status LEDs and Reset Switch
4. LAN Port
5. PON Out Port
6. RS-232/RS-485 Switch
7. PON In / Console Port
• Browsers accessing the PN5212 / PN5320 must support SSL 128 bit encryption.
• For cold booting of attached computers, the computer's BIOS must support Wake on LAN or
System after AC Back.
• For Safe Shutdown:
• The computer must be running Windows (Windows 2000 or higher), Linux.
• The safe shutdown AP (available by download from our website or from the software CD
included), must be installed and running on the computer
PN5212/PN5320 Power Distribution Unit
Quick Start Guide
© Copyright 2011 ATEN®International Co., Ltd. www.aten.com
Altusen and the Altusen logo are trademarks of ATEN International Co., Ltd.
All rights reserved. All other trademarks are the property of their respective owners.
This product is RoHS compliant PAPE-1215-401G Printing Date: 07/2011
Online Registration
International:
• http://support.aten.com
North America:
• http://www.aten-usa.com/product_registration
Technical Phone Support
International:
• 886-2-86926959
China:
• 86-10-5255-0110
Japan:
• 81-3-5323-7178
Korea:
• 82-2-467-6789
North America:
• 1-888-999-ATEN (ATEN TECH)
• 1-732-356-1703 (ATEN NJ)
United Kingdom:
• 44-8-4481-58923
Requirements
4
2 Rack Mount Kit
1 Grounding Wire
1 User Manual
1 Quick Start Guide
1 Software CD
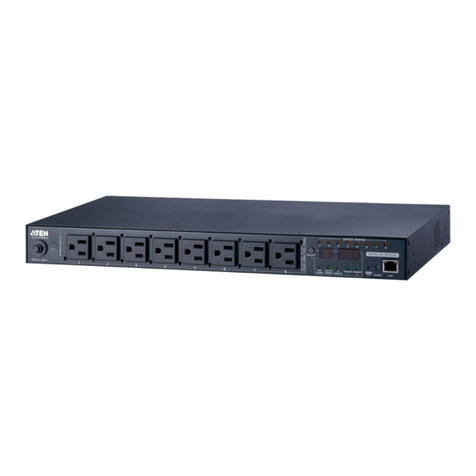
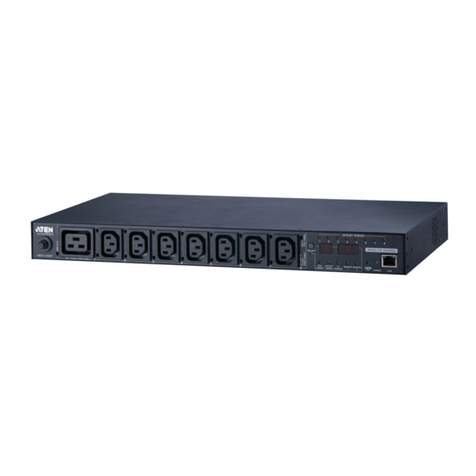
Note: The Front View diagram depicts a PN5320. The PN5212 is basically the same, except there are
only 12 AC power sockets (6 on each side of the Port and LED panel), and all the sockets are
NEMA 5-15R or IEC320 C13. There are no NEMA 5-20R or IEC320 C19 sockets
1. Power Sockets (17 x NEMA 5-15R or 17 x IEC C13)
2. Port and LED Panel
3. Power Sockets (3 x NEMA5-20R or 3 x IEC C 19)
4. Circuit Breaker
5. Grounding Terminal
6. Power Cord
Hardware Review (Front View)
2
PN5320 - NEMA
PN5320 - IEC
1 2 3 4 5 6
7
3
5
4
2
1
SA0151
(DTE)
5. Z bracket, mounting style 2
1 3 1 4 5 622
5-3 Operation
6-2
Daisy Chaining
To manage even more outlets from the same single
session as a standalone PN5212/PN5320, additional
Power Over the NET™ switches can be daisy
chained.
Note: The maximum distance between any two
Power Over the NET™ switches must not
exceed 15 m; the total distance from the first
station to the last must not exceed 100 m.
Super Administrator Setup
First Time Setup
Once the PN5212 / PN5320 installation has been cabled up, the next tasks the Administrator needs to
perform involve configuring the network parameters, changing the default Super Administrator login
settings, and adding users.
The easiest way to accomplish this is to log in over the Net with a browser.
Browser Login
The PN5212 / PN5320 can be accessed via a supported Internet browser from any platform.
Note: Browsers must support SSL 128 bit encryption.
To access the PN5212 / PN5320 do the following:
1. Open your browser and specify the IP address of the PN5212 / PN5320 you want to access in the
browser's URL location bar. If you don't know the IP address, get it from the PN5212 / PN5320
administrator. If you are the administrator and are logging in for the first time, use the default IP
address of 198.162.0.60.
Note: You must be on the same network segment as the PN5212 / PN5320 to use the default IP
address.
2. If a Security Alert dialog box appears, accept the certificate - it can be trusted. The Login page
appears:
3. Provide a valid Username and Password (set by the PN5212 / PN5320 administrator), then click
Login to bring up the browser Main Page.
If you are the administrator and are logging in for the first time, use the default Username:
administrator; and the default Password: password.
Note: For security purposes we recommend changing them to something unique.
Network Configuration
To set up the network, do the following:
1. Click the Device Management tab.
2. Select Network on the menu bar. A screen similar to the one below appears:
Changing the Administrator Login
To change the default Super Administrator username and password, do the following:
1. Click the User Management tab.
2. Click administrator in the Sidebar.
3. Change the Username and Password to something unique.
4. Re-enter the password to confirm it is correct.
5. Click Save.
6. When the dialog box informing you that the change completed successfully appears, Click OK.
Operation
6-3
Specifications
7
Hardware Installation
6-1 Operation
Function PN5212 PN5320
Power Outlets Direct 12 20
Max 192 (via Daisy Chain) 320 (via Daisy Chain)
Connectors
Power Inlets NEMA 1 x NEMA L5-20P 1 x NEMA L5-30P
IEC 1 x IEC 60309 1 x IEC 60309
Power Outlets NEMA 12 x NEMA 5-15R 3 x NEMA 5-20R 17 x NEMA 5-15R
IEC 12 x IEC320 C13 3 x IEC320 C19 17 x IEC320 C13
PON In / Console 1 x RJ-45 (F)
PON Out 1 x RJ-45 (F)
LAN 1 x RJ-45 (F)
LEDs
ID 1 x 2-digit 7-segment
Station 1 x Green
Readout 1 x 3-digit 7-segment
Current 1 x Green
Voltage 1 x Green
Power 1 x Green
I/P Rating (Total
Input)
NEMA (UL) 100-120V; 50/60Hz; 16A 100-120V; 50/60Hz; 24A
NEMA (PSE) 100-120V; 50/60Hz; 16A 100-120V; 50/60Hz; 24A
IEC 200-240V; 50/60Hz; 16A 200-240V; 50/60Hz; 32A
Load Capacity
NEMA (UL) 120V; 50/60Hz; 1920W 120V; 50/60Hz; 2880W
NEMA (PSE) 120V; 50/60Hz; 1920W 120V; 50/60Hz; 2880W
IEC 230V; 50/60Hz; 3680W 230V; 50/60Hz; 7360W
O/P
Rating
Per Port
NEMA (UL) 100-120V; 50/60Hz; 12A 100-120V; 50/60Hz; 16A (x3) / 12A (x17)
NEMA (PSE) 100-120V; 50/60Hz; 12A 100-120V; 50/60Hz; 16A (x3) / 12A (x17)
IEC 200-240V; 50/60Hz; 10A 200-240V; 50/60Hz; 16A (x3) / 10A (x17)
Total
NEMA (UL) 100-120V; 50/60Hz; 15A 100-120V; 50/60Hz; 23A
NEMA (PSE) 100-120V; 50/60Hz; 15A 100-120V; 50/60Hz; 23A
IEC 200-240V; 50/60Hz; 15A 200-240V; 50/60Hz; 31A
Power
Consumption
NEMA (UL / PSE) 120V; 50/60Hz; 16W 120V; 50/60Hz; 22W
IEC 230V; 50/60Hz; 18W 230V; 50/60Hz; 26W
Environment
Operating Temperature 0–50oC
Storage Temperature -20–60oC
Humidity 0 ~ 80% RH Non-condensing
Physical
Properties
Housing Metal
Weight 4.49 kg 5.68 kg
Dimensions (L x W x H) 6.42 x 5.46 x 134 cm 6.42 x 5.46 x 167.64 cm
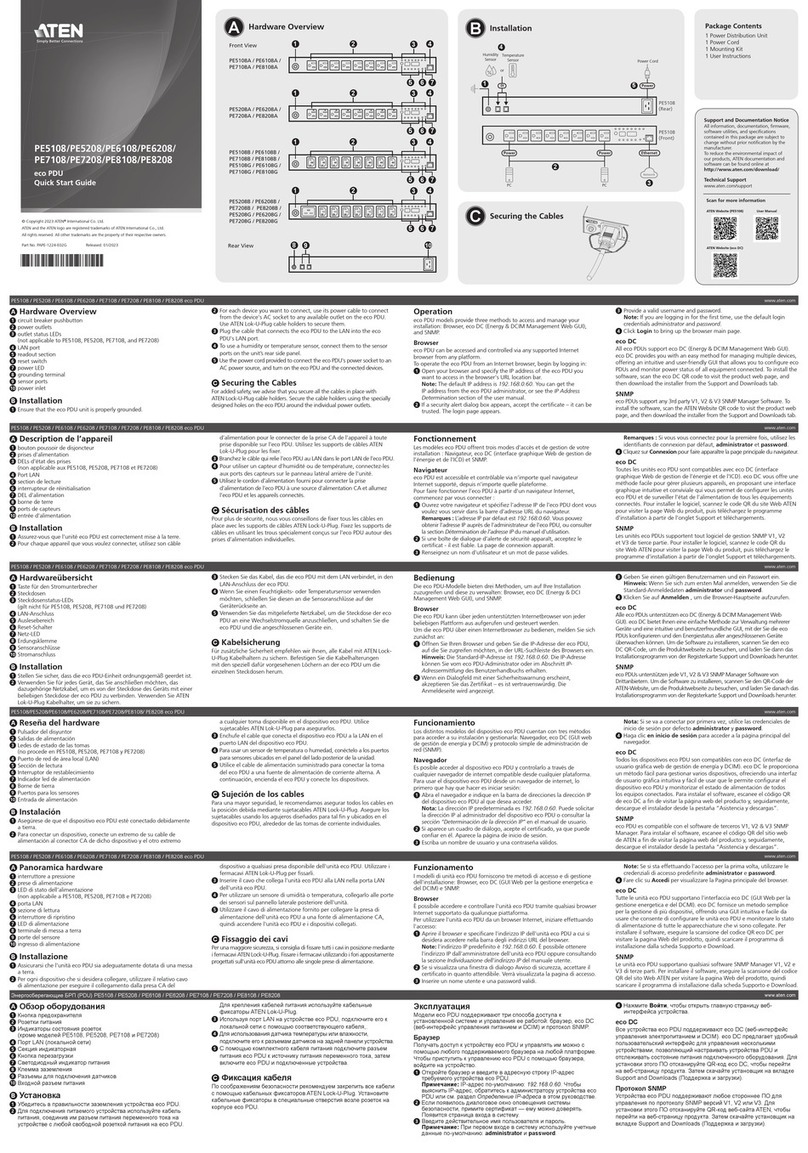
Other manuals for Altuscn PN5212

1

This manual suits for next models

1

Other ATEN Power Distribution Unit manuals

ATEN NRGence PE5-8108 User manual

ATEN

ATEN NRGence PE5-8108 User manual

ATEN PG Series User manual

ATEN

ATEN PG Series User manual

ATEN NRGence PE5221T User manual

ATEN

ATEN NRGence PE5221T User manual

ATEN NRGence PE Series User manual

ATEN

ATEN NRGence PE Series User manual

ATEN NRGence PE5108 User manual

ATEN

ATEN NRGence PE5108 User manual

ATEN ALTUSEN PE1108 User manual

ATEN

ATEN ALTUSEN PE1108 User manual

ATEN NRGence PE0112 User manual

ATEN

ATEN NRGence PE0112 User manual

ATEN PE Series User manual

ATEN

ATEN PE Series User manual

ATEN PE5216 User manual

ATEN

ATEN PE5216 User manual

ATEN Altuscn PN5212 User manual

ATEN

ATEN Altuscn PN5212 User manual

ATEN PE1107mZ User manual

ATEN

ATEN PE1107mZ User manual

ATEN eco PDU PE5216 User manual

ATEN

ATEN eco PDU PE5216 User manual

ATEN Altusen PN7212 User manual

ATEN

ATEN Altusen PN7212 User manual

ATEN PE7216r User manual

ATEN

ATEN PE7216r User manual

ATEN eco PDU PE Series User manual

ATEN

ATEN eco PDU PE Series User manual

ATEN NRGence PE5108 User manual

ATEN

ATEN NRGence PE5108 User manual

ATEN PE7216 User manual

ATEN

ATEN PE7216 User manual

ATEN PE7216 User manual

ATEN

ATEN PE7216 User manual

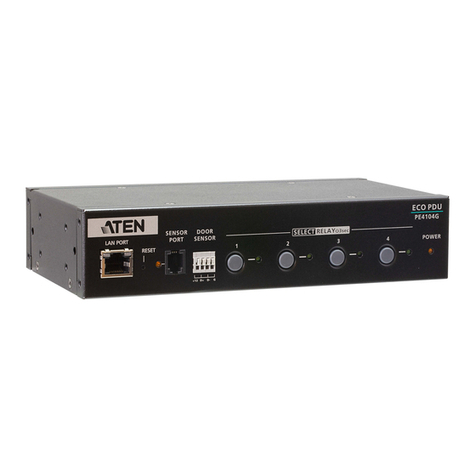
ATEN PE4104G User manual

ATEN

ATEN PE4104G User manual

ATEN PE7216 User manual

ATEN

ATEN PE7216 User manual

ATEN PG98230 Series User manual

ATEN

ATEN PG98230 Series User manual

ATEN NRGence PE5-8108 User manual

ATEN

ATEN NRGence PE5-8108 User manual

ATEN ALTUSEN PE6108 User manual

ATEN

ATEN ALTUSEN PE6108 User manual

ATEN PE5220s User manual

ATEN

ATEN PE5220s User manual

Popular Power Distribution Unit manuals by other brands

Racktivity PM0816-01 user manual

Racktivity

Racktivity PM0816-01 user manual

Gewiss 40 CD Series manual

Gewiss

Gewiss 40 CD Series manual

Atlas AP-S15HR owner's manual

Atlas

Atlas AP-S15HR owner's manual

SC&T PD009 user manual

SC&T

SC&T PD009 user manual

Xtreme Power Conversion XBDM User & installation manual

Xtreme Power Conversion

Xtreme Power Conversion XBDM User & installation manual

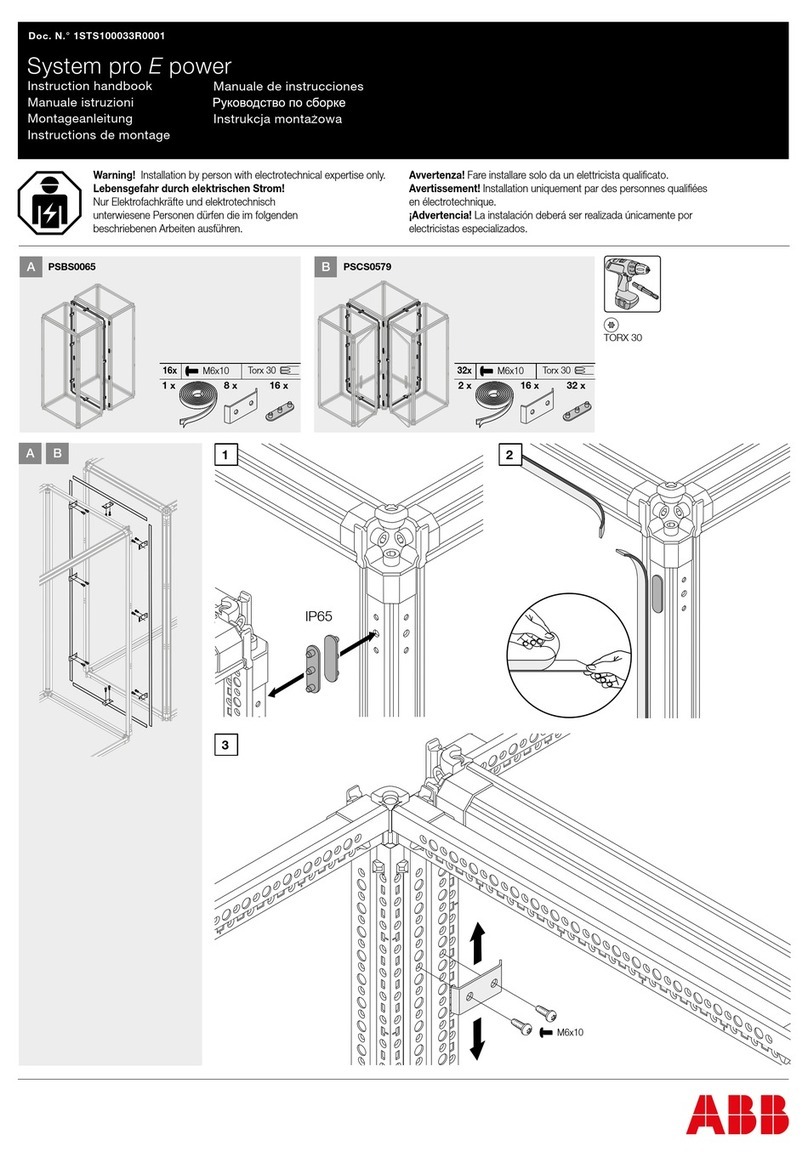
ABB pro E power PPIM0101 Instruction handbook

ABB

ABB pro E power PPIM0101 Instruction handbook

Pulizzi IPC34XX-NET Series Specifications

Pulizzi

Pulizzi IPC34XX-NET Series Specifications

Transtector AC Edge 240 installation manual

Transtector

Transtector AC Edge 240 installation manual

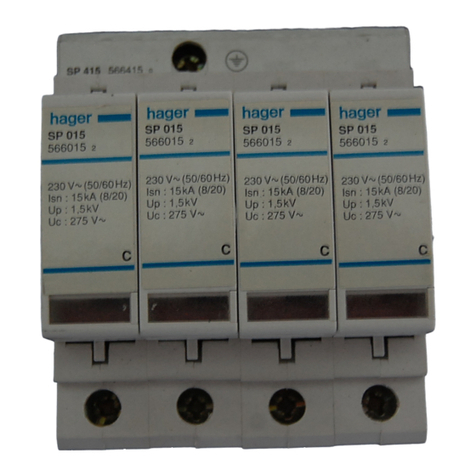
hager univers FZ721A Mounting instructions

hager

hager univers FZ721A Mounting instructions

Eaton Powerware 9390 Installation and operation manual

Eaton

Eaton Powerware 9390 Installation and operation manual

YOKOGAWA YEWSERIES 80 SDBS (Style S) user manual

YOKOGAWA

YOKOGAWA YEWSERIES 80 SDBS (Style S) user manual

LynxNet LN-2400 DH installation manual

LynxNet

LynxNet LN-2400 DH installation manual

Dataprobe sBB-N15 Installation and operations

Dataprobe

Dataprobe sBB-N15 Installation and operations

Schulte Elektrotechnik EVOline Port 1129 Operating and assembly instructions

Schulte Elektrotechnik

Schulte Elektrotechnik EVOline Port 1129 Operating and assembly instructions

Shure PA411 user guide

Shure

Shure PA411 user guide

ABB Relion REQ650 Commissioning manual

ABB

ABB Relion REQ650 Commissioning manual

Base LV-8RS-N Installation and operation manual

Base

Base LV-8RS-N Installation and operation manual

Planet Networking & Communication IPM-16120 user manual

Planet Networking & Communication

Planet Networking & Communication IPM-16120 user manual

manuals.online logo
manuals.online logoBrands
  • About & Mission
  • Contact us
  • Privacy Policy
  • Terms and Conditions

Copyright 2025 Manuals.Online. All Rights Reserved.