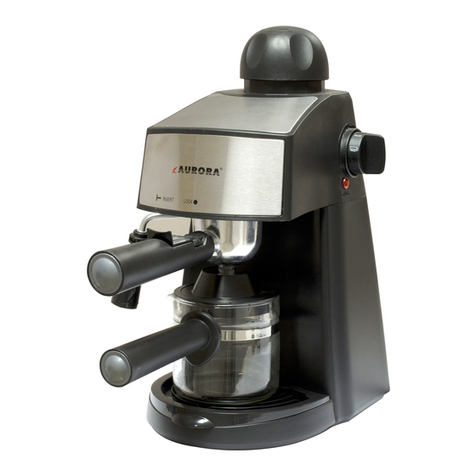
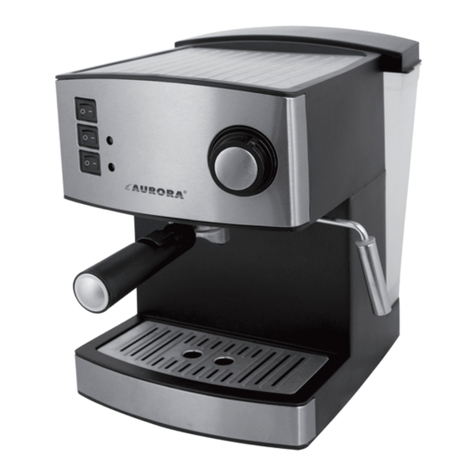
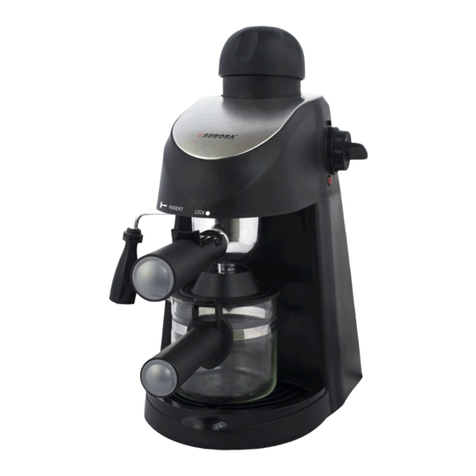
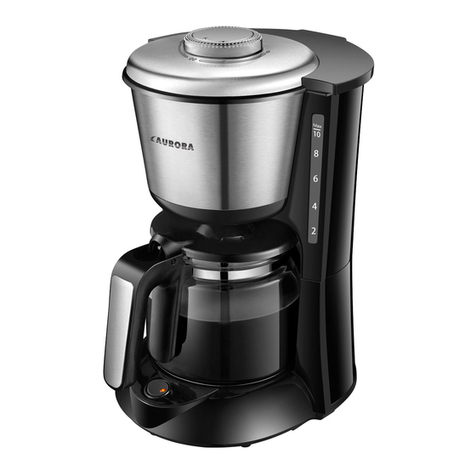
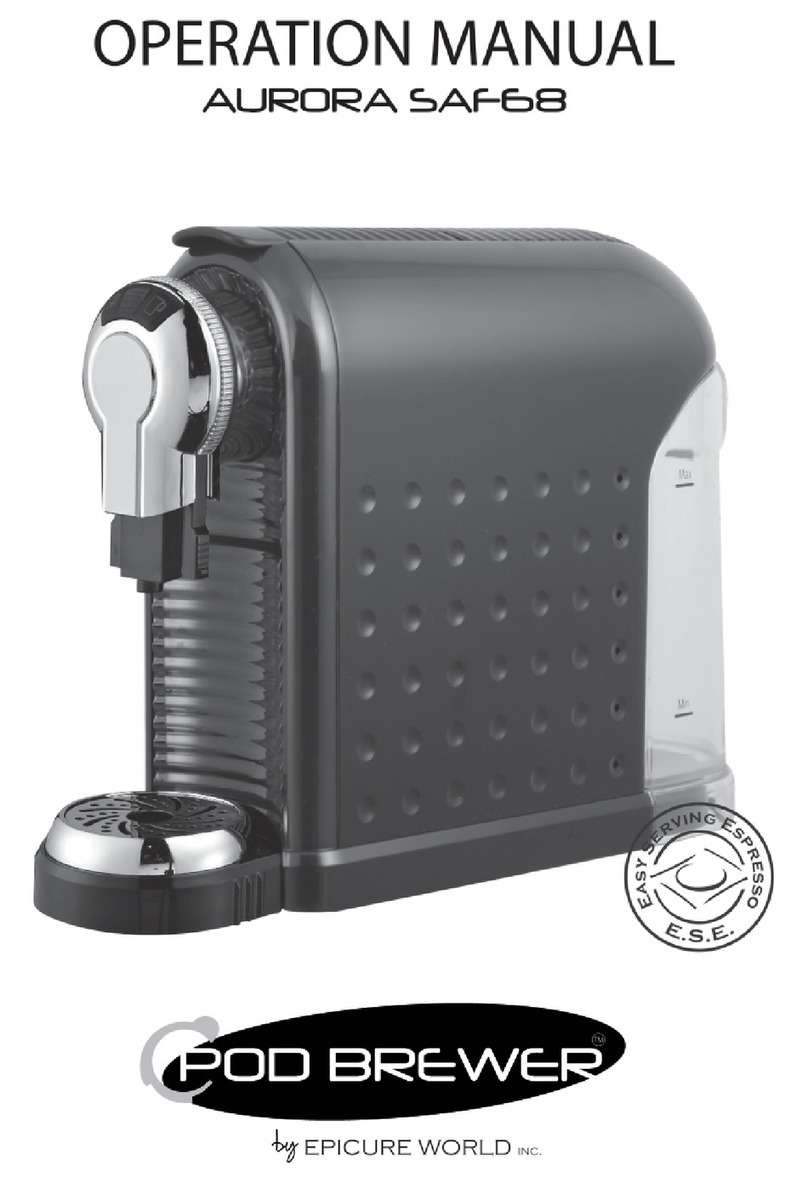
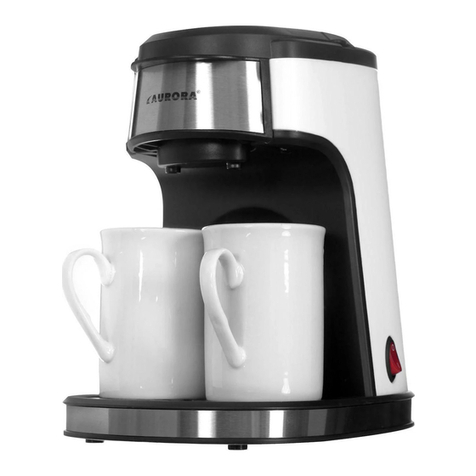
Aurora AUR002 User manual

Aurora user manual
Manual de instrucciones
Manuel d’utilisation Aurora
AUR002

When using electrical appliances, basic safety precautions
should always be followed to reduce the risk of fire, electric
shock, and/or injury to persons including the following:
1. Read instructions.
2. Keep the appliance cord out of reach of children.
3. This appliance can be used by children aged 8 and above
and persons with reduced physical, sensory or mental
capabilities or lack of experience of knowledge if they
have been given supervision or instruction concerning
use of the appliance in a safe way and understand
the hazards involved. Children shall not play with this
appliance. Cleaning and user maintenance shall not be
carried out by children without supervision.
4. Install the appliance according to the installation
instructions in this user manual and in accordance with
local regulations.
5. Use on a flat heat resistance surface.
6. Use in a well ventilated area. This appliance emits hot
steam.
7. Ensure the voltage on the appliance rating plate
corresponds to that of the mains electricity.
8. Never place the appliance on or close to sources of heat
or very damp places.
9. Ensure that the power cord does not come into contact
with hot surfaces.
10. NEVER PLACE THE APPLIANCE BODY, PLUG OR POWER
CORD IN WATER OR OTHER LIQUIDS; ALWAYS WIPE
CLEAN WITH A DAMP CLOTH.
11. Always ensure that your hands are thoroughly dry before
using or adjusting the switches on the appliance, or
before touching the power plug or power connections.
12. Do not obstruct the ventilation on the sides of the
appliance.
13. This product is intended to filter tap water only. Do
not put water of unknown quality or that has been
microbiologically impaired into the product without
adequate disinfection before or after the system. Use
only cold or room temperature water.
14. Consume filtered water within three days.
15. Always attach plug to appliance first, then plug cord into
the wall outlet. To disconnect, turn any control to the o
position, then remove plug from wall outlet.
16. Never use the appliance if the power cord or plug are
damaged or if the appliance itself is faulty.
17. Any changes to this product that have not been expressly
authorized by the manufacturer may lead to the user’s
guarantee being rendered null and void.
18. Packaging must never be left within the reach of children
since it is potentially dangerous.
19. This appliance is designed for filtering, chilling and heating
Tank Lid
Control panel
Watertank
handle
Dispensing
outlet
Drip tray
plate
Drip tray
Internal
chilled water
tank (27fl oz /
0.8l capacity)
Innerwater
tank
Filter seal ring
Water
tank
Filter
IMPORTANT SAFEGUARDS
Before first use, clean the appliance, following the
points in the installation set up and cleaning section.
Before use ensure the filter is fitted in the inner water tank.
1. Parts Guide
Refill icon
Lock
1
Temperature
selection
Replacement
filter icon
Water volume
selection
On/O button Dispense button
READ ALL INSTRUCTIONS BEFORE USE
& SAVE THEM FOR FUTURE REFERENCE
EN
Power cord
Descale/
rinse icon
Chilled
temperature
setting

SAVE THESE INSTRUCTIONS
Replacement Evolve+ filters are available from all Aqua Optima stockists.
The heating element surface is subject to residual heat after use.
Appliance outlet and other items may be hot after a cycle.
Failure to follow these instructions could cause scalding or damage to the product.
water. Please do not use the appliance to chill other
liquids as this will damage the appliance and void the
guarantee.
20. Household use only.
21. Do not store or use this appliance outdoors.
22. If the appliance is used incorrectly, please remove the
plug from the socket and contact Aqua Optima customer
services.
23. The appliance is designed for use with Aqua Optima
Evolve+ filters, the performance is not guaranteed if any
other filters are used.
24. Do not leave the appliance unattended during operation.
25. Unplug from outlet when not in use and before cleaning.
Allow to cool before putting on or taking o parts, and
before cleaning the appliance.
26. Do not clean with solvents or harsh chemicals.
27. Do not move the appliance when in use.
28. Do not operate appliance with a damaged cord, plug or
after the appliance has malfunctioned or been damaged
in any manner. If the cord is damaged it must be changed
by a qualified person to avoid a hazard.
29. Do not fill the appliance with hot water and over 86F /30°C.
30. Do not remove filter while the appliance is running.
31. Do not use appliance without the filter correctly placed or
if the filter is damaged or broken.
32. At first use or after the appliance has been completely
drained of water in all tanks, ensure the instructions for
first use are followed.
33. The appliance should not be placed in a cabinet when in
use.
34. Do not store explosive substances such as aerosol cans
with a flammable propellant in this appliance.
35. Ensure the lid of the appliance is fitted securely to avoid
any risk of electrical shock.
36. Do not touch hot surfaces. Use handles or knobs.
37. The use of an accessory not evaluated for use with this
appliance may cause injuries.
38. Do not place on or near a hot gas or electric burner, or in
a heated oven.
39. Scalding may occur during the dispensing of water
above the 175°F/79°C temperature option.
40.WARNING: RISK OF FIRE OR ELECTIC SHOCK. DO NOT
REMOVE BOTTOM COVER. NO USER SERVICEABLE
PARTS INSIDE. REPAIR SHOULD BE DONE BY
THE MANUFACTURER OR AUTHORIZED SERVICE
PERSONNEL ONLY.
2
On/Off Button: Press for 1 second to activate or deactivate the
appliance. Blue light shows when power is on.
Lock: Press and hold for 3 seconds to lock or unlock appliance, white
light shows when unlocked, red light shows when locked
Dispense Button:Press to start/stop dispensing, light will fade in & out
whilst dispensing, red (Hot) or blue (Chilled).
Temperature Selection: Chilled, 175°F to 205°F & boiling
temperature. Use the up and down arrows to press through settings.
The chilled icon will light up red when the water is not chilled and light
up white when the water is chilled.
Water Volume Selection: 4 to 35fl oz. Use the up and down arrows to
press through settings.
2. Control Panel

Filter Icon: Orange light shows when the filter requires changing. See the
instructions for replacing the Aqua Optima Evolve+ filter cartridge in section 3. Set
up, first use and cleaning.
Refill Icon: Orange light shows when the water tank needs refilling (Non interactive).
Rinse/Descale Icon: A solid orange light shows when appliance requires a rinse
cycle performing. Press and hold the button for 0.5 seconds to start the rinse
cycle. A flashing orange light indicates the machine requires descaling. Press and
hold the button for greater than 3 seconds to enter descale mode. See the descale
procedure in section 5. Descaling.
3. Set up, first use and cleaning
BEFORE USING THE AURORA APPLIANCE FOR THE
FIRST TIME
• Remove all packaging. There is a clear film covering the
display, this can be removed.
• Remove the tanklid and extract the innerwatertank and
watertank. Wash rinse and dry thoroughly.
• Preparefilter as perthe instructions.
PREPARING THE AQUA OPTIMA EVOLVE+ WATER
FILTER CARTRIDGE
Aqua Optima is a unique water filtration system developed
to deliver filtered water quickly – reducing chlorine,
limescale, organics, herbicides, pesticides, lead and other
heavy metals.
1. Remove all packaging from the filter
cartridge. There may be a small residue
of black carbon particles in the bag
or adhering to the cartridge body;
this is normal. These particles are
harmless and are washed o during the
preparation process.
2. Soak the cartridge in a bowl of water for
5-10 minutes to remove all air bubbles (A).
3. Flush for 1 minute under a running tap (B).
4. The filter cartridge is now ready for use.
SET UP THE APPLIANCE AS PER THE INSTALLATION
INSTRUCTIONS IN SECTION 6. OF THIS MANUAL
1. Using the tank handle lift the water tank from the
appliance. Take out the inner water tank.
2. Ensure the seal ring is installed
correctly.
3. Fit the Aqua Optima water filter
cartridge into the underside of the
inner water tank, rotating clockwise to
lock into place (A). Ensure it is firmly
secure.
4. Reinsert the inner water tank into the
water tank.
5. Attach the power cord to the socket at
the base of the appliance (B).
6. Fill the water tank through the lid to the
“MAX” with cold tap water and allow
the water to filter through to the main
tank. Refill the water tank to “MAX” with
cold tap water and refit the water tank into the appliance.
7. Place drip tray and drip tray plate on the front of the
appliance (C).
8. Place jug or vessel under the dispense outlet.
9. Plug the power cord into the mains socket and turn on.
10.Using the On/O button turn the appliance on.
11. Press & hold Rinse button for 0.5 seconds.
12.Select the chilled temperature and 35fl oz dispense
volume.
13.Press the dispense button to start dispensing, For the
first 27fl oz. / 800ml no water will be dispensed whilst the
internal chilling tank is being filled. Repeat this twice so
105fl oz. / 3105ml are discarded.
14.Your appliance is now ready to use.
CLEANING
• ATTENTION: NEVER PLACE THEAPPLIANCE BODY, PLUG
OR POWER CORD IN WATER OR OTHER LIQUIDS;ALWAYS
WIPE CLEAN WITHA DAMP CLOTH.
• Always switch o and unplug appliance before cleaning
• Ensure the appliance is cool before cleaning.
• Wash, rinse and dry the innerwatertank, watertank and
the tank lid regularly, at least when thefilter cartridge is
replaced.
• Wash the driptray with soapy water. Rinse all soap away
with clean water. Allowto air dry.
• Do not use scouring pads, solvents or abrasives to clean as
they may damage the appliance.
• The inner watertank, water tank, tanklid and drip tray are
not dishwasher proof.
• For hygiene and safetyreasons you should always clean
the innerwatertank, watertank and tanklid if it has been
unused or in storage for longerthan 2 weeks.
REPLACING THE AQUA OPTIMA EVOLVE+ FILTER
CARTRIDGE
An orange light will show on the control panel when the filter
requires changing.
This appliance is only intended for use with Aqua Optima
Evolve+ filters.
1. Drain the water from the tanks and remove the tank lid.
2. Take out the inner water tank and remove the filter
cartridge by rotating it anti-clockwise.
3. Insert the new filter cartridge as described previously.
4. Reinsert the inner water tank into the water tank. Fill the
water tank up to the max line and refit the water tank into
A
B
C
B
1 Min
A
3

the appliance.
5. Dispense water to remove any unfiltered water in the
appliance and top up.
6. Press and hold the filter warning symbol for 3 seconds to
reset the filter timer.
7. The appliance is now ready to use.
To ensure the best performance, the filter cartridge should
be changed after 26.4 gallons / 100L. The maximum rated
capacity of the filter is 40 gallons/181.8L.
CARE & MAINTENANCE
• Water is a foodstu. We recommend using the filtered
water within 3 days. If the appliance is not used for more
than 72 hours the water system will need draining. Unplug
appliance and take to the sink. Unscrew both drainage
caps located on the underside of the appliance and
remove the silicon bungs over a sink. Allow all water to
drain out of the system. Re-insert the drainage bungs
and screw on the caps. Repeat the process in section 3.
First Use, to refill the appliance to continue use.
• Should the appliance not be used for an extended period
of time (for example a holiday) we recommend that the
filter is removed and placed in a clean plastic bag and
stored in the fridge. This will help to maintain the filter
when not in use. Before using the filter after storage,
follow the preparation and fitting instructions for use as
normal.
• Do not overfill the water tank, do not fill above the “MAX”
fill to avoid risk of water overflow in the inner water tank.
• Any other servicing should be performed by an
authorized service representative.
4. How to use
1. Fill water tank to the “MAX” mark; water
will flow through the filter at a set rate
and may take some time due to the
action of the filter cartridge.
2. Adjust the height of the drip tray to
accommodate the size of the mug
used. Ensure the drip tray is fully
engaged with the appliance. There are
3 height options (A).
3. Place mug or glass on drip tray (B).
4. Press the On/O button (C).
5. Press the up or down button to select
the desired temperature and volume
settings (D).
6. Press the dispense button to start
dispensing. One beep at the start (E).
7. The dispense button will fade in and
out whilst dispensing and beep twice
once complete.
8. To engage the child lock, press and
hold the lock button for 3 seconds. The
lock button will change from white to
red (F).
Note:
• To stop the cycle at any time press the dispense button.
Once the cycle has stopped it cannot be continued. A
new cycle must be started.
• Sound - all remaining buttons can be turned o(not
sound in 6. & 7. in How to use guide, section 4.) by pressing
and holding the temperature down arrow and the volume
down arrowfor3 seconds in the locked mode.
• The chilled temperature setting will light up redwhen
the appliance is chilling the water and will light up white
when the water is chilled. At first use the chillertakes
around 40 minutesto fully cool down the water (can vary
depending on the incoming watertemperature).
• The refill icon will turn orange when the water tank needs
refilling.
• The filter icon will turn orange when the filter needs
replacing, at 26.4 gallons/100L usage, follow the filter
preparation and replacement instructions in this manual.
• Extension cords are available and may be used ifcare is
exercised in their use.
• If an extension cord is used
(1) the marked electrical rating of the extension cord
should be at least as great as the electrical rating of the
appliance.
(2) the longer cord should be arranged so that it will not
drape over the counter or table top where it could be
pulled on by children or tripped over unintentionally.
(3) the appliance is of the grounded type, the cord set
or extension should be a grounding-type-wire cord
(applicable if grounding-type-3 cord is used).
5. Descaling
For safe & ecient operation of your Aurora appliance it is
important to descale regularly.
Untreated scale deposits prevent the element conducting
heat eciently and may aect its performance.
The appliance will display the descale warning symbol when
the appliance requires the descale process.
Ensure the water tank is empty. Remove the filter and place
into a plastic bag and filter before starting the descale
process.
Descale Procedure:
1. Fill water tank with 105fl oz./3L of white vinegar
(minimum 4% acidity).
2. Place a 3 liter jug under dispense nozzle.
3. Press and hold the descale warning symbol for 3 seconds.
4. The descale warning symbol will flash and the appliance
will run a descale process. Caution: Dispense solution
will be hot; around 194°F / 90°C. When the water tank is
empty, refill with 70fl oz./2L of cold water and press the
descale warning symbol again.
5. The appliance will run a cleaning cycle. Caution:
Dispense solution will be hot; around 194°F / 90°C.
6. The descale warning symbol will turn o once complete.
7. Re-insert the Aqua Optima filter after descale process is
complete.
8. The appliance is now ready to use.
Note:
• To abort the descale process, press the dispense button.
4
A
B
C
3
SEC
F
D
E
Table of contents
Languages:
Other Aurora Coffee Maker manuals

Aurora
Aurora AU 414 User manual

Aurora
Aurora AU 415 User manual

Aurora
Aurora AU 3140 User manual

Aurora
Aurora AU 3143 User manual

Aurora
Aurora AU 414 User manual

Aurora
Aurora AU 412 User manual

Aurora
Aurora AU 142 User manual

Aurora
Aurora AU 415 User manual

Aurora
Aurora AU 3142 User manual

Aurora
Aurora AU 412 User manual
Popular Coffee Maker manuals by other brands

Bunn
Bunn LCA-1 Installation & operating guide

Chris Coffee Service
Chris Coffee Service Silvano owner's manual

Black & Decker
Black & Decker BLACK DECKER HOME DE790 Use and care book

Saeco
Saeco Vienna Plus Sup 018M operating instructions

INCAPTO
INCAPTO BXCO1470E Instructions for use

Bosch
Bosch TASSIMO finesse TAS16B Series user manual