Avaya G450 Manager Operating and maintenance manual
Other Avaya Gateway manuals
Avaya
Avaya G650 Instruction Manual
Avaya
Avaya CMC1 Quick start guide
Avaya
Avaya Advanced Gateway 2330 User manual

Avaya
Avaya G860 Manual

Avaya
Avaya Media Gateway G250 Instruction Manual
Avaya
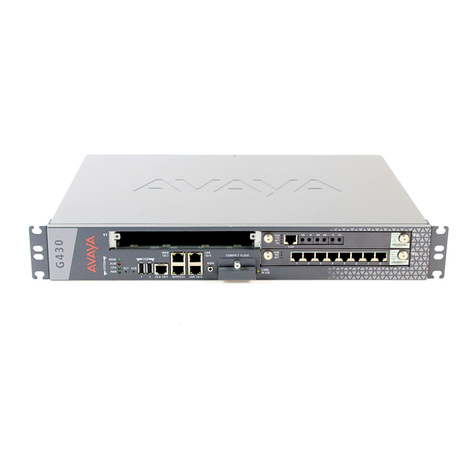
Avaya G430 User manual

Avaya
Avaya Media Gateway G250 User manual

Avaya
Avaya INDeX Media Gateway User manual
Avaya
Avaya P330 User manual
Avaya
Avaya Media Gateway G350 User manual
Avaya
Avaya VPN Gateway User manual
Avaya
Avaya Media Gateway G250 User manual
Avaya
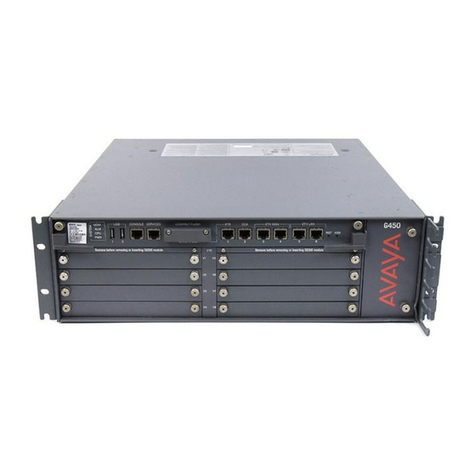
Avaya G450 Manager Instruction Manual

Avaya
Avaya MCC1 Quick start guide
Avaya
Avaya one-X Quick Edition G11 Global Analog... User manual

Avaya
Avaya one-X Quick Edition G11 Global Analog... User manual

Avaya
Avaya G450 Manager Instruction sheet

Avaya
Avaya G450 Manager User manual

Avaya
Avaya Media Gateway G350 Instruction Manual

Avaya
Avaya Media Gateway G250 Quick reference guide
Popular Gateway manuals by other brands

LST
LST M500RFE-AS Specification sheet

Kinnex
Kinnex Media Gateway quick start guide

2N Telekomunikace
2N Telekomunikace 2N StarGate user manual

Mitsubishi Heavy Industries
Mitsubishi Heavy Industries Superlink SC-WBGW256 Original instructions

ZyXEL Communications
ZyXEL Communications ZYWALL2 ET 2WE user guide

Telsey
Telsey CPVA 500 - SIP Technical manual


