manuals.online logo
Brands
  1. Home
  2. •
  3. Brands
  4. •
  5. Avaya
  6. •
  7. Telephone
  8. •
  9. Avaya IP Office 1416 User manual

Avaya IP Office 1416 User manual

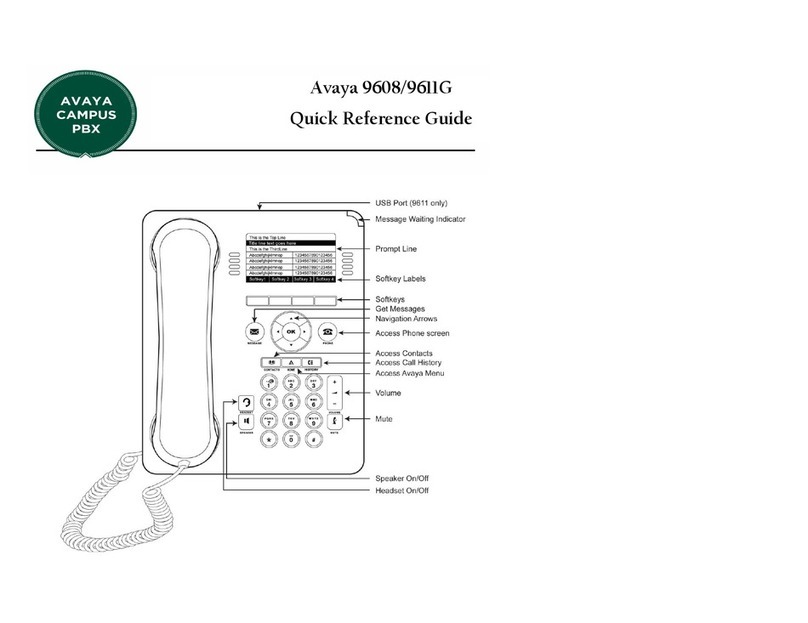
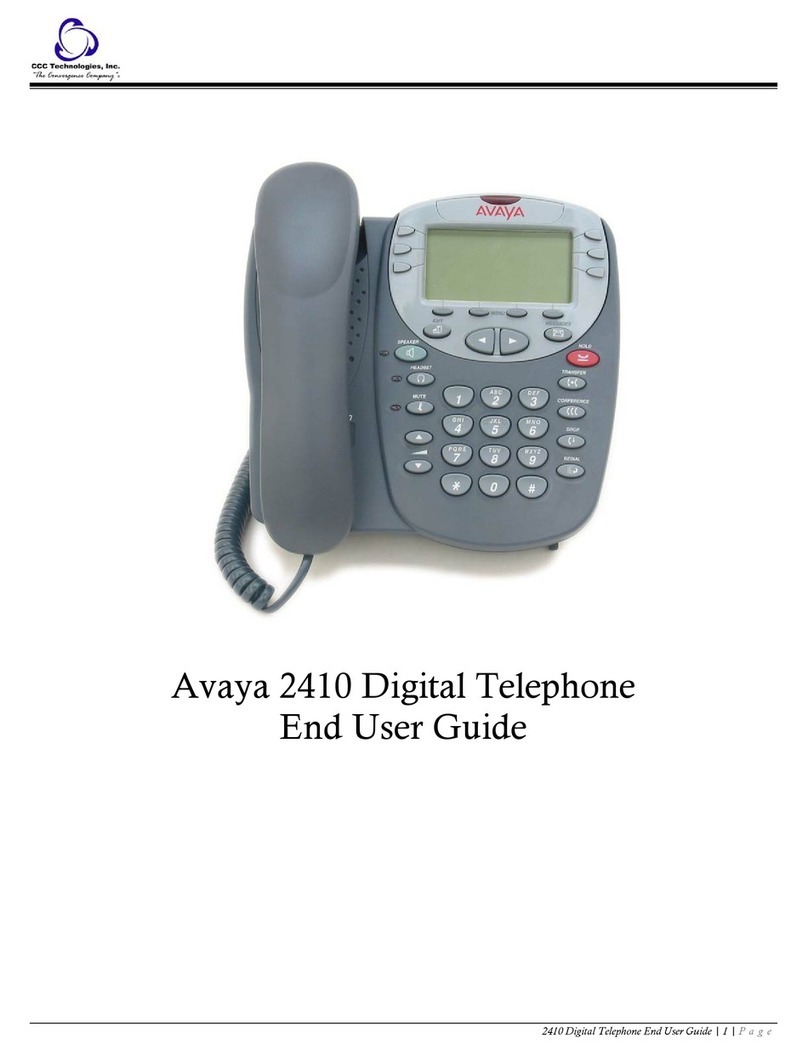
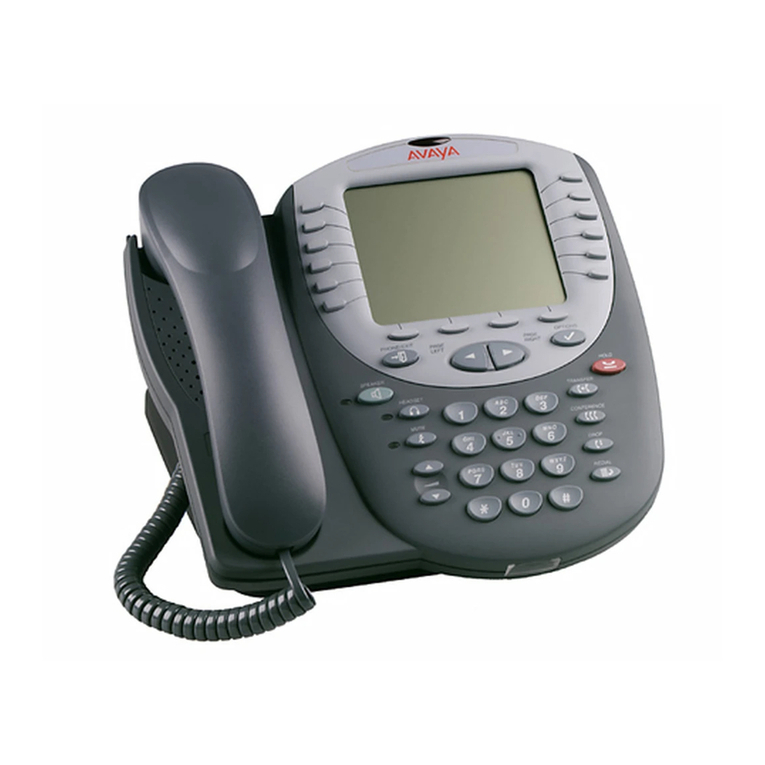
Telephone Set Feature/Functions
Name
Description
Message Waiting
Indicator
Illuminates when there is a voicemail waiting or flashes when receiving
an incoming call.
Display
Identifies number of missed calls, date, time, application specific
information and softkey labels.
Call/Line Appearance
or Feature Buttons
Call appearance button allows you to make a call, answer a call or
resume a call that is on hold.
Softkey
Used to navigate to or initiate administered features such as Speed
Dial as well as control actions with the features.
OK
Shortcut key to initiate an action.
Phone/Exit
Press to view and manage calls.
Hold
Press to place the active call on hold
Conference
Press to add another call to an existing call.
Transfer
Press to transfer a call to another number and hang up the call.
Drop
Press to drop the active call.
Headset
Press to answer/release a call if using a headset.
Volume
Adjusts speaker, handset, headset or ringer volume.
Mute
Press to mute a call in progress.
Speaker
Activates the speakerphone.
Redial
Press to access a list of numbers dialed from your extension.
Call Log
Press to view a list of all answered, unanswered and outgoing calls.
Contacts
Press to view the entries in your contact list.
Avaya Menu
Provides options that allows you to perform tasks such as customize
telephone settings, configure call logging, select display language etc.
Message
Press to connect to the voicemail system. Illuminates when there is a
voicemail waiting.
Navigation Arrows
Use the up and down arrows to scroll through lines. Press the right and
left arrow to navigate between views of an application or to move the
cursor during text input.
Additional Feature Buttons
Name
Description
Call Fwd
Allows you to enter extension you would like to forward your
extension to.
Call Park
Allows you to park a call on your phone and retrieve the call from
another.
Send all calls
Sends call to the location of which your phone is programmed to ring
when you do not answer. Example: Voicemail.
Call Pickup
Allows you to pickup a ringing call from another telephone.
Avaya Aura Voicemail - ext. 41111
Accessing and setting
up your mailbox for
the first time.
Dial extension 41111 or press the Message button on your Avaya telephone set and
when prompted, enter your temporary password (2580456) followed by the # sign.
The system will prompt you to enter your new password which must be 7 or 8 digits
long. Continue to follow the prompts to record your name and greeting.
From an Avaya
telephone set
Dial extension 41111 and follow the prompts. If the mailbox is not yours, press *
and follow prompts to access your mailbox.
From a Mitel
telephone set
Dial extension 41111 and follow the prompts.
From a telephone
outside of HHS
Dial 905-521-2100, enter extension 41111 and follow the prompts.
For more in-depth reference material please visit the Telecommunications SharePoint site at
https://ishare.hhsc.ca/corporate/tc/
If you have any questions, please contact the HITS Helpdesk via HITS myIT, email to
[email protected] or 905-521-2100 ext. 43000.
For additional information about features/functions that may have changed please see back.
FEATURE/FUNCTIONALITY THAT HAS CHANGED
LONG DISTANCE ACCOUNT CODE NUMBERS (AUTHORIZATION CODES)
The new process to use a long distance account number is as follows:
From your Avaya telephone set, dial 9plus the long distance number you
want to reach. Upon hearing 3 quick tones, enter your 7-digit long
distance account number (authorization code). Your call will then be
processed.
***Note: If you have a 9 digit code that begins with 81, please remove
81 and use the remaining 7 digits.
HOLD VS. PARK
The HOLD button is used to place an active call on HOLD and then return to that caller
using the same telephone set.
The CALL PARK button is used to place an active call on PARK and then return to that caller
using the same or different telephone set.
*The CALL PARK ring-back timer is 3 minutes.
To place an active call on PARK:
Press the Call Park button
Hang up
To retrieve a PARKED call from a different telephone set:
Dial *86 followed by the extension of the phone that the call is PARKED on.
To retrieve a PARKED call from the same telephone set:
Press the Call Park button.
BLIND TRANSFER VS. SUPERVISED TRANSFER
A Blind Transfer allows you to dial the destination and then releases the call regardless of
whether the destination is busy or not answering.
To complete a Blind Transfer:
While on an active call, press the Transfer button.
Dial the appropriate number.
Hang up.
A Supervised Transfer allows you to wait for the called party to answer before completing the
transfer. If the call is not answered or the called party is busy, you can return to the call for
further processing.
To complete a Supervised Transfer:
While on an active call, press the Transfer button.
Dial the appropriate number.
When the party answers, announce the call.
*If the party does not answer, press the Drop button to return to the call on hold.
Hang up.
CALL PICKUP
To remotely pick up a call that is ringing at a station near you:
Press the Call Pickup button on your telephone set. If you do not have
a Call Pickup button, dial *13.
CALL FORWARDING
To Call Forward your extension:
Press the Call Forward button and then enter the extension number
where the calls are to be forwarded to. Upon completion you Call
Forward indicator light will be green.
To Unforward your extension:
Press the Call Forward button.
HEADSETS
*The information below is for headsets that do not use remote handset lifters.
To Place a call, enter the number and press the Headset button.
To Answer a call, press the Headset button.
To Disconnect from an active call, press the Headset button.
To Transfer an active call
oPress the Transfer button.
oEnter the extension.
oPress the Headset button to release the call.
CONFERENCING
While on an active call, press the Conference button to put the active party on hold.
When you hear dial tone, enter the number for the additional participant.
When the additional participant answers, press the Conference button to join all 3
participants together.
*If the additional participant does not answer, press the Drop button to return to
the first call.
AUTODIAL (SPEED DIAL) BUTTONS
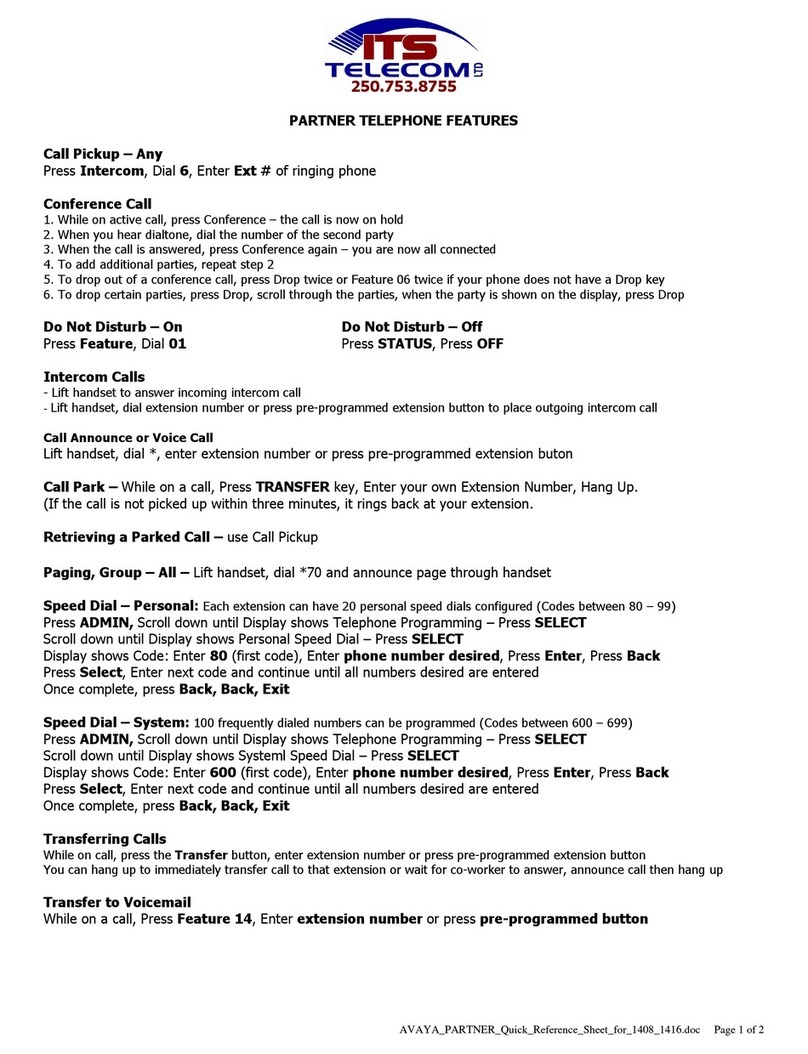
From the phone set, complete the following to program your Autodial buttons:
Press the Abr-Prog button
Press the button you would like to program
Enter the 5-digit extension number or 9 plus the 10-digit telephone number
Press # to save
You will then receive a confirmation msg on the screen stating that the number
has been saved
Other manuals for IP Office 1416

6

This manual suits for next models

1

Other Avaya Telephone manuals

Avaya INDeX 20CC turret User manual

Avaya

Avaya INDeX 20CC turret User manual

Avaya 1408 User manual

Avaya

Avaya 1408 User manual

Avaya 3920 User manual

Avaya

Avaya 3920 User manual

Avaya 9504 User manual

Avaya

Avaya 9504 User manual

Avaya B149 Instruction sheet

Avaya

Avaya B149 Instruction sheet

Avaya 9400 series User manual

Avaya

Avaya 9400 series User manual

Avaya Definity 6211 User manual

Avaya

Avaya Definity 6211 User manual

Avaya 8410B User manual

Avaya

Avaya 8410B User manual

Avaya ETR 6 User manual

Avaya

Avaya ETR 6 User manual

Avaya Partner 18 Quick guide

Avaya

Avaya Partner 18 Quick guide

Avaya one-X 9621G User manual

Avaya

Avaya one-X 9621G User manual

Avaya INDeX 9.2 User manual

Avaya

Avaya INDeX 9.2 User manual

Avaya Desk User manual

Avaya

Avaya Desk User manual

Avaya IP Office 9508 User manual

Avaya

Avaya IP Office 9508 User manual

Avaya T3 Comfort User manual

Avaya

Avaya T3 Comfort User manual

Avaya 9400 series Product manual

Avaya

Avaya 9400 series Product manual

Avaya 9101 User manual

Avaya

Avaya 9101 User manual

Avaya one-X 1603SW Service manual

Avaya

Avaya one-X 1603SW Service manual

Avaya J179 User manual

Avaya

Avaya J179 User manual

Avaya IP Office 1400 Series User manual

Avaya

Avaya IP Office 1400 Series User manual

Avaya BCM450 Rls 6.0 User manual

Avaya

Avaya BCM450 Rls 6.0 User manual

Avaya 9281 AV User manual

Avaya

Avaya 9281 AV User manual

Avaya 6400 Series Reference guide

Avaya

Avaya 6400 Series Reference guide

Avaya J179 User manual

Avaya

Avaya J179 User manual

Popular Telephone manuals by other brands

DETEWE OPENPHONE 63 user guide

DETEWE

DETEWE OPENPHONE 63 user guide

Siemens OPTIPOINT 500 specification

Siemens

Siemens OPTIPOINT 500 specification

Alcatel T26 user manual

Alcatel

Alcatel T26 user manual

Clarity XLC7BT user guide

Clarity

Clarity XLC7BT user guide

Toshiba Strata DK8 user guide

Toshiba

Toshiba Strata DK8 user guide

Radio Shack COUNTRY LIFE 43-860 owner's manual

Radio Shack

Radio Shack COUNTRY LIFE 43-860 owner's manual

Motorola V60 manual

Motorola

Motorola V60 manual

Unify OpenSpace CP600 Administration manual

Unify

Unify OpenSpace CP600 Administration manual

Tobii Dynavox TD Phone Connection guide

Tobii Dynavox

Tobii Dynavox TD Phone Connection guide

Yealink SIP-T42S IP Quick reference guide

Yealink

Yealink SIP-T42S IP Quick reference guide

Ericsson Dialog 3105MW user guide

Ericsson

Ericsson Dialog 3105MW user guide

urmet domus 2voice 1760/15 manual

urmet domus

urmet domus 2voice 1760/15 manual

Communications Plus Aspire S user guide

Communications Plus

Communications Plus Aspire S user guide

DAKtel myhomefone quick start guide

DAKtel

DAKtel myhomefone quick start guide

Panasonic KX-TPA73 operating instructions

Panasonic

Panasonic KX-TPA73 operating instructions

LevelOne VOI-7000 How to set up

LevelOne

LevelOne VOI-7000 How to set up

Siemens CF62 Service repair documentation

Siemens

Siemens CF62 Service repair documentation

ICT TELEPHONE user guide

ICT

ICT TELEPHONE user guide

manuals.online logo
manuals.online logoBrands
  • About & Mission
  • Contact us
  • Privacy Policy
  • Terms and Conditions

Copyright 2025 Manuals.Online. All Rights Reserved.