manuals.online logo
Brands
  1. Home
  2. •
  3. Brands
  4. •
  5. Avaya
  6. •
  7. Telephone
  8. •
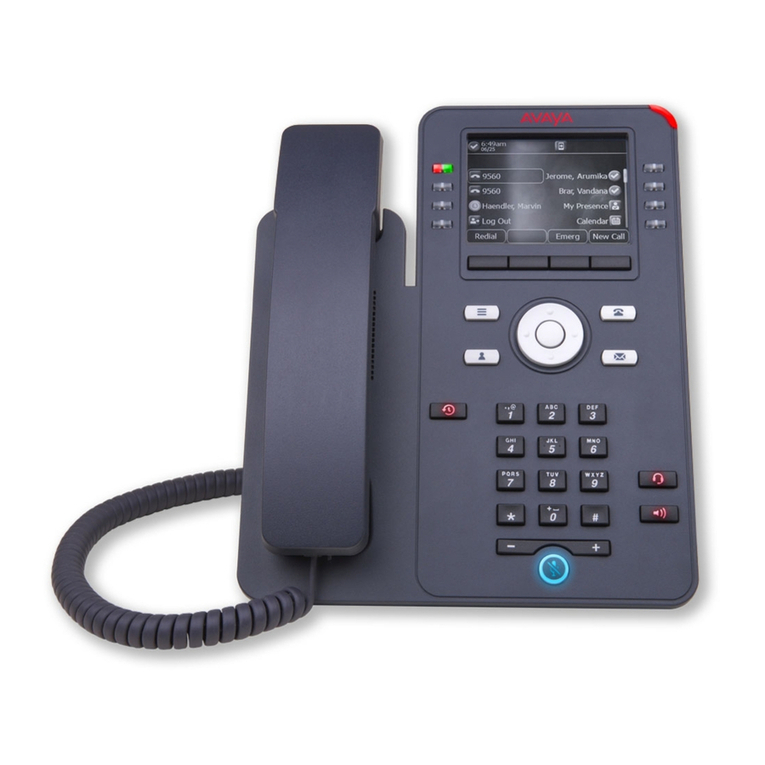
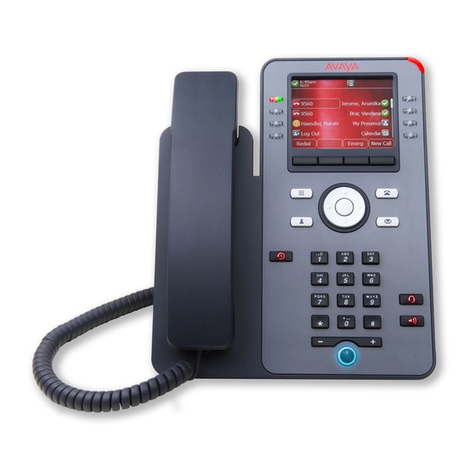
  9. Avaya J169 User manual

Avaya J169 User manual

J169/J179 SIP Telephone
Quick Reference Guide
1
ANSWERING A CALL:
When you receive an incoming call, the incoming call line is
usually selected automatically. An incoming call displays as a
green line with a ringing bell icon. To answer the call, just touch
the call appearance line.
Answer an incoming call in one of the following ways:
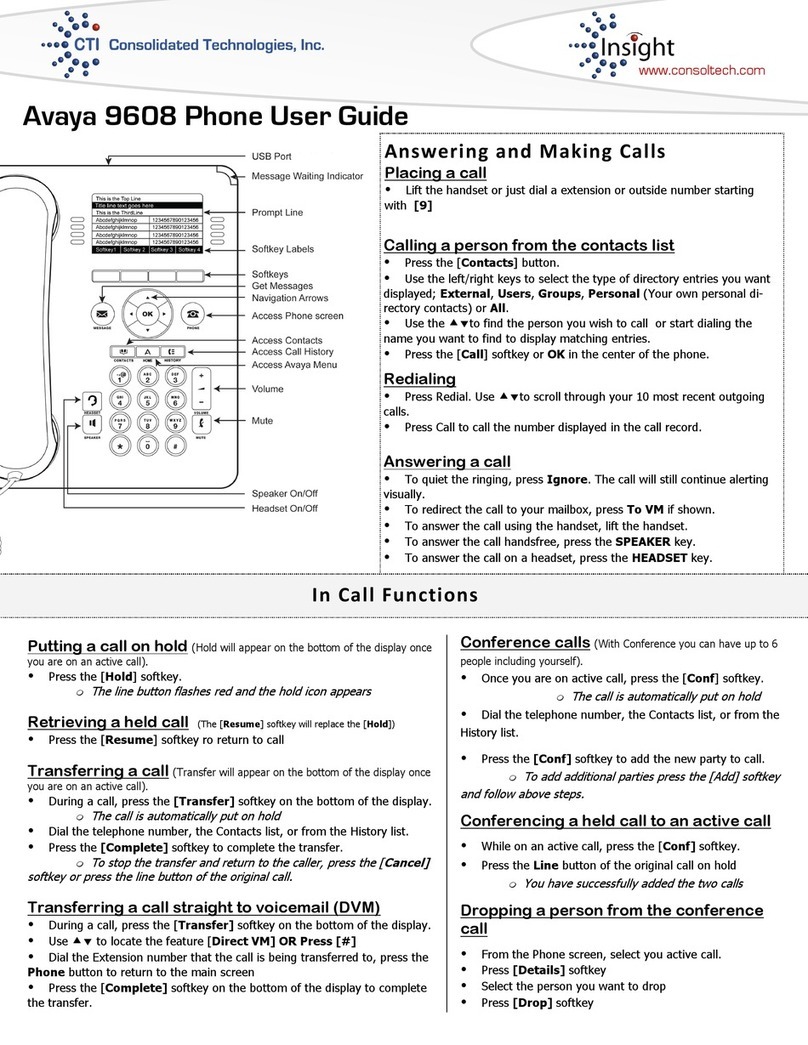
If you are not on another call; lift the handset or press the
line button next to the incoming call, press Speaker, OK or
Answer to answer using the Speakerphone, or press
Headset to answer using the headset.
If you are on another call; from the Phone screen, scroll to the
line with the incoming call and press Answer or OK. The phone
automatically answers the incoming call and puts the previous call
on Hold.
MAKING A CALL:
**NOTE: When placing a call outside the office, the phone
number must be preceded by a “8” in order to access a line on
the system.
1. You can start dialing from the keypad, hit the Bksp button
to edit the number and when finished select the Call
Softkey button and the system will initiate the call.
PUTTING CALLS ON HOLD:
1. If you are not active on the line you want to put on hold,
touch that line.
2. Touch Hold.
3. Touch Resume, OK button or the line button of the held
call to retrieve the call.
REDIALING A NUMBER:
From the Phone screen, touch Redial.
**The last number will be redialed or you will see a list of the most
recent numbers that you have dialed, from which you can select
one to redial.
1. Scroll to the number you want to call and press Call or OK.
**NOTE: The phone clears the last number dialed and the redial
list if you clear the Outgoing Call Log. Also, the Redial softkey
disappears.
J169/J179 SIP Telephone
Quick Reference Guide
2
TRANSFERRING CALLS:
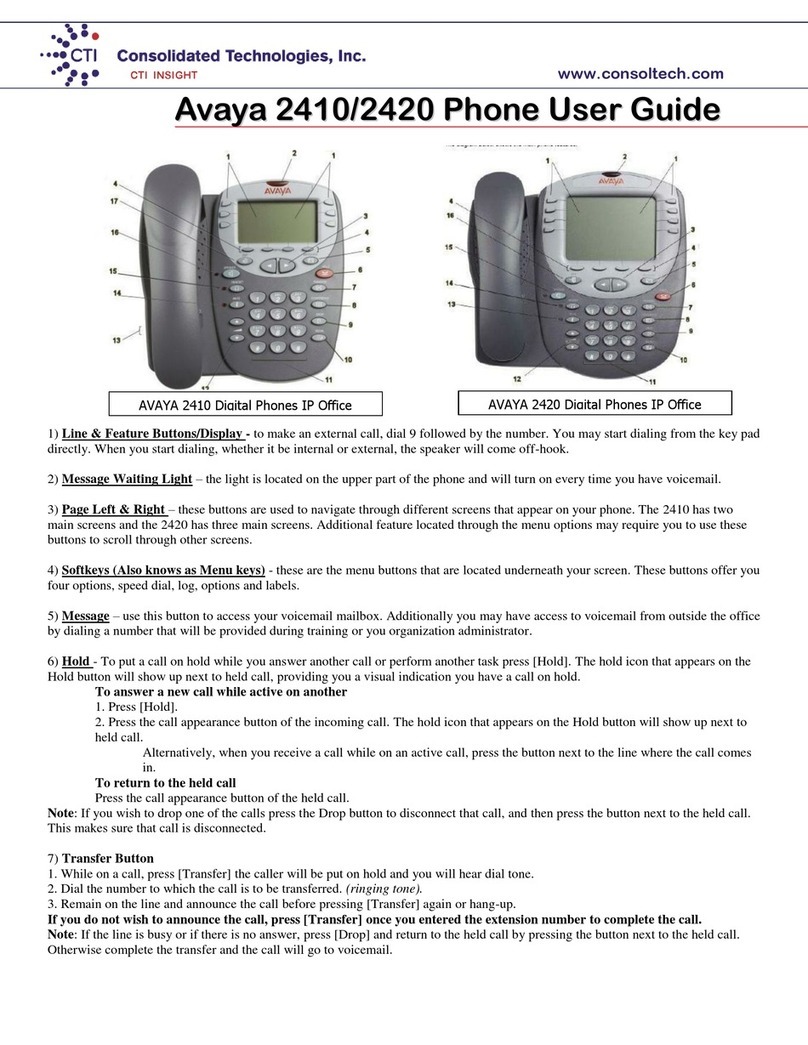
1. From the Phone screen, with the call you want to transfer
active, touch or press the Transfer softkey.
*The phone displays the Enter transfer destination
screen.
2. Enter the extension number on the Destination line or
select from one of the following options.
a. Held Call: Displays the held call line appearance
as an option and switches to the Select Transfer
Method screen.
b. Recents: Displays the recent call history as an
option and switches to the Select Transfer Method
screen.
c. Contacts: Displays the contacts list as an option
and switches to the Select Transfer Method screen.
d. Cancel: Terminates the call transfer.
e. More: Displays more options related to call transfer.
Symbol, Clear, 123, and Cancel are displayed
when you select this option.
f. Priority: Displays Precedence selection screen.
3. Select the Transfer Softkey
**Use the Bksp softkey to clear the input and the Cancel
softkey to terminate the call transfer.
4. Press the Now or Complete to complete the transfer of the
call.
CONFERENCE CALLS:
Each phone has the ability to conference a total of 6 parties in a
call.
Setting up a conference call:
1. During a call, on the Phone Screen, press Conf. *The
phone puts the existing call on Hold.
2. Dial the telephone number using the dial-pad or call the
person from the Contacts list or the History list.
3. When the person answers, press the Join softkey or OK to
add the person to the existing call.
4. To add another person, press the Add softkey and repeat
steps
2-4.
Adding a person on Hold to a Conference call:
1. From the Phone screen, select your active call.
2. Press Conf, or, if you are already on a Conference call,
press the Add softkey.
3. Select the call on hold that you want to add to the
conference.
4. Press Resume to take the call off hold.
5. Press the Join or Conf softkey to add the person to the
conference call.
DND (Do Not Disturb):
When DND is on or activated, your incoming calls go directly to a
predefined coverage number, typically your voicemail. Incoming
calls ring once at your extension and then go directly to a number
which is set by your system administrator.
Pressing the DND button turns the feature on and changes the
Red light beside the key to Green to indicate the feature is on. If it
is already on, pressing DND turns the feature off.
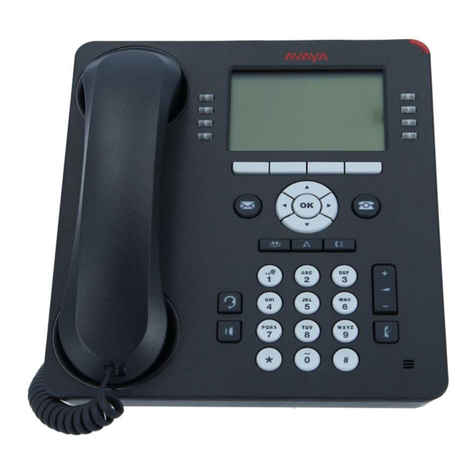

Other manuals for J169

20

This manual suits for next models

1

Other Avaya Telephone manuals

Avaya 9400 series Product manual

Avaya

Avaya 9400 series Product manual

Avaya IP Office 2030 User manual

Avaya

Avaya IP Office 2030 User manual

Avaya IP Office 9608 User manual

Avaya

Avaya IP Office 9608 User manual

Avaya IP Office 9508 User manual

Avaya

Avaya IP Office 9508 User manual

Avaya 9508 Series User manual

Avaya

Avaya 9508 Series User manual

Avaya Vantage Instruction Manual

Avaya

Avaya Vantage Instruction Manual

Avaya 1408 User manual

Avaya

Avaya 1408 User manual

Avaya Definity 6211 User manual

Avaya

Avaya Definity 6211 User manual

Avaya 3631 User manual

Avaya

Avaya 3631 User manual

Avaya IP Office 4406D+ User manual

Avaya

Avaya IP Office 4406D+ User manual

Avaya IP Office 2402 User manual

Avaya

Avaya IP Office 2402 User manual

Avaya IP OFFICE 2420 User manual

Avaya

Avaya IP OFFICE 2420 User manual

Avaya IP Office 9611 User manual

Avaya

Avaya IP Office 9611 User manual

Avaya PARTNER Phone Parts list manual

Avaya

Avaya PARTNER Phone Parts list manual

Avaya T3 IP Compact User manual

Avaya

Avaya T3 IP Compact User manual

Avaya ONE-X 3.0.0 User manual

Avaya

Avaya ONE-X 3.0.0 User manual

Avaya IP OFFICE 2410 User manual

Avaya

Avaya IP OFFICE 2410 User manual

Avaya 9330 AV User manual

Avaya

Avaya 9330 AV User manual

Avaya ETR Operating instructions

Avaya

Avaya ETR Operating instructions

Avaya IP OFFICE 2420 User manual

Avaya

Avaya IP OFFICE 2420 User manual

Avaya 4620 User manual

Avaya

Avaya 4620 User manual

Avaya PARTNER Phone User manual

Avaya

Avaya PARTNER Phone User manual

Avaya J179 User manual

Avaya

Avaya J179 User manual

Avaya 9601 Assembly Instructions

Avaya

Avaya 9601 Assembly Instructions

Popular Telephone manuals by other brands

Doro CONGRESS 200 user guide

Doro

Doro CONGRESS 200 user guide

Eircom advantage 1200 System installation

Eircom

Eircom advantage 1200 System installation

Memorex MPH4385 product manual

Memorex

Memorex MPH4385 product manual

UTStarcom CDMA FSU C800 user guide

UTStarcom

UTStarcom CDMA FSU C800 user guide

MaxComm FCT-400 user manual

MaxComm

MaxComm FCT-400 user manual

Metasys AFAWS Series manual

Metasys

Metasys AFAWS Series manual

Vodavi Starplus Triad-S installation manual

Vodavi

Vodavi Starplus Triad-S installation manual

Grandstream Networks GXV3350 Quick installation guide

Grandstream Networks

Grandstream Networks GXV3350 Quick installation guide

Motorola FX-850C user manual

Motorola

Motorola FX-850C user manual

Clarity XL-25S operating instructions

Clarity

Clarity XL-25S operating instructions

Cortelco 2933 Owner's instruction manual

Cortelco

Cortelco 2933 Owner's instruction manual

Telstra T800 user guide

Telstra

Telstra T800 user guide

Yealink T58 How to configure

Yealink

Yealink T58 How to configure

Commander comset T8 Operating instructions for user

Commander

Commander comset T8 Operating instructions for user

Samsung DS 24D Quick reference guide

Samsung

Samsung DS 24D Quick reference guide

Mitel 6735i manual

Mitel

Mitel 6735i manual

Jabra SP700 - Speaker Phone quick start guide

Jabra

Jabra SP700 - Speaker Phone quick start guide

BT Duet 20 user guide

BT

BT Duet 20 user guide

manuals.online logo
manuals.online logoBrands
  • About & Mission
  • Contact us
  • Privacy Policy
  • Terms and Conditions

Copyright 2025 Manuals.Online. All Rights Reserved.