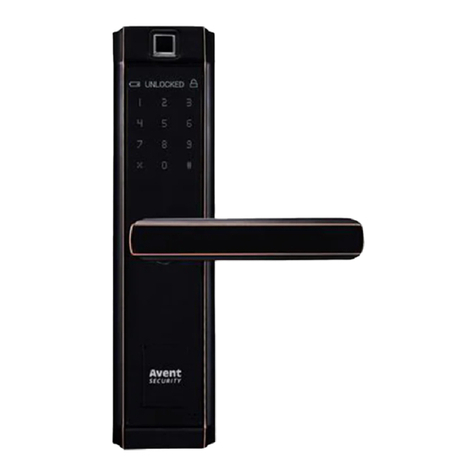
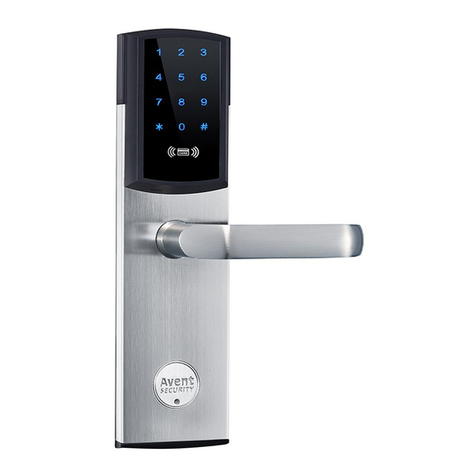
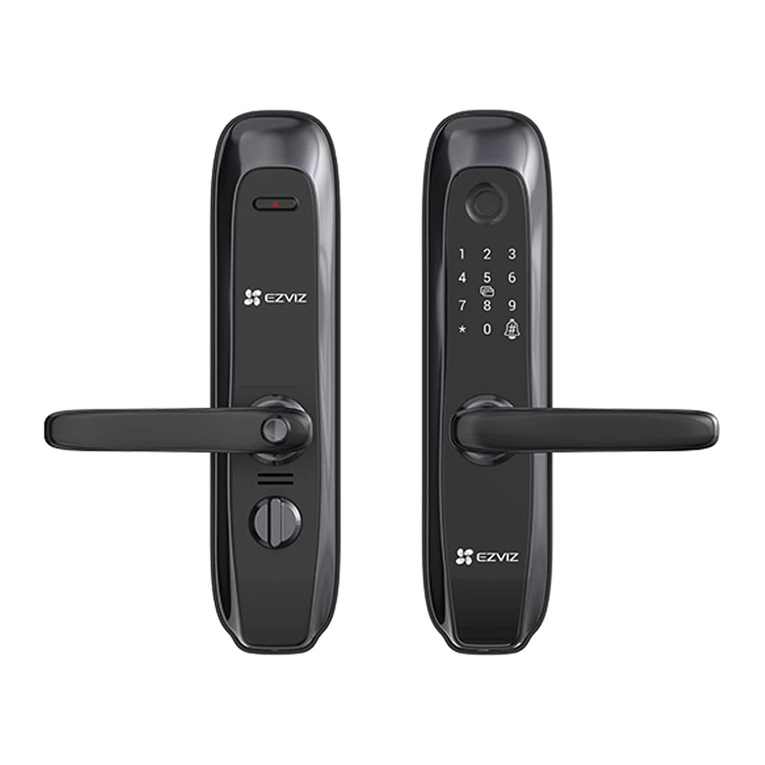
Avent Security M901S User manual

M901S
FINGERPRINT DOOR LOCK

Brief Introduction
Product Guide
1
1The lock is only suitable for the glass door which the thickness is between
10 ~ 12mm.
2There are up to 300 different users available in the lock.
3The password can be set between 6 ~ 10 digits.
4The default master password is “01234-56789”.
5The lock has 3 unlocking modes for different security levels;
6When operating the lock, the number keys have different functions
7Once user input wrong passwords in continuous for 5 times, the lock freezes
for 3 minutes for security. During this period, you cannot operate the lock.
“2":
Up ( )
“4":
Left (<)
“6":
Right (>)
“8":
Down ( )
Fingerprint Sensor
OLED Display
Touch Screen Keypad
Lock Knob

Installation
2
Mark the place on the glass
door for the installation, and
then paste the base board
on it.
aLoose the screws on the back side
of the lock, disconnect the
cable on the lock, and then insert
the lock into the base board
bConnect the cable with the back
plate of the lock, and then fasten
the lock
c
Install the battery and try to
unlock the lock to make sure
the installation is correct.
dFor the strike plate, make the
place on the glass door according
to the place of the lock, and then
paste and base board on it
eInsert the strike plate into the
base board and finish.
f

Some Suggestions to Help Capturing the Fingerprint
1
When placing the finger on the sensor, please make sure the “core” of fingerprint is staying
in the main area of sensor directly with a little amount of pressure. Like the pictures show as below:
Insert Image
The sensor may not capture the correct fingerprint image if you follow the below operations.
Insert Image
It is suggested to register the thumb, first finger, and middle finger for better
fingerprint images.
Operation
3

Place the finger on the sensor, the lock will be activated automatically and started to capture the
fingerprint image for identification. Once the identification is passed, the LCD display shows the
user information and then unlock automatically.
Touch the keypad to activate the lock, and then input the password with press “#” to finish. If the
password is correct, the LCD display shows the user information and then unlock automatically.
***
if you input a wrong password continuously for 5 times, the lock will be locked
for 30 seconds. The LCD display shows count down of time. During this period,
the lock cannot be accessed, and all operations are suspended. Afterwards, the
lock returns to normal state.
+
2Fingerprint Unlocking
3Password Unlocking
#
4
USER INFORMATION
USER INFORMATION

Random Password Protection
For a better security protection to the password user, the lock is designed with a random
password protection. You can add any digits before and after the real password.
For example, the password is “123-456”, you can unlock the lock by inputting the password
as following:
1:
2:
3:
1 2 3456X X X X
X X X X 1 2 3 4 56
X X
#
1 2 3456
X X #
X X
X X X X #
X X
4RF Card Unlocking
Place the card close to keypad. If the card is correct, the LCD display shows the user information
and then unlock automatically.
5
USER INFORMATION

Operation
Change The Master Password
1
Input “0”and “#”, and then input the
master password to log in the system
a
Select “Admin” and confirm with “#”
cSelect “Password” and confirm with “#”
d
6
0#
+
***
Master
Select “Users” option
and confirm with “#”
b
#
+
Admin #
+
Password #
+
Select “Add Password”
and confirm with “#”
eInput the new password,
and then confirm with “#”
f
Add Password #
+
#
+
***
NEW
Input the new password again,
and then confirm with “#” to finish.
g
#
+
***
NEW
Once user finish the operation, please try to unlock
the lock to make sure the operation is successful.
Only fingerprint and password supported for
the master user.
The default master password is “01234-56789”;
There is only one master password available in
the lock, once the new master password is registered,
it will delete the old one.
The password can be 6 to 10 digits;

7
Add Master Fingerprint User
2
Input “0”and “#”, and then input the
master User to log in the system
a
Select “Admin” and confirm with “#”
cSelect “Fingerprint” and confirm with “#”
d
0#
+
Master
Select “Users” option
and confirm with “#”
b
#
+
Admin #
+
Fingerprint #
+
Select “Add fingerprint”
and confirm with “#”
ePlace the fingerprint on the sensor
in 3 times to finish.
f
Add Fingerprint #
+
X3
There is no limit capacity for the master fingerprint users, but the maximum user capacity is 300;
Once finish the operation, please try to unlock the lock to make sure the operation is successful.

Add Normal User
3
8
Input “0”and “#”, and then input the
master user to log in the system
a
Select “Add User” and confirm with “#”
cInput the name of the user group
and confirm with “#”
d
0#
+
Master
Select “Users” option
and confirm with “#”
b
#
+
Add User #
+
User 01 #
+
Select “fingerprint” and confirm with “#”
eSelect “Add fingerprint” and confirm with “#”
f
Fingerprint #
+
For Fingerprint
Add Fingerprint #
+
Place the fingerprint on the sensor
in 3 times to finish.
g
X3

9
For Password
Select “password” and confirm with “#”
eInput the password and confirm with “#”
f
Password #
+
#
+
Input the password again and confirm with “#” to finish
g
***
#
+
***
For Card
Select “card” and confirm with “#”
eSelect “add card” and confirm with “#”
f
Card #
+
Place the card on the card reader to finish.
g
Add Card #
+
The password can be 6 to 10 digits;
It is suggested to make a list to record the users in the lock.
You can register all users in the same user group or register the users in different user groups.
Once you finish the operation, please try to unlock the lock to make sure the operation
is successful.

Delete Users (Master fingerprint users)
4
10
Input “0”and “#”, and then input the
master user to log in the system
a
Select “Admin” and confirm with “#”
cSelect “Fingerprint” and confirm with “#”
d
0#
+
Master
Select “Users” option and confirm with “#”
b
#
+
Admin #
+
Fingerprint #
+
Select the fingerprint user to delete,
and confirm with “#”
ePress “3” to delete the user
f
#
+
NO YES
"1" "3"
The master password cannot be deleted but can be modified.
It is suggested to make a list to record the users for better management.
Once finish the operation, please try to unlock the lock to make sure the operation is successful.
002
003
001

Delete Users (Normal users)
5
11
Input “0”and “#”, and then input the
master user to log in the system
a
Select “Admin” and confirm with “#”
cSelect the type of user,
and confirm with “#”
(fingerprint/password/card)
d
Select “Users” option
and confirm with “#”
b
#
+
Admin #
+
Fingerprint
#
+
Select the fingerprint user to delete,
and confirm with “#”
ePress “3” to delete the user
f
#
+
NO YES
"1" "3"
Once finish the operation, please try to unlock the lock to make sure the operation
is successful.
If you want to delete all the users within a user group, you can select “delete user” to delete
all of them in one time.
Card
Password
002
003
001
0#
+
Master

Unlocking Mode
6
12
Sometime if you need a higher security level, you can set up the lock in double unlocking mode,
which the unlock needs 2 registered users for unlocking each time.
a
Select the mode for unlocking,
and confirm with “#”
c
0#
+
Select “Lock Mode”
and confirm with “#”
b
#
+
Double Keys #
+
Single Key
Double Users
Single Key: unlock with one registered user;
Double Keys: unlock with 2 registered users, these 2 users can be in a same user group
Double Users: unlock with 2 registered users, these 2 users have to be in different groups.
Once finish the operation, please try to unlock the lock to make sure the operation is successful.
The master users can unlock directly overriding the lock modes.
and different groups;
Input “0”and “#”, and then input the
master user to log in the system
Master

Passage Mode
7
13
When the lock is requested for unlocking frequently, you can activate the passage mode and
let the people unlocking without identifications.
Unlock with master user, and then input 2 + 8 to activate the passage mode
Master
Once finish the operation, please try to unlock the lock to make sure the operation is successful.
The master users can unlock directly irrespective of the lock modes.
Enable
8
+
2
Press * to cancel the passage mode
*
Disable

System Setting
8
a
Select “Volume” and confirm with “#”
c
0#
+
Select “System” and confirm with “#”
b
#
+
Volume Setting
Volume #
+
Use Left key (4) and Right Key (6) to
adjust and volume, and then confirm
with “#”
d
4(<) 6(>)
+
-
Date and Time Setting
a
Select “Time” and confirm with “#”
c
Select “System” and confirm with “#”
b
#
+
Time #
+
Input the date and time,
and then confirm with “#”
d
xx/xx/xxxx
xx:xx:xx
14
#
#
+
Input “0”and “#”, and then input the
master user to log in the system
Master
Input “0”and “#”, and then input the
master user to log in the system
0#
+
Master

Restore The Lock
9
When the lock has problems and you can try to restore the lock to solve the problems.
aSelect “System” and confirm with “#”
b
#
+
Select “factory Setting” and confirm with “#”
c
Factory Setting #
+
Press key 3 to confirm, and the lock
starts to reset to factory default.
d
NO YES
"1" "3"
After reset the lock, the master password returns to default “01234-56789”,
please change the master password as soon as possible.
All the users and unlock records will be deleted in the lock.
Unlock Records
10
When the lock has problems and you can try to restore the lock to solve the problems.
a
Use Up key (2) and Down key (8) to check the records.
c
0#
+
Select “Log” and confirm with “#”
b
#
+
2( ) 8( )
xx/xx/xxxx
Admin
15
Input “0”and “#”, and then input the
master user to log in the system
Input “0”and “#”, and then input the
master user to log in the system
Master
0#
+
Master
Table of contents
Other Avent Security Door Lock manuals
