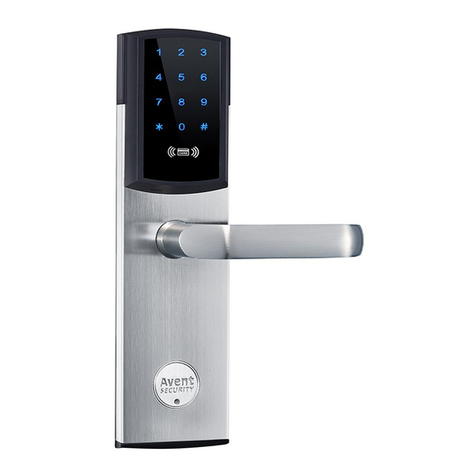
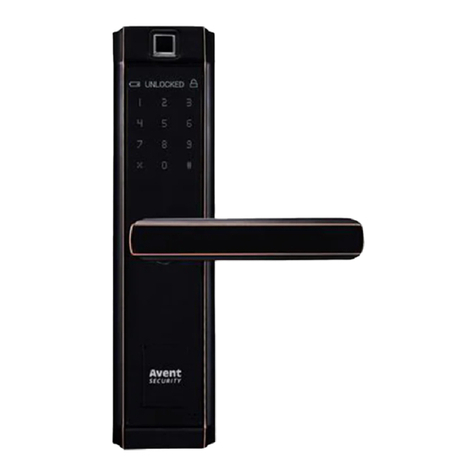
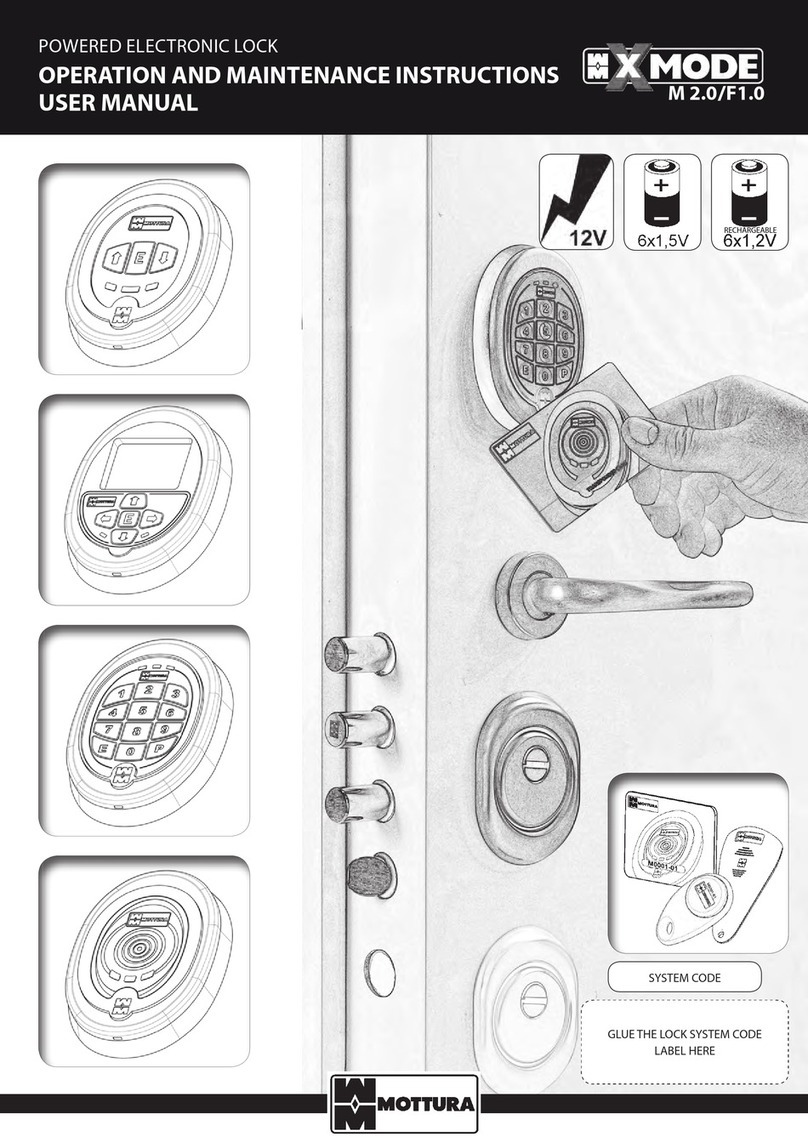
Avent Security M600 User manual

M600
FINGERPRINT DOOR LOCK

Brief Introduction
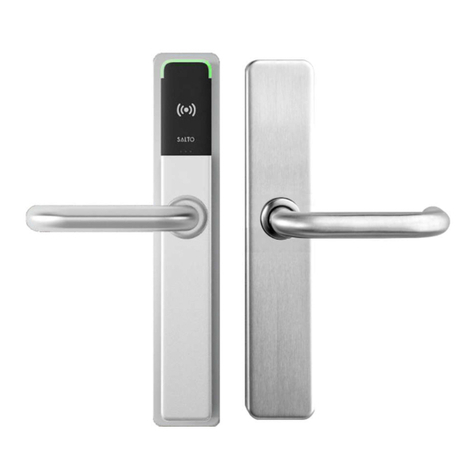
Product Guide
1
Fingerprint Sensor
1 2 3
4 5 6
7 8 9
0#
Card Reader
Touch Screen Keypad
Mechanical Key
Battery
Knob
1There are 4 kinds of unlocking methods available in this lock:
2The password can be 6 to 10 digits combination among 0 to 9.
Fingerprint Unlocking: 100 users;
Password Unlocking: 50 users;
RF Card Unlocking: 200 users;
Mechanical keys are used for emergency access.

Installation
Fo ld
Fo ld
Si de
Fr on t
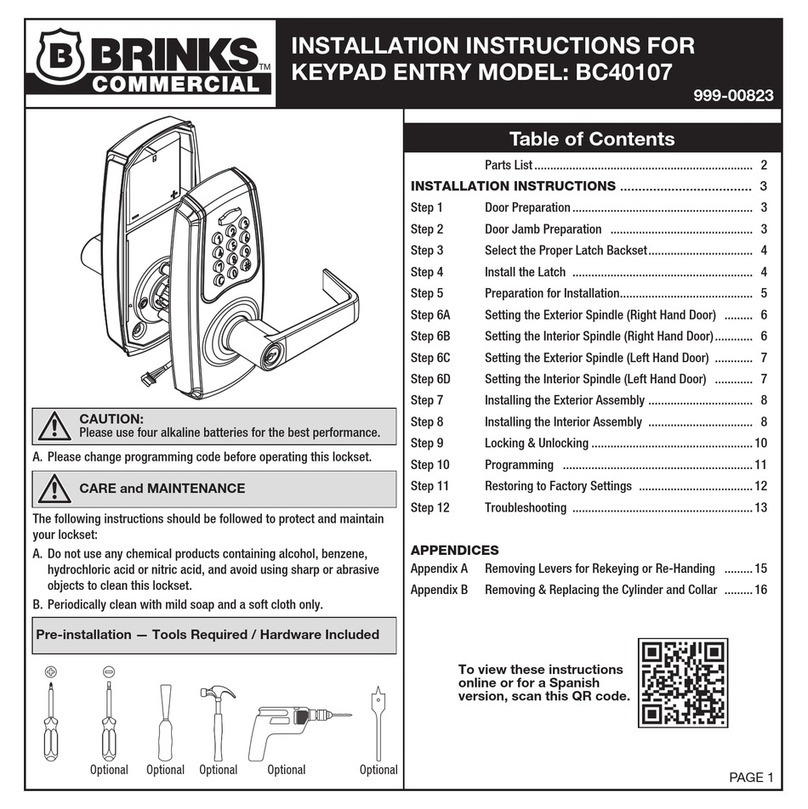
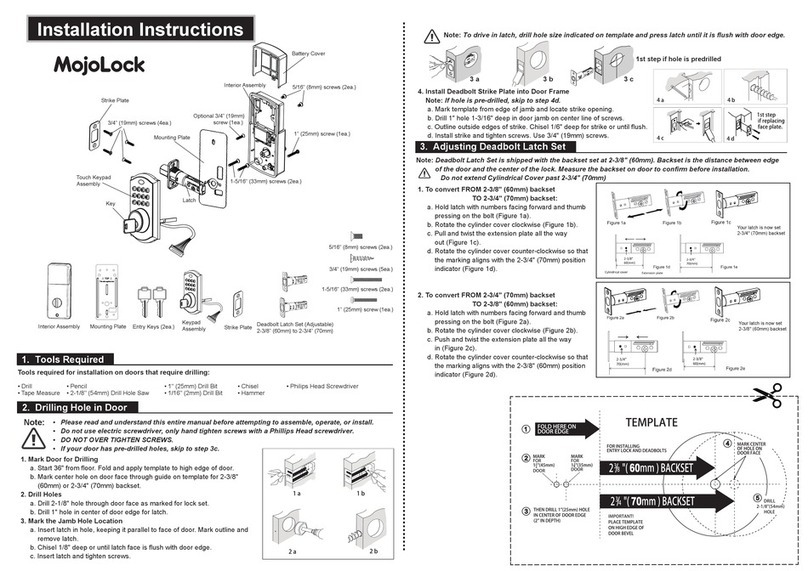
1.Mark the holes on the door
according to the template, and
then drill the holes.
35mm
35mm
35mm
20mm
20mm
2.Install the mortise and fasten it
with screws. Install the strike box
and strike and fasten them with
screws.
3.Install the spindle in the front panel,
and then fasten it with screw. Install
the connection rods on the front
panel. There are marks on the spindle
hole, for Left handle, put the “L” mark
on the right side, for Right handle,
put the “R” mark on the right side.
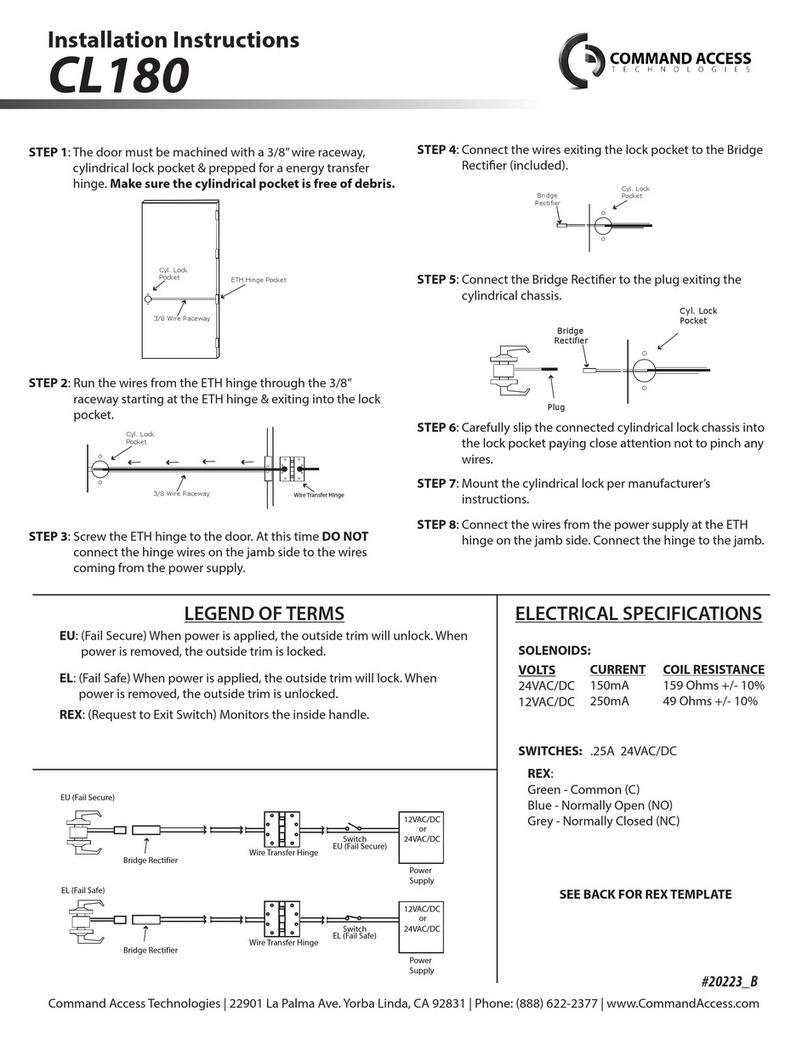
5.take down the battery case
and install the batteries.
4.Install the front panel on the door
2
+ 1.5V -
+ 1.5V -
+ 1.5V -
+ 1.5V -
6.Install the back panel and fasten the
screws with the front panel. After that,
test the installation and make sure it is
correct.
Left Handle:
Right Handle:
RL
move the L to the right side
move the R to the right side
LR

Operation
Register Master User
1
Activate the lock;
aInput 0 and #;
b
1 2 3
4 5 6
7 8 9
0#
1 2 3
4 5 6
7 8 9
0#
3
0#
+
Input the default master password,
and press # to confirm;
c
1 2 3
4 5 6
7 8 9
0#***
Master #
+
Input 1 for master
user setting
d
1 2 3
4 5 6
7 8 9
0#
1
Input 1 to add
master user
e
1 2 3
4 5 6
7 8 9
0#
1

1. Fingerprint User: place the fingerprint on the sensor 3 times to register;
X3
2.Password User: input the password, and press # to confirm in 2 times;
X2
***
3. Card User: place the card on the card reader to register;
The default master password is “01234-56789”, once a new master user
is registered in the lock, it will be replaced by the new master user and
cannot be used any more.
The password can be 6 to 10 digits.
Once the registration is finished, please try to use the registered user to
unlock and confirm the registration is successful.
It is suggested to make a record list for the user ID and manager them better.
4

Register Normal User
2
5
Activate the lock;
aInput 0 and #;
b
1 2 3
4 5 6
7 8 9
0#
1 2 3
4 5 6
7 8 9
0#0#
+
Input the master user
for authorization;
c
1 2 3
4 5 6
7 8 9
0#***
Master
Input 2 for normal user setting
d
1 2 3
4 5 6
7 8 9
0#
2
Input 1 to add normal user
e
1 2 3
4 5 6
7 8 9
0#
1
1. Fingerprint User: place the fingerprint
on the sensor 3 times to register;
X3
2.Password User: input the password,
and press # to confirm in 2 times;
X2
***
3. Card User: place the card on the
card reader to register;
The password can be 6 to 10 digits.
Once the registration is finished, please try to use the registered user to unlock
and confirm the registration is successful.
It is suggested to make a record list for the user ID and manager them better.

1 2 3
4 5 6
7 8 9
0#
6
Modify Master Password User
3
Activate the lock;
aInput 0 and #;
b
1 2 3
4 5 6
7 8 9
0#
1 2 3
4 5 6
7 8 9
0#0#
+
Input the master user
for authorization;
c
1 2 3
4 5 6
7 8 9
0#***
Master
Input 1 for master user setting
d
1 2 3
4 5 6
7 8 9
0#
1
Input 2 to modify master user
e
1 2 3
4 5 6
7 8 9
0#
2
Once the registration is finished, please try to use the registered user to
unlock and confirm the registration is successful.
***
Input the new password
and confirm with #
f
NEW
Input the new password and confirm
with # again to finish.
***
NEW
g
#
+
#
+

7
1 2 3
4 5 6
7 8 9
0#
Modify Normal Password User
4
Activate the lock;
aInput 0 and #;
b
1 2 3
4 5 6
7 8 9
0#
1 2 3
4 5 6
7 8 9
0#0#
+
Input the master user
for authorization;
c
1 2 3
4 5 6
7 8 9
0#***
Master
Input 2 for normal user setting
d
1 2 3
4 5 6
7 8 9
0#
2
Input 2 to modify normal user
e
1 2 3
4 5 6
7 8 9
0#
2***
Input the new password
and confirm with #
f
NEW #
+
1 2 3
4 5 6
7 8 9
0#***
Input the new password and confirm
with # again to finish.
g
NEW #
+Once the registration is
finished, please try to use the
registered user to unlock and
confirm the registration is
successful.

8
1 2 3
4 5 6
7 8 9
0#
Delete Master Users
5
Activate the lock;
aInput 0 and #;
b
1 2 3
4 5 6
7 8 9
0#
1 2 3
4 5 6
7 8 9
0#0#
+
Input the master user
for authorization;
c
1 2 3
4 5 6
7 8 9
0#***
Master
Input 1 for master user setting
d
1 2 3
4 5 6
7 8 9
0#
1
Input 3 to delete master user
e
1 2 3
4 5 6
7 8 9
0#
3
Input the ID number, and then
press # to confirm to delete it.
f
ID #
+
Please try to use the deleted user to unlock and make sure
the operations are successful.

9
1 2 3
4 5 6
7 8 9
0#
Delete Normal Users
6
Activate the lock;
aInput 0 and #;
b
1 2 3
4 5 6
7 8 9
0#
1 2 3
4 5 6
7 8 9
0#0#
+
Input the master user
for authorization;
c
1 2 3
4 5 6
7 8 9
0#***
Master
Input 2 for normal user setting
d
1 2 3
4 5 6
7 8 9
0#
2
Input 3 to delete normal user
e
1 2 3
4 5 6
7 8 9
0#
3
Input the ID number, and then
press # to confirm to delete it.
f
ID #
+
Please try to use the deleted user to unlock and make sure the
operations are successful.

Date and Time Setting
7
Activate the lock;
aInput 0 and #;
b
1 2 3
4 5 6
7 8 9
0#
1 2 3
4 5 6
7 8 9
0#0#
+
Input the master user
for authorization;
c
1 2 3
4 5 6
7 8 9
0#***
Master
Input 4 for system setting;
d
1 2 3
4 5 6
7 8 9
0#
4
Input 1 for date and time setting;
e
1 2 3
4 5 6
7 8 9
0#
Input the date and time
by Year – Month – Day - HH – MM;
f
1YY-MM-DD
HH-MM
There are 2 digits available for the date, which means you only can input
2 digits for the year, month, and day. For example, 2019 will be 19,
March will be 03, first day will be 01.
The time is 24 hours format. For example: 2:00 PM will be 14:00.
Please update the time to the current time before use.
10

Sound Volume Setting
8
Activate the lock;
aInput 0 and #;
b
1 2 3
4 5 6
7 8 9
0#
1 2 3
4 5 6
7 8 9
0#0#
+
Input the master user
for authorization;
c
1 2 3
4 5 6
7 8 9
0#
Input 4 for system setting;
d
1 2 3
4 5 6
7 8 9
0#
4
Input 2 for sound volume setting;
e
1 2 3
4 5 6
7 8 9
0#
Use number 1 to turn down the
volume and use number 3 to turn
up the volume, and press # to confirm.
f
213#
( )
( )
^
^
11
***
Master

Random Password Protection
9
Activate the lock;
aInput 0 and #;
b
1 2 3
4 5 6
7 8 9
0#
1 2 3
4 5 6
7 8 9
0#0#
+
Input the master user
for authorization;
c
1 2 3
4 5 6
7 8 9
0#
Input 4 for system setting;
d
1 2 3
4 5 6
7 8 9
0#
4
Input 4 for random password protect;
e
1 2 3
4 5 6
7 8 9
0#
Enable: input 2 and confirm with #
f
4
If you need a higher security to protect the password, you can activate the random
password protection. Under this protection, you can input some number before and
behind the real password, however, during you are inputting the real password, you
have to input the full correct password.
1 2 3
4 5 6
7 8 9
0#
2#
+
Disable: input 1 and confirm with #
g
1 2 3
4 5 6
7 8 9
0#
1#
+
This protect is enable in factory default.
12
***
Master

Unlocking Mode Setting
10
Activate the lock;
aInput 0 and #;
b
1 2 3
4 5 6
7 8 9
0#
1 2 3
4 5 6
7 8 9
0#0#
+
Input the master user
for authorization;
c
1 2 3
4 5 6
7 8 9
0#
Input 4 for system setting;
d
1 2 3
4 5 6
7 8 9
0#
4
If you need a higher security for unlocking, you can switch the lock into double
unlocking mode, which the lock requires 2 registered users to unlock every time.
Input 3 for double unlocking mode;
e
1 2 3
4 5 6
7 8 9
0#
Enable: input 2 and confirm with #
f
1 2 3
4 5 6
7 8 9
0#
2#
+
Disable: input 1 and confirm with #
g
1 2 3
4 5 6
7 8 9
0#
1#
+
3
13
***
Master

Passage Mode Setting
11
Use the master user to unlock
aInput 2 and 8 to activate the
passage mode;
b
1 2 3
4 5 6
7 8 9
0#
1 2 3
4 5 6
7 8 9
0#
Use the register user to unlock and it will cancel the passage mode.
a
1 2 3
4 5 6
7 8 9
0#
When the lock is requested for unlocking frequently, you can activate the
passage mode and let the people unlocking without identifications.
Enable:
28
+
Disable:
14
Register
***

Reset to Factory Default
12
Activate the lock;
aInput 0 and #;
b
1 2 3
4 5 6
7 8 9
0#
1 2 3
4 5 6
7 8 9
0#0#
+
Input the master user
for authorization;
c
1 2 3
4 5 6
7 8 9
0#
Input 4 for system setting;
d
1 2 3
4 5 6
7 8 9
0#
4
Input 5 to reset the lock
e
1 2 3
4 5 6
7 8 9
0#
Input 1 to confirm and the lock start to
reset to factory default.
f
51 2 3
4 5 6
7 8 9
0#
1
Make sure the lock has enough power before operation
Please register the master user for the lock as soon as possible after
the lock is restored.
15
***
Master
Table of contents
Other Avent Security Door Lock manuals
