manuals.online logo
Brands
  1. Home
  2. •
  3. Brands
  4. •
  5. Avery Dennison
  6. •
  7. Label Maker
  8. •
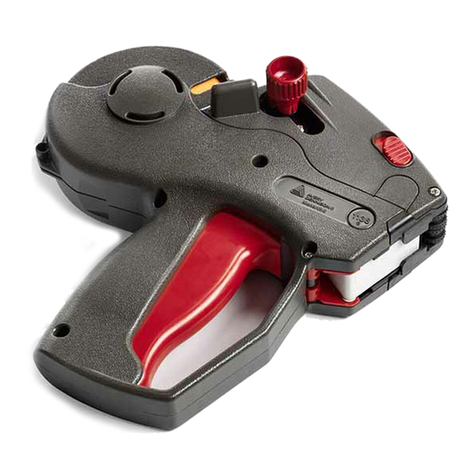
  9. Avery Dennison Monarch ADTP2 EcoCut User manual

Avery Dennison Monarch ADTP2 EcoCut User manual

EcoCut is a trademark of Avery Dennison Corporation. Classification: Avery Dennison - Public
TCADTP2ECOI Rev. AA 8/18 ©2018 Avery Dennison Corporation. All Rights Reserved.
MONARCH®ADTP2 ECOCUT™INSTRUCTIONS
Use these instructions for the Avery Dennison® Monarch® EcoCut™ Tabletop Printer 2. EcoCut
is designed to cut through the label material, but not the liner.
EcoCut supplies do not have black marks or die cuts; set the printer’s supply type to
continuous. We recommend setting the printer’s feed mode to on-demand (peel) mode or liner
take-up (peel with liner take-up) mode.
♦The peel chute is already installed to operate in peel mode. The printer separates the label
from the liner and the liner feeds out the front of the printer.
♦Remove the peel chute to operate in peel mode with liner take-up. The printer separates the
label from the liner and the liner is collected on a take-up reel near the supply roll.
♦The feed length for each print job may vary, depending on the length set in the format or at
the printer’s menu. See “Setting Supply Options” for more information.
Information in this document supersedes information in previous versions. Check our Web site
(www.printers.averydennison.com) for any updates.
CAUTION: Do not place your fingers or any other objects into the cutter.
EcoCut Tips
♦When removing printed labels, always lift up, using the cutter cover as a guide. Do not pull
the label to remove; doing so may cause the label to tear or the printer to lose registration.
♦With 6.0 inch (or longer) labels in on-demand mode, static build-up may cause the label to
stick to the printer’s peel door. Keep a finger below the printed label and lift up to remove,
using the cutter cover as a guide.
♦Opening the printer’s peel door may cause the next label to print in on-demand mode.
♦Follow the cleaning instructions provided in this document for optimal performance.
♦The EcoCut printer is only warranted with use of Avery Dennison-approved supplies.
♦Standard die cut supplies (non-EcoCut) may be used with this printer, but you may need to
remove the cutter cartridge. See “Replacing the Cutter Cartridge” for more information.
Peel Door
2Classification: Avery Dennison - Public
Overview
1 Cutter Cover
2 Motor Cover
1 Cutter Cartridge Release 3 Cutter Cartridge (dark gray)
2 Cutter ‘Home’ Position Screw 4 Cut Depth Dial (red)
Classification: Avery Dennison - Public 3
Setting Supply Options
Set the printer for the expected operation before
loading supply/ribbon and sending print jobs.
Use the following recommendations:
Option Choices Recommendation
Supply Type E Aperture/E Die Cut/E Black Mark/ Continuous/
C Aperture/C Die Cut/C Black Mark/C Tag Edge
Continuous
Ribbon
No/Yes/High Energy
See below.
Feed Mode Continuous/On-Demand/Liner Takeup On-Demand
Cut Mode Disabled/Cut Each Tag/Cut Each Batch Cut Each Tag
Non Indexed Length 0 (value is not set)
1218 to 3248 in 203 dpi (6.0” to 16.0”)
1800 to 4800 in 300 dpi (6.0” to 16.0”)
See below.
Setting the Supply Type
Continuous is the default setting. Using any other setting causes improper operation and/or
supply faults.
Setting the Ribbon
For thermal direct supplies, no ribbon is required. For thermal transfer supplies, load a ribbon.
See “Loading a Ribbon” for more information.
Setting the Feed Mode
On-Demand is the default setting. Liner Take-up mode works with EcoCut supply. We do not
recommend continuous mode with EcoCut supply.
Setting the Cut Mode
Set how the printer cuts supply. This printer has a rotary (pizza cutter) blade. For information
about cutter maintenance, see “Cleaning Adhesive from the Supply Path.” The printer does not
have a cut button – select the appropriate cut mode for your application.
Select To
Disabled Do not cut.
Cut each tag Cut after each tag in the batch. This is the default setting.
Cut each batch Cut after the last tag in the batch (cuts in strips) not each tag. We do
not recommend this setting with EcoCut supply.
Setting the Non-Indexed Length
The supply is cut based on the feed length in the format header’s
length parameter. See “Defining the Format Header” in the Packet
Reference Manual for more information. 0 indicates the length comes
from the format header. To override the setting in the format header,
specify the non-indexed length in dots. The default is six inches.The range is 1218 to 3248 in
203 dpi (6.0” to 16.0”) or 1800 to 4800 in 300 dpi (6.0” to 16.0”).
Select To
Decrease the setting. Shortens the feed length.
Increase the setting. Increases the feed length.
Note: Press the left function button to change the amount (by 1, 10, or 100).
4Classification: Avery Dennison - Public
Loading Supply for On-Demand Mode (Peel Mode)
Set the printer for the expected operation before loading supply/ribbon and sending print jobs.
See “Setting Supply Options” for more information. Standard die cut supplies (non-EcoCut) may
be used with this printer, but you may need to remove the cutter cartridge. See “Replacing the
Cutter Cartridge” for more information.
1. Open the cover.
2. Turn the printhead latch to unlock the printhead.
3. Lift the printhead assembly until it locks into place.
4. Adjust the roll guides to fit your supply roll. The supply roll must move freely.
5. Place rolled supply on the supply holder. Continuous supply unrolls from the top.
6. Turn the supply lever to unlock the supply guides.
7. Feed the supply through the supply path and cutter. Tuck the supply under the nibs and die
cut sensor.
8. Adjust the supply guides so they
barely touch the supply. Turn the
supply lever up to lock it in place.
9. Using your fingers/thumbs, press
the peel door tabs to open the
printer’s peel door.
Printhead Latch
Printhead Assembly
Roll Guides
Supply Lever
Supply Guides
Classification: Avery Dennison - Public 5
10. Feed the supply through the opening at the bottom of the peel door.
11. Close the peel door.
12. Push the printhead release.
13. Close the printhead assembly until you hear it click into place.
14. Press FEED to position the supply under the printhead.
When removing printed labels, always lift up, using the cutter cover as a guide. Do not pull the
label to remove; doing so may cause the label to tear or the printer to lose registration.
Opening the printer’s peel door may cause the next label to print (if in on-demand mode).
Printhead Release
Liner
6Classification: Avery Dennison - Public
Removing the Peel Chute for Liner Take-Up
To use Internal Liner Take Up, remove the Peel Chute. The peel chute is installed for use
with peel mode. It guides the
liner out the bottom of the exit
door. For internal liner take up,
the liner needs to pass under
the peel roller. The peel chute
blocks this opening.
1. Using your fingers/thumbs,
press the peel door tabs to
open the printer’s peel
door.
2. Press in on the peel door
hinges to remove it. DO
NOT detach the cable.
3. Use your fingernail or flat
head screwdriver to push in
on the right side of the peel
chute. Slide that end out
and remove the chute.
4. Reattach the peel door.
Remove the Peel Chute
Pinch Roller
Classification: Avery Dennison - Public 7
Loading Supply for Internal Liner Take-up Mode
Remove the peel chute (if installed). See “Removing the Peel Chute for Liner Take-Up” for
more information.
Set the printer for the expected operation before loading supply/ribbon and sending print jobs.
See “Setting Supply Options” for more information.
Load supplies for peel mode, leaving
at least 18 inches of supply
extending past the printhead.
1. Unlock and lift the printhead
assembly until it locks into place.
2. Feed the supply under the peel
roller.
3. Remove the bail.
4. Wrap the supply around the take-
up reel in a counter-clockwise
direction.
5. Hold the supply while placing one
end of the bail in a groove in the
liner take-up reel. Gently rotate
the bail counter-clockwise until
the other end snaps into the
corresponding groove.
8Classification: Avery Dennison - Public
6. Gently slide the bail all the way onto the reel.
7. Turn the reel counter-clockwise to remove
any slack in the liner.
8. Close the printhead assembly until you hear it
click in to place.
9. Close the peel door.
10. Press FEED to position the supply under the
printhead.
When removing printed labels, always lift up,
using the cutter cover as a guide.
Removing a Full Liner Take-Up Roll
The printer alerts you when the liner take-up reel
is full. The liner take-up reel holds approximately
half of a roll of liner.
Note: The liner can be removed before the take-up reel is full.
1. Open the cover.
2. Turn the printhead latch to unlock the printhead. Lift the printhead assembly until it locks
into place.
3. Open the peel door.
4. Gently pull the liner take-up bail off the liner take-up reel.
5. Use scissors to cut the liner in front of the take-up reel.
6. Remove the liner from the take-up reel.
7. Reload supply and continue printing.
Classification: Avery Dennison - Public 9
Loading a Ribbon
Note the ribbon loading as shown.
Rotate the take-up reel until any wrinkles are past the printhead. The ribbon must be straight
and centered throughout the path.
Moving the Cutter to the Home Position
Check to see if the cutter is at the “home” position (near the printhead latch).
If it is not, there are several ways to move it
to the “home” position:
♦Close the printhead (with supply loaded)
and press FEED. The cutter moves to the
home position.
♦Using a small flat-head screwdriver, turn
the cutter home position screw clockwise
until it stops. The cutter cartridge moves
slightly as the screw turns until it stops at
home.
♦Using the printer’s control panel, press 
or . The cutter cartridge moves to the
other side.
If the cutter cannot be moved, contact
Technical Support.
Take-up Reel
Turn the screw
10 Classification: Avery Dennison - Public
Clearing a Cutter Jam
If supply jams in the cutter, the display turns red and you see error 759.
1. Press Escape to clear the error. If supply is jammed under the cutter cartridge, manually
move the cutter: Using a small flat-head screwdriver, turn the cutter cartridge’s screw
clockwise or counter-clockwise until it is away from the jammed supply.
2. Clear the supply path to remove jammed supply out of the cutter.
Caution: Do not place your fingers near the cutter’s blade.
3. Clean the supply path if you notice adhesive build-up. See “Cleaning Adhesive from the
Supply Path” for more information.
Cleaning Adhesive from the Supply Path
Clean the printer’s supply path regularly (approximately every 60,000 inches) or whenever
adhesive build-up is present. The printer prompts every 60,000 inches as a reminder to clean
the supply path. Only clean the cutter while the printer is idle (no active print jobs).
Adhesive build-up occurs on the
♦edges of the inner supply guides
♦sensors
♦peel bar/cutting anvil
♦bottom of the ribbon deflector.
♦cutter blade and depth control roller
To clean the printer’s supply path:
1. Open and remove the adhesive
remover wand (132839) from
the package. Do not touch the
foam end of the wand.
2. Use the foam end of the wand
to dampen the inner edges of
the supply guides, sensor, and
underneath the ribbon
deflector.
Adhesive build-up area
Classification: Avery Dennison - Public 11
3. Use the plastic end of the adhesive remover wand to scrape off the loosened adhesive.
Collect the adhesive with a cotton cloth and discard.
4. Let the printer dry and reload supplies.
Cleaning the Anvil
Use the foam end of the adhesive wand to dampen the outer edges of the anvil. Make sure the
entire anvil is clean. Using a small flat-head screwdriver, turn the cutter cartridge’s screw
clockwise or counter-clockwise to move the cutter cartridge out of the way and clean the anvil’s
other side.
Turn the screw
12 Classification: Avery Dennison - Public
Cleaning the Cutter’s Blade and Depth Roller
Adhesive build-up (shown in brown) may occur between the cutter’s blade (shown in white) and
depth roller (shown in light gray). Label fragments (shown in brown) may stick to the depth
roller and may cause uneven cuts or skips in the cut.Clean the cutter’s blade and depth roller
when prompted to clean the sensor.
Remove the cutter cartridge to clean the cutter’s blade and depth roller. See “Replacing the
Cutter Cartridge” for more information.
Use isopropyl alcohol on a cotton swab to clean any adhesive on the cutter’s blade, depth roller,
and in between the blade and depth roller. Carefully turn the blade and depth roller with your
finger to make sure they are clean all the way around.
After Cleaning
Adhesive Build-up and Label Fragments
Depth Roller
Cutter Blade
Label Fragments
Depth Roller
Cutter Blade
Adhesive Build-up
Classification: Avery Dennison - Public 13
Adjusting the Cut Depth
If the cutter is cutting too deep or not deep enough, adjust the cut depth. Adjust for clean cuts
without cutting into or through the liner. Make small adjustments, then print and cut a few
labels. If the cutter cuts through the liner, make further adjustments.
1. Open the printer’s cover.
2. Check to see if the cutter is at
the home position. If it is not,
see “Moving the Cutter to the
Home Position,” for more
information.
3. Turn the printhead latch to
unlock the printhead.
4. Lift the printhead assembly until
it locks into place.
5. Use a flat-head screwdriver to
adjust the cut depth dial:
♦Turn the dial counter-
clockwise to decrease the cut depth.
♦Turn the dial clockwise to increase the cut depth.
6. Adjust one “click” at a time and test the cut. Make further adjustments if necessary.
Replacing the Cutter Cartridge
When the cutter is not getting a clean cut or is not cutting deep enough it may need to be
replaced. Before replacing, review the recommended cleaning procedures and/or adjust the cut
depth. If those solutions do not solve the problem, replace the cutter cartridge (part number
132643).
We recommend replacing the cutter cartridge every one million cuts. Contact your Avery
Dennison Representative to purchase a new cutter cartridge.
To replace the cutter’s cartridge:
1. Open the printer’s cover.
2. Check to see if the cutter is at the
home position. If it is not, see
“Moving the Cutter to the Home
Position,” for more information.
3. Turn the printhead latch to unlock the
printhead.
4. Lift the printhead assembly until it
locks into place.
5. Press and hold the cartridge release
button while pulling out the cutter
cartridge.
To insert a new cutter cartridge:
Press and hold the cartridge release
button while inserting the cutter cartridge.
Press cartridge release
button
14 Classification: Avery Dennison - Public
Troubleshooting
Contact your System Administrator if you cannot clear an error.
Error Action
758 Check for a label jam, clear the supply path, or reload supplies. This error may occur
if you remove a label too quickly in the on-demand mode. The on-demand sensor
may not be connected or needs to be replaced. Call Technical Support.
759 Cutter is not moving. Call Technical Support.
760 Check cutter. Call Technical Support.
785 The internal liner take-up reel is full. Remove the liner take-up reel and dispose of
the liner. Reload supplies and press ENTER to continue printing.
Supply Specifications
The limited warranty on the cutter cartridge is one (1) year from the date of shipment or one
million cuts, whichever occurs first. The 1,000,000 cuts is only warranted with use of Avery
Dennison-approved supplies. Contact your Avery Dennison Representative for more information
about EcoCut supplies.
Supply Widths: 0.75 inches (19 mm) minimum
4.0 inches (101.6 mm) maximum
Cut Lengths: 1.50 inch (38.1 mm) minimum
6.0 inches (152 mm) maximum
Supply Thickness: Liner: 1.5 mils to 2.5 mils
Label: 2.0 mils to 3.5 mils

Other manuals for Monarch ADTP2 EcoCut

1

Other Avery Dennison Label Maker manuals

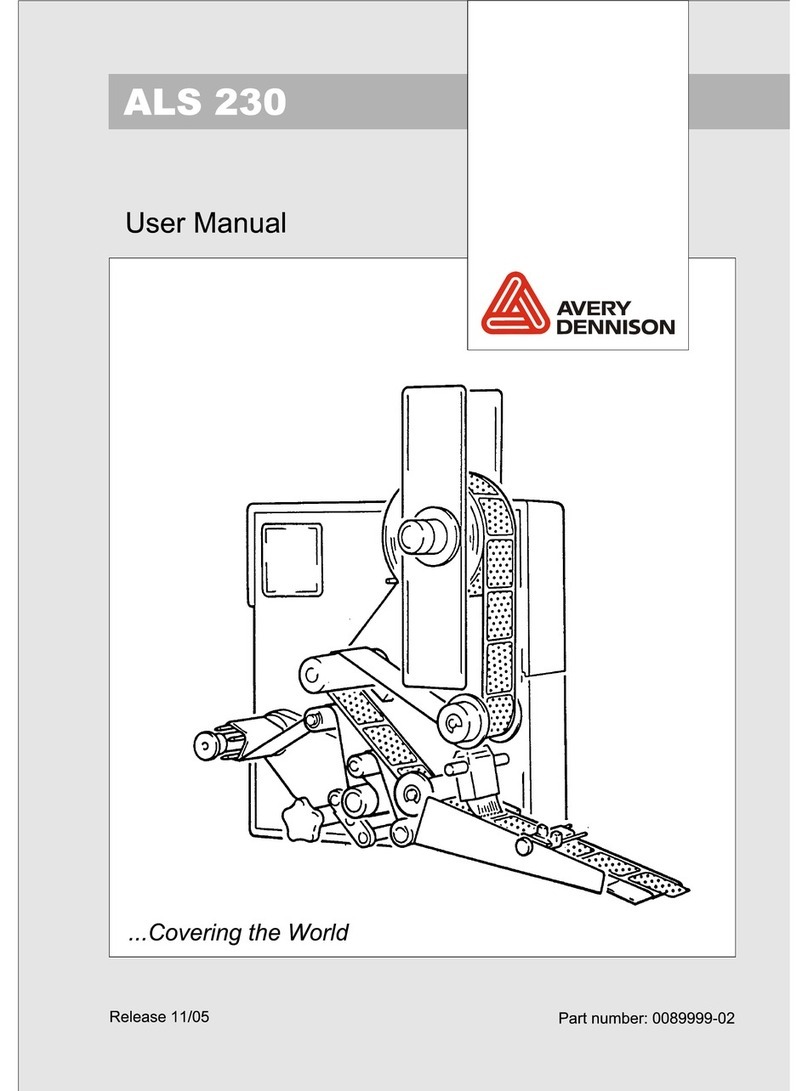
Avery Dennison ALS 230 User manual

Avery Dennison

Avery Dennison ALS 230 User manual

Avery Dennison AP5.4 Gen II Troubleshooting guide

Avery Dennison

Avery Dennison AP5.4 Gen II Troubleshooting guide

Avery Dennison ALS 221 User manual

Avery Dennison

Avery Dennison ALS 221 User manual
Avery Dennison ALS 204 User manual

Avery Dennison

Avery Dennison ALS 204 User manual

Avery Dennison ALS 330/430 User manual

Avery Dennison

Avery Dennison ALS 330/430 User manual

Avery Dennison ALS 430 User manual

Avery Dennison

Avery Dennison ALS 430 User manual

Avery Dennison AP5.4 Troubleshooting guide

Avery Dennison

Avery Dennison AP5.4 Troubleshooting guide

Avery Dennison Pathfinder 6057 Service manual

Avery Dennison

Avery Dennison Pathfinder 6057 Service manual

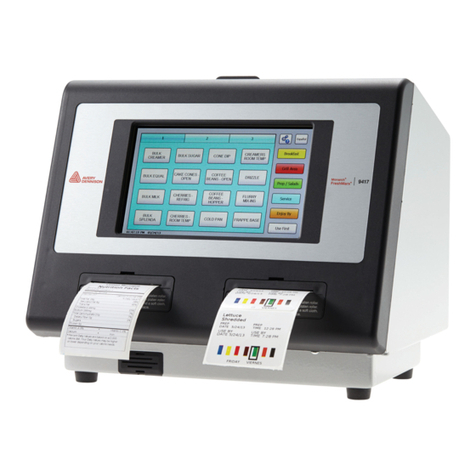
Avery Dennison Monarch Freshmarx 9417+ Service manual

Avery Dennison

Avery Dennison Monarch Freshmarx 9417+ Service manual

Avery Dennison ALS 421 User manual

Avery Dennison

Avery Dennison ALS 421 User manual

Avery Dennison ALS 204 User manual

Avery Dennison

Avery Dennison ALS 204 User manual

Avery Dennison Monarch 9855 User manual

Avery Dennison

Avery Dennison Monarch 9855 User manual

Avery Dennison PB-XL User manual

Avery Dennison

Avery Dennison PB-XL User manual

Avery Dennison Monarch 8417 User manual

Avery Dennison

Avery Dennison Monarch 8417 User manual

Avery Dennison 64-Series User manual

Avery Dennison

Avery Dennison 64-Series User manual

Avery Dennison SNAP 500 User manual

Avery Dennison

Avery Dennison SNAP 500 User manual

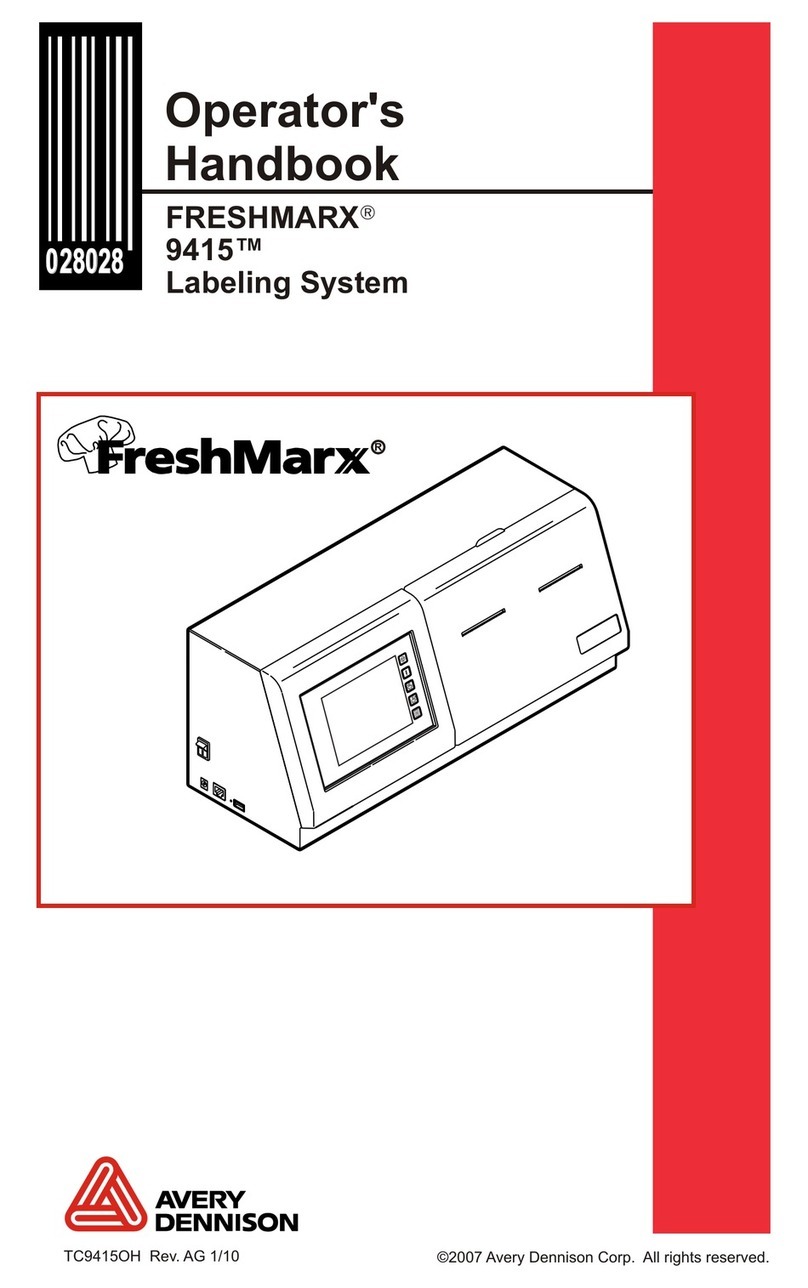
Avery Dennison FRESHMARX 9415 User manual
Avery Dennison

Avery Dennison FRESHMARX 9415 User manual

Avery Dennison ALX 92x User manual

Avery Dennison

Avery Dennison ALX 92x User manual

Avery Dennison SNAP 700 User manual

Avery Dennison

Avery Dennison SNAP 700 User manual

Avery Dennison Pathfinder 6057 Instruction Manual

Avery Dennison

Avery Dennison Pathfinder 6057 Instruction Manual

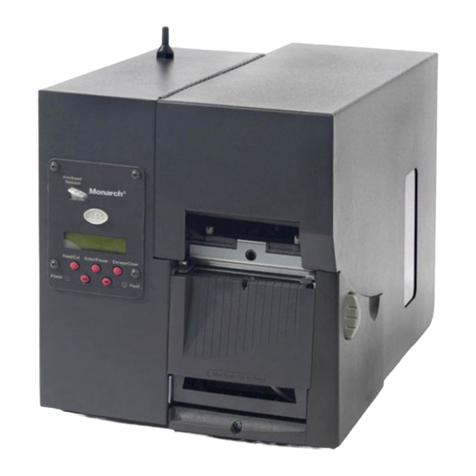
Avery Dennison Label Printer User manual

Avery Dennison

Avery Dennison Label Printer User manual

Avery Dennison FRESHMARX 9415 Service manual

Avery Dennison

Avery Dennison FRESHMARX 9415 Service manual

Avery Dennison AP3.4 Troubleshooting guide

Avery Dennison

Avery Dennison AP3.4 Troubleshooting guide

Avery Dennison ALS 450 User manual

Avery Dennison

Avery Dennison ALS 450 User manual

Popular Label Maker manuals by other brands

Dymo Omega specification

Dymo

Dymo Omega specification

Carl Valentin Vita II 103/8 T Quick reference guide

Carl Valentin

Carl Valentin Vita II 103/8 T Quick reference guide

Brother QL-600 Quick setup guide

Brother

Brother QL-600 Quick setup guide

Brother TD-2020A user guide

Brother

Brother TD-2020A user guide

STS 808 Operating manual / original instruction

STS

STS 808 Operating manual / original instruction

Brother P-touch PT-2700 user guide

Brother

Brother P-touch PT-2700 user guide

Q-Matic Q-Entry SE user guide

Q-Matic

Q-Matic Q-Entry SE user guide

Brother P-Touch 2100 user guide

Brother

Brother P-Touch 2100 user guide

Epson LabelWorks LW-700 user guide

Epson

Epson LabelWorks LW-700 user guide

Comer CX418 user manual

Comer

Comer CX418 user manual

Epson LabelWorks LW-Z700FK user guide

Epson

Epson LabelWorks LW-Z700FK user guide

Dymo LabelWriter 400 Duo Guide Brochure & specs

Dymo

Dymo LabelWriter 400 Duo Guide Brochure & specs

BIXOLON SLP-DX220 Service manual

BIXOLON

BIXOLON SLP-DX220 Service manual

Esselte Xyron Creative Station user guide

Esselte

Esselte Xyron Creative Station user guide

GRAPHTEC LABELROBO LCX603 Setup manual

GRAPHTEC

GRAPHTEC LABELROBO LCX603 Setup manual

3M Matic Accuglide 2+ Instructions and parts list

3M

3M Matic Accuglide 2+ Instructions and parts list

Esselte LECTRA TAG QX50 Instructions for use

Esselte

Esselte LECTRA TAG QX50 Instructions for use

Dymo LetraTag instruction manual

Dymo

Dymo LetraTag instruction manual

manuals.online logo
manuals.online logoBrands
  • About & Mission
  • Contact us
  • Privacy Policy
  • Terms and Conditions

Copyright 2025 Manuals.Online. All Rights Reserved.