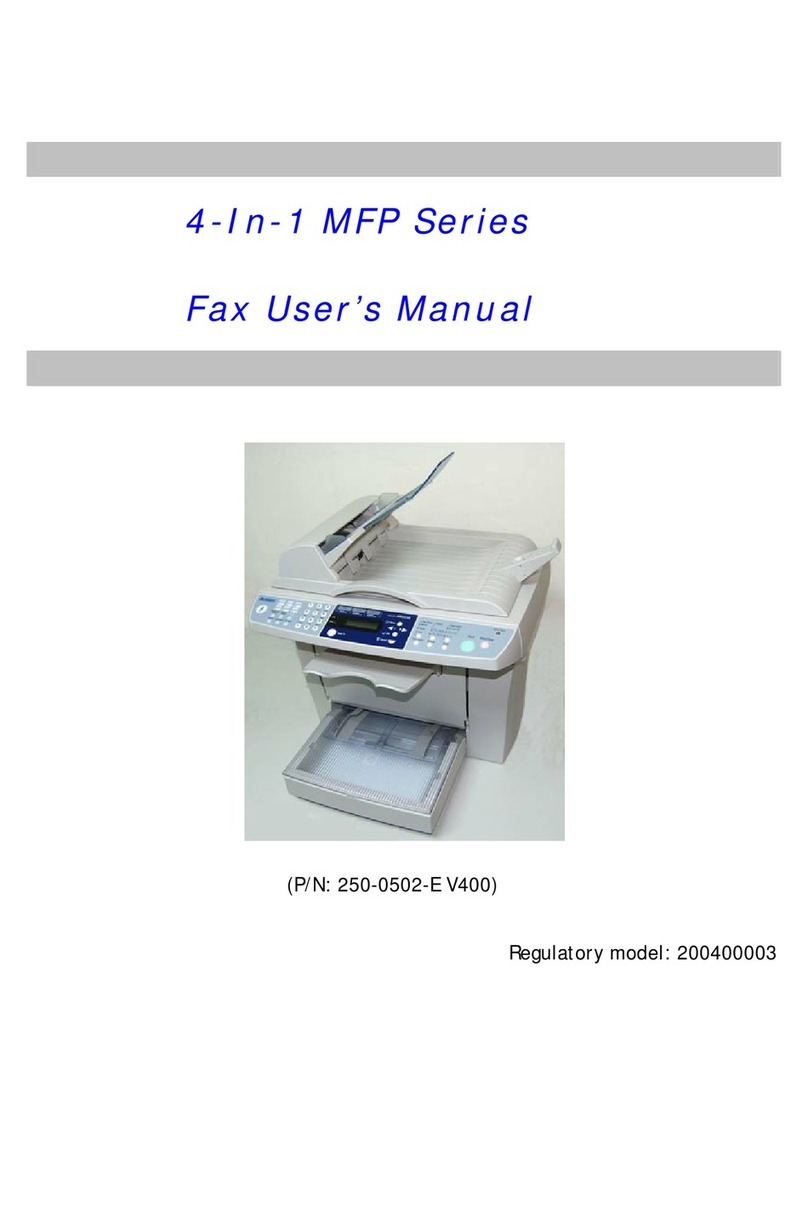
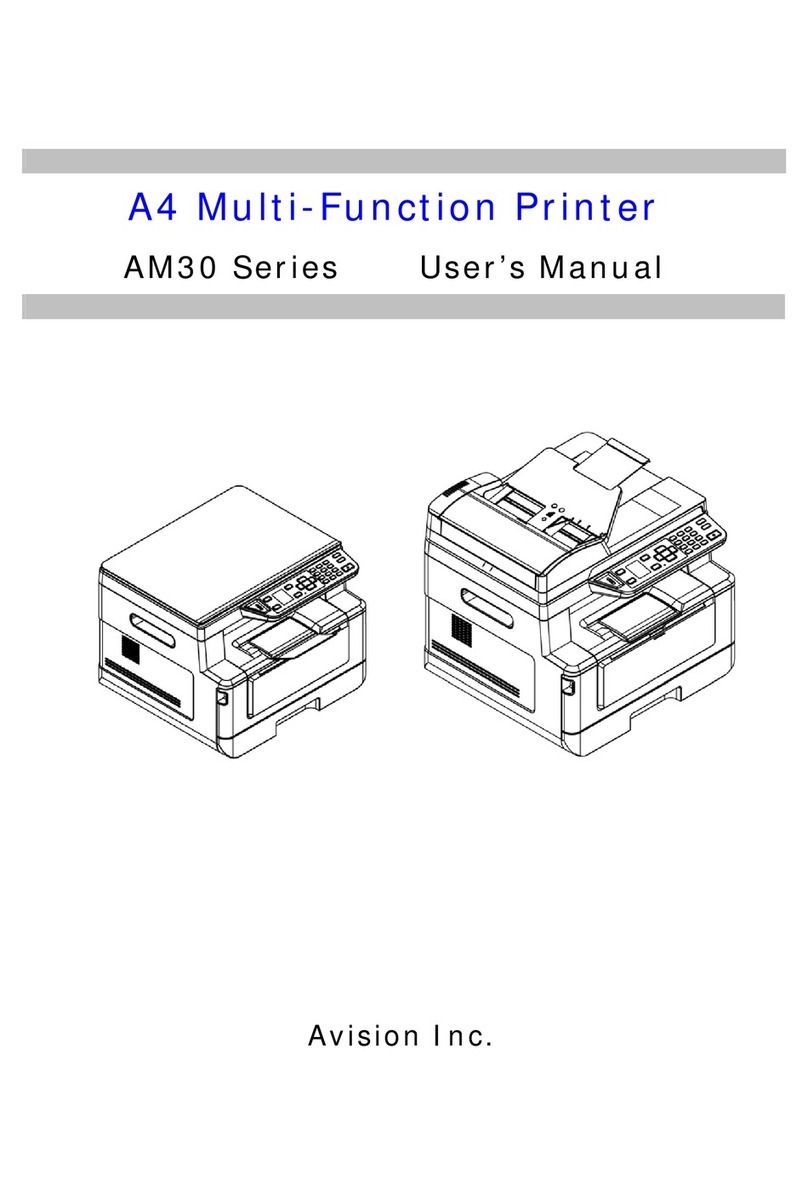
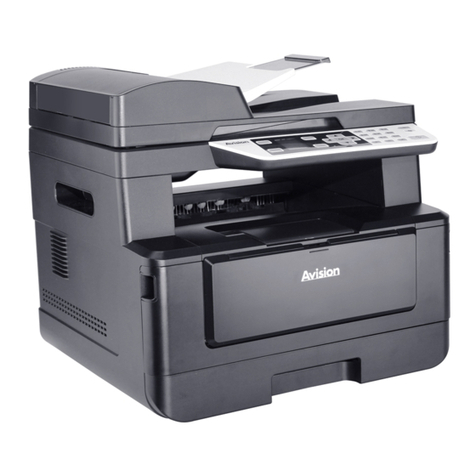
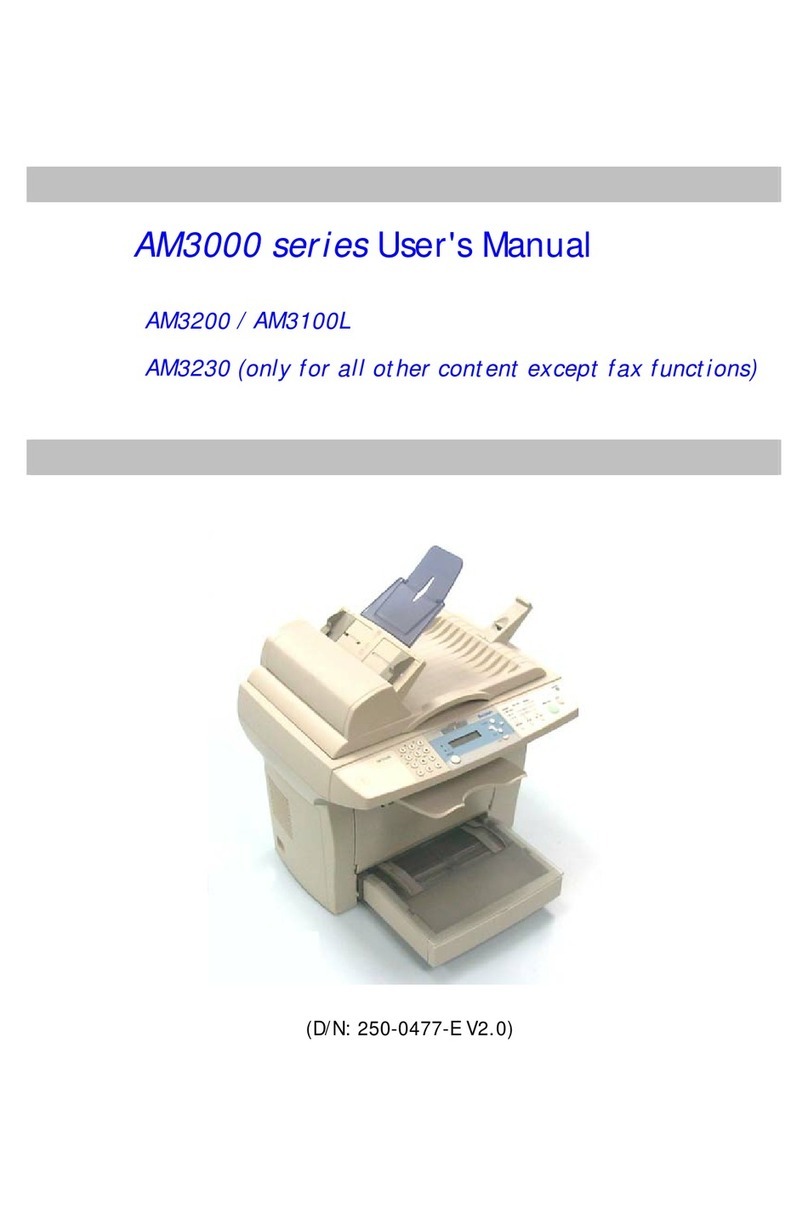
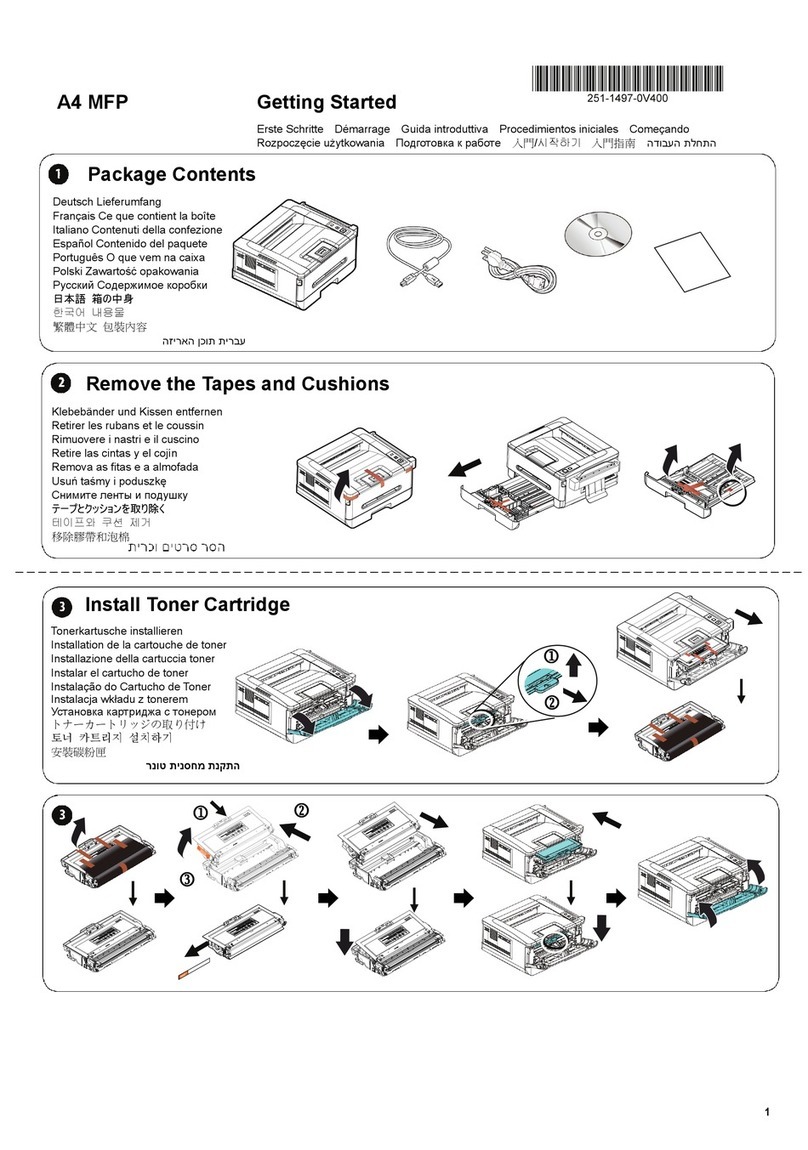
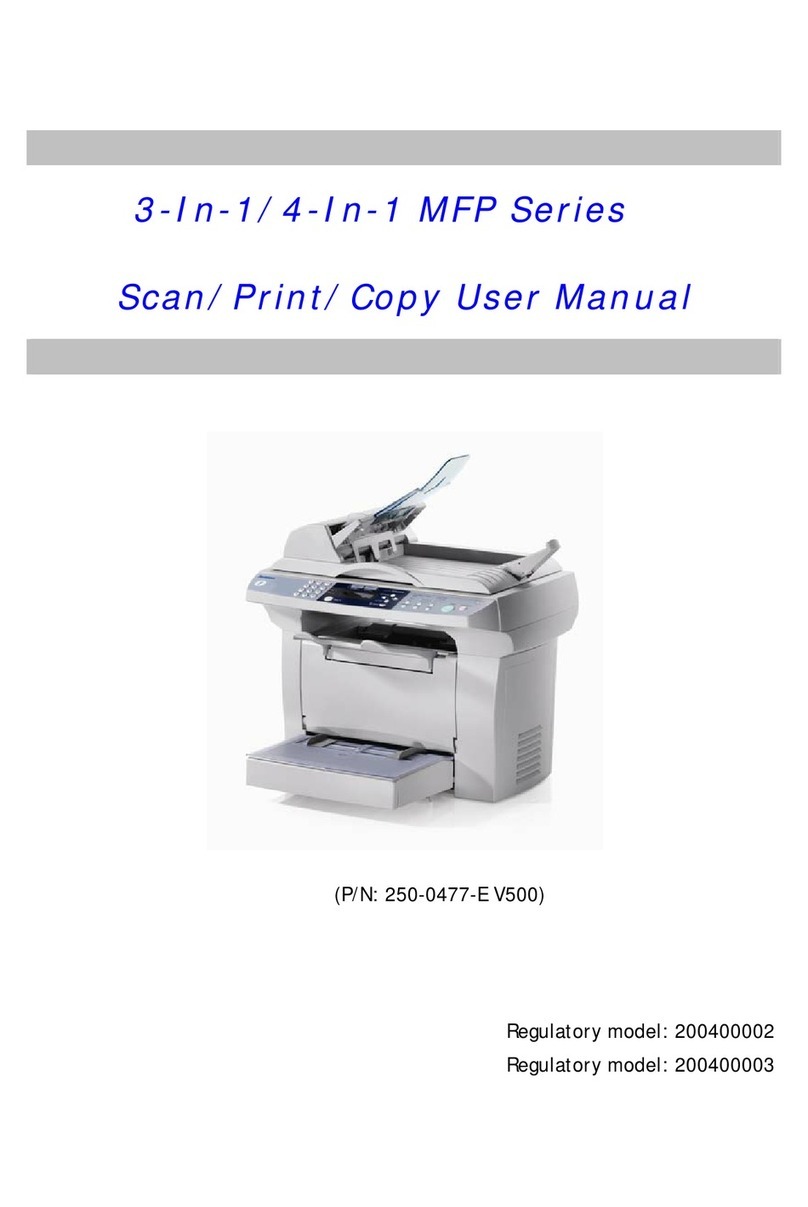
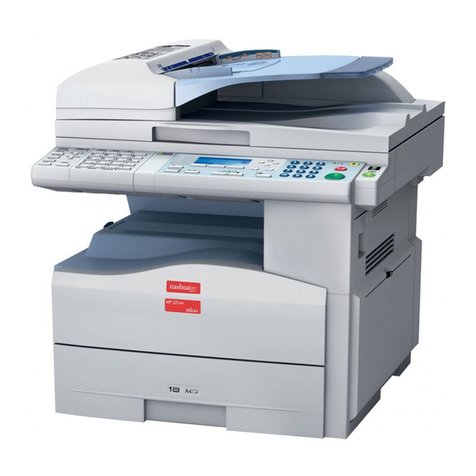
Avision MT-0904B User manual

An A3 Network MFP – Copy/Scan/Print
User's Manual
Regulatory model: MT-0904B
Avision Inc.

Safety Information
When using this equipment, the following safety precautions should always be followed.
Safety During Operation
In this manual, the following important symbols are used:
WARNING:
Indicates potentially hazardous situations, which if instructions are not followed, could result in
death or serious injury.
CAUTION:
Indicates a potentially hazardous situation which, if instructions are not followed, may result in
minor or moderate injury or damage to property.
Important:
Indicates operational requirements and restrictions. Please read and follow these instructions
to ensure a proper operation and to avoid damage to the machine.
Note:
Indicates further explanation or clarification. Reading this is highly recommended.
WARNING:
To avoid hazardous electric shock or fire, do not remove any covers or screws other than those
specified in this manual.
CAUTION:
9To reduce the risk of fire, use only no.26AWG or larger telecommunication line cord.
9Disconnect the power plug by pulling the plug, not the cable.
9Do not touch the metal fingers of the ADF pad module. The edges are sharp and touching
them may result in injury.
i
i

Precautions
yDo not install the equipment near heating or air conditioning units.
yDo not install the equipment in a humid or dusty place.
yPlace the equipment securely on an even, flat surface. Tilted or uneven surfaces may
cause mechanical or paper-feeding problems.
yRetain the box and packing materials for shipping purposes.
Notice
Important
yDo not make copies of any item for which copying is prohibited by law.
yCopying the following items are normally prohibited by the local law:
yBank bills, revenue stamps, bonds, stock certificates, bank drafts, checks, passports,
driver's licenses.
yThis machine is equipped with a function that prevents making counterfeit bank bills. Due
to this, images similar to bank bills may not be copied properly.
Copyrights and Trademarks
Ethernet is a registered trademark of Xerox Corporation.
Microsoft, Windows, Windows NT, Windows XP, and Windows Vista are registered trademarks
of Microsoft Corporation in the United States and/or other countries.
Other product names used herein are for identification purposes only and may be trademarks
of their respective companies. We disclaim any and all rights to those marks.
Warranty
The information contained in this document(s) is subject to change without notice.
The manufacturer makes no warranty of any kind with regard to this material, including, but
not limited to, the implied warranties of fitness for a particular purpose.
The manufacturer shall not be liable for errors contained herein or for incidental or
consequential damages in connection with the furnishing, performance, or use of this material.
iii

FCC Radio Frequency Interference Statement
This product has been tested and found to comply with the limits for a class B digital
device, pursuant to Part 15 of the FCC rules. Operation is subject to the following two
conditions: (1) this device may not cause harmful interference, and (2) this device must
accept any interference received, including interference that may cause undesired
operation. The FCC Class B limits are designed to provide reasonable protection against
harmful interference in a residential installation. This equipment generates, uses, and can
radiate radio frequency energy and, if not installed and used in accordance with the
instructions, may cause harmful interference to radio communications. However, there is
no guarantee that interference will not occur in a particular installation. If this equipment
does cause harmful interference to radio or television reception, which can be determined
by turning the equipment off and on, the user is encouraged to try to correct the
interference by one or more of the following measures:
Reorient or relocate the receiving antenna.
Increase the separation between the equipment and receiver.
Connect the equipment into an outlet on a circuit different from that to which the
receiver is connected.
Consult your point of purchase or service representative for additional suggestions.
CE Warning
This product satisfies the Class B limits of EN55022, EN55024 and safety requirements of
EN 60950.
i
v

Table of Contents
1. Getting Started......................................................... 1
Introduction............................................................................................. 1
Features................................................................................................... 1
External View........................................................................................... 3
Package Contents..................................................................................... 5
The Control Panel..................................................................................... 6
2. Installing Your Machine.......................................... 11
Unpacking The Product .......................................................................... 11
Unlocking the Scan Unit ......................................................................... 12
Removing the Tapes of the Toner Cartridge ........................................... 13
Placing The Paper to the Input Trays ..................................................... 16
Connecting to the Network..................................................................... 22
Connecting The Power Cable .................................................................. 23
Turning On The Machine......................................................................... 24
3. Configuring the Machine......................................... 25
The Navigation Buttons.......................................................................... 25
Menu Items and Description................................................................... 26
Menus Example 1 – Set Manual Tray Paper Size & Orientation............... 34
4. Copying .................................................................. 37
Placing Originals .................................................................................... 37
Paper Orientation................................................................................... 39
Basic Copy Features ............................................................................... 40
Special Copy Features ............................................................................ 47
5. Installing the Printer Driver and the Scanner Driver55
System Requirement .............................................................................. 55
Installing the Printer Driver ................................................................... 55
Uninstalling the Printer Driver and the Scanner Driver........................... 57
6. Accessing the Printer Driver Properties.................. 61
How To Access the Printer Driver Properties.......................................... 61
Using the Printer Preferences Dialog Box............................................... 63
v
v
i
7. Net Scan .................................................................75
Performing Net Scan...............................................................................75
To receive your document image from the product memory錯誤! 尚未定義書籤。
8. Storage Copy & Print ..............................................83
Performing Storage Copy........................................................................83
Performing Storage Print................................................ 錯誤! 尚未定義書籤。
Performing Security Print ............................................... 錯誤! 尚未定義書籤。
Printing the Storage Job from the Product Memory ................................88
Deleting the Storage Job or Secure one from the Product Memory .........90
Printing the Secure Storage Job from the Product Memory.....................92
9. Scanning.................................................................94
System Requirements.............................................................................94
Operating Steps ......................................................................................94
10. Troubleshooting....................................................109
Clearing A Warning or Error Message....................................................109
11. Maintenance .........................................................115
Cleaning The Glass................................................................................115
Clearing the ADF Paper Jam..................................................................116
Cleaning the ADF ............................................................ 錯誤! 尚未定義書籤。
Replacing a Toner Cartridge..................................................................118
Replacing a Fuser .................................................................................120
Appendix 124
Scanning From The Button....................................................................124
Using the MFP Settings .........................................................................128
Viewing the Embedded Web page.........................................................136
Installing A Duplex Module(Optional)...................................................139
Installing Tray 2 (Optional) ..................................................................142
Specifications .......................................................................................144
Index....................................................................................................147

1. Getting Started
Introduction
Thank you for purchasing the Avision 3-in-1 MFP product. This product is Avision’s
latest innovation which integrates scan, copy, and print functions into one unit which
support document up to A3 size.
Best of all, through the network port at the back of the machine, the product is able
to work as a network printer. Through the LCD screen and easy-to-use control
panel, making copies is easy just as you normally do on a regular copier.
Features
Digital Copying:
With the advanced CIS technology, the product is able to perform outstanding copy
quality to present photo with various shades of gray.
Various Advanced Copy Features
The product is designed with various advanced copy features which includes ID card
copy, auto rotate to match output paper, paper saver to copy multi-page document
onto a single sheet and etc.
Duplex Copying
With an optional duplex unit, the product allows you to perform duplex copies.
Scanning:
When the product is connected to a computer, it can be used as a full scanner to
capture photos or documents into your computer.
Printing:
When the product is connected to a computer through the USB interface, it is able
to scan your document and perform printing through your computer.
1

Embedded Web Page:
The product provides a convenient way to view the supplies status of printer
cartridge, scan count, and copy count to help you maintain the product well. By
simply typing the machine's IP address in the URL field of your browser, the
product’s embedded web page will be prompted.
Net Scan:
The product is able to scan and save documents to the built-in memory card and
also allow a user to remotely receive the scanned images via a network utility.
Storage Copy & Print:
The product has a built-in storage memory card. Without wasting paper and places,
a user can save lots of document images to the memory on the product panel or
through the printer driver screen and share them with other users who want to print
specified document images from the product memory to the product printer.
2

External View
The Front View
ADF Unit
Control Panel
Output Tray
Manual Input
Tray
Main Input Tray
3

The Rear View
LAN Port
USB Port
Tray 1
Power
Receptacle
Tray 2
(Optional)
4

Package Contents
Main unit
Software CD (Printer Driver, Scanner
Driver and Button Manager)
USB Cable
Power Cable
5

The Control Panel
Part A:
Allows you to enter a toner saving mode.
Interrupts a current PC-print job and to do a copy job
first. When the copy is finished, the PC-print job will
continue.
Used for the storage copy ID input.
Stops an operation at any time and lets you exit the
menu.
Starts a copy or scan job.
Part D Part C Part B Part A
6

Part B:
Book Mode: Copies two specified pages of a book to
two separated pages on the printer output tray.
Auto Rotate: Automatically rotates your document
orientation to match with your output paper.
Auto Size: Automatically rescale your document to
copy the entire contents on your output paper.
None: Uses none of the above functions.
ID Copy: Allows you to copy the front and rear side of
your ID card on one side of paper.
Paper Saver: Allows you to copy 1, 2, or 4 pages of
document into one single sheet of paper.
7

Chooses your copy mode.
Mixed: Suitable for most typed originals.
Photo: Suitable when your original contains photos.
Text: Select to sharpen your text.
Choose your copies to be placed in “Sort” (e.g. pages
1,2,3/1,2,3/1,2,3) order, in “Stack” (e.g. pages
1,1,1/2,2,2/3,3,3) order, or in “Rotate Collate” (e.g.
pages 1,2,3/1,2,3 (rotated)/1,2,3/1,2,3
(rotated) )order.
Reduce or enlarge your original.
Lighten or darken your original.
Selects your copy count.
(Pressing the button one time increases one page.)
Selects to load your paper from tray 1, tray
2(optional), or manual tray.
8

Part C:
Press to use the Scan function.
Press to use the Copy function.
Error LED: Turns on when any error unrelated to
toner happens.
Toner LED: Turns on when the toner cartridge is
empty or blinks when the remaining toner is lower
than 20% of the full toner capacity.
LCD Screen: Displays messages on the screen to
help you set up and use this product.
Menu Button: Enters Menu Mode.
Scroll Button: Scrolls through the options available
for the selected menu item.
Set Button: Confirms the selection on the display.
Back Button: Returns to the previous level of the
menu.
9

Part D:
Numeric pad:
Enters a number or alphabetical characters.
1
0

2. Installing Your Machine
Unpacking The Product
Remove the plastic bag and tapes from the product.
11

Unlocking the Scan Unit
The scan unit is locked during transport to protect the scanning mechanism from
being damaged. Be sure to unlock the scan unit by moving the lock switch
to the “Unlock” position before using the machine.
Unlock position
Lock position
Note:
If you need to move the product for repair or any other reason, be sure to
lock the product before moving. To lock the product, please do the
following,
1. Turn off the product.
2. If the scan unit is not located at the front of the flatbed glass, turn on the
product. After the scan unit returns to the front end, turn off the product.
3. Move the lock switch to the “Locked Position”.
1
2

Removing the Tapes of the Toner Cartridge
Important!
When you unpack the machine, a toner cartridge has been included in the printer of
this machine. Yet, you need to remove the tape of the toner cartridge before using
it.
To remove the tape of the toner cartridge,
1. Open the toner cartridge door by pressing the button of the front cover.
Button of
the Front
Cover
13

2. Remove the toner cartridge from the machine.
Toner Cartridge
Caution!
To prevent damage to the toner cartridge, do not expose it to light for more than a
few minutes.
3. Remove the tapes on the cartridge as shown.
Tapes
14
Other manuals for MT-0904B
1
Table of contents
Other Avision All In One Printer manuals

Avision
Avision AM7100NF User manual

Avision
Avision AM7100NF User manual

Avision
Avision AM7100NF User manual

Avision
Avision NETDELIVER @V2100 User manual

Avision
Avision AM3200 User manual

Avision
Avision AM40 Series User manual

Avision
Avision NETDELIVER @V2500 User manual

Avision
Avision AM3100L User manual

Avision
Avision AM6120 User manual

Avision
Avision MT-0904B User manual