4
ADVERTENCIA
Copyright © 2022, Baby Trend Inc., All Rights Reserved. Todos los derechos reservados.
3
WARNING
Copyright © 2022, Baby Trend Inc., All Rights Reserved. Todos los derechos reservados.
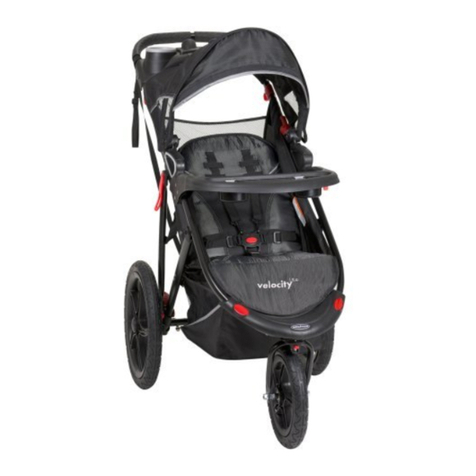
• We recommend that the child occupant be at least 6 months of age prior to use
of the stroller for jogging. Because children develop at different rates, please
discuss the use of a jogging stroller with your health care provider prior to
jogging with your child.
• NEVER allow your stroller to be used as a toy.
• To clean use only mild household soap or detergent and warm water on a sponge
or clean cloth.
• Check your stroller for loose screws, worn parts, torn material or stitching on a
regular basis. Replace or repair parts as needed.
• Discontinue use of stroller should it malfunction or become damaged. Please
contact our customer service to arrange for repair or obtain replacement parts.
ADVERTENCIA: Por favor, siga todas estas
instrucciones para garantizar la seguridad de su hijo.
Conserve estas instrucciones para referencia futura.
ADVERTENCIA: El incumplimiento de estas
instrucciones podría ocasionar una lesión grave o la
muerte. Evite lesiones graves por caídas o resbalones.
Siempre use el arnés de seguridad y asegúrese de
que los niños estén ubicados correctamente de
acuerdo a estas instrucciones.
ADVERTENCIA: Nunca pierda de vista a los
niños.
ADVERTENCIA: La rueda puede
desprenderse y provocar un vuelco. Tire de la rueda
para asegurarse de que esté bien sujeta los niños.
• PRECAUCIÓN: Este carrito está diseñado para un niño solamente. El uso con más
de un niño podría provocar inestabilidad y lesionar o dañar a su hijo.
• Los bolsos, bolsas de compras, paquetes, bolsas de pañales o artículos accesorios
podrían cambiar el equilibrio del carrito y causar condiciones de inestabilidad
peligrosas.
• El peso máximo que se puede llevar es de 5 libras (2.26 kg) en la canasta y
de 3 libras (1.36 kg) en la bandeja para niños y en la bandeja para padres. Si
incluido, el peso máximo que se puede llevar en los bolsillos laterales (2) es de
3 libras (1.36 kg), en los bolsillos posteriores (2) es de 3 libras, y en los bolsillos
de la cubierta es de (2) 1 libra (0.45 kg). El exceso de peso podría ocasionar una
inestabilidad peligrosa.
• Procure que el carrito esté completamente erguido y con el pestillo en la
posición abierta antes de permitir que los niños se acerquen al carrito.
• El uso del carrito con niños que pesan más de 50 libras (22.67 kg) o miden más
de 42 pulgadas (106.7 cm) causará un desgaste y tensión excesivos en el carrito y
podrían provocar una inestabilidad peligrosa.
