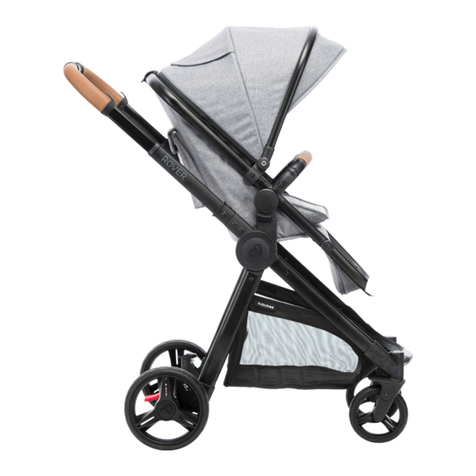
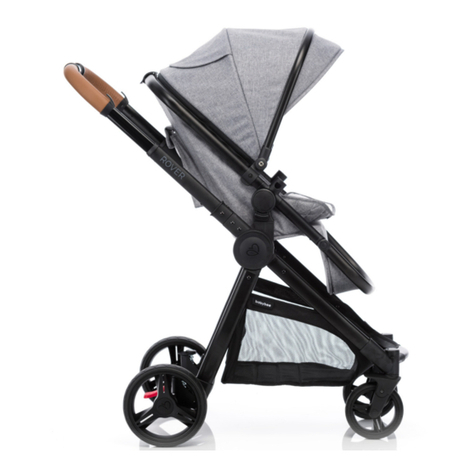
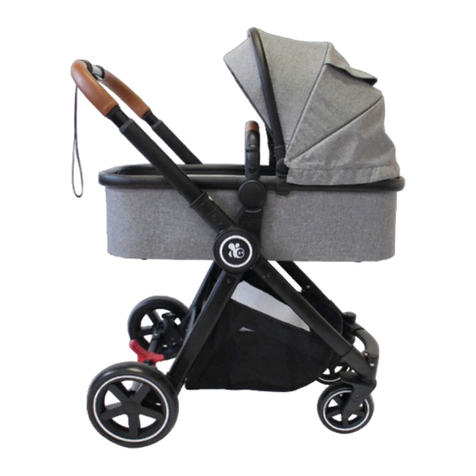
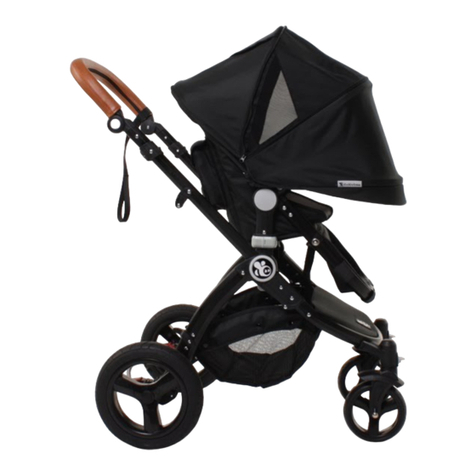
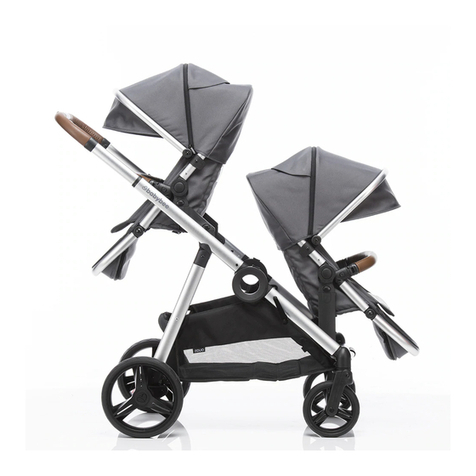
Babybee ROVER 3 Bassinet User manual

PRODUCT MANUAL
The Babybee ROVER3 is designed and tested to comply with:
Consumer Protection Notice No. 8 of 2007, AS 2088:2022 & AS/NZS ISO 8124-3
IMPORTANT! READ CAREFULLY
AND KEEP FOR FUTURE REFERENCE
PRODUCT MANUAL
ROVER3 BASSINET
& STROLLER SET


THANK YOU FOR
CHOOSING BABYBEE!
Since 2015, we’ve been on a mission to make
the very best baby products that make #parentlife
better. Less stressful, more stylish, and more fun.
Welcome to the family!

5.
7.
9.
10.
13.
15.
16.
17.
17.
17.
18.
18.
18.
19.
20.
22.
24.
26.
Safety warnings
What’s in the box?
Setting up your frame
Setting up your bassinet
Setting up your seat
Using your harness
Folding your ROVER3
Using your ROVER3
Rear brake
Adjusting the footrest
Front swivel wheels
Rear wheels
Reclining the seat
Adjusting the handlebar
Accessories
Using your ROVER3 with
a car capsule
Keeping your ROVER3
in tip-top shape
Warranty information
Read all instructions before assembling and using the product
CONTENTS
ROVER3 PRODUCT MANUAL
4

SAFETY FIRST
ROVER3 PRODUCT MANUAL
5
• FOLLOW THE MANUFACTURER’S INSTRUCTIONS.
• PUT ON ALL THE BRAKES WHENEVER YOU PARK THE STROLLER.
• DO NOT LEAVE CHILDREN UNATTENDED.
• DO NOT CARRY EXTRA BAGS ON THIS STROLLER.
• MAKE SURE CHILDREN ARE CLEAR OF ANY MOVING PARTS
IF YOU ADJUST THE STROLLER OTHERWISE THEY MAY BE
INJURED.
Maximum weight limits
• Maximum weight for a child in the seat is 20kg.
• Maximum weight for a child in the bassinet is 9kg.
• Maximum weight for items in the basket is 10kg.
• Maximum weight for items in the handlebar bag is 2kg.
• Maximum weight for the seat pocket is 1kg.

6
SAFETY FIRST
ROVER3 PRODUCT MANUAL
6
• Do not use parts or accessories that are not approved for use with the
Babybee ROVER range. Doing so may be unsafe and may also void
your warranty.
• Do not lift or carry the stroller when occupied by your child.
• This is not a toy. Do not allow your child to climb, stand on or play
with the stroller.
• Do not use the stroller in a manner for which it is not designed.
• Only to be used for walking. Not suitable for running, rollerblading
or skating etc.
• Remove your child and fold the stroller when going up or down stairs
or escalators.
• Take your child out of the stroller when travelling by bus, tram or train.
• Gentle sloping surfaces may be unstable. On steeper sloping and
uneven surfaces, there is a possibility that the stroller may tip over
and you may need to remove your child.
• Do not use if any part is broken, torn or missing. Replacement parts
are available from our website or by contacting us.
• Do not use or leave the stroller near open fire or exposed flame.
• Do not overload the stroller with additional children, bags or other items.
• Do not allow children to stand on the axle/brake bar between the
wheels. This is unsafe and could damage the stroller.
• If the stroller is being used by someone unfamiliar with it (such as
grandparents) always explain to them how the stroller works and
its safety features.

7
WHAT’S IN THE BOX?
ROVER3 PRODUCT MANUAL
7
Please check that you have all the correct parts
before getting started.
1.
2.
3.
4.
5.
6.
7.
Frame & basket
Seat & harness covers
2 x rear wheels
Belly bar
2 x front swivel wheels
Brake bar
Seat Canopy
8.
9.
10.
11.
12.
Seat liner
Handlebar bag
Rain cover (fits seat
and bassinet)
UV/Sleep Cover
Bassinet
13.
14.
15.
Bassinet mattress
and liner
Bassinet canopy
Bassinet cover
12. 13.
14. 15.
1. 2. 3. 4.
5.
9.
10.
8.6.
7.
11.

8
SETTING UP YOUR FRAME
ROVER3 PRODUCT MANUAL
8
To unlock the frame, press the black
button on the right frame release
lever, and pull both release levers
back towards the handlebar.
1
To open, lift up and swing the lower
section into place ensuring you hear it
“click” into place.
2
Attach the brake bar to the rear of
the frame. Push until you see the silver
locking pins click into place.
3

SETTING UP YOUR FRAME
9
4
Insert each rear wheel pin into the
sides of the brake bar until you hear a
‘click’. Give them a tug to ensure they
are attached securely.
5
Insert each front wheel pin into the
centre of the socket ensuring you hear
them ‘click’ in. Give them a tug to
ensure they are attached securely.
Your frame is now set up!
ROVER3 PRODUCT MANUAL

10
SETTING UP YOUR BASSINET
ROVER3 PRODUCT MANUAL
10
Using the fabric straps, pull the
frame support rods towards
the ends of the bassinet until
they lock under the plastic clips.
1
Insert the bassinet mattress.
3
Zip the bassinet fabric onto the
frame as shown.
2
Setting up the base
Attach the plastic connectors onto
the frame. The connectors attach over
the round guides on the frame. (Tip:
first attach the top half then press the
bottom panel into place)
2
Starting from the left side of the
bassinet, zip the canopy onto
the frame. (Tip: the canopy end
is the end with the thick zip)
1
Attaching the canopy

11
SETTING UP YOUR BASSINET
11
Starting from the right side when
standing at the foot end of the bassinet,
zip the foot cover onto the opposite
end to the canopy.
1
Using the belly bar from your stroller
seat, insert it into the sockets. Always
give the bar a firm tug to ensure it’s
secure.
To remove from one side or both, press
the button on the side you want to
release and pull the belly bar out.
2
Attaching the cover & belly bar
• DO NOT USE THIS BASSINET ONCE THE CHILD CAN SIT UP UNAIDED.
• DO NOT USE FOR UNSUPERVISED SLEEPING.
• DO NOT ADD AN ADDITIONAL MATTRESS OR PADDING INSIDE
THE BASSINET.
• THE BASSINET IS NOT DESIGNED TO BE CARRIED BY THE BELLY BAR
WITH YOUR CHILD INSIDE.
NOTE: To reduce the risk of SIDS, paediatricians recommend healthy
infants be placed on their backs to sleep, unless otherwise advised
by your physician.
ROVER3 PRODUCT MANUAL

1212
ROVER3 PRODUCT MANUAL
USING YOUR BASSINET
Attach the bassinet onto the central
connectors of the frame.
To release, lift the bassinet release
buttons upwards and lift the bassinet
up. The bassinet can face either
direction.
Attaching & releasing the bassinet
to the frame
Using the ventilation panel
The head end of the bassinet fabric
can be unzipped to expose a mesh
panel, allowing additional air flow.
Using the sun visor
The bassinet has an inbuilt sun visor.
Please be gentle when pulling this out
to avoid the rod weakening over time.

13
SETTING UP YOUR SEAT
Line up the seat connectors with the
frame and press downwards. Listen
for the ‘click’ and ensure it is securely
locked in place.
1
To recline the seat, lift the seat recline
latch located at the canopy end of
the seat and tilt the seat forward or
back.
Note: The seat can be faced in the
forward or rear facing position.
2
To attach the canopy, secure it to the
frame with the zip starting from the left
side (when facing the seat).
3
Attach the plastic canopy connectors
onto the sides of the frame (Tip: attach
from top to bottom). The connectors
should attach over the round guides
on the frame.
4
ROVER3 PRODUCT MANUAL

ROVER3 PRODUCT MANUAL
14
SETTING UP YOUR SEAT
• THE STROLLER SEATS ARE NOT RECOMMENDED FOR CHILDREN
UNDER 6 MONTHS.
• THIS STROLLER SEATS ONE PASSENGER WITH A MAXIMUM WEIGHT
LIMIT OF 20KG.
• DO NOT ALLOW YOUR CHILD TO CLIMB UNASSISTED INTO THE
STROLLER.
5
Insert the belly bar into the belly bar
sockets on the seat frame. Always
give the bar a firm tug to ensure it’s
secure.
To remove from one side or both, press
the button on the side you want to
release, and pull the belly bar out.

USING YOUR HARNESS
15
• SECURE THE CHILD IN THE HARNESS AT ALL TIMES.
• ENSURE THAT YOUR CHILD CORRECTLY WEARS THE FITTED AND
ADJUSTED SAFETY HARNESS AT ALL TIMES WITH ALL 5 STRAPS
SECURED.
• NEVER LEAVE THE HARNESS BUCKLED WHEN NOT FITTED TO
A CHILD IN THE STROLLER BECAUSE THE HARNESS CAN FORM
LOOPS WHICH MAY POSE A STRANGULATION HAZARD.
To secure and release the harness
Insert each of the 4 harness straps into
the central buckle.
To release, press the button in the middle
of the buckle.
To adjust the length of the shoulder straps
Slide the buckle along the strap to the
desired position.
To adjust the height of the shoulder straps
Thread the strap through the correct loop on
the seat and then through the corresponding
slot on the seat liner.
To adjust the length of the waist straps
Pull the adjustor buckle along the waist
strap to the desired length.
ROVER3 PRODUCT MANUAL

16
FOLDING YOUR ROVER3
ROVER3 PRODUCT MANUAL
1Before folding, ensure that the brake is engaged and the front
wheels are unlocked.
2Remove the stroller seat by lifting the release levers on either side.
3Push the black button on the frame release lever and then pull both
black release levers up the frame.
Push down on the handlebar to close it.
4
Ensure the automatic frame lock has engaged on the side of the
stroller before lifting it up using the carry bar and the front wheels
will close inwards.
5
• ENSURE CHILDREN ARE OUT OF REACH OF THE STROLLER BEFORE
FOLDING.
• TAKE EXTRA CARE WHEN FOLDING, LIFTING, AND CARRYING THE
STROLLER. ALWAYS LIFT AND CARRY YOUR STROLLER USING BOTH
HANDS.
• TO AVOID POSSIBLE INJURY, ALWAYS ENSURE THAT THE FRAME LOCK
IS SECURED BEFORE LIFTING AND CARRYING THE STROLLER.
• TO AVOID FINGER ENTRAPMENT, KEEP YOUR OWN AND YOUR
CHILDREN’S FINGERS CLEAR OF ANY FOLDING PARTS.
• ALWAYS REMOVE THE CAR CAPSULE, BASSINET OR SECOND SEAT
PRIOR TO FOLDING AND CARRY THE FRAME AND SEAT/BASSINET
SEPARATELY. ONLY LIFT AND CARRY THE STROLLER AFTER FOLDING.

17
USING YOUR ROVER3
Rear Brake
When stopped, use the brake at all
times by pressing down on the bottom
of the red brake paddle with your foot
until you feel it click into place.
1
To start travelling again press down on
the top of the red brake paddle with
your foot to disengage the brake and
o you go!
2
ON
OFF
Adjusting the Footrest
Press both footrest buttons simultaneously
and adjust the footrest to the desired
position.
1
NEVER LET CHILDREN SIT ON THE FOOTREST OR CLIMB INTO THE SEAT
USING THE FOOTREST. DOING SO MAY TIP THE STROLLER, SNAP OR
DAMAGE THE FOOTREST.
ROVER3 PRODUCT MANUAL

ROVER3 PRODUCT MANUAL
USING YOUR ROVER3
When travelling quickly along straight surfaces or across uneven terrain,
the front wheels may spin or cause what’s commonly known as “wheel
shudder”. Lock the wheels to avoid this.
Front Swivel Wheels
To lock the wheels, press down on the
buttons, located on the top of the
wheel sockets. To go back to 360°
swivel mode press the buttons again.
1
To remove the front wheels, press the
button on the side of the wheel socket
and pull the wheel down.
2
Rear Wheels
1
To remove the rear wheels, press
the button located on the brake
bar and pull the wheel o.
The seat can recline to 4 set positions.
Fully lift the seat recline latch (located
at the top of the canopy) and recline
the seat to the desired position.
Reclining the Seat
18

1919
USING YOUR ROVER3
ROVER3 PRODUCT MANUAL
Push the button in the middle of the
handlebar and pull or push to your
desired height.
Adjusting the Handlebar
• USE THE TETHER STRAP TO STOP THE STROLLER ROLLING AWAY.
• DO NOT HANG ANY OTHER BAGS OTHER THAN THE ROVER3
HANDLEBAR BAG FROM THE HANDLEBAR. DOING SO MAY
UNBALANCE AND TIP YOUR STROLLER.
• THE ROVER3 HANDLEBAR BAG HAS BEEN TESTED TO HOLD 2KG.
• BE CAREFUL CARRYING LIQUIDS IN THE HANDLEBAR BAG. HOT
LIQUIDS MAY BURN YOU OR YOUR CHILD.

ROVER3 PRODUCT MANUAL
20
ACCESSORIES
Fully extend the canopy. Secure the
buttonhole on both sides of the cover over
the canopy connector, then hook the cover
over the base of the seat and top of the
canopy.
Note: Compatible with seat only.
Pull the rain cover and elastic over the top
of the canopy and then over the end of the
seat/bassinet. Please ensure the air vents are
located on either side so that air can pass
through.
Rain cover (compatible with seat
and bassinet)
UV/Mosquito/Sleep Cover
Note: The cover will be looser on the
bassinet due to its shorter frame and
canopy.
NEVER LEAVE RAIN COVERS OR UV COVERS ON OR OVER THE STROLLER
INDOORS, IN A HOT ATMOSPHERE OR NEAR A HEAT SOURCE. ALWAYS
SUPERVISE WHILST THE STROLLER IS COVERED.
Other manuals for ROVER 3 Bassinet
1
Table of contents
Other Babybee Stroller manuals

Babybee
Babybee DUO3 User manual

Babybee
Babybee ROVER Bassinet User manual

Babybee
Babybee DUO3 User manual

Babybee
Babybee Bassinet User manual

Babybee
Babybee MILES User manual

Babybee
Babybee DUO User manual

Babybee
Babybee Comet plus User manual

Babybee
Babybee ROVER User manual

Babybee
Babybee LUNA User manual

Babybee
Babybee DUO2 User manual