16 17
EnglishEnglish
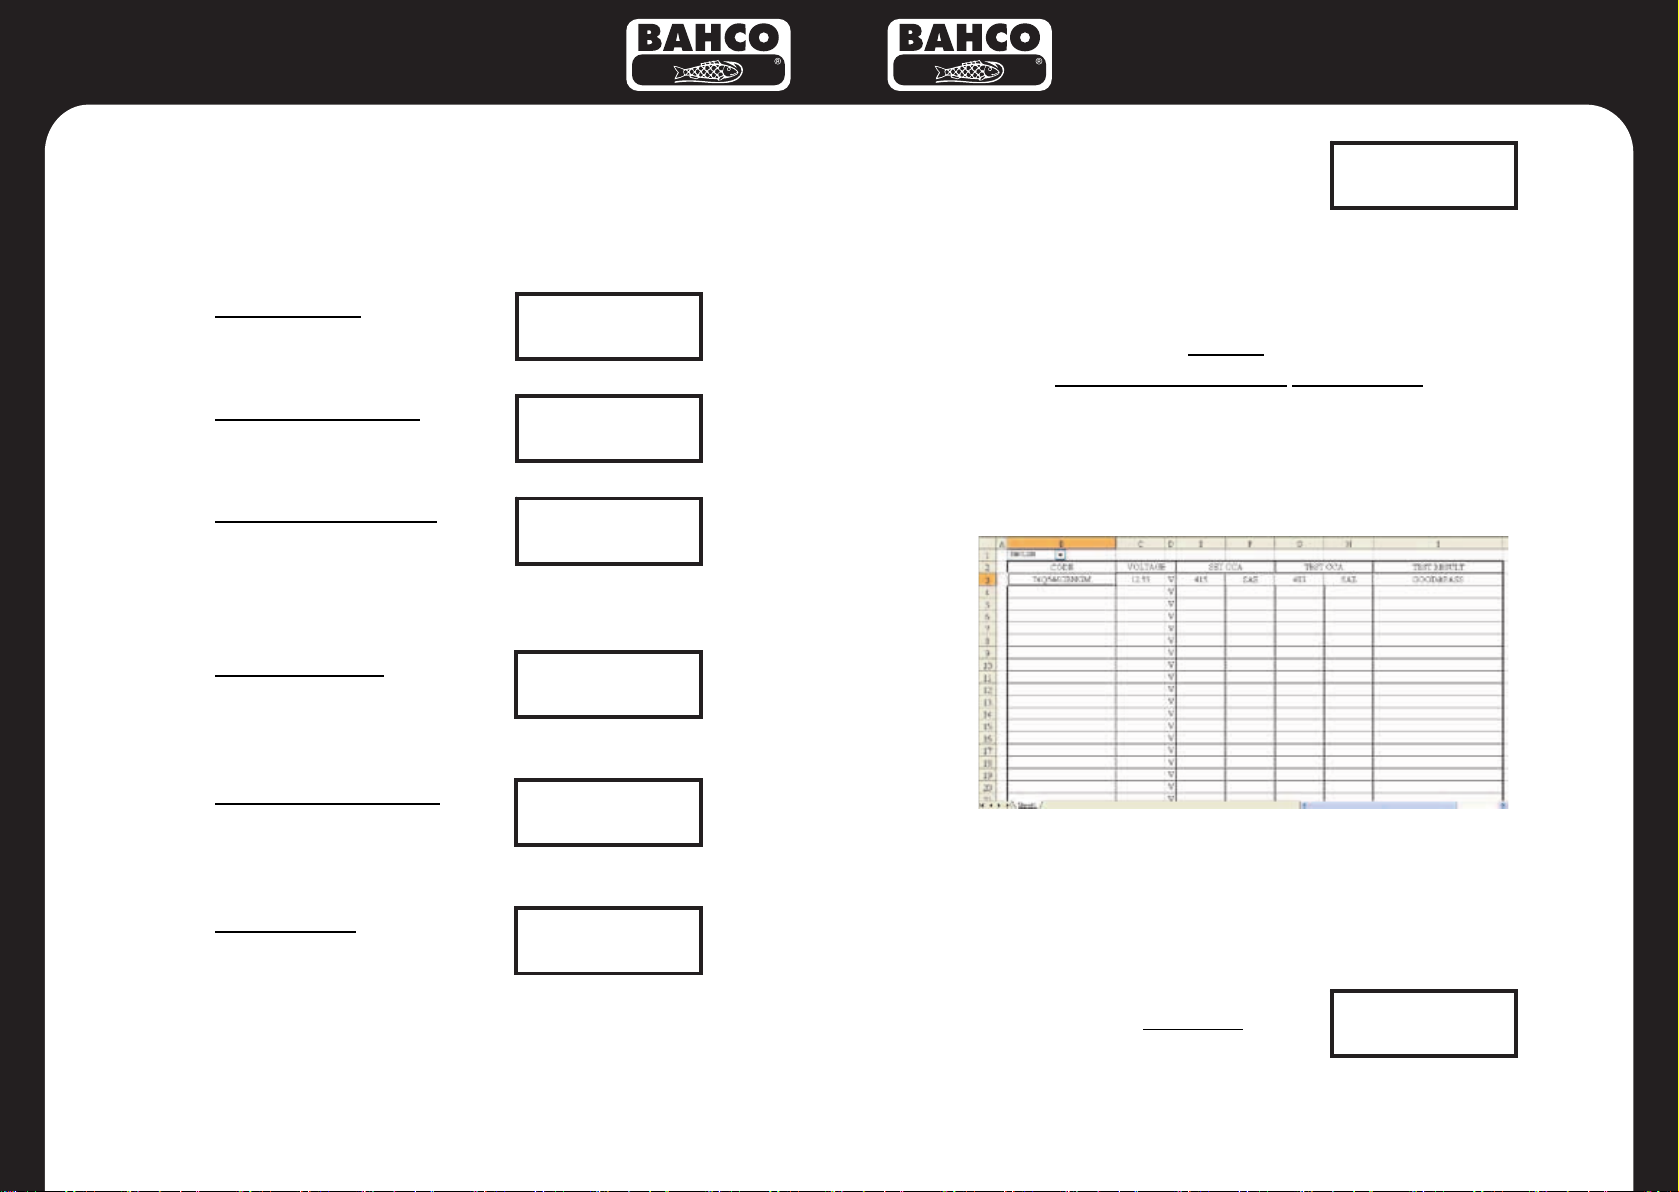
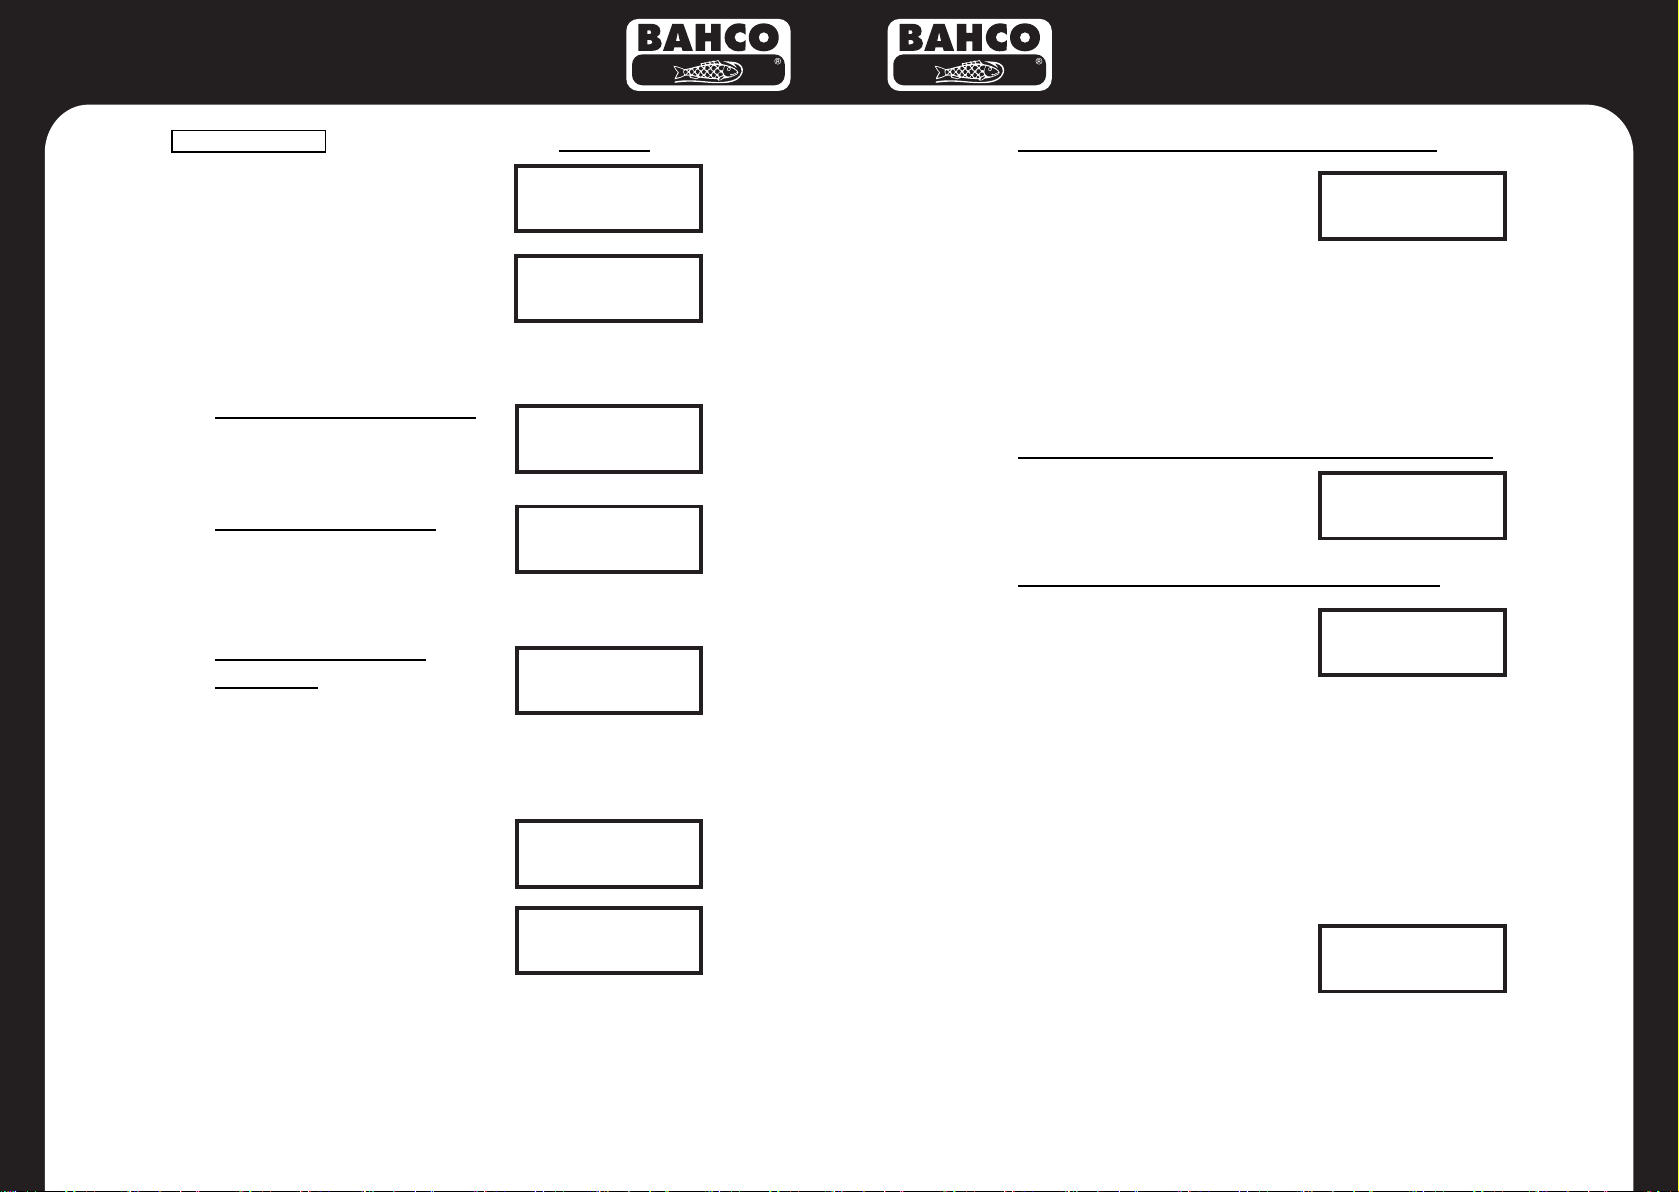
LOW CHARGING VOLTS WHEN TEST AT IDLE
The alternator is not providing
sufficient current to the battery.
Check the belts to ensure the
alternator is rotating with engine running. If the belts are
slipping or broken, replace the belts and retest. Check
the connections from the alternator to the battery. If the
connection is loose or heavily corroded, clean or
replace the cable and retest. If the belts and
connections are in good condition, replace the
alternator.
CHARGING SYSTEM NORMAL WHEN TEST AT IDLE
The system is showing normal
output from the alternator. No
problem is detected.
HIGH CHARGING VOLTS WHEN TEST AT IDLE
The voltage output from the
alternator to the battery
exceeds the normal limits of a
functioning regulator. Check to ensure there is no loose
connection and the ground connection is normal. If
there is no connection issue, replace the regulator.
Since most alternators have the regulator built-in, this
will require you to replace the alternator. The normal
high limit of a typical automotive regulator is 14.7 volts
+/- 0.05. Check manufacturer specifications for the
correct limit, as it will vary by vehicle type and
manufacturer.
7. Following the charging system
at idle, press «ENTER» for the
charging system with
accessory loads. Turn on the blower to high (heat), high
beam headlights, and rear defogger. Do not use cyclical
loads such as air conditioning or windshield wipers.
ALT. IDLE VOLTS
××.××V LOW
ALT. IDLE VOLTS
××.××V NORMAL
ALT. IDLE VOLTS
××.××V HIGH
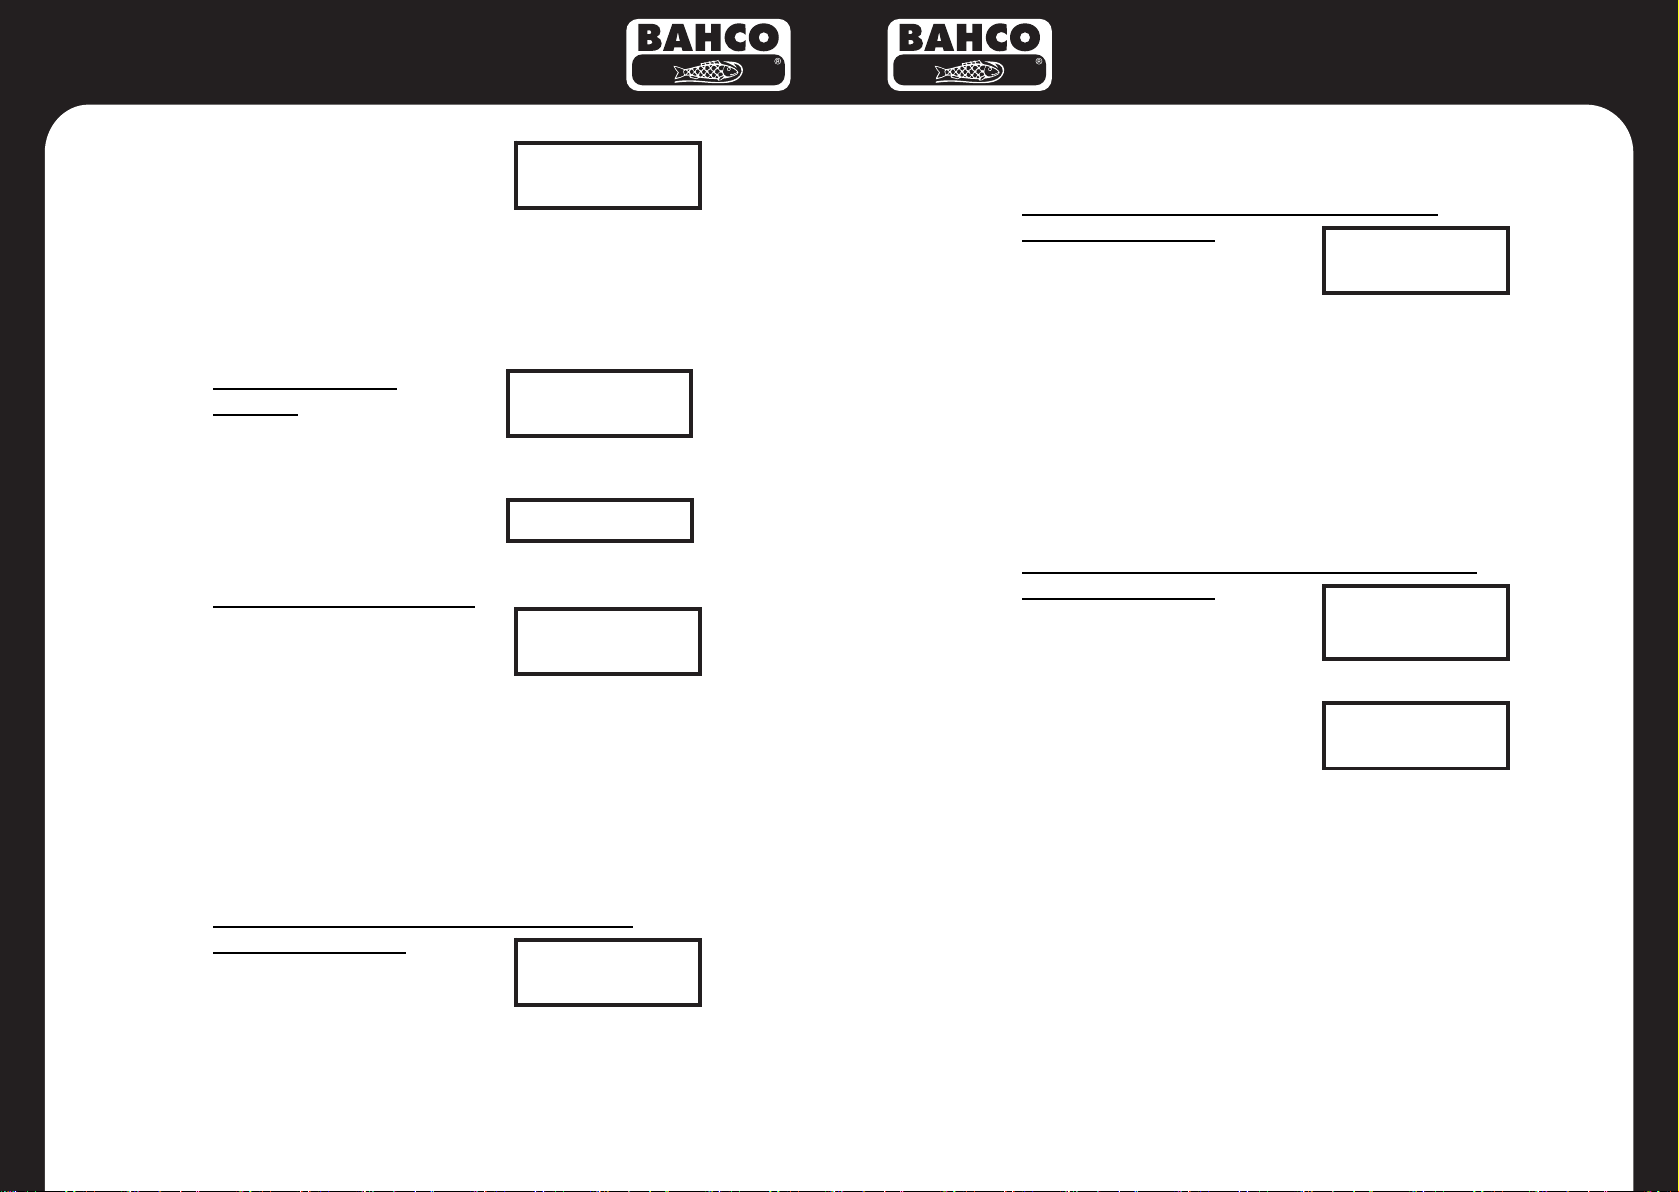
TURN ON LOADS
AND PRESS ENTER
CRANKING VOLTS
××.××V LOW
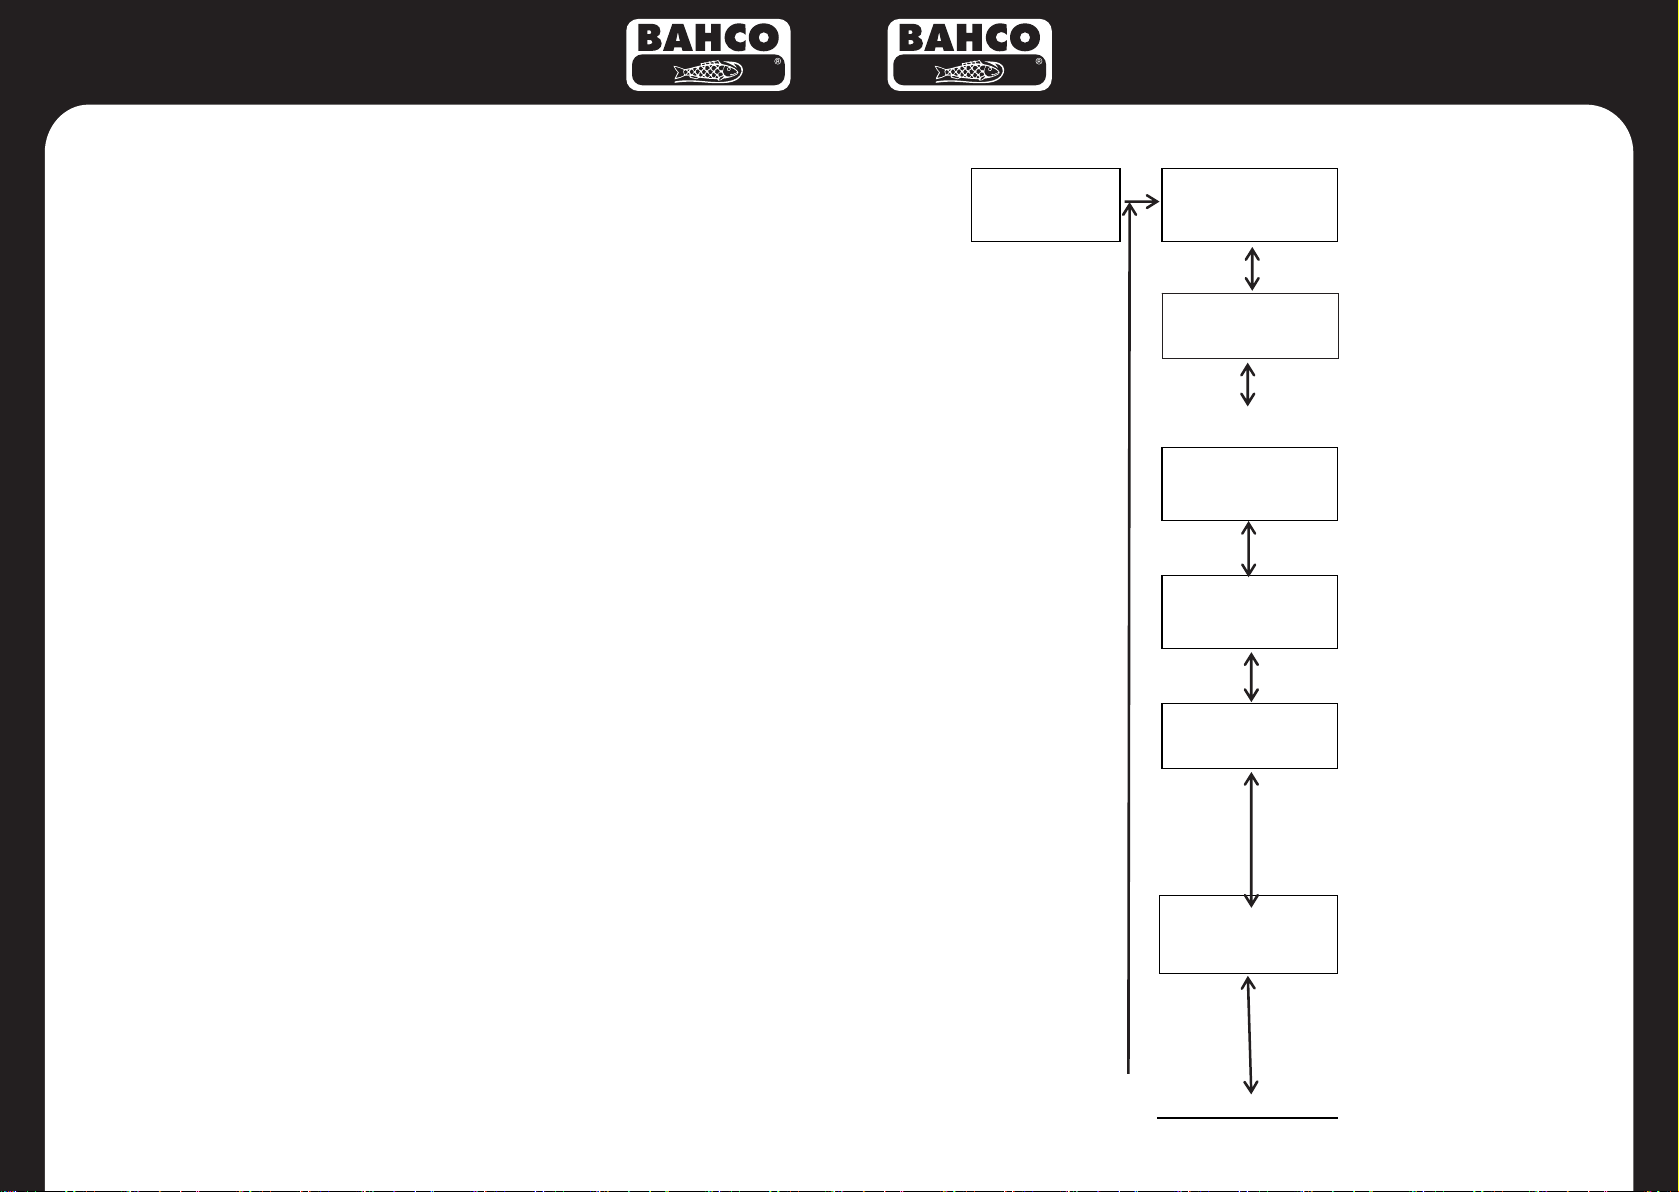
SYSTEM TEST Example :
1. Press «ENTER» button, you
will view the following screen:
2. Turn off all vehicle accessory
loads such as light, air
conditioning, radio, etc. Before
start the engine.
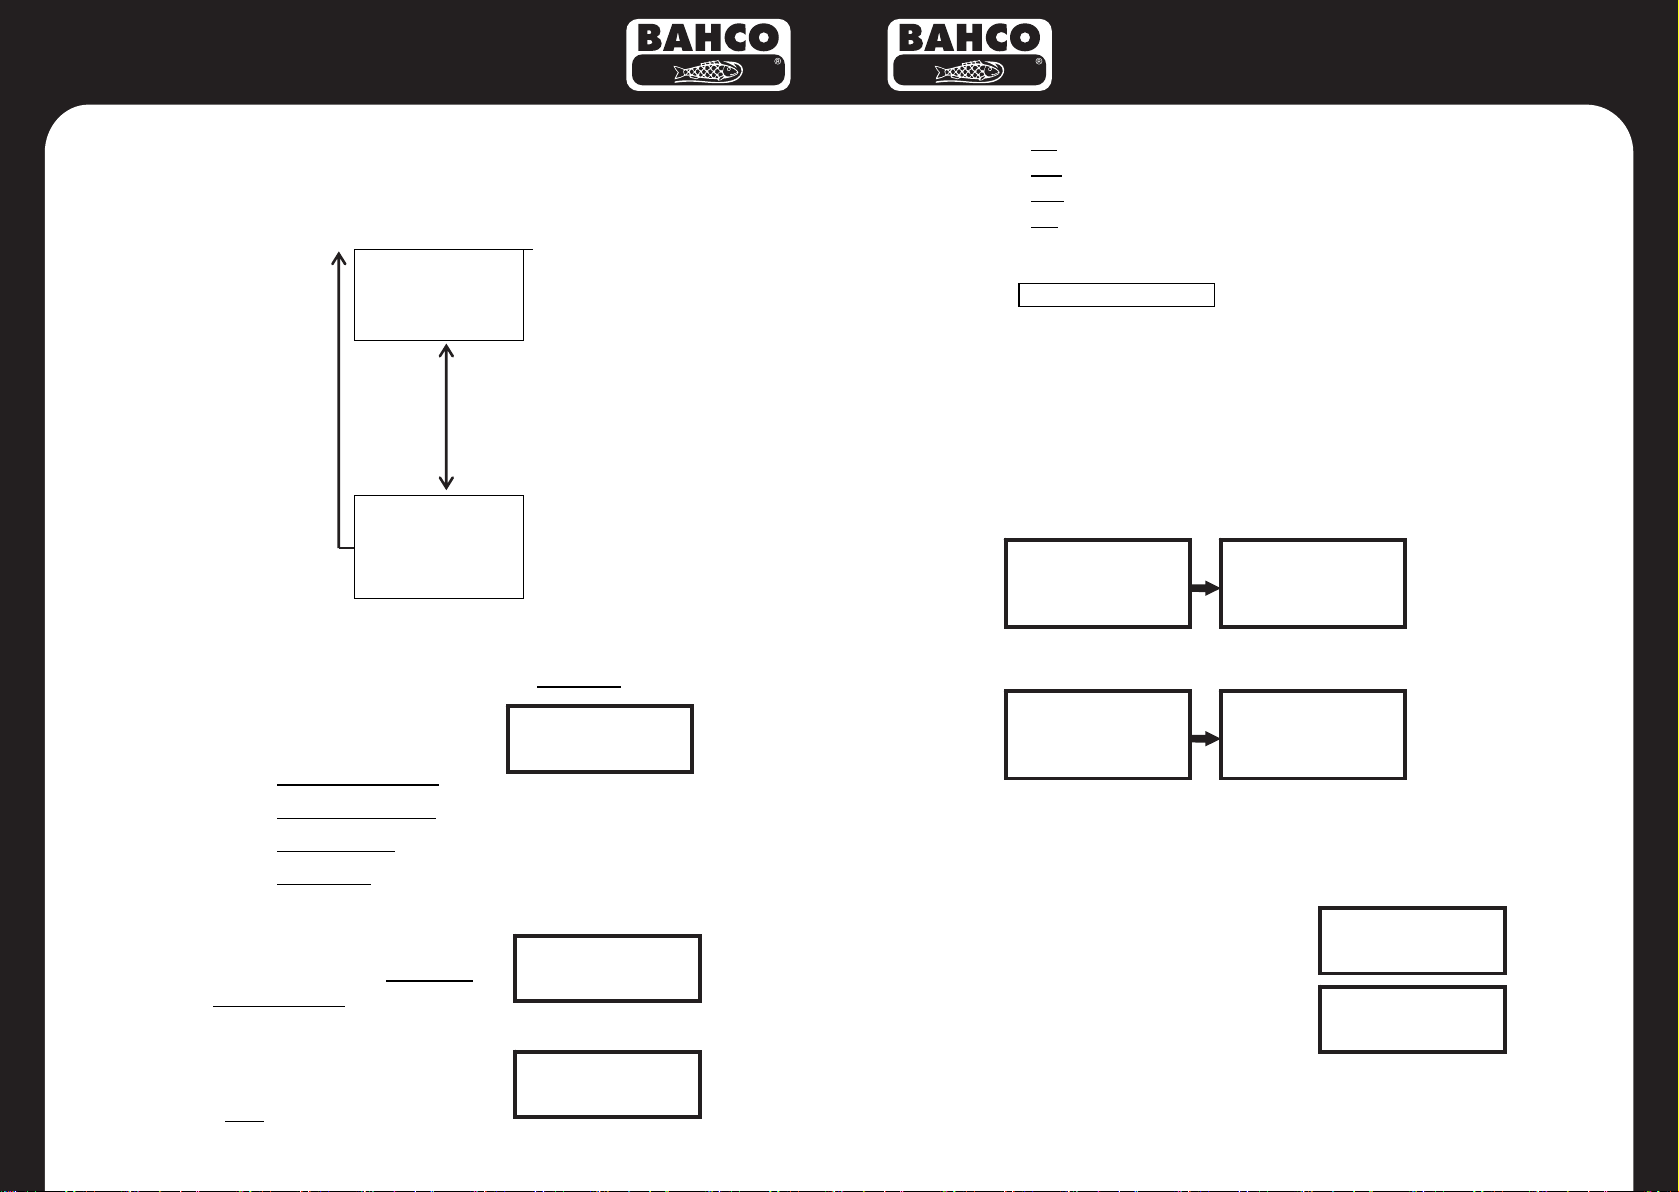
3. When the engine is started, one of the three results will
be displayed along with the actual reading measured.
CRANKING VOLTS NORMAL
The system is showing normal
draw. Press «ENTER» to
perform the charging system test.
CRANKING VOLTS LOW
The cranking voltage is below
normal limits, troubleshoot the
starter with manufacturers recommended procedure.
CRANKING VOLTS NO
DETECTED
The cranking voltage is not
detected.
4. If the cranking voltage is
normal, press «ENTER» to
begin charging system test.
5. Press the «ENTER» key, you
will view the following screen.
6. Press the «ENTER» key, one
of the three results will be displayed along with the
actual reading measured.
SYSTEM TEST
××.××V
TURN OFF LOADS
START ENGINE
CRANKING VOLTS
××.××V NORMAL
PRESS ENTER FOR
CHARGING TEST
MAKE SURE ALL
LOADS ARE OFF
CRANKING VOLTS
NO DETECTED