Light
Some systems are equipped with both a spa light and a
fiber optic light; however, only one can be accessed by this
panel. (Larger panels may be purchased so that both the
spa light and fiber optic light can be utilized.) Depending
upon how your spa is equipped and configured, the
“Light” button will operate in one of three ways:
1) Press the “Light” button to turn the spa light on and
off, and to shift between dim and bright settings if your
light is dimmable. On dim, the LCD will show center
circle plus one quarter of the light beams. Half of the
light beams will show on medium brightness, and all of
the light beams will show on bright.
2) If a fiber-optic light with wheel is installed, press the
“Light” button once to start the light and wheel, press
it again to stop the wheel, and then again to turn the
light off. The fiber icon stands still when the fiber optic
light is on by itself, and rotates when the color wheel is
also on.
3) If a fiber-optic light without a separate wheel stop is
installed, press the “Light” button to turn it on and off.
Again, both a spa light and a fiber optic light may be
used simultaneously on the EL8000 and EL5000 systems
with a different panel.
If any light is left on, it will automatically turn off after a
factory programmed time period.
Option (optional)
Press the “Option” button to turn optional equipment
(such as TV or Stereo) on and off (with no timeout).
Fiber (optional on some systems)
If a fiber-optic light with wheel is installed, press the
“Fiber” button once to start the light and wheel, press
it again to stop the wheel, and then again to turn the
light off. The fiber icon stands still when the fiber-optic
light is on by itself, and rotates when the color wheel is
also on.
Both spa light and fiber-optic light can be used
simultaneously on systems that have both. If either light
is left on, it will automatically turn off after a timeout
period (on some systems this timeout can be as long as
4hours.)
Use the “Light” button if your fiber-optic system is on/off
only (no separate wheel stop).
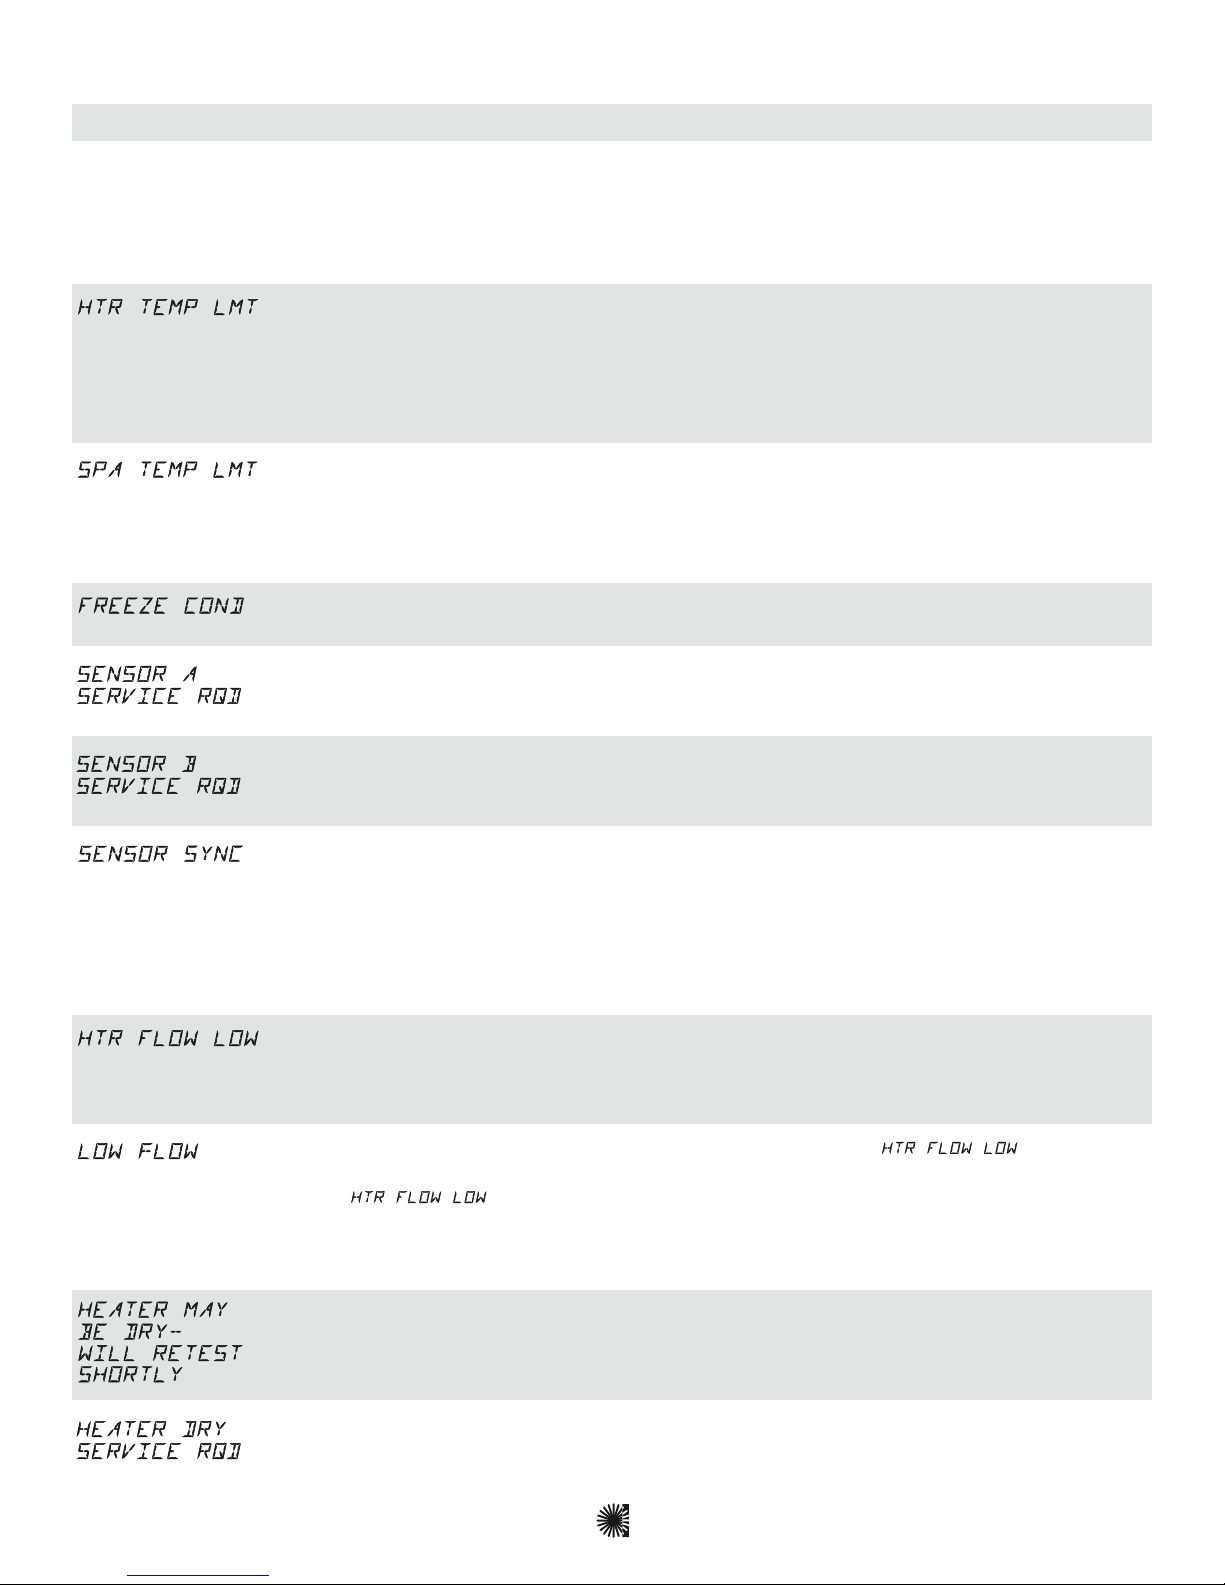
Freeze Protection
If the temperature sensors within the heater detect a low
enough temperature, then the pumps and the blower
automatically activate to provide freeze protection. The
equipment stays on for at least 4 minutes, and until the
sensors detect that the spa temperature is warm enough.
In colder climates, an optional additional freeze sensor
may be added to protect against freeze conditions that
may not be sensed by the standard sensors. Auxiliary
freeze sensor protection acts similarly except with the
temperature thresholds determined by the switch and
without a 4-minute delay in turnoff. See your dealer
for details.
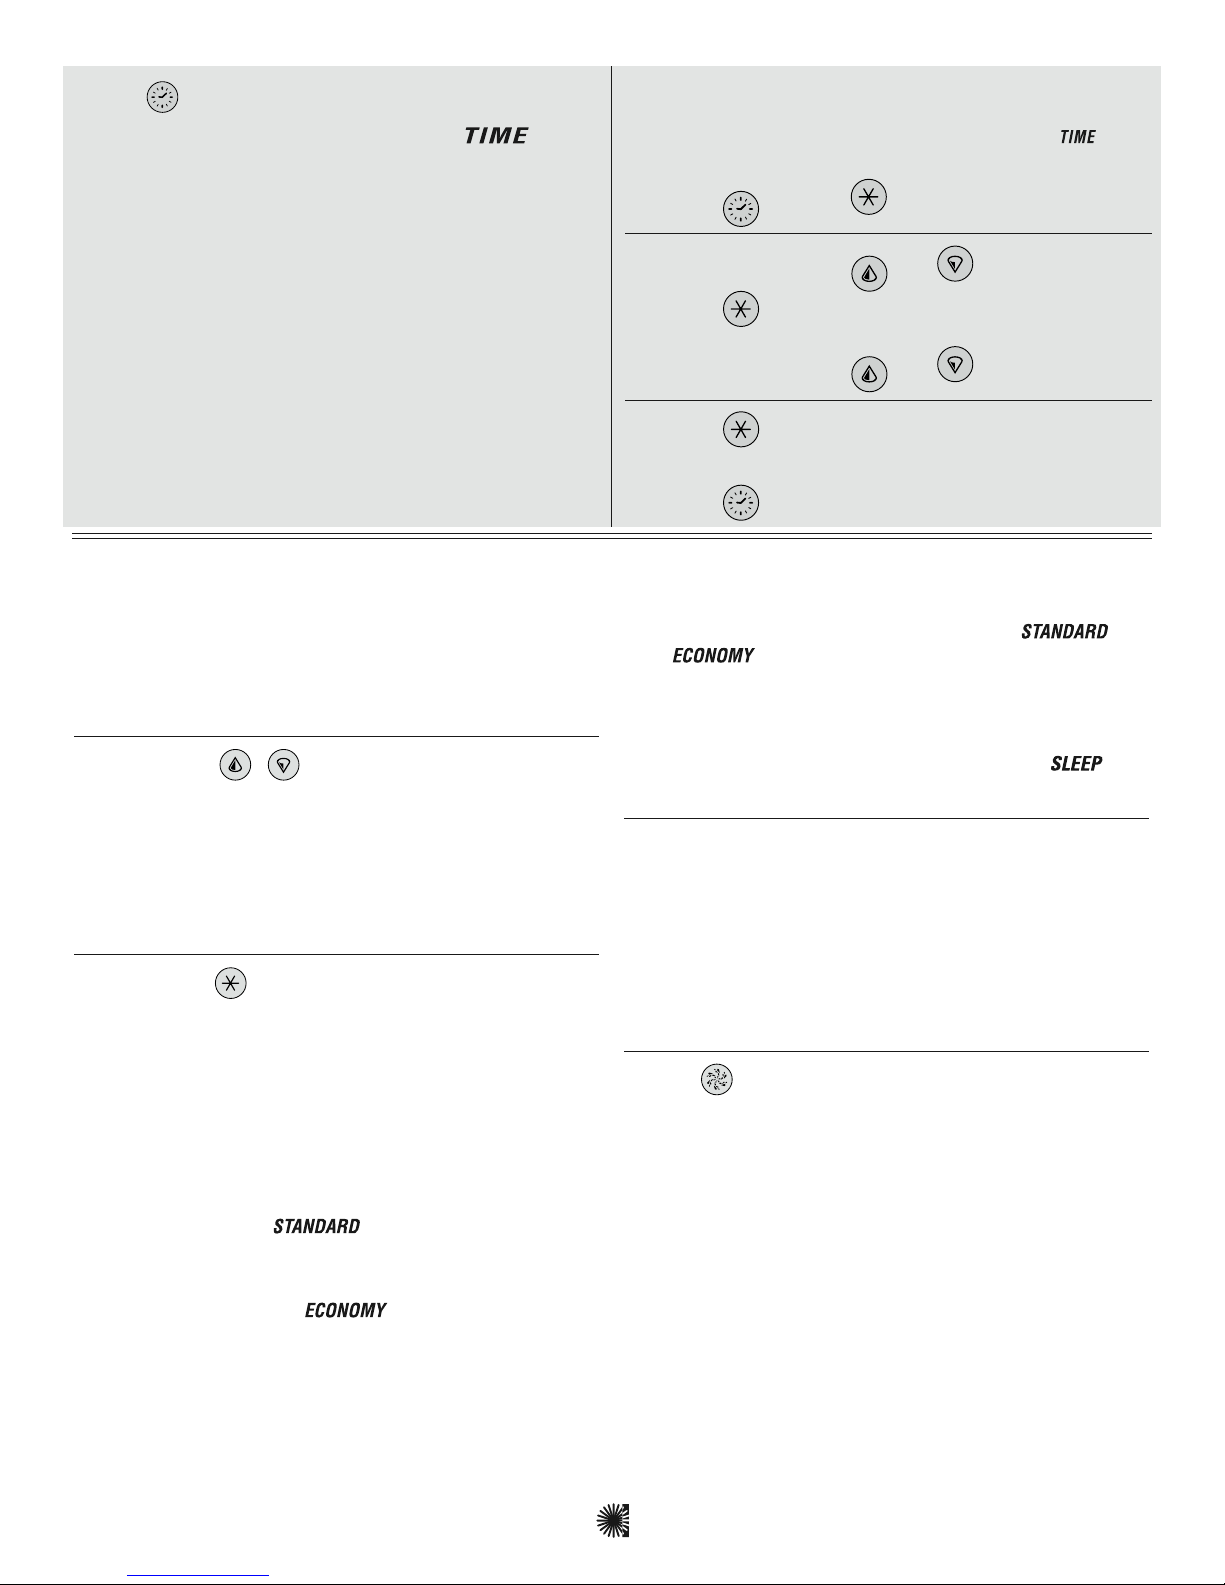
Locking the Panel
Press “Time” “Jets 1” then “Warm” within 3 seconds.
When locked, the PL “PL ” light will light. All buttons
are frozen except the “Time” button. To unlock the
panel, press “Time” “Jets 1” then “Cool.”
Locking the Set Temperature
Press “Warm” or “Cool” then “Time,” “Jets 1,” and
“Warm” within 3 seconds to activate the lock. The
TL “TL ” light will light when the set temperature
is locked.
On some systems, locking the set temperature also locks
out Mode changes.
To unlock the set temperature, press “Warm” or “Cool”
then “Time,” “Jets 1” and “Cool.”
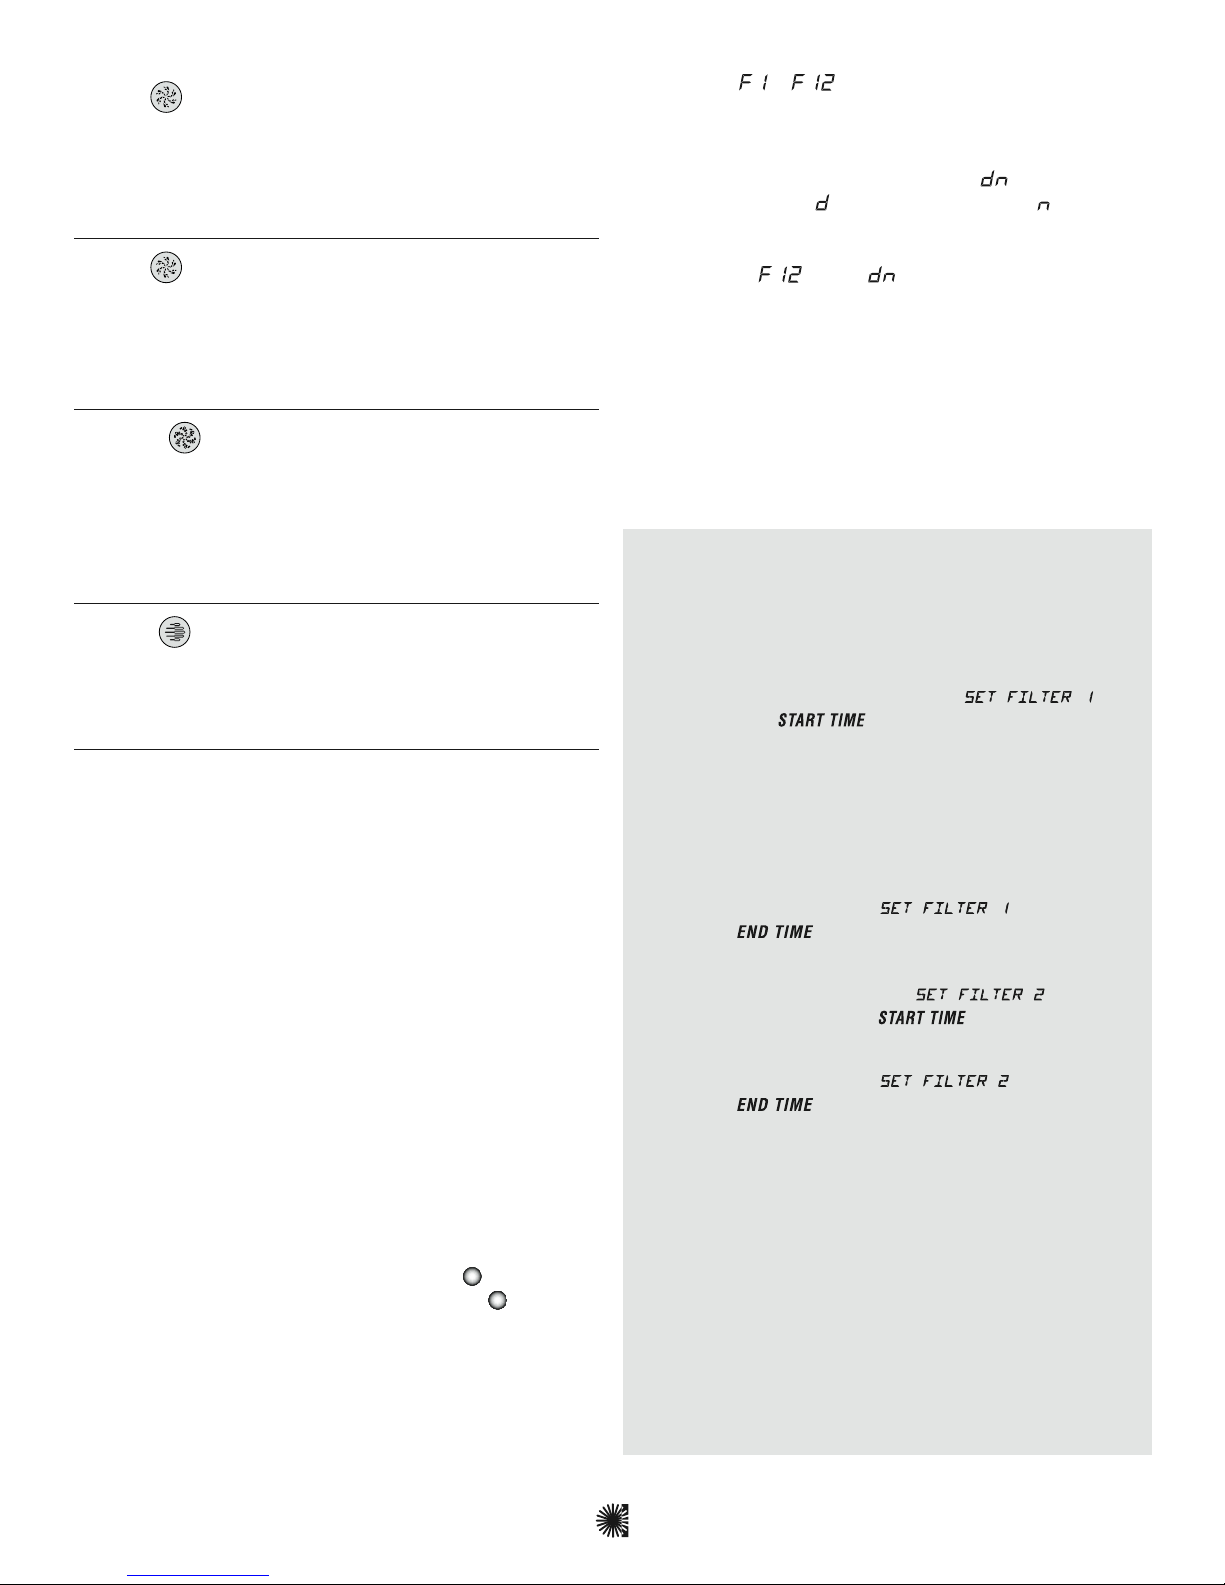
Clean-up Cycle (optional)
When a pump or blower is turned on by a button
press, a clean-up cycle begins 30 minutes after the
pump or blower is turned off or times out. The pump
and the ozone generator will run for one to four hours,
depending on the system (on some systems, you can
change this setting; see User Preferences section.)
Circ Pump (optional)
If your system is equipped with a circ pump, it may be
configured to work in one of three different ways:
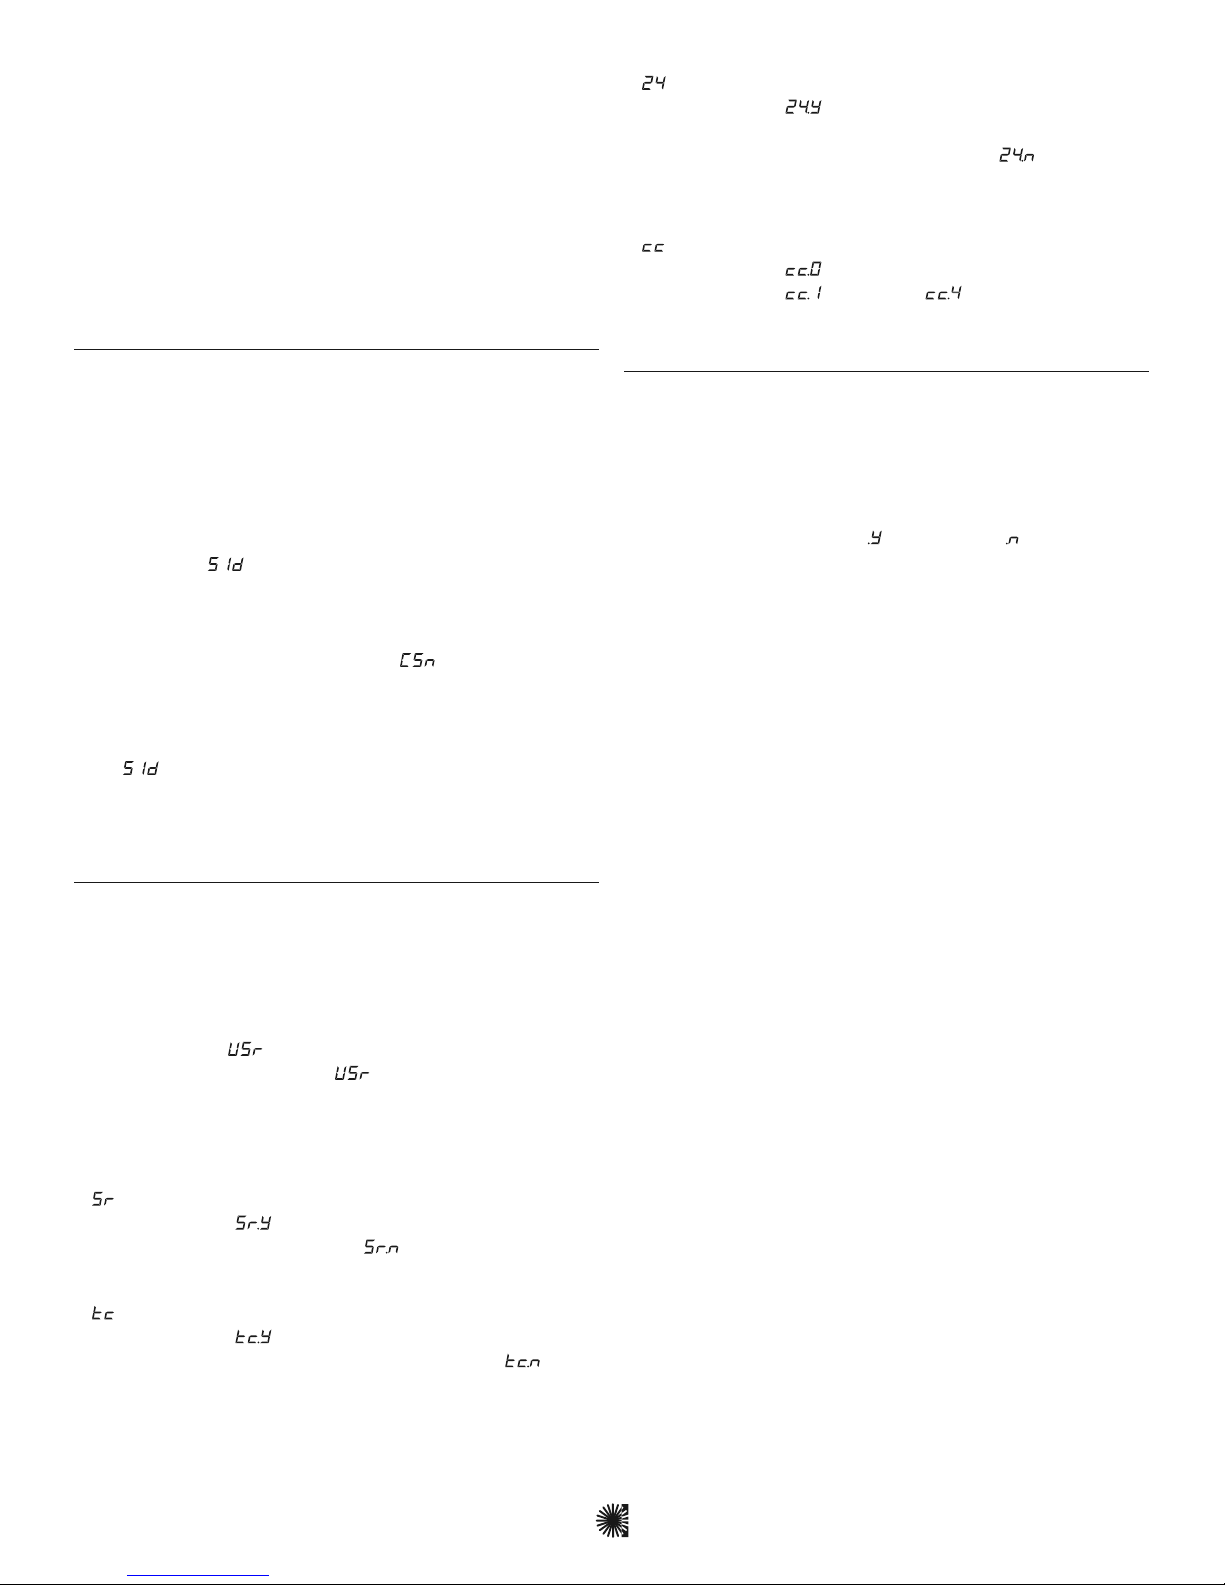
1) The circ pump operates continuously (24 hours) with
the exception of turning off for 30 minutes at a time
when the water temperature reaches 3°F (1.5°C) above
the set temperature (most likely to happen in very
hot climates).
2) The circ pump stays on continuously, regardless of
water temperature.
3) The circ pump will come on when the system is
checking temperature (polling), during filter cycles,
during freeze conditions, or when another pump is on.
Page 4
Note: If your spa has additional functions not listed
here, please refer to the section Optional Auxiliary
Panels as listed in the Table of Contents.