manuals.online logo
Brands
  1. Home
  2. •
  3. Brands
  4. •
  5. Balcrank
  6. •
  7. Tools
  8. •
  9. Balcrank 2510-010 Instruction Manual

Balcrank 2510-010 Instruction Manual

Thoroughly read and understand this manual before
installing, operating or servicing this equipment.
OPERATION, INSTALLATION,
MAINTENANCE AND REPAIR GUIDE
SERVICE BULLETIN SB2016
Rev C 4/15
Light Cord Reel
Model: 2510-010
GENERAL SAFETY
Thoroughly read and understand this manual
before installing, operating or servicing this
equipment.
INSTALLATION
Wall or Ceiling Mounting 1800Rotation:
1. Select location within 2 feet of an electrical
outlet.
2. Take “U” shaped Bracket A and attach to
solid part of the wall or ceiling with the
screws provided.
3. Place Hanger Bracket B inside “U” shaped
Bracket A lining up small holes in the
Brackets.
4. Insert Locking Pin C through lined-up holes.
Be sure to bend the end of the locking pin.
CAUTION:
1. Do not use the 2510-010 worklight in
hazardous areas under UL specifications
355.
2. Inspect cord regularly for damage and
replace if necessary for user safety.
3. Do not submerge.
4. Read mounting instructions carefully before
installing.
5. When hanging reel on ceiling:
By Hook - Close hook with pliers to prevent
reel from falling down.
By Bracket Pin - With reel in place, bend
end of “L” shaped pin to prevent pin from
falling out.
6. See caution statement regarding the
polarized plug.
!
CAUTION:
The 2510-010 portable lamp has a polarized
plug (one blade is wider than the other) as a
feature to reduce the risk of electric shock.
This plug will fit in a polarized outlet only one
way. If the plug does not fit fully in the outlet,
reverse the plug. If it still does not fit, contact
a qualified electrician. Never use an extension
cord unless plug can be fully inserted. Do not
alter the plug.
!
INSTALLATION
Ceiling Mounting 3600Rotation:
1. Select location within 2 feet of an electrical
outlet.
2. Screw the Hanger Hook securely into the
ceiling.
3. Hang Reel on Hook.
4. Close Hook with pliers to prevent reel from
coming off. Refer to point A below.
5. Adjust Cord Stop so light hangs at desired
length when cord is retracted.
OPERATION
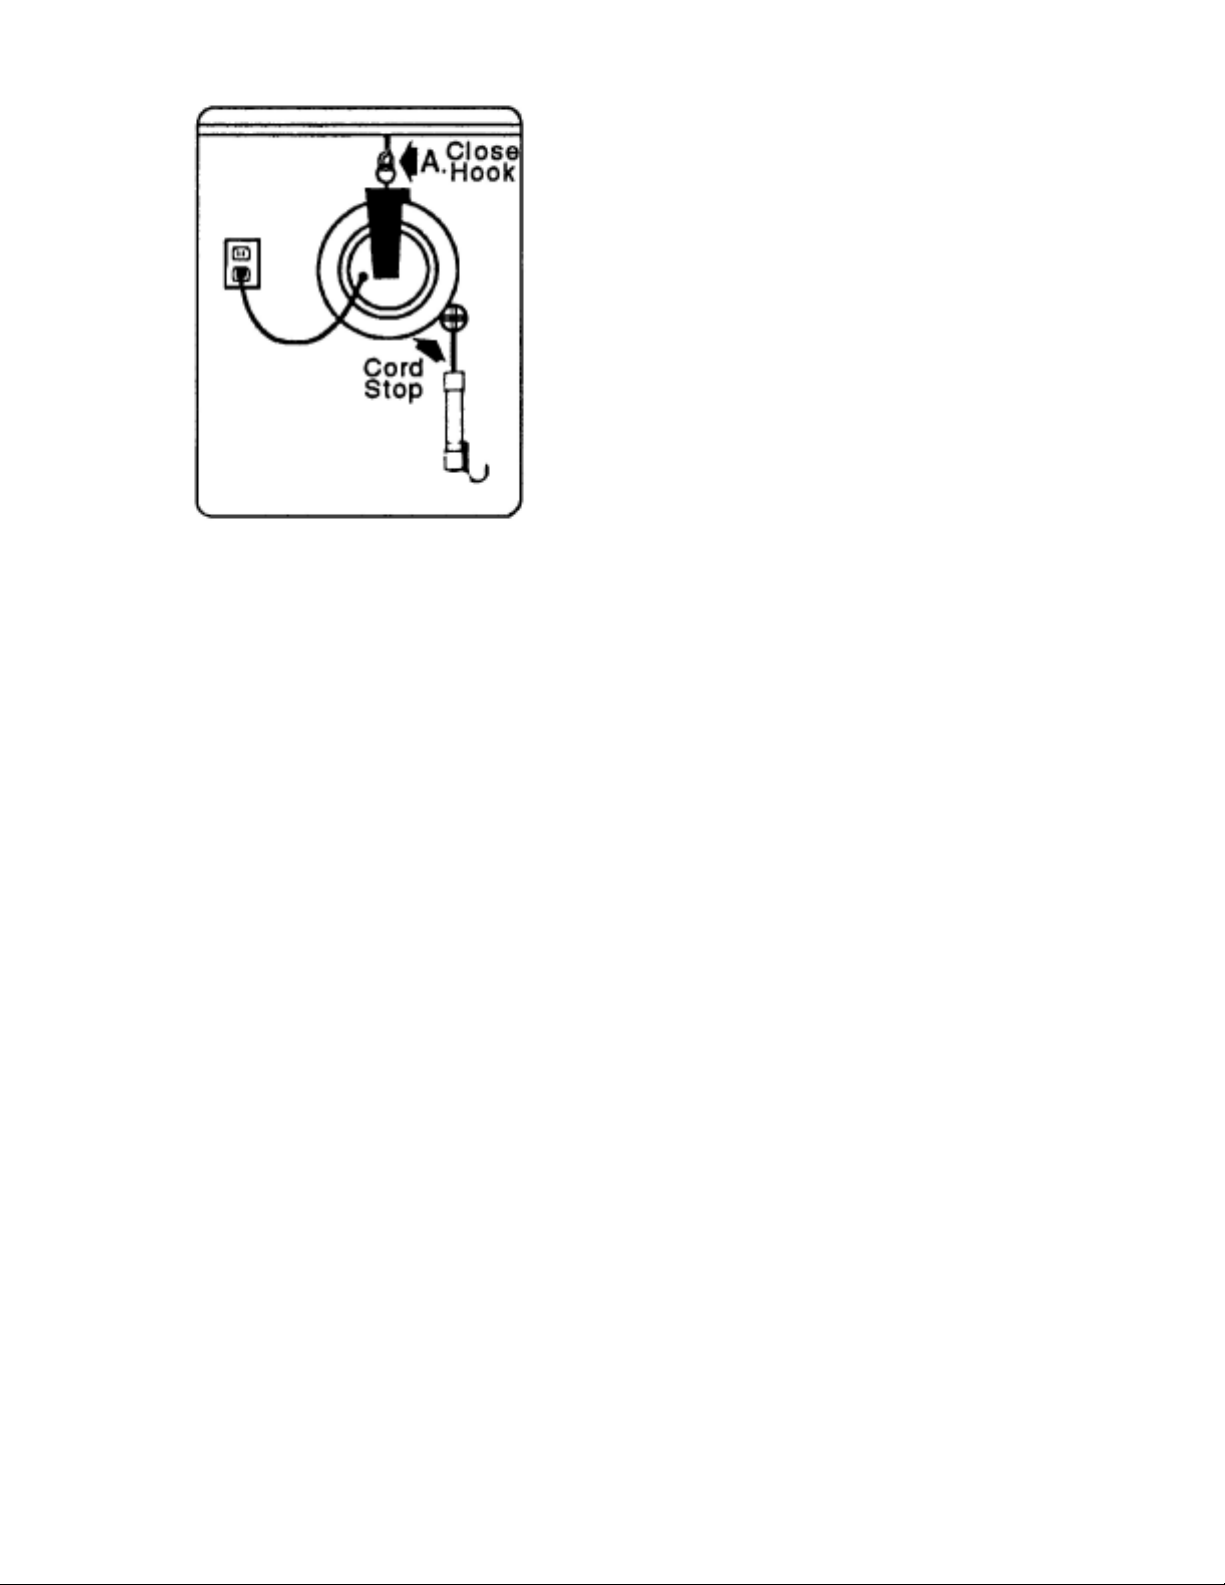
1. Plug the unit into a 120V AC outlet. The
power supply cord is UL listed and meets
OSHA standards.
2. To start, depress and release switch in
handle of worklight. The lamp will icker as
the automatic starter lights the lamp. To turn
off, depress and release again.
3. DISCONNECT THE UNIT FROM ITS
POWER SOURCE (UNPLUG) BEFORE
SERVICING.
MAINTENANCE
1. DISCONNECT THE UNIT FROM ITS
POWER SOURCE (UNPLUG) BEFORE
SERVICING.
2. Keep unit free from grease and dirt by
using a damp cloth with mild detergent, or
waterless hand cleaner. This removes dirt
from scratches in the outer tube and will
provide the best light output at all times.
3. Do not use solvents such as gasoline to
clean unit or cord as it makes the parts
brittle. Do not allow brake uid to contact
outer tube of light as it will cause permanent
damage.
4. Regular cleaning of cord will prolong cord
life.
RELAMPING
1. Lamp specification - Phillips PL13/41
available from local dealer.
2. DISCONNECT THE UNIT FROM ITS
POWER SOURCE (UNPLUG).
3. Lamp will be removed from cord end so it is
not necessary to do anything at the switch
end.
4. Slide end cap down the cord about 6”.
Remove the two screws that are now
exposed.
5. The lamp assembly will now slide out of
the end of the tube. To assist in its removal,
use a pair of needle nose pliers to grip
the square base of the lamp and pull. The
bottom lampholder will come out with the
lamp.
6. Push the lamp through the lampholder
with your thumb against the square base.
It must go out the front of the lampholder
and the new lamp inserted the same way.
Be sure the wireways (two grooves in the
lampholder) are in the same position with
respect to the new lamp as they were with
the lamp being removed.
7. Insert lamp with lampholder into tube being
sure white wires from switch are in the
wireway groove. Using your thumb, push the
lamp and lampholder until they stop (about
1/4”).
8. Re-plug terminal onto pins of lamp. Either
terminal can go onto either pin.
9. Re-install end bracket and end cap in the
same manner as when they were removed.
Re-install the two screws that were taken
out in step 4. Relamping is now complete.
Revision Log:
New Release 09/07
Rev A - 04/09 Updated warranty statement
Balcrank™Corporation
Weaverville, NC 28787
800-747-5300
800-763-0840 Fax
www.balcrank.com
Revision Log
Rev A - Release
Rev B - Corrected UL specification on page 2
SERVICE BULLETIN SB2016
Rev C 4/15
For Warranty Information Visit:
www.balcrank.com
.
Rev C - Removed obsolete information

Other Balcrank Tools manuals

Balcrank Signature Series Instruction Manual

Balcrank

Balcrank Signature Series Instruction Manual

Balcrank PREMIUM 2110 Series Instruction Manual

Balcrank

Balcrank PREMIUM 2110 Series Instruction Manual

Balcrank Premium Series Reference manual

Balcrank

Balcrank Premium Series Reference manual

Balcrank 3310-030 Instruction Manual

Balcrank

Balcrank 3310-030 Instruction Manual

Balcrank Premium Series Instruction Manual

Balcrank

Balcrank Premium Series Instruction Manual

Balcrank Premium EV Series Instruction Manual

Balcrank

Balcrank Premium EV Series Instruction Manual

Balcrank Signature DEF Series Instruction Manual

Balcrank

Balcrank Signature DEF Series Instruction Manual

Balcrank Premium EV Series Instruction Manual

Balcrank

Balcrank Premium EV Series Instruction Manual

Popular Tools manuals by other brands

PT M680 owner's manual

PT

PT M680 owner's manual

Shop fox SHOP FOX W1681 owner's manual

Shop fox

Shop fox SHOP FOX W1681 owner's manual

Westfalia 97 53 51 Original instructions

Westfalia

Westfalia 97 53 51 Original instructions

Graco 208-327 Instructions-parts list

Graco

Graco 208-327 Instructions-parts list

Gude GERMANIA AST 15M Translation of the original instructions

Gude

Gude GERMANIA AST 15M Translation of the original instructions

PipeHawk E-Safe + Operator's manual

PipeHawk

PipeHawk E-Safe + Operator's manual

Senco DFP operating instructions

Senco

Senco DFP operating instructions

Lisle Digidown operating instructions

Lisle

Lisle Digidown operating instructions

Senco SN902XP operating instructions

Senco

Senco SN902XP operating instructions

RS 193-966 manual

RS

RS 193-966 manual

Current Tools 615 Operating, Maintenance, Safety and Parts Manual

Current Tools

Current Tools 615 Operating, Maintenance, Safety and Parts Manual

Wen LA3424 instruction manual

Wen

Wen LA3424 instruction manual

Sealey RE97/10.V3 manual

Sealey

Sealey RE97/10.V3 manual

IPT PNV-19 manual

IPT

IPT PNV-19 manual

Holex 967260 user manual

Holex

Holex 967260 user manual

Berner BPT-IW-3/4 HYBRID instruction manual

Berner

Berner BPT-IW-3/4 HYBRID instruction manual

MAULE M-5-220C Maintenance manual

MAULE

MAULE M-5-220C Maintenance manual

Omni-Tuff 03-ITA24 User reference

Omni-Tuff

Omni-Tuff 03-ITA24 User reference

manuals.online logo
manuals.online logoBrands
  • About & Mission
  • Contact us
  • Privacy Policy
  • Terms and Conditions

Copyright 2025 Manuals.Online. All Rights Reserved.