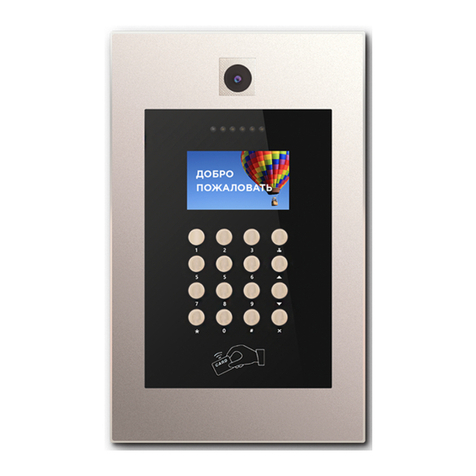
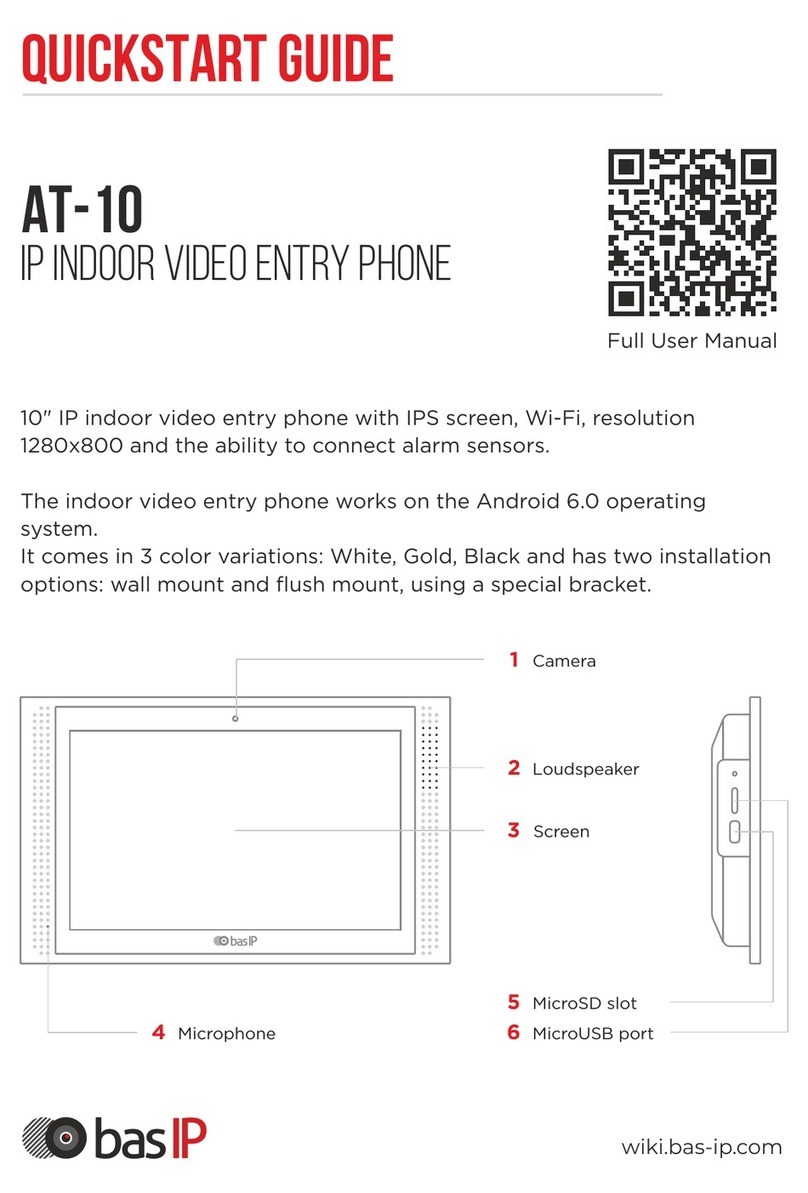
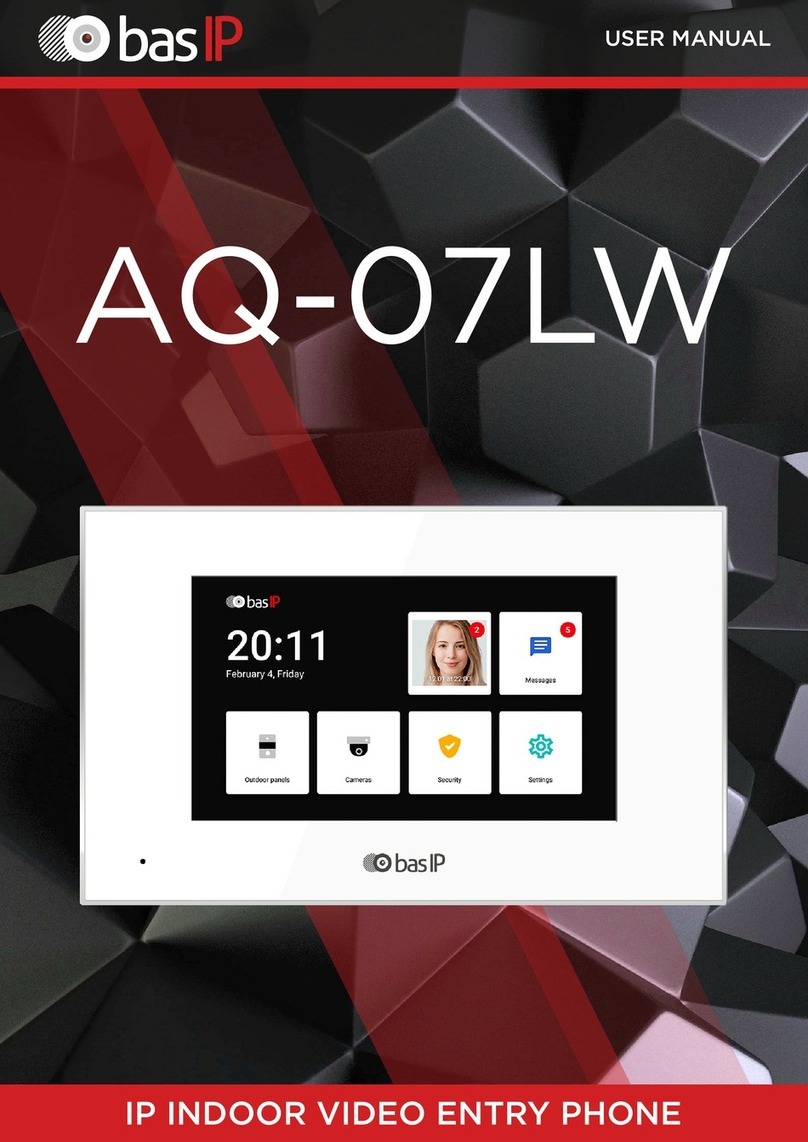
basIP AQ-07LL User manual

quickstart guide
AQ-07LL
IP INDOOR VIDEO ENTRY PHONE
Full User Manual
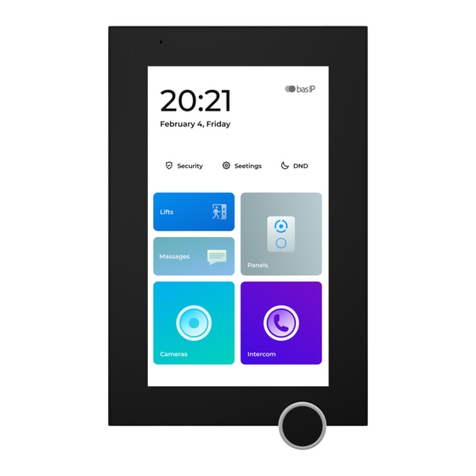
The BAS-IP AQ-07LL IP video intercom indoor monitor is designed with
a 7-inch stylish TFT touch-screen colour display and plastic case.
and white body color will suit any interior style.
The intercom can be powered from 12V or PoE, and the classic black
wiki.bas-ip.com
1Call
2
3
4
5
Photo frame mode
Concierge
Monitoring
Open
6Microphone
7Loudspeaker
8MicroUSB port
9MicroSD slot

The main screen consists of the main desktop and two additional ones,
on which various information is displayed. There is also the option
of adding custom desktops with the ability to customize them by
the number of icons and locations. This option is necessary for convenient
sorting of user applications when adding them to the desktop.
There can be an unlimited number of user desktops and up to eight
application icons can be placed on one desktop.
Main screen
FIRST SCREEN
The first desktop displays the current
date and time.
Second SCREEN
On the desktop are displayed:
Date•
Time•
Weather widget•
Main sections of the monitor menu:•
Calls •
Messages •
Outdoor panels view menu •
IP cameras view menu •
third SCREEN
On the third desktop, additional system
menus and applications are displayed:
Quad splitter•
Security alarms•
Smart home menu•
Service menu•

Adding a new desktop and apps
Clamp any of the icons on the additional
desktop for one second, after which the
desktop will go into edit mode
Click on the button to add a new desktop
in the lower right corner
Select the required number of icons
displayed on this desktop:
2 x 2 / 3 x 2 / 4 x 2
Click on the add application icon and select
the necessary ones in a new window
After adding the necessary applications
to the desktop, you must click on the «Ok»
button to return to normal mode.
To remove the desktop, go to edit mode
and click on the «Delete» icon
in the lower-left corner.
To add a new desktop, you must:

To call the navigation panel to access some functions, you must swipe
down or click at the top of the screen.
Navigation bar
Concierge quick call
The first desktop displays the current
date and time.
Call elevator
The first desktop displays the current
date and time.
Adjusting the sound modes
Normal - a mode in which all sounds
are turned on.
Mute - a mode in which all sounds except
the alarm are turned off. You can also
adjust the time while mute mode will
be enabled.
Do Not Disturb - a mode in which all
sounds except the alarm are turned off
and incoming calls from other devices
are not displayed on the screen.

VIDEOIntercom SETTINGS
System
• Brightness: Screen brightness adjusting.
Ringtone volume: Ringtone volume adjustment.•
Talk volume: Volume of the speaker adjustment •
(during the talk).
Language: Choose the language of the system.•
General SETTINGS
General settings display.
Do not disturb mode
Turning on this function, you can specify a time
interval in which all incoming calls to the monitor
will be received without sound and the screen
will not be activated.
All calls to the monitor in this mode will be
displayed in Missed Calls on the main screen.
Silence mode
To enable this function, you can set the time
mode, at which all incoming calls will appear
without sound.

Intercom
• Camera: Turn on/off the monitor camera.
Auto hung up after opening: Automatically end•
a call 3 seconds after pressing the «Open» button
during a call.
Answerphone: The function of an automatic call•
receiving by the monitor after 30 seconds of not
answering the call for recording a video message.
• Autoanswer: Automatic receiving incoming
calls function.
Protect the lock from opening with user•
password: Turn on / off the protection function
of the unauthorized door opening from
the monitor with a user password.
When the function is enabled, a user password
will be required to open the lock during a call.
Intercom SETTINGS
Intercom settings display.
The function is not available if the micro SD card
is not mounted.
Address
• Building number: 0001-9999
Unit: 00-99•
Floor number: 00-99•
Room number: 01-99•
Device: The sequence number of the monitor•
in the system.
If the monitor is one, it is necessary to set «0» in this line.
If there are several monitors, then the numbering should begin
with «0» and end with «8».
• Sync code: Synchronization code between
monitors and panels for intercom.
The address is used to automatically synchronize
and search for devices on the network that
are necessary to ensure communication between
them.

SIP
• Enable / Disable: Enable / disable SIP
registration.
Proxy: A proxy SIP server that can be•
represented by both an IP address and
a domain name.
Data format:
Before the proxy address, you must specify «sip:».
DTMF
• Realm: SIP server address.
Data format:
Сan be represented by both an IP address and
a domain name.
• STUN IP: STUN server address.
Example:
stun.l.google.com
• STUN port: The port of the STUN server.
Example:
For google STUN server 19302 port is used.
• Login: SIP number.
Password: Password of SIP number.•
• Lock Name #1: The name displayed near
the first lock button.
Default value: Enable / disable the function•
to send a standard value when the button
to open the first lock is pressed (the internal
protocol command to open the door).
Lock code #1: DTMF code transmitted when•
the first lock button is pressed.
By default, panels are set to open the door when
there is «#» DTMF code received to open the first lock.
• Second lock: Turn on/off the button
of the second lock, for example when using
the SH-42 module or the AV-07T panel.
Lock Name #2: The name displayed near•
the second lock button.
Lock code #2: DTMF code transmitted when•
the second lock button is pressed.
By default, panels are set to open the door when there
is «0» DTMF code received to open the second lock.

Network
• DHCP: enable / disable mode to get network
settings automatically.
IP: Internal monitor IP address.•
Network settings
Network settings display.
By default, the internal monitor can have a static IP address
192.168.1.90 or 192.168.1.91.
NTP
• Use custom NTP Server: Enable / disable
the use of the user time synchronization server.
This option is used to automatically synchronize
the date and time.
NTP server: User time server input field.•
• Mask: Subnet Mask.
Gateway: The main gateway.•
DNS: DNS server address.•
Current IP: Displays the current IP address•
of the monitor.
Current MAC: Displays the MAC address•
of the monitor.
Link
• Server: The input field for the IP address
or domain name of the server on which
the software for monitoring and controlling
the Link system is installed.
Send status to server: Enable / disable•
the option to send the current status
of the monitor in Link software.

Scenes settings
Security settings
Security settings display.
Zones
This menu allows you to configure scripts
for connected alarm sensors.
A total of 3 scenarios are available: Out, Home
and Sleep.
Depending on each scenario, you can customize
the logic of the triggering of certain loops.
Activation time: The time after which a particular
scenario is activated.
You can set up a delay from 0 to 300 seconds.
After pressing the button, the following window
will appear.
• №: Number of the sensor.
Type: Type o the sensor.•
Normal mode - the sensor is activated only when the system
is armed and if this sensor is selected in the paragraph above.
Usually this type is used for door and window sensors.
Emergency and 24 hours - is active constantly.
These types can be selected when flood sensors, gas, volume,
smoke and heating are connected to the loops.
• Mode: Mode of the sensor.
It depends on the sensor used.
• 3C - activation is performed when switching position
NO - normally open sensor, activation is performed when•
the contacts are closed
NC - normally closed sensor, activation is performed when•
the contacts open
Bell - doorbell connection mode. When the contacts are•
closed, the monitor will start playing the incoming call melody.
• Delay: Delay before activating
a specific sensor.
Sensor: Selects the display type•
of the sensor for additional
informativity when triggered.
The delay until the sensor triggers are only active
if the «Normal» type is selected. The delay time
does not add up to the arming time.
To disable alarm you need to enter password.
By default, password is 1234.

User password
• Old password: Current password input field.
By default, user password is 1234.
• New password: New password input field.
Confirm: New password confirmation field.•
Admin password
• Old password: Current password input field.
By default, user password is 123456.
• New password: New password input field.
Confirm: New password confirmation field.•

Adding an IP camera
IP camera settings
IP camera settings display.
There is from 1 to 32 IP cameras available
for display.
To add an IP camera, scroll to the end and click
on the plus icon.
IP Camera Name: Desired to display•
the camera name.
RTSP URL: RTSP string to get the camera•
stream. The string is usually indicated
in the installation instructions that come
with the camera.
Example:
rtsp://admin:admin@192.168.1.87:8554/ch01
Default IP camera
Select camera: Selection of IP camera•
which will be displayed first when you open
IP cameras view menu.

Room setting
Here you can setup name of each room.
Smart settings
Smart settings display.
This menu is intended for setting rooms
for the home automation control menu.
The function is available only on the main monitor.
Light setting
In this menu, you can set up names for each
group of lightning for each button.
Also, you can change the setting for each
room by choosing it from the dropdown list.

Concierge call
Advanced settings
Advanced settings display.
The button is displayed on the main screen
of the monitor and makes a call to the specified
direction (via SIP or internal protocol) when you
click on it. It can be another internal monitor
in the system or SIP number of any device.
Format for SIP calls:
sip:[email protected]om, where 5544 - number of the called
subscriber, sip.bas-ip.com - address of the SIP server.
Ringtone
Select a ringtone for an incoming call
to the monitor.
From the list: Choose a ringtone from the list.•
From the file system: Choose a ringtone from•
the file system.
Format for calls via internal protocol:
0 0 0 1 - 0 1 - 0 5 0 8
Building Unit Floor Room
Theme
Select a theme that appears behind all the icons
on the monitor screen.
You can choose from default and custom theme.
Custom theme:
From the list: Choose a background from•
the list.
From the file system: Choose a background•
from the file system.

Standby mode
The monitor supports several options for
the standby mode, into which it enters after
a specified period of time.
Go to standby after: A choosing time interval
after which monitor will go to standby mode.
Announcement
Turn on / off standby advertisement display.
URL: The line for entering a link to•
an advertisement. This can be either an RTSP
string or a standard WEB page.
Timeout, sec: Timeout advertising.•
Screensaver
Turn on / off screensaver in standby mode.
Then you choose type of splash screen:
Clock / Photo Frame / IP Camera
Clock •(1)
• Turn off after: Clock screensaver timeout.
• Photo Frame (2)
• Show clock: Turn on / off the clock display
in the photo frame mode.
Choose photo directory: Choose a directory •
from the file system.
Turn off after: Photo frame display timeout. •
When using quad splitter mode, it is necessary to specify
the RTSP lines of the additional stream of cameras with
a resolution of no more than 720х576 pixels for correct
displaying.
• IP Camera (3)
In this mode, IP cameras can be shown in
three modes:
• Single camera
Choose IP camera: Select the camera •
to be displayed in standby mode.
Turn off after: IP camera view timeout. •
Quad splitter •
IP camera 1-4: Selection of cameras •
that will be displayed.
Turn off after: IP camera view timeout. •
• Tour
Choose IP camera: Choosing •
the cameras to display in tour mode.
Time interval: switching time between •
cameras..
Turn off after: IP camera view timeout. •

Service links
This menu sets the main links to the buttons
for the services menu.
Weather
The monitor supports several different
widgets: weather widget and third-party
application widgets.
Units: Wind speed can be displayed•
in km/h and in m/h.
The temperature also can be displayed
in degrees Celsius and degrees Fahrenheit.
Automatic city detection by IP: Turn on / off•
the function of automatic weather detection
by IP address (if you have Internet access).
Enter the city: Select a city by entering•
the name and selecting the desired city from
the list.
Widget
The monitor also supports displaying
application widgets on the home screen.
Custom widget: Turn on/off the function
of using widgets of applications installed
on the monitor.
After clicking on the «From the list» button,
the widget selection menu will be displayed.

Software updates can be done both
in automatic and in manual mode.
Notify about new updates: Turn on / off•
notifications of new software releases.
Custom server: Enables / disables the use•
of the user update server. It is used in closed
intercom networks.
URL: The input field for the IP address•
or domain of the user-defined update server.
Firmware updates: Go to the software•
update menu.
When updating the software, the system will automatically
back up application settings and configuration files.
Each subsequent update, the backup file will be overwritten.
2. If there is an update, you will have
a notification about it with an offer to install.
Firmware updates
1. After clicking the «Check the updates»
button, the following screen will appear:
3. When you click on the button in the upper
right corner additional options will be displayed:
Install from SD card: Install update from•
SD card or internal memory of the monitor.
To do this, copy the update file to the SD card
or internal memory of the device, select
the path to the file and click «Ok».
Delete updates: Restore the previous version•
of the software and return to the factory
settings.
When the update is deleted, all photos, network settings,
logical address settings will be deleted and they will be
restored from the backup.
Other manuals for AQ-07LL
1
Table of contents
Other basIP Intercom System manuals
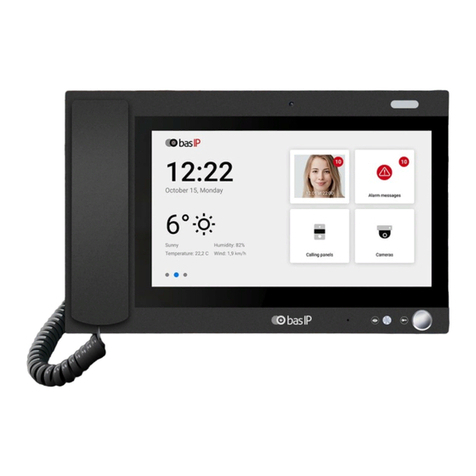
basIP
basIP AM-02 User manual
basIP
basIP AA-07FB User manual
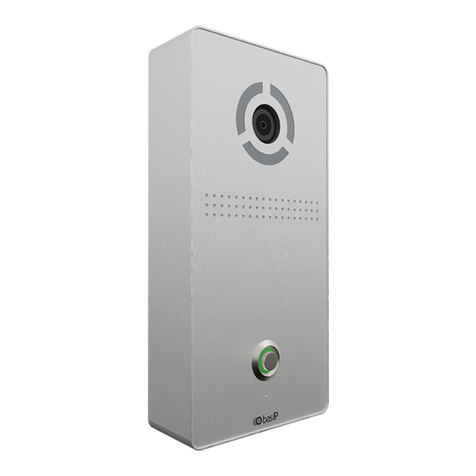
basIP
basIP AV-04SD User manual
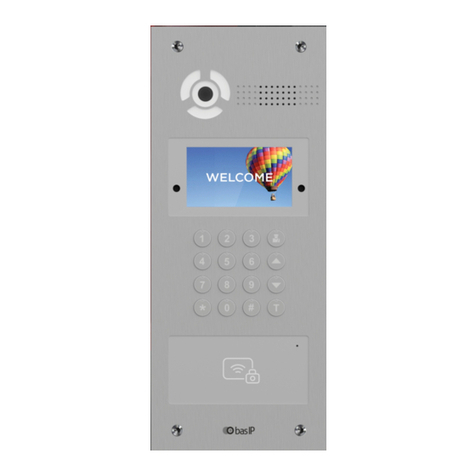
basIP
basIP AA-07FBC User manual
basIP
basIP AV-05SD User manual
basIP
basIP AV-04AFD User manual
basIP
basIP AA-07BD User manual
basIP
basIP SP-03 User manual
basIP
basIP AA-07FB User manual

basIP
basIP AV-02FDR/E User manual
