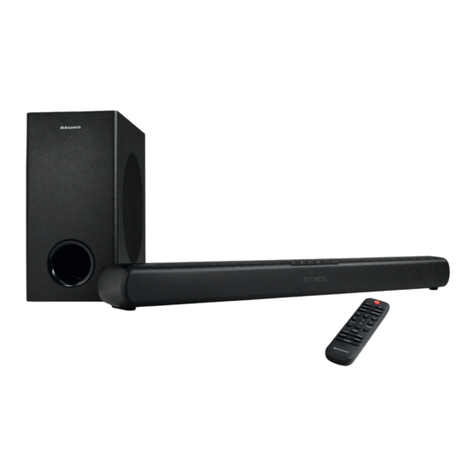
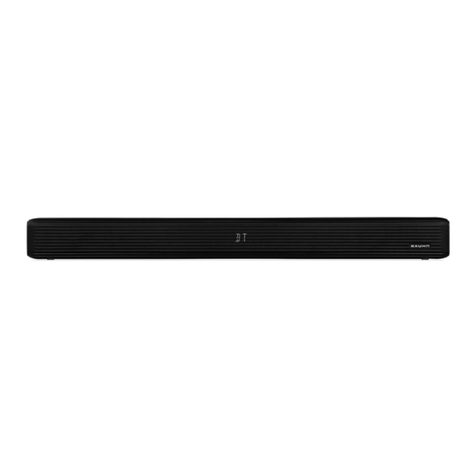
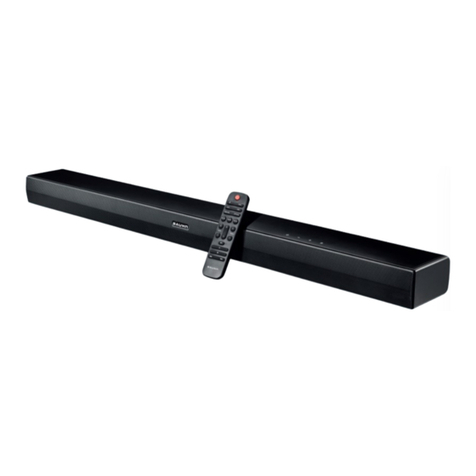
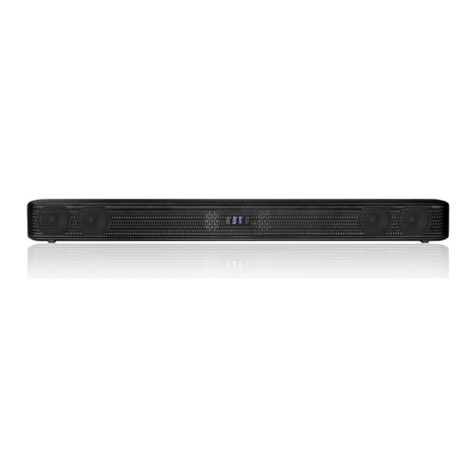
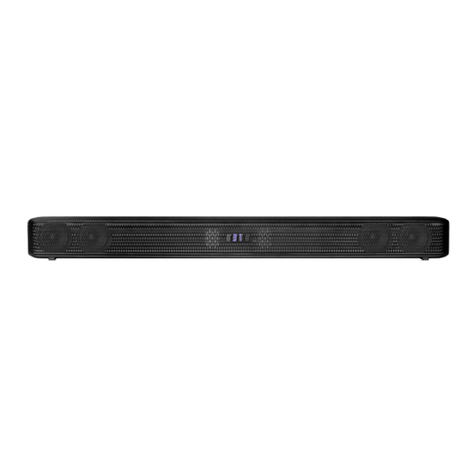
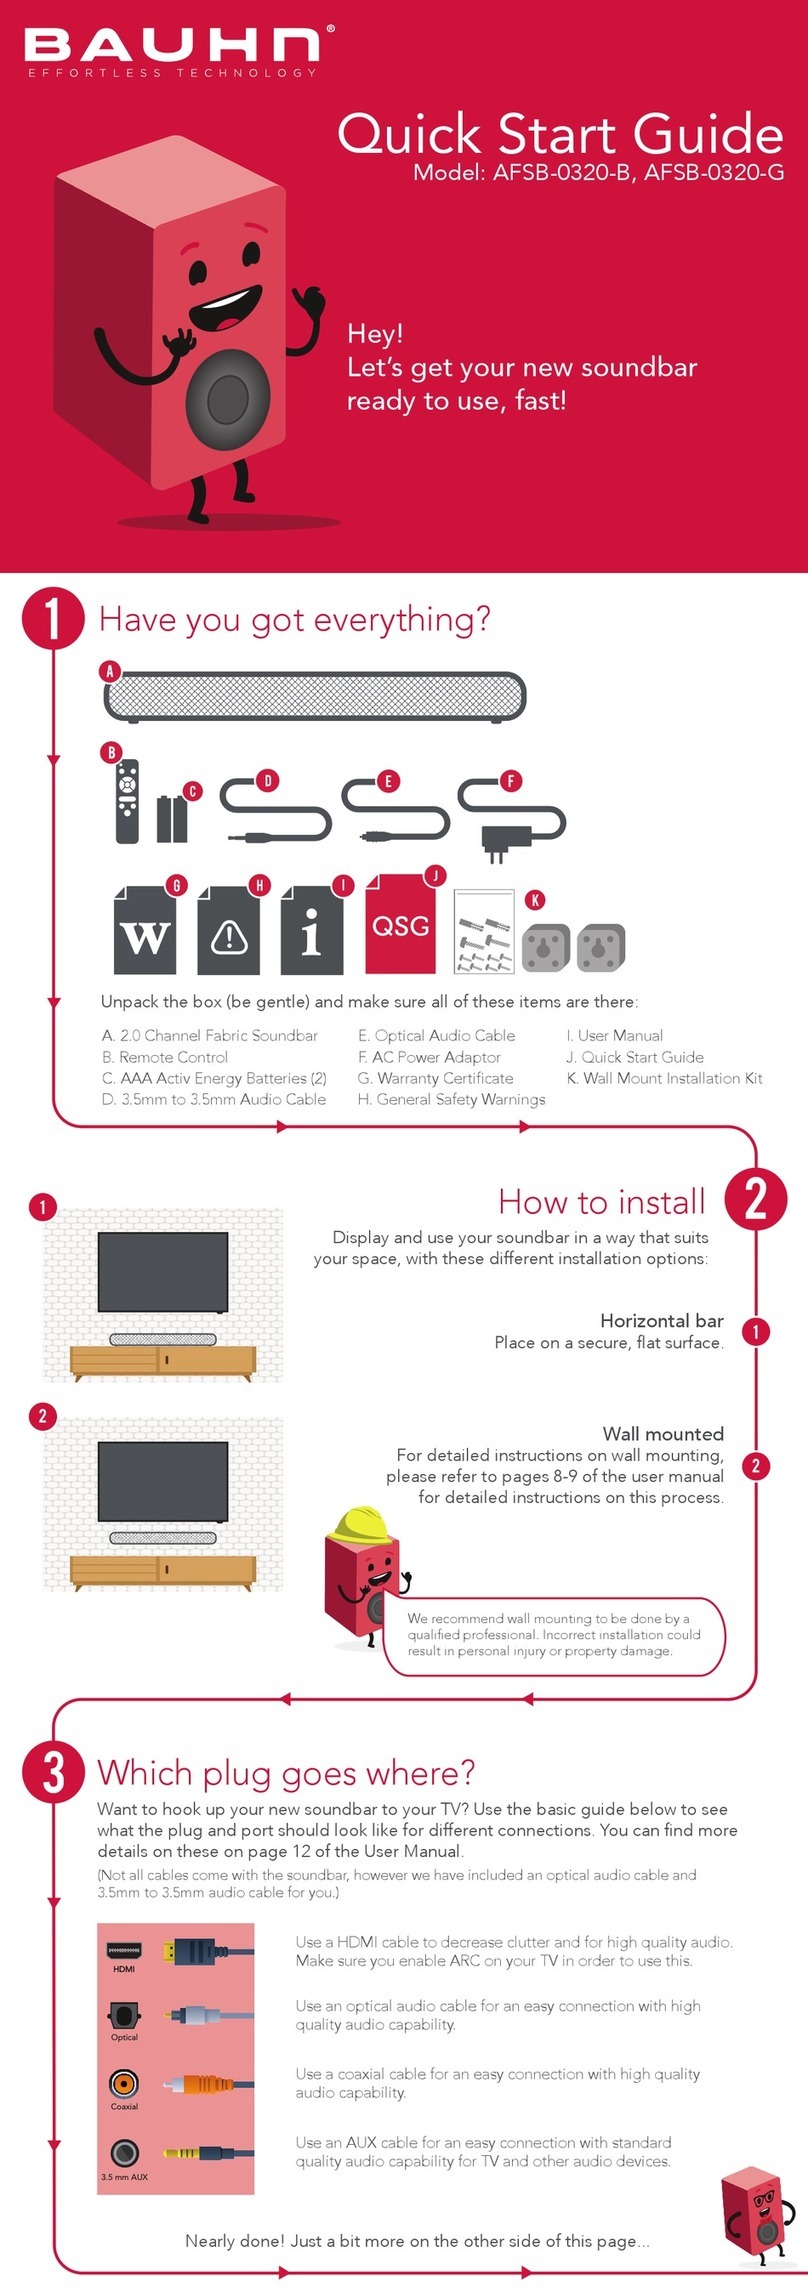
Bauhn ASB-0120 User manual

User Manual
MODEL: ASB-0120
2.0 Channel Soundbar
with Bluetooth®Wireless Technology

2
Welcome
Congratulations on your purchase!
This manual tells you all you need to know about using your new Bauhn®product.
Please take special note of any important safety and usage information presented with the symbol.
All products brought to you by BAUHN®are manufactured to the highest standards of performance and safety and,
as part of our philosophy of customer service and satisfaction, are backed by our comprehensive 1 Year Warranty.
We hope you will enjoy using your purchase for many years to come.

3
Operation 18
General Operation 18
NFC Operation 18
Bluetooth® 19
Pairing Bluetooth®Devices 19
Bluetooth®Playback 20
Troubleshooting 21
Specications 23
Compliance and
Responsible Disposal 24
Warranty Information 25
Contents
Welcome 2
Unpack and Prepare 4
What's in the box 4
Important Tips 5
Installation 6
Wall mounting instructions 8
Connect to power 10
Controls and Connections 11
Get to know your Soundbar 11
Rear Ports on the Soundbar 12
Remote Control 14
Setup 14
Battery Replacement 14
Using the Remote Control 16
Remote overview 17
Repair and Refurbished
Goods or Parts Notice 26

4 | UNPACK AND PREPARE
Before setting up your new Soundbar, check you have everything:
A. 2.0 Channel Soundbar
B. Remote Control
C. Wall Mount Bracket (2)
D. Base Stand (2)
E. RCAto3.5mmAudioCable
F. 3.5mmto3.5mmAudioCable
G. AC Adaptor
H. RubberFeet(3)
I. Instruction Manual
J. Warranty Certificate
K. Quick Start Guide
You will need:
• Phillips-head screwdriver and a drill (for wall mount
installation)
• HDMI Cable, if you want to set up and use HDMI CEC.
Unpack and Prepare
What's in the box

UNPACK AND PREPARE | 5
Important Tips
• Place the soundbar on a level surface.
• Place the soundbar away from any source that may generate heat or vibrations.
• Make sure there is enough space around the soundbar for airflow.
• The remote control works up to 6 metres away from the soundbar.
• Unplug the soundbar before cleaning it.
• Clean using a dry cloth only - do not use water or chemicals.
• Use only the power supply provided.
• Keep liquid, children and pets away from the soundbar at all times.

6 | UNPACK AND PREPARE
Installation
This soundbar can sit free-standing on a surface, or it can be mounted to a wall.
Horizontal
Place on a secure, flat surface. Attached the included
rubber feet to the base and make sure no other area of
the bottom of soundbar is touching the surface.
Vertical
Place on a secure, flat surface. Make sure the soundbar
is standing on its rubber feet (on the left and right sides
of the soundbar) and no other area of the bottom of
soundbar is touching the surface.

UNPACK AND PREPARE | 7
Wall Mounted
Wall mounting instructions are on the following pages.
• Wall-mounted installation must be carried
out by qualified personnel only. Incorrect
assembly can result in severe personal injury
and property damage! If you intend to install
this product yourself, you must check for
installations such as electrical wiring and
plumbing, which may be hidden inside or
behind the wall.
• It is the installer’s responsibility to verify and
confirm that the wall will safely support the
total load of the unit and wall brackets.
• Additional tools (not included) are required
for the installation.
• Do not overtighten screws.
• Use an electronic stud finder to check the
wall type before drilling and mounting.

8 | UNPACK AND PREPARE
Wall mounting instructions
Fix the supplied wall-mounting
brackets to the bracket fixing holes
on the back of the soundbar with
the supplied short screws.
Use a pencil to make drill hole marks on the
wall for the anchors. Make sure the marks are
level before drilling. Use a 6mm bit and power
drill (not supplied) to drill holes on the marks.
1
2
667mm

UNPACK AND PREPARE | 9
Slide the soundbar onto
the screws which are fixed
to the wall. Make sure the
soundbar is secure and
attached firmly to the wall.
Insert plastic anchors into the holes and
push in until they are flush with the wall.
Drive the screws into the plastic anchors
and tighten until the screw head is
approximately3mmfromthewall.
4
3

10 | UNPACK AND PREPARE
Connect to power
Make sure the power switch is switched off at the
power outlet until you have finished connecting your
cables.
Don't forget to plug in the
soundbar to the power outlet.
Leave the power switched off until
installation is finished.

CONTROLS AND CONNECTIONS | 11
Controls and Connections
Get to know your Soundbar 1. NFC (Near Field Communication) Sensor.
2. Speakers.
3. /MODE: Press to turn on. Press to select your preferred input
source. Press and hold to put in Standby mode.
4. PAIR / : Press to pair your Bluetooth device. Press to select
the play or pause function (in Bluetooth / USB mode only). Press
andholdfor3secondstodisconnectexternaldevicesandreset
Bluetooth.
5. LED indicators:
• Red: Standby mode
• White: Optical mode
• White (flashing): HDMI (ARC) mode
• Orange: AUX mode
• Orange (flashing): USB mode
• Blue: Bluetooth mode
• Blue (flashing): Bluetooth pairing mode
• LED indicators flashes: Increase or decrease in volume, or
changing EQ mode. (The LED will not flash when the minimum
or maximum volume has been reached).
6. VOL+/ : Increase volume/Skip to the next track
(Bluetooth/USB mode only).
7. VOL-/ : Decrease volume/Skip to the previous track
(Bluetooth/USB mode only).
8. Remote control sensor.
9. Stand.
10. Input connections: See the next page for more info on the
connections.
1
3
2
4
5
6
78
9
10

12 | CONTROLS AND CONNECTIONS
1DC 18V 2A POWER
Before connecting the AC adapter, ensure you have completed
all other connections.
Connect the AC adapter to the soundbar DC IN socket first, then
plug in the AC adapter to the mains supply socket.
2HDMI (ARC) SOUND
The ARC (Audio Return Channel) function allows you to send
audio input from an ARC-compliant TV to an ARC-compliant
audio device (e.g. soundbar) without the need for an additional
audio cable connection.
3Optical SOUND
Connect an Optical cable (not included) to the Optical out socket
of your device (e.g. TV, DVD player) and the Optical socket on
the soundbar.
4AUX IN SOUND
Usethesupplied3.5mmto3.5mmaudiocabletoconnectthe
headphone socket of the connected audio device, such as a
media player, to the AUX socket on the unit.
5USB STORAGE Play your stored media files (supported file codecs and
extensions may vary).
Rear Ports on the
Soundbar
1 2 3 45

CONTROLS AND CONNECTIONS | 13
Rear Ports on the Soundbar
HDMI (ARC)
To use the ARC function, make sure the soundbar's
TO TV (ARC) socket is connected via HDMI cable
(not included) to the HDMI (ARC) socket of your ARC
compliant TV. Then just use your TV remote control to
adjust the volume output (VOL +/– and MUTE) of the
connected audio device. In the TV settings menu, turn
on the ARC and CEC function (when CEC is turned on,
the sound bar will turn on/off automatically when the TV
is turned on/off).
When you use ARC or Optical
connection to your TV or DVD,
the audio output in the TV or
DVD settings menu must be set
to PCM mode (instead of Auto
mode, RAW mode etc.).

14 | REMOTE CONTROL
Setup
To activate the battery and use the remote control, pull
out the plastic tab that separates the battery from the
contacts inside the compartment.
Battery Replacement
If the remote control unit is no longer working even
when it is operated near the soundbar, you will need to
replace the battery with a new battery of the same type.
1 Remove the screw
2 Push in the tab and pull out the battery tray. Remove
the old battery and insert a fresh CR2025 battery
with the (+) marking facing upwards.
3 Push the battery tray with the battery back into the
slot and re-install the screw.
2
3
1
Remote Control
Battery Replacement
If the remote control unit is no longer working even
when it is operated near the soundbar, you will need to
replace the battery with a new battery of the same type.
1. Remove the screw with a screwdriver.
2. Push in the tab and pull out the battery tray.
Remove the old battery and insert a fresh CR2025
battery with the (+) marking facing upwards.
3. Push the battery tray with the battery back into the
slot and re-install the screw.

REMOTE CONTROL | 15
Precautions When Using Batteries
• Do not use old and new batteries together.
• Do not use different types of batteries (e.g. Manganese and Alkaline batteries) together.
• Remove the batteries from the remote if you do not intend to use it for a long time.
• When discarding used batteries, follow any guidelines for recycling and disposal of batteries that apply in
your local area.
• Keep batteries away from children and pets.
• Never throw batteries into a fire or expose them to extreme heat.
WARNING!
Keep batteries out of reach of children. Swallowing may lead
to serious injury or death in as little as 2 hours due to internal
burns. If swallowed, go straight to a hospital emergency
room. Dispose of used batteries immediately.

16 | REMOTE CONTROL
Using the Remote Control
To use the remote, point it towards the remote sensor at
the front of the soundbar. The remote will not operate if
its path is blocked.
The remote has a range of up to about 6 metres from
thesoundbaratanangleofupto30degreestoeither
side of the sensor, as illustrated below.
Remote Use
• Do not drop, step on or otherwise
impact the remote control. This
may damage the parts or lead to
malfunction.
• Do not place objects between the
remote control and the remote
sensor.
• Do not use this remote control while
simultaneously operating a remote
control for other devices.
Image is an example
only.
Remote sensor
location on soundbar
may vary.
20°
20°
30°
30°

REMOTE CONTROL | 17
用户码:20DF
要求:
Tempo 修改:
1. 对调了USB跟HDMI的按键位置,需要软件相应调整;
2. 调整了Optical, AUX 和蓝牙按钮的丝印;
Note: 实际每个按钮的位置不受改文件约束,工厂根据实际位置进行调整。以前订单的遥控,这个PVC
实际长度过长,导致下方凸出遥控磨具,需要将下方剪切0.5mm 以确保能完全贴合。
LOGO COLOUR: COOL GREY 2C
HDMI
AUX
Optical
1B
15
43
08
USB
19
EQ
: In Bluetooth or USB mode, skip
to the next track.
VOL - : Decrease the volume level.
EQ : Select a preset sound effect.
HDMI : Enter HDMI mode.
AUX : Switch to AUX input mode.
MUTE : Mute/Unmute.
:Switch the unit to ON or
Standby.
: Switch to Bluetooth mode.
: In Bluetooth or USB mode, skip to
the previous track.
USB : Switch to USB playback mode.
VOL + : Increase the volume level.
: In Bluetooth or USB mode, start or
pause playback.
OPTICAL : Switch to Optical input
mode.
Remote overview

18 | OPERATION
Function Action
Turn the soundbar ON
Press the /MODE button on
the soundbar, or press the
button on the remote control
to switch the soundbar on.
Turn the soundbar OFF
Press and hold the /MODE
button on the sound bar or
press the button on the
remote control.
Change the input
source/mode
Short press the /MODE
button repeatedly on the
soundbar, or press the
respective button on the
remote to change the input
source.
Increase/Decrease the
volume
Press the VOL + / VOL -
buttons on the unit or VOL + /
VOL - on the remote control to
adjust the volume level.
Operation
General Operation
NFC Operation
Pair your NFC enabled mobile device directly with this
unit with just a single tap.
1 Activate NFC on your mobile device.
2 Switch the soundbar to Bluetooth mode.
3 Tap the mobile device on the icon of the unit.
4 Confirm the Bluetooth connection according to your
mobile device's Bluetooth menu.
5 To disconnect, select your mobile device's Bluetooth
menu to turn the Bluetooth off or unpair the
soundbar. You can also press and hold the button
ontheremotecontrolfor3seconds.
NOTE: This NFC function only works with mobile
devices that support NFC technology.
The Mark is a trademark or registered trademark of NFC Forum,
Inc. in the United States and in other countries.

BLUETOOTH | 19
Bluetooth®
You can listen to tracks from a media device if connected
to the unit via Bluetooth®wireless technology.
The first time you use your Bluetooth®device with the
soundbar, you will need to pair them with one another.
Activate Bluetooth on your compatible device, and set it
to search for compatible devices.
Select 'ASB-0120' from the list of found devices.
Note: Only one playback unit can be connected to
the speaker. If the speaker is already connected to
another playback unit, the speaker will not appear in
the Bluetooth selection list. To disconnect the existing
paired device, press and hold the button on the
remotefor3seconds.
If your device asks for a passkey (depending on the
device manufacturers, model, and software version),
then enter digits “0000” and press OK.
Pairing Bluetooth®Devices
The operational range between this player and
a Bluetooth®device is approximately 10 metres
(without any object between the Bluetooth enabled
device and the unit). Any obstacle between the
devices can reduce the operational range.
Before you connect a Bluetooth®enabled device to
this unit, ensure you know the device’s capabilities.
Compatibility with all Bluetooth devices is not
guaranteed.
If the signal strength is weak, your Bluetooth®
receiver may disconnect, but it will re-enter pairing
mode automatically.
If a mobile phone on which you are playing music
receives a call, the music will be interrupted.
The phone call audio however is not played via
the speaker. Once you end the call, the devices
are connected to each other again and playback
resumes.
Your device will also be disconnected when your
device is moved beyond the operational range. If
you want to reconnect your device, place it within
the operational range.
If the connection is lost, follow the instructions (left)
to pair your device to the player again.

20 | BLUETOOTH
Bluetooth®Playback
Function Action
Increase the volume Press the VOL +button on the unit or on the remote.
Decrease the volume Press the VOL -button on the unit or on the remote.
Play/Pause Press on the remote.
Skip/Rewind Press / on the remote to skip tracks.
Un-pair a Bluetooth®
device Press and hold the buttonontheremotefor3seconds.
NOTE: Play/Pause and Skip/Rewind are subject to your mobile device or your APP support.
Table of contents
Other Bauhn Speakers System manuals

Bauhn
Bauhn P64172 User manual
Bauhn
Bauhn ASBW-0718 User manual

Bauhn
Bauhn ASBBS-0921-B User manual

Bauhn
Bauhn P61330 User manual

Bauhn
Bauhn ASBBS-1020 User manual
Bauhn
Bauhn ASBEB-0121 User manual

Bauhn
Bauhn ASBBS-0922 User manual

Bauhn
Bauhn SoundMax User manual

Bauhn
Bauhn AFSB-0320-B User manual

Bauhn
Bauhn ACSB-1022-B User manual

Bauhn
Bauhn ASB-0119 User manual

Bauhn
Bauhn ASBBS-0322-B User manual

Bauhn
Bauhn ASBBS-0421-B User manual

Bauhn
Bauhn ADDSB-0122 User manual

Bauhn
Bauhn ASB-0417 Guide

Bauhn
Bauhn ASBBS-1020 User manual

Bauhn
Bauhn ASBWS-0419 User manual

Bauhn
Bauhn ASBEB-0919 User manual

Bauhn
Bauhn AFSB-0920-B User manual

Bauhn
Bauhn ASB-0418 User manual