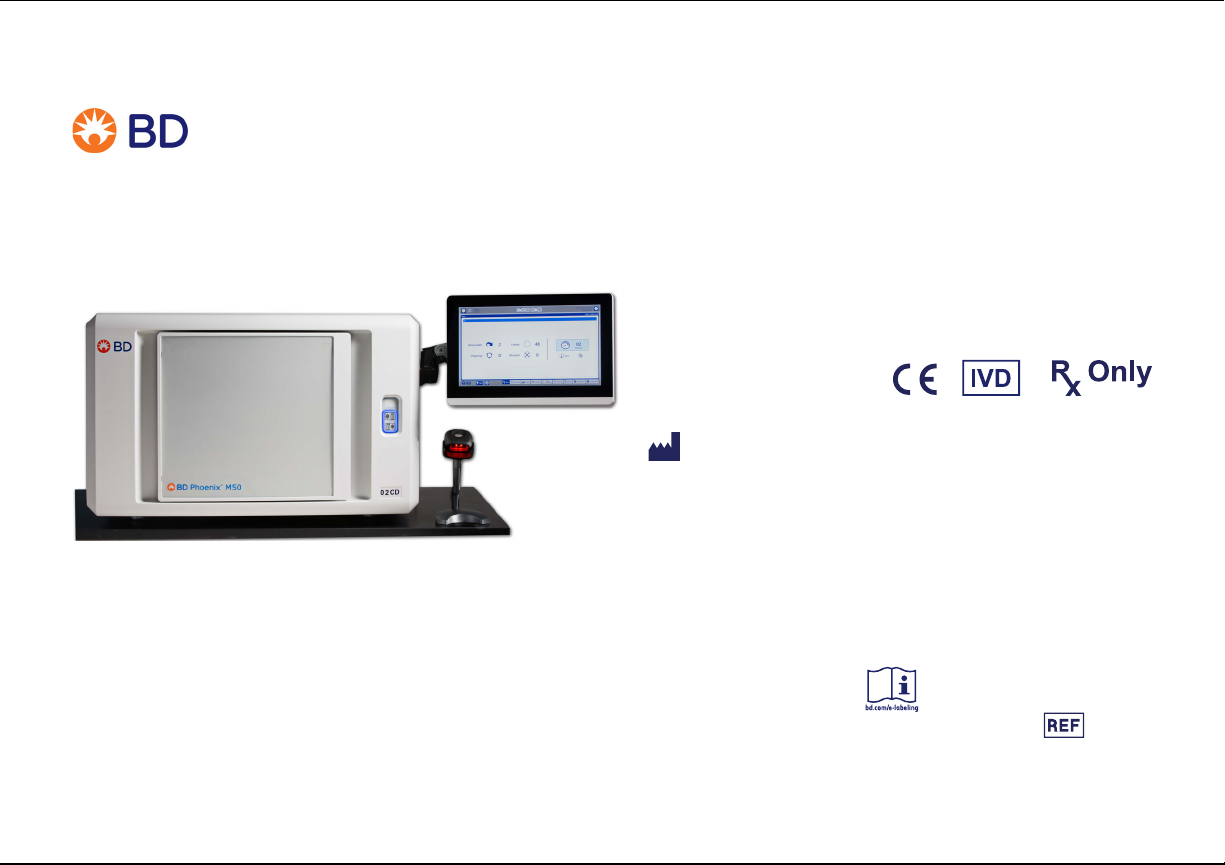
BD Phoenix™ M50 System Quick Reference Guide
Preparing Panels
1 Confirm the isolate’s Gram stain reaction.
2 Remove the appropriate panel from the pouch.
Use panel within 2 hours of removal from pouch.
3 Place the panel on the Inoculation Station with the inoculation ports on top.
4 Label a BD Phoenix™ ID Broth tube with the patient’s specimen number. Using aseptic technique, pick colonies of the same morphology with the tip of a sterile cotton
swab or a wooden applicator stick from the media.
5 Suspend the colonies in the BD Phoenix™ ID/Inoculum broth.
6 Cap the tube and vortex for five seconds.
7 Allow approximately ten seconds for air bubbles to surface.
8 Insert the tube as far as it will go into the BD BBL™ CrystalSpec™/BD PhoenixSpec™ Nephelometer.
9 If the Inoculum Density is configured for 0.5, read the tube to confirm 0.5 McFarland (0.50–0.60 is acceptable). If the Inoculum Density is configured for 0.25, read the tube
to confirm 0.25 McFarland (0.20–0.30 is acceptable). Yeast ID panels must be inoculated using a 2.00–2.40 McFarland inoculum density. SMIC and SMIC/ID panels must
be inoculated using a 0.50 McFarland inoculum density. If the density of organisms is low, the user can add colonies from the isolate. Re-vortex the sample and reread. If
the inoculum concentration in the tube exceeds the acceptable range, refer to Section 6.2.3, Step 10 of the User’s Manual for instructions.
!
Confirm settings for Inoculum Density BEFORE inoculating panels. Refer to the manual for instructions on Inoculum Density Flexibility.
Standardized bacterial suspension in ID broth must be used within 60 minutes of preparation.
10 If identification only is being performed, proceed to Step 15 and continue.
11 Label a BD Phoenix™ AST Broth tube (8.0 mL) with the patient’s specimen number. Add one free-falling drop of AST Indicator solution to the AST broth tube. Invert to
mix. DO NOT VORTEX.
Tubes must be used within 2 hours after the addition of AST Indicator solution if exposed to light (8 hours if stored in dark).
12 Using a pipettor, transfer the following amounts of bacterial suspension from the ID tube into the AST broth tube: for Inoculum Density of 0.5 McFarland, transfer 25 µL;
for Inoculum Density of 0.25 McFarland, transfer 50 µL.
Panels must be inoculated within 30 minutes of the time that the AST broth inoculum is prepared.
13 Cap the AST tube and invert several times to mix. DO NOT VORTEX.
14 Wait a few seconds for air bubbles to surface.
15 Pour the ID tube inoculum into the fill port on ID side of the panel. DO NOT overfill the panel. Allow the fluid to traverse down the tracks before moving it. If an AST
(only) panel is being used, DO NOT inoculate the ID side of the panel. Retain the ID tube for an optional purity check.
16 Pour the AST broth inoculum into the fill port on the AST side of the panel. DO NOT overfill the panel. Allow the fluid to traverse down the tracks before moving it.
17 Before placing panel closures, check for droplets of inoculum on the edge of the fill port. Remove with absorbent material if present.
18 Fully snap on the panel closures. Ensure that the closures are fully seated.
19 Visually inspect panels to be sure each of the wells is full. Look at both sides of the panel. Make certain that the wells are not overfilled. If any of the wells are improperly
filled, reinoculate a new panel.
Panels must be loaded into the instrument within 30 minutes of inoculation.
Panel Prep
8