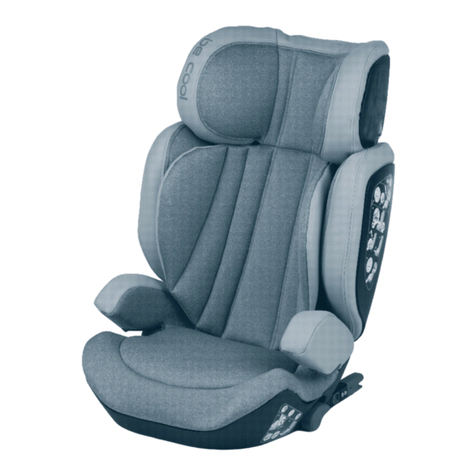
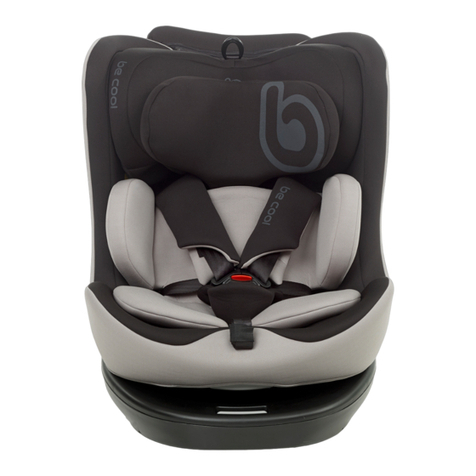
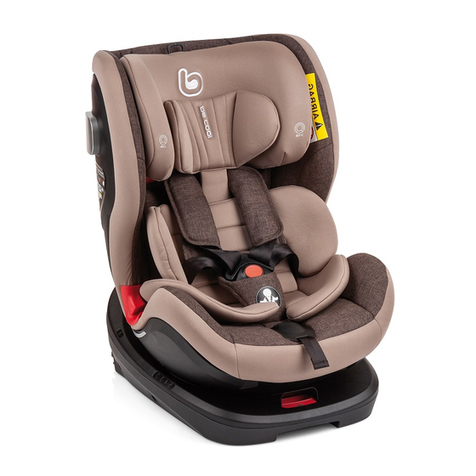
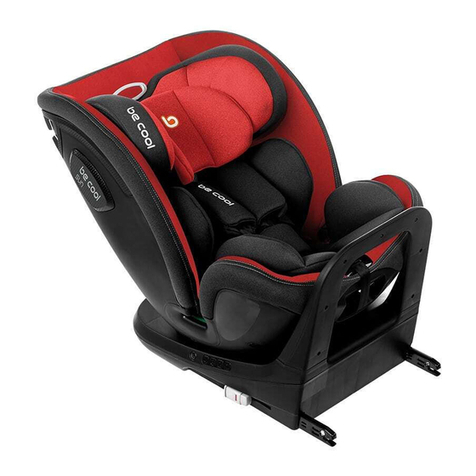
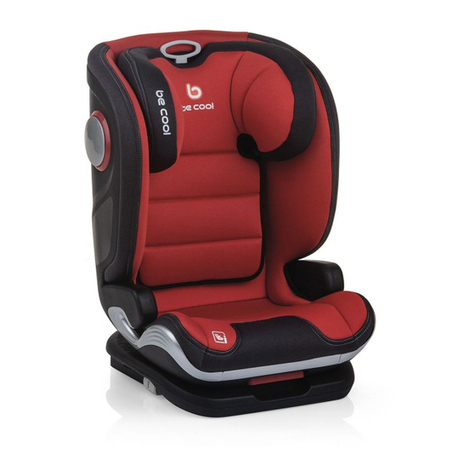
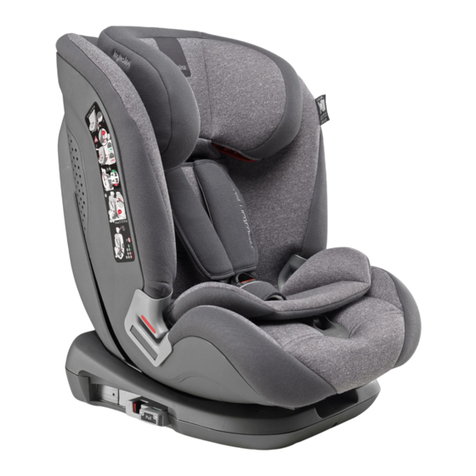
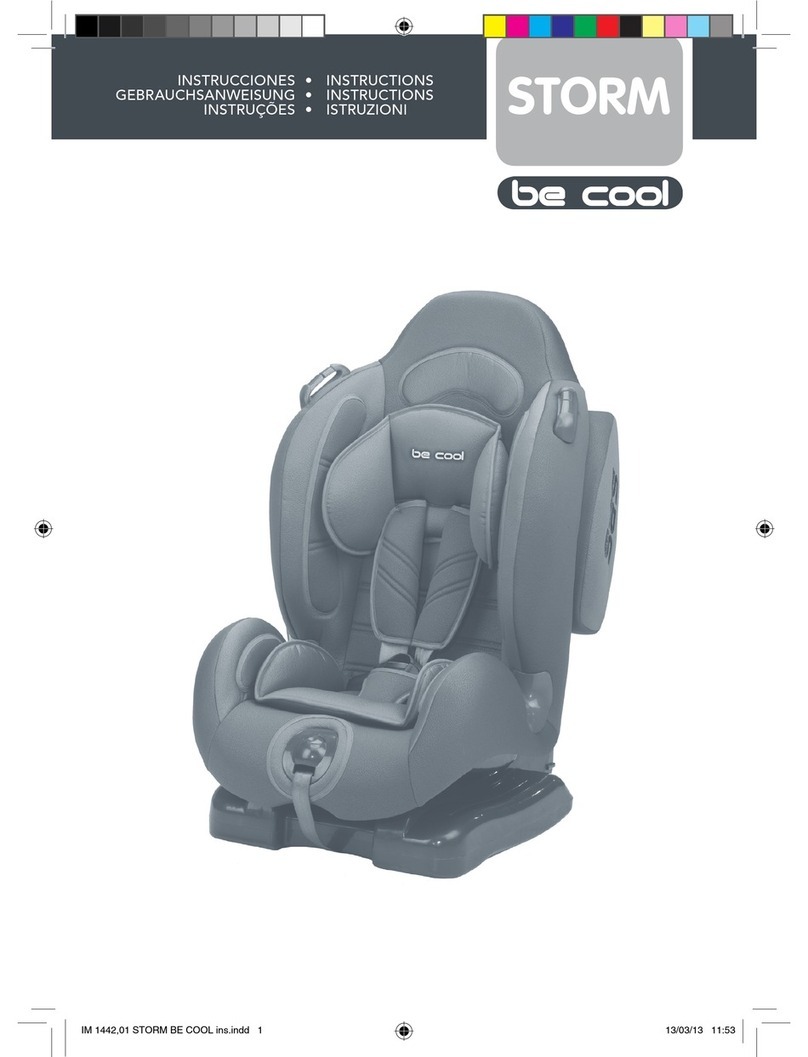
Be Cool Flow Iso-Fix User manual


LANGUAGES
03
ESPAÑOL 11
ENGLISH 16
FRANÇAIS 20
PORTUGUÊS 25
ITALIANO 30

PARTLIST
04
1
6
7
8
9
10
11
12
2
3
4
5

05
PARTLIST
13
16
17
18
14
15

PARTLIST
06
ESPAÑOL
1. Head rest
2. Flanks
3. Side energy absorber
4. Top tether
5. ISOFIX
6. Head regulator
7. Upper belt guide
8. 5 point seat belt
9. Buckle
10. Tensor adjusting button
11. Tensor adjusting strap
12. Reclining lever
13. Manual storage box
14. Lower belt guide
15. lsox release button
16. Top tether storage box
17. lsox slide lever
18. ISOFIX status display
1. Cabezal
2. Laterales
3. Amortiguador lateral
4. Top Tether (anclaje superior)
5. ISOFIX
6. Regulador del cabezal
7. Guía superior para cinturón
8. Cinturón de 5 puntos
9. Cierre
10. Botón de ajuste del tensor
11. Cinta de ajuste del tensor
12. Palanca de reclinación
13. Compartimento para manual
14. Guía inferior para cinturón
15. Botón de extracción para Isox
16. Compartimento de almacenaje para
Top Tether (anclaje superior)
17. Palanca de deslizamiento para Isox
18. Pantalla de estado para ISOFIX
ENGLISH

07
PARTLIST
1. Têtière
2. Côtés
3. Protection latérale
4. Top Tether (xation supérieure)
5. ISOFIX
6. Réglage de la têtière
7. Guide supérieur pour ceinture
8. Harnais à 5 points
9. Verrouillage
10. Bouton de réglage du tendeur
11. Sangle de réglage du tendeur
12. Réglage de l’inclinaison
13. Compartiment du manuel
14. Guide inférieur pour ceinture
15. Bouton d’extraction de l’Isox
16. Compartiment de rangement
pour Top Tether (xation
supérieure)
17. Bouton poussoir pour Isox
18. Indicateur d’état pour Isox
1. Poggiatesta
2. Fianchi
3. Ammortizzatore laterale
4. Top Tether (ancoraggio superiore)
5. ISOFIX
6. Regolazione del poggiatesta
7. Guida superiore per la cintura
8. Cintura a 5 punti
9. Chiusura
10. Pulsante di regolazione del tensore
11. Cinghia di regolazione del tensore
12. Leva di reclinazione
13. Scompartimento per il manuale
14. Guida inferiore per la cintura
15. Pulsante di estrazione per Isox
16. Scompartimento per il Top Tether
(ancoraggio superiore)
17. Leva di spostamento per Isox
18. Indicatore di stato per ISOFIX
1. Apoio para a cabeça
2. Laterais
3. Amortizador lateral
4. Top Tether (xação superior)
5. ISOFIX
6. Regulador do apoio para a cabeça
7. Guia superior para cinto
8. Cinto de 5 pontos
9. Fecho
10. Botão de ajuste do tensor
11. Fita de ajuste do tensor
12. Alavanca de reclinação
13. Compartimento para manual
14. Guia inferior para cinto
15. Botão de extração para Isox
16. Compartimento de armazenamento
para Top Tether (xação superior)
17. Alavanca de deslizamento para Isox
18. Ecrã de estado para ISOFIX
FRANÇAIS PORTUGUÊS ITALIANO

INSTRUCTIONS
08
1 1
1
1a 1c
1b
CLICK!

INSTRUCTIONS
09
1 1
1 1
2 2b
2a 2c
G23: 15-36kg
G1: 9-18kg

INSTRUCTIONS
10
1 13a 3b

ES
11
ADVERTENCIA
INSTRUCCIONES DE MONTAJE Y UTILIZACIÓN
1. INSTALACIÓN DE LA SILLA DE SEGURIDAD
2. SUJECIÓN DEL NIÑO EN LA SILLA DE SEGURIDAD
3. USO DE LA SILLA DE SEGURIDAD
MANTENIMIENTO
INFORMACIÓN SOBRE LA GARANTÍA
12
13
13
13
14
14
15

ES
12
¡IMPORTANTE! Guarde estas
instrucciones para consultas futuras
Por favor, lea detenidamente el manual de
instrucciones antes de usar nuesto producto.
La silla de auto FLOW ISO-FIX es un dispositivo de se-
guridad y únicamente es seguro cuando es utilizado
de conformidad con el manual de instrucciones.
El producto sólo debe ser utilizado en un asiento
orientado hacia delante que esté dotado con un
cinturón de seguridad automático de tres puntos
de anclaje, homologado según el Reglamento ECE
R16 u otras normas equivalentes, y un sistema
isox universal de 3 puntos.
El producto puede ser utilizado tanto en el asiento
delantero como en el asiento trasero.
El producto ha sido aprobado según las más
estrictas normas de seguridad europeas (ECE
R44/04) y es idóneo para el Grupo I (9-18 kg),
Grupo II (15-25 kg)y Grupo III (22-36 kg).
Cualquier alteración o adición al dispositivo sin la
oportuna autorización de BABYNURSE puede alterar
gravemente la seguridad del sistema de retención.
No seguir cuidadosamente las instrucciones para
el correcto uso del sistema de retención puede ser
peligroso para la seguridad del bebé.
Este dispositivo de seguridad no puede ser usado
sin su tapizado, ni ser reemplazado por otro que no
sea el original, ya que éste forma parte integrante de
las características de seguridad del sistema.
Nunca deje a su hijo desatendido en el coche.
ATENCIÓN: Infórmese de la legislación de tráco
vigente en el país por el que circule. Puede
restringir el uso de su sistema de retención infantil.
RECOMENDACIONES
Guarde este libro de instrucciones para futuras
consultas.
Asegúrese de que dentro del automóvil, tanto el
equipaje como cualquier otro objeto susceptible de
causar daños en caso de accidente, estén
debidamentejados o resguardados.
La silla de auto FLOW ISO-FIX deberá estar jada
debidamente con los anclajes del sistema isox
aunque no se esté utilizando, ya que en caso de
accidente podría resultar despedida provocando
daños a los ocupantes del vehículo.

ES
13
NUNCA Y BAJO NINGÚN CONCEPTO lleve al bebé
dentro del automóvil en brazos o fuera de la silla de
auto. Aunque pueda resultar extraño, en caso de
accidente, la fuerza provocada en un choque a tan
sólo 40 km/h, le haría completamente mposible la
correcta retención de su bebé.
INSTRUCCIONES DE MONTAJE Y UTILIZACIÓN
1. INSTALACIÓN DE LA SILLA DE SEGURIDAD
INSTALACIÓN desde 9 kg hasta 18 kg (76-105cm):
1a Deslice los anclajes lsox B (5) hasta su máxima longitud con
ayuda de la palanca A (17). Realice este paso en ambos lados de
la silla.
Abra la cubierta (16) y saque el conector top tether (4).
1b Introduzca los anclajes lsox hasta que escuche un click. La
pantalla del botón (15) cambiará de rojo a verde. Coloque la silla
en la posición más atrasada posible. Compruebe que los dos lsox
están en la misma posición cuando la silla se empuja hacia atrás.
1c Conecte el Top Tether en el punto de anclaje indicado para esto
y que está marcado en el vehículo con el símbolo:
Finalmente, apriete la cinta del sistema de anclaje Top Tether has-
ta que aparezca una señal verde en el indicador. La cinta debería
estar colocada sobre el respaldo del asiento del vehículo. Si fuera
necesario, eleve el cabezal o retírelo.
El conector puede estar cerrado sin sujetarse con el anclaje
ISOFIX. En cuanto se ha instalado la silla de seguridad, tire de la
misma hacia afuera para comprobar que los conectores están
bien sujetos en los puntos de anclaje del vehículo.
Para retirar la silla, siga los mismos pasos en sentido contrario:
Mueva el botón (15) para abrir el conector y soltar los anclajes.
INSTALACIÓN desde 15 kg hasta 36 kg (105-135cm):
Siga los pasos indicados anteriormente. En este caso no se debe
conectar el anclaje Top Tether.
También es posible instalar la silla utilizando únicamente el
cinturón de seguridad del vehículo.
2. SUJECIÓN DEL NIÑO EN LA SILLA DE SEGU-
RIDAD
La silla de seguridad FLOW ISO-FIX puede utilizarse con los
siguientes rangos de peso:
9-18 kg: con arnés de seguridad
15-36 kg: el arnés de seguridad se retira y la silla se sujeta con el
cinturón de seguridad del vehículo.
ARNÉS DE SEGURIDAD 9KG-18KG
2a Apriete el botón (10) y tire de los cinturones diagonales del
arnés para aojar el arnés. Apriete el botón rojo para desabrochar
el cierre. Retire los extremos del cierre hacia los lados para poder
colocar al niño dentro de la silla.
Siente al niño en la silla, coloque los cinturones de ambos lados
sobre el niño y abroche el cierre. 2b Tire de la cinta inferior A (11)
para apretar el arnés. Para sacar al niño de la silla, siga los mismos
pasos en sentido contrario. 2a
RETIRAR Y GUARDAR EL ARNÉS DE SEGURIDAD:
Cuando el niño ha alcanzado un peso de 18 kg (105 cm de altura
aproximadamente), el arnés debe retirarse y se debe sujetar al
niño con el cinturón de seguridad del vehículo.

ES
14
2c Para guardar el arnés, primero es necesario soltarlo por com-
pleto, después, levante la cubierta situada debajo del acolchado y
guarde las piezas del arnés en el compartimento. Posteriormente,
sitúe la cubierta de nuevo sobre la silla.
CINTURÓN DE SEGURIDAD DEL VEHÍCULO 15kg-36kg
Con el niño esté sentado en la silla de seguridad, introduzca el
cinturón a través de la guía (7). Abroche el cierre del cinturón de
seguridad y tire con cuidado de la parte diagonal del cinturón
antes de colocarla sobre el pecho del niño para comprobar que
está bien ajustado.
Compruebe que el cinturón atraviesa la guía inferior para el
cinturón (14).
3. USO DE LA SILLA DE SEGURIDAD
SISTEMA DE REGULACIÓN DEL CABEZAL Y DEL ARNÉS
9kg-18kg
3a Para regular el arnés y el cabezal en la posición correcta,
presione la palanca (6) y tire del cabezal (1) hacia arriba. El arnés
se desplazará automáticamente hacia arriba sin necesidad de
realizar ningún movimiento más.
Coloque el arnés en la posición correcta, como se indica en el
gráco.
15kg-36kg
Desplace la misma palanca hacia arriba para regular la altura del
cabezal dependiendo del niño.
Compruebe que la guía del cinturón se encuentra a unos 2
centímetros sobre los hombros del niño.
Si fuera necesario bajar la posición del arnés o del cabezal, realice
la misma operación en sentido contrario.
SISTEMA DE RECLINACIÓN DE LA SILLA
La silla de seguridad FLOW ISO-FIX tiene 4 posiciones de reclina-
ción para una mayor comodidad del niño.
3b Para reclinar la silla presione la palanca (A) y tire hacia delante
hasta alcanzar la posición deseada.
MANTENIMIENTO
Colocación/Extracción de la cubierta
Es muy sencillo retirar la cubierta de la silla FLOW ISO-FIX.
La cubierta tiene 7 puntos de sujeción en la parte delantera.
Simplemente es necesario soltar esos puntos y tirar con cuidado
de la cubierta.
En los laterales de la silla hay unas piezas de plástico que se
utilizan para sujetar la cubierta. Tire de estas piezas con cuidado
para retirar la cubierta.
Para colocar la cubierta, simplemente siga los mismos pasos en
sentido contrario. En los laterales, encaje las piezas en las ranuras.
Limpieza
La cubierta puede lavarse a máquina utilizando un detergente
suave y una temperatura máxima de 30ºC.
Consulte las instrucciones de lavado de la etiqueta de la cubierta.
No utilizar secadora ya que el acolchado podría desprenderse de
la tela.
No exponer la tapicería a la luz solar durante largos periodos de
tiempo. Si la silla no está siendo utilizada, cúbrala o guárdela en
el maletero.
Las partes de plástico pueden limpiarse con un trapo húmedo y
detergente neutro.

ES
15
Recomendaciones
Conserve estas instrucciones para futuras referencias. Guárdelas
en el compartimento trasero de la silla.
Dentro del vehículo, compruebe que el equipaje así como cual-
quier otro objeto que pudiese causar daños en caso de accidente,
está correctamente sujeto.
INFORMACIÓN SOBRE LA GARANTÍA
Este artículo dispone de garantía según lo estipulado en la ley
R.D. Legislativo 1/2007 de 16 de noviembre.
Quedan excluidos de la presente garantía todos los defectos o
averías producidos por un uso inadecuado del artículo o por el
incumplimiento de las normas de seguridad o mantenimiento
descritas en las instrucciones.
Es imprescindible la presentación de la factura de compra con
la fecha para justicar la validez de la garantía.

EN
16
WARNINGS
INSTRUCTIONS FOR ASSEMBLY AND USE
1. INSTALLING THE SAFETY SEAT
2.FASTENING THE CHILD INTO THE SAFETY SEAT
3. USING THE SAFETY SEAT
MAINTENANCE
INFORMATION ABOUT THE GUARANTEE
17
18
18
18
19
19
19

EN
17
¡IMPORTANT! Keep these instructions
for future reference
Before using our product, please, read the
instruction manual carefully.
The FLOW ISO-FIX car seat is a safety device and
it is only safe when used in accordance with the
instruction manual.
The product must be only be used on a forward
facing seat that is tted with an automatic 3-point
safety belt which is approved according to ECE
R16 or an equivalent standard, and with a 3-point
universal Isox system.
The product may be used only on the back seat.
The product has been approved according to the
strictest European safety standards (ECE R44/04)
and is suitable for Group I (9-18 kg), Group II (15-25
kg) and Group III (22-36 kg).
Any alteration or addition to the device without due
authorisation from
BABYNURSE may seriously compromise the safety
of the retention system.
If the instructions for the correct use of the
retention system are not followed carefully, baby’s
safety will be endangered.
This safety device cannot be used without its fabric
covering, nor may it be replaced by any other that
is not identical to the original, since it forms an
integral part of the system’s features.
Never leave your child unattended in the car.
WARNING: Check the road trafc regulations in the
country where you are travelling. The use of your
child restraint system may be restricted.
RECOMMENDATIONS
Keep this instruction book for future reference.
Make sure that any luggage or other objects inside
the car that may cause damage in case of an
accident are properly stored and restrained.
FLOW ISO-FIX car seat must be appropriately
fastened with Isox anchors even when not in use
because in the case of an accident this may be
sent ying causing injury to any of the occupants
of the car.

EN
18
NEVER UNDER ANY CIRCUMSTANCE should you
carry your baby in your arms in the car, or out of
the car seat. Although it may seem strange, in case
of an accident, even at only 40 km/hr the force is
such that it would be completely impossible to hold
onto your baby.
INSTRUCTIONS FOR ASSEMBLY AND USE
1. INSTALLING THE SAFETY SEAT
INSTALLATION from 9 kg up to 18 kg (76-105cm):
1a Slide the lsox anchors B (5) to their maximum length by
turning the lever A (17). Do this on both sides of the seat.
Open the cover (16) and take the top tether connector out (4).
1b Connect the lsox anchors until you hear them click into place.
The display window on the button (15) will turn from red to green.
Push the seat as far back as possible. Make sure that both lsox
are in the same position once you have pushed the seat back.
1c Connect the Top Tether in the anchor point intended for this in
the vehicle marked with the symbol:
Lastly, tighten the strap of the TT system until the green signal is
displayed on the indicator. The strap should go over the backrest
of the vehicle seat. If necessary raise the headrest or remove it.
The connector may be closed without being secured in the ISOFIX
anchor. Please make sure that the connectors are correctly
fastened into the anchor points of the vehicle by pulling the seat
once it has been installed.
To detach the seat follow the same steps in reverse: Move the
button (15) to open the connector and release the anchors.
INSTALLATION from 15 kg up to 36 kg (105-135cm):
Follow the same steps as before. In this case you should not
connect the Top Tether.
There is also the possibility of installing the seat only with the car
seat belt.
2. FASTENING THE CHILD INTO THE SAFETY SEAT
FLOW seat may be used for the following weight ranges:
9-18 kg using safety harness
15-36 kg the safety harness must be stored away and the child
should be secured with the vehicle seat belt.
SAFETY HARNESS 9KG-18KG
2a. Loosen the harness by pressing the button(10) and pulling
the diagonal part of the harness straps. Unfasten the buckle by
pressing the red button. Move the ends of the buckle to each side
of the seat so you can put the child in the seat. Position the child
in the seat and put the strap over him on the both sides, and then
fasten the buckle.
2b Tighten harness by pulling the lower strap A (11).
To get the child out of the seat follow the same process in reverse.
2a
STORING THE SAFETY AWAY:
Once the child reached a weight of 18 kg (105 cm tall approx) the
harness should be stored away and the child should be secured
with the vehicle safety belt.
2c To store the harness away it needs to be fully loosen f irst, lift
the cover under the cushion and store the buckle parts in the
compartment.Then put the cover back on the seat.

EN
19
CAR SEAT BELT 15kg-36kg
With the child place in the seat put the seat belt on passing it
through the guide(7). Fasten the seat belt buckle and make sure
the belt is not too loose gently pulling the diagonal part of the belt
before placing the belt over the childs chest.
Check the diagonal belt passing it through the lower belt guide (14)
3. USING THE SAFETY SEAT
9kg-18kg
3a To adapt the harness and the headrest to the correct position
press the lever (6) and pull the headrest (1) upwards .The harness
Will automatically move upwards without you having to do
anything. Place the harness in the correct position showed in the
diagram.
15kg-36kg
Use the same lever to upwards to height of the headrest to be
adapted to the growing of the child. Make sure that the belt guide
is about 2 centimetres above the child ’s shoulder.
If you need to lower the position harness or headrest do the same
operation in reverse.
SEAT RECLINING SYSTEM
FLOW child seat have 4 position reclining to make it more comfor-
table for the child.
3b To recline the seat press the lever (A) and pull forward until
reaching the required position.
MAINTENANCE
Fitting / removing the cover
It is very easy to take the cover off the FLOW seat. The cover has 7
fastening points on the front part.
Simply unfasten these points and then gently pull the front part
of the cover.
On the sides of the seat there are some plastic parts that are used
to fasten the cover. Simply pull these gently to take the cover off.
To put the cover back on again just follow the same process in
reverse. Fit the parts into the slots for the sides.
Cleaning
The cover can be machine washed using mild detergent and at a
maximum temperature of 30ºC.
Please see the washing instructions on the care label of the cover.
Do not tumble dry as this could cause the padding to come away
from the fabric.
Do not expose the upholstery to sunlight for prolonged periods;
when the seat is not in use cover it up or store it in the vehicle boot.
The plastic parts can be cleaned with a damp cloth and neutral
detergent.
Recommendations
Keep this instruction book for future reference.Always store it in
the compartment in the back of the shell.
In the vehicle make sure that all luggage, as well as any other
object that could cause injury in the event of an accident, is
correctly secured or stored.
GUARANTEE INFORMATION
This article is guaranteed in accordance with R.D. 1/2007 of
16th November.
Keep your receipt as proof of purchase, you need to show it at
the store where you purchased the product to prove validity in
the event of any type of claim.
This guarantee does not cover any faults or breakages caused
by misuse of the article or by not following the safety and
maintenance information listed in the instructions and on the
care labels.

FR
20
MISES EN GARDE
DESCRIPTION GÉNÉRALE
1. INSTALLATION DU SIÈGE AUTO
2. INSTALLATION DE L’ENFANT DANS LE SIÈGE AUTO
3. UTILITSATION DU SIÈGE AUTO
ENTRETIEN
INFORMATION SUR LA GARANTIE
21
22
22
22
23
23
24
Table of contents
Languages:
Other Be Cool Car Seat manuals

Be Cool
Be Cool Fit User manual

Be Cool
Be Cool JET User manual

Be Cool
Be Cool Thunder ISO-FIX User manual

Be Cool
Be Cool Star User manual

Be Cool
Be Cool atomic User manual

Be Cool
Be Cool mars User manual

Be Cool
Be Cool easy User manual

Be Cool
Be Cool PickUp User manual

Be Cool
Be Cool box User manual

Be Cool
Be Cool STORM isofix User manual

Be Cool
Be Cool All Aboard User manual

Be Cool
Be Cool pivot User manual

Be Cool
Be Cool STORM User manual

Be Cool
Be Cool JET i-fix User manual

Be Cool
Be Cool Sun User manual

Be Cool
Be Cool Saturn User manual

Be Cool
Be Cool SPACE User manual

Be Cool
Be Cool wagon User manual

Be Cool
Be Cool foldy User manual

Be Cool
Be Cool tornado User manual