manuals.online logo
Brands
  1. Home
  2. •
  3. Brands
  4. •
  5. BEKA
  6. •
  7. Measuring Instrument
  8. •
  9. BEKA Advisor A70 User manual

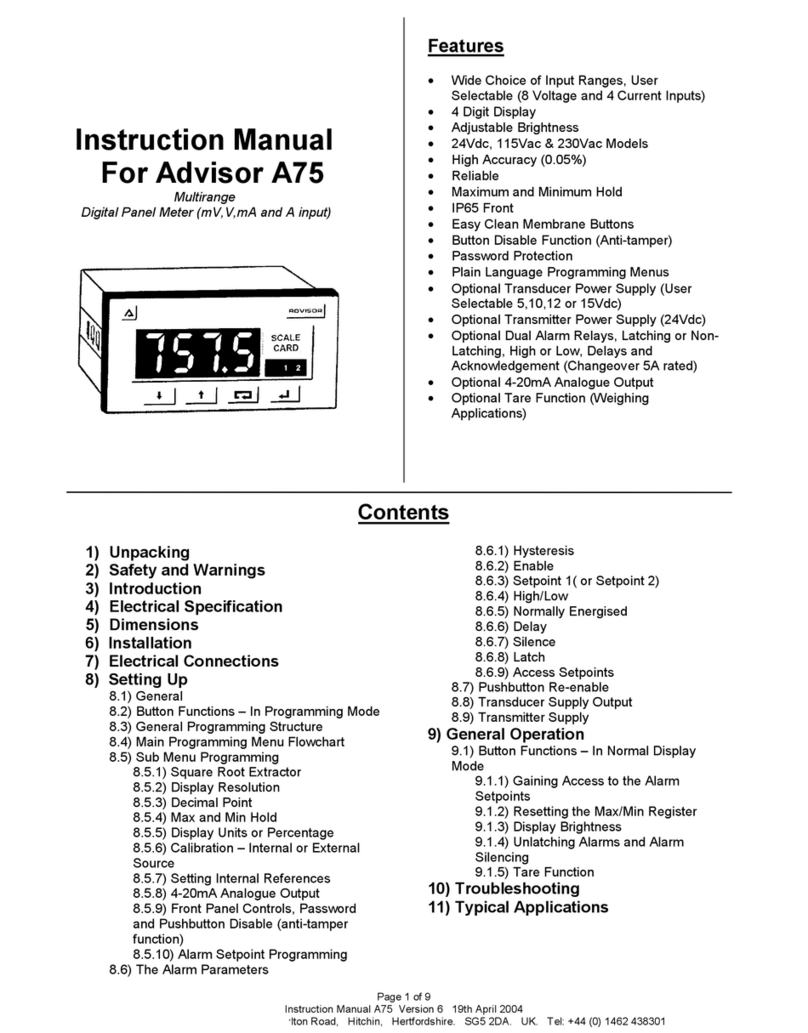
BEKA Advisor A70 User manual

Page 1 of 9
Instruction Manual A70 Version 6 19th April 2004
BEKA associates Ltd, Old Charlton Road, Hitchin, Hertfordshire. SG5 2DA. UK. Tel: +44 (0) 1462 438301
Features
•Wide Choice of Factory Set Inputs (8 Voltage
and 7 Current Inputs)
•4 Digit Display
•Adjustable Brightness
•24Vdc, 115Vac & 230Vac Models
•High Accuracy (0.05%)
•Reliable
•Maximum and Minimum Hold
•IP65 Front IP20 Rear
•Easy Clean Membrane Buttons
•Button Disable Function (Anti-tamper)
•Password Protection
•Plain Language Programming Menus
•Optional Transducer Power Supply (user
selectable output voltage (5,10,12 or 15Vdc)
•Optional Transmitter Power Supply (24Vdc)
•Optional Dual Alarm Relays, Latching or Non-
Latching, High or Low, Delays and
Acknowledgement (Changeover 5A rated)
•Optional Analogue 4-20mA Re-transmission
•Optional Tare Function (Weighing
Applications)
Contents
1) Unpacking
2) Safety and Warnings
3) Introduction
4) Electrical Specification
5) Dimensions
6) Installation
7) Electrical Connections
8) Setting Up
8.1) General
8.2) Button Functions – In Programming Mode
8.3) General Programming Structure
8.4) Main Programming Menu Flowchart
8.5) Sub Menu Programming
8.5.1) Square Root Extractor
8.5.2) Display Resolution
8.5.3) Decimal Point
8.5.4) Max and Min Hold
8.5.5) Display Units or Percentage
8.5.6) Calibration – Internal or External
Source
8.5.7) Setting Internal References
8.5.8) 4-20mA Analogue Output
8.5.9) Front Panel Controls, Password
and pushbutton disable (anti-tamper
function)
8.5.10) Alarm Setpoint Programming
8.6) The Alarm Parameters
8.7) Pushbutton Re-enable
8.8) Transducer Supply Output
8.9) Transmitter Supply Output
9) General Operation
9.1) Button Functions – In Normal Display
Mode
9.1.1) Gaining Access to the Alarm
Setpoints
9.1.2) Resetting the Max/Min Hold
9.1.3) Display Brightness
9.1.4) Unlatching Alarms and Alarm
Silencing
9.1.5) Tare Function
10) Troubleshooting
11) Typical Applications
Instruction Manual
For Advisor A70
Economical
Digital Panel Meter (mV,V,mA and A input)
Page 2 of 9
Instruction Manual A70 Version 6 19th April 2004
BEKA associates Ltd, Old Charlton Road, Hitchin, Hertfordshire. SG5 2DA. UK. Tel: +44 (0) 1462 438301
1) Unpacking
The packaging for your Advisor A70 includes:
1) An Advisor A70 digital panel meter
2) A pair of panel mounting clips
3) A neoprene sealing gasket
4) Full set of connector blocks
5) A set of self-adhesive engineering unit labels
6) This instruction manual
Check your unit against the above parts list to make sure
that nothing has been lost or damaged in transit. Keep the
packing box. If in the unlikely event you need to return the
Advisor, this will be useful. If any parts are missing or
damaged, please contact your supplier.
2) Safety and Warnings
The Advisor A70 has been designed and tested in
accordance with the EU directive (73/23/EEC) for Low
Voltage (LVD) apparatus and the EU Directive
(89/336/EEC) for Electromagnetic Compatibility (EMC).
Copies of the certificate of compliance and test reports are
available on request.
It should be noted that the instrument is a panel mounted
meter and after installation only the front panel is intended
for general operator access. Installation must be completed
by authorised and qualified personnel.
To ensure safe operation/installation the following warnings
must be observed.
•Before installing the meter, ensure the marked
rated voltage agrees with the actual power supply
voltage.
•A safety earth must be connected to a conductive
panel into which the meter will be installed. A
safety earth must be connected with the AC mains
supply to the instrument. (If applicable)
•Do not expose the rear of the meter to rain or
condensing humidity.
•Do not use the meter in a flammable or explosive
atmosphere.
3) Introduction
The Advisor A70 digital panel meter is one of a family of
Advisor panel meters. The A70 has been designed
specifically to display voltage or current process signals in
engineering units. It is a microprocessor based instrument
and is consequently easy to use. The A70 is factory set to
accept one of a range of input types e.g. 4/20mA. Once set,
the input can not be changed. (The Advisor model A75 has
a user programmable input). The power supply is also
selected at the time of ordering. Each Advisor has a display
brightness control and max & min hold already included in
the internal software.
There are also several other options that can be included
with an Advisor including;
•Dual Alarms
•Analogue Output (4-20mA)
•Transducer power supply output (user selectable)
•Transmitter Power Supply (24Vdc @22mA)
•Internal Calibrator
•Root Extractor
•Tare Function (for weighing applications)
The Advisor has been designed for reliability in harsh
environments. The front of the panel meter is rated with an
ingress protection of IP65. The programming buttons on the front
of the Advisors are sealed membrane type allowing the unit to be
kept clean by hosing or wiping down.
4) Electrical Specification
Power Supply
10 to 35Vdc
99 to 132Vac 50/60Hz or
198 to 264Vac 50/60Hz
Power Consumption
4W Max.
Input Range
(factory set to one of the following)
0-100mV, 0-200mV, 0-500mV, 0-1V, 0-2V, 0-5V, 1-5V,
0-10V, 0-20mA, 4-20mA, 0-50mA, 10-50mA, 0-0.5A,
0-1A and 0-2A
Input Impedance
Voltage input > 1 MOhms (0-100mV and 0-200mV >10
MOhms)
Current input < 10 ohms
Isolation
500Vrms between input, power supply and any optional
accessory outputs.
Accessories (fitted at factory)
Alarms (Dual)
Single pole changeover contact rated at 250V; 5A ac
and 30V;5A dc.
Transmitter Power Supply
24Vdc @ 22mA short circuit protected
Transducer Supply Output
Selectable output 5,10,12 or 15Vdc @ 22mA, short
circuit protected. Drift < 100ppm/oC
Analogue Output (4-20mA)
500 Ohms load max.
5) Dimensions
Recommended panel cut-out: (dimensions in mm)
DIN43 700. 92.0+0.8/-0.0 x 45+0.6/-0.0
To achieve an IP65 seal between the instrument and the panel
90.0 +0.5/-0.0 x 43.5 +0.5/-0.0
CAUTION:
Read instructions prior to
installation and operation.
CAUTION:
Risk of electric shock
Page 3 of 9
Instruction Manual A70 Version 6 19th April 2004
BEKA associates Ltd, Old Charlton Road, Hitchin, Hertfordshire. SG5 2DA. UK. Tel: +44 (0) 1462 438301
6) Installation
To install your Advisor, follow the installation procedure as
outlined below.
a) Insert the instrument into the panel opening from the
front.
b) Fix the two panel mounting clips to opposite sides of
the instrument and tighten until the instrument is
secure.
c) Connect the panel wiring to the rear terminal blocks.
7) Electrical Connections
All connections to the instrument are made using high
quality two part PCB connectors with screw clamp terminals
(which accept cables between 0.5 and 1.5mm2in diameter).
This makes installation and removal much easier.
Power Supply Connections
Signal Input and Optional Alarm Connections
NOTE: Alarm terminals may carry up to
240Vac
Optional Output Connections
8) Setting Up
8.1 General
The Advisor panel meters are set up using the four front panel
pushbuttons. Parameters are accessed using a menu which may
be protected by a user programmable password.
It is possible to disable the pushbuttons to stop any tampering by
unauthorized personnel. If the anti-tamper pushbutton disable
function has been switched on, you will need to regain “local”
control by following the key press sequence as outlined in section
8.7
8.2 Button Functions – In Programming Mode
To enter programming mode, press the scroll and return buttons
together.
When the instrument is supplied, the security access password is
set to “0000”. If this password hasn’t been changed, then the
operator is given immediate access to the programming mode. If
the password has been changed, then the operator will need to
enter the new password before being able to access programming
mode.
In Programming Mode, the pushbuttons have the following
functions;
Decreases a setting/variable or moves to the previous
menu option. This button is referred to as the “down
button”
Increases a setting/variable or moves to the next menu
option. This button is referred to as the “up button”
Select a menu option or “scroll into” next menu option.
This button is referred to as the “scroll button”.
Confirm variable selection or return to previous menu
option or exit programming mode. This button is referred
to as the “return button”.
8.3) General Programming Structure
The above flow chart gives a general overview of the
programming structure for an Advisor. The key point to remember
is that if you ever get lost or unsure of what function you are
programming, keep pressing the return button and eventually you
will get back to the normal display mode.
Page 4 of 9
Instruction Manual A70 Version 6 19th April 2004
BEKA associates Ltd, Old Charlton Road, Hitchin, Hertfordshire. SG5 2DA. UK. Tel: +44 (0) 1462 438301
8.4) Main Programming Menu Flowchart
Page 5 of 9
Instruction Manual A70 Version 6 19th April 2004
BEKA associates Ltd, Old Charlton Road, Hitchin, Hertfordshire. SG5 2DA. UK. Tel: +44 (0) 1462 438301
8.5) Sub Menu Programming
The “Sub-Menu” Programming allows the operator to enter
the variables and functions required.
8.5.1) “root” – Square Root Extractor. This
function allows the square root linearising function
to be enabled or disabled. This in turn allows the
output from a sensor with an exponential output
signal (e.g. a differential flowmeter) to be displayed
in linear form.
8.5.2) “rESn” - Display Resolution. This function
selects the resolution of the least significant display
digit. It may be set to 1,2,5 or 10. This function can
be useful if the source signal is noisy. E.g. setting a
display resolution to 5 would mean the display only
increases or decreases in steps of 5 digits, thus
“smoothing” the display.
8.5.3) “dP” - Decimal Point. This function allows the
decimal point position to be selected.
8.5.4) “hLd”- Max and Min Hold. Whether this
parameter is set to “On” or “OFF”, the maximum
and minimum display is always being monitored
and stored in the max/min register. In Normal
Display Mode with the parameter set to “On”, the
maximum and minimum can be displayed (by
pressing the up and down buttons) and reset (by
pressing the up and down buttons together). The
maximum and minimum values are lost if there is a
power failure.
8.5.5) “U--P” - Display Units or Percentage. In
Normal Display Mode, the scroll button can be
programmed to give one of two readings, either the
actual signal input in its own units or the percentage
of span reading. The “units” function will be
incorrect if the internal references have not been
set. See section 8.5.7)
8.5.6) “CAL” - Calibration - internal or external
source. For a quick calibration, use the “int”
(internal) calibration function. The Advisor allows
the “zero” and “span” readings (display range) to be
entered. The accuracy of this method is dependent
on the accuracy of the internal references set under
the “rEF” menu. (See section 8.5.7). The preferred
calibration method is to use an accurate, traceable
external source. To calibrate using this method,
select “uSEr” followed by “Zero” and apply a “zero”
signal to the input using an external source. Set the
reading desired for this input and press the return
button. The signal input will then be sampled.
Select “SPAn”, set the appropriate input signal and
corresponding reading and sample the input again
by pressing the return button.
Page 6 of 9
Instruction Manual A70 Version 6 19th April 2004
BEKA associates Ltd, Old Charlton Road, Hitchin, Hertfordshire. SG5 2DA. UK. Tel: +44 (0) 1462 438301
8.5.7) “rEF” – Setting Internal References. Do NOT enter this program parameter unless you have an accurate and
traceable signal source to hand. The internal references are used by the meter to calculate readings for the internal
calibrator (“cAL”), the units/percentage function (“U--P”) and the analogue output option. The internal references are protected
against accidental erasure by the request for the code “sure”. The internal input references (“IP”) are set by sampling an
accurate external signal source at “zero” and “span” levels as shown in the diagram below. E.g. if the signal input range was
1-5V, 1V should be sampled at the “zero” and 5V at the “span”.
The 4-20mA analogue output (if fitted) can be adjusted (to a minimum 3.8mA and maximum 22mA) using the up or down
buttons within the “SEt” options.
8.5.8) “Iout” – 4-20mA Analogue Output. (If
fitted) This parameter allows the 4-20mA analogue output to
be programmed to correspond to any part of the display
range. E.g. the display range could be 0-500 Litres, and the 4-
20mA re-transmission could be from 100-150 Litres. To set
the actual mA output levels, see section 8.5.7).
8.5.9) “F.Pan” - Front Panel Controls,
Password and Pushbutton Disable (anti-
tamper function).
The front panel controls referred to here allow the operator to
set a security access password (or change an existing one)
and to switch on the anti-tamper feature - “bttn”. If “bttn” is set
to “on”, then the buttons are enabled, if set to “off” then the
buttons are disabled (to re-enable see section 8.7).
The security password that is entered within the “code”
parameter will be the password required to gain access to the
programming mode from normal display mode. If “0000” (four
zeroes) is used, then no password is needed to gain access
to programming mode. If a password has been forgotten,
then the emergency access code “FPAc” (“Forgotten
Panel Access Code”) can be used to gain access. If FPAc
is entered as a code then the present password will be
shown. If desired, a new password can be entered.
8.5.10) “ALr1” & “ALr2” –Alarm Setpoint
Programming (If Fitted).
Section 8.6) outlines the parameters that can be set.
8.6)The Alarm Parameters. Alarms 1 & 2 have the
same set-up parameters, but operate separately.
Each can be set as a high or low alarm. See sub-
menu programme flowchart of the following page.
8.6.1) “EnbL” – Enable. This gives a quick way of
switching the alarm on or off without having to
change all the other alarm parameters. NOTE: If the
alarms are not enabled, the alarm relays will stay
in the position determined by the “nE” (normally
energized) parameter.
8.6.2) “hStr” – Hysteresis Hysteresis is set in
absolute units not percentage. This function is useful
to stop alarm “chatter” as shown in the diagram
below.
Page 7 of 9
Instruction Manual A70 Version 6 19th April 2004
BEKA associates Ltd, Old Charlton Road, Hitchin, Hertfordshire. SG5 2DA. UK. Tel: +44 (0) 1462 438301
8.6.3) “SP1” - Setpoint 1. (or setpoint 2). This is the
alarm setpoint value and is entered in the same units
as the display.
8.6.4) “hILO” - High/Low. Each alarm can be set as
either active high or active low.
8.6.5) “nE” - Normally Energized. This parameter
determines the state of the changeover relay. If “nE”
is “on” then the alarm relay is normally energized,
meaning that should there be a power failure the
alarm will change state (failsafe).
8.6.6) “dELA” - Delay. This function can be used when
a delay in an alarm output is required. The delay can
be programmed with any value up to 3600 seconds.
8.6.7) “SIL” – Silence. This function allows the relay
outputs to be de-activated (or silenced) for up to
3600 seconds. Hence, an alarm sounder connected
to the output relays could be momentarily “silenced”
by the operator pressing the scroll button. If the input
signal was still in the alarm range after the silence
time had elapsed, the alarm would re-activate.
8.6.8) “Ltch” - Latch. This function allows the alarms to
be latched on. If the input signal causes the alarm to
trip, then the relay output(s) will be held in the alarm
state even if the input signal falls back into normal
operating range. The latched alarm(s) is
acknowledged by pressing the scroll button.
8.6.9) “AcSP” - Access Setpoints.This option
allows an operator access to the alarm setpoints without
having to go through all the other programming menus. When
this function has been enabled, pressing the scroll and up
button together will give the operator access to the setpoints.
This function can be password protected by setting an
“Access Code” (Ac.cd). It is possible, if desired, to use the
same password for access to both the alarm and main menu
programming.
8.7) Pushbutton Re-enable
The pushbutton disable function, (also called anti-tamper
function) completely disables the pushbuttons – ideal if the
Advisor could be open to tampering from unauthorized
personnel. Once this function has been switched on, the only
way to regain control of the pushbuttons is to push the buttons
in the following sequence.
Once this sequence has been followed, the display will briefly
show “good” and the buttons will be re-enabled.
8.8) Transducer Supply Output (if fitted).
To change a transducer supply output voltage, internal jumper
links must be adjusted. Switch off the power and
disconnect all the connectors. Remove the four retaining
screws at the back of the instrument and carefully slide the
electronic board sets out of the case until the top sub-board
with the jumper links is revealed (as per diagram). NOTE: The
electronic circuit board sets are not designed to be
completely removed from the case !! Position the links in
the appropriate places and carefully re-assemble.
Note: The transducer supply is a 4 wire output – this
eliminates cable resistance. The two sense terminals must be
connected to either the sensor (best practice) or the
transducer supply outputs i.e. link rear terminals 14 to 15 and
16 to 17.
8.9) Transmitter Supply Output (if fitted)
The transmitter supply output voltage is 24Vdc and is not
adjustable. It supplies up to 22mA – ideal for loop-powered
transmitters.
Page 8 of 9
Instruction Manual A70 Version 6 19th April 2004
BEKA associates Ltd, Old Charlton Road, Hitchin, Hertfordshire. SG5 2DA. UK. Tel: +44 (0) 1462 438301
9) General Operation
9.1 Button Functions – In Normal Display
Mode
Pressing this button causes the display to show one
of the following parameters. Listed in order of priority;
i) The minimum value held in the max/min register (if
enabled).
ii) The display at which 4mA is re-transmitted on the
analogue output (if fitted)
iii) The display reading corresponding to the lower end
of the calibrated range.
After 5 seconds of pressing and holding the down button, the
display brightness is reduced.
Pressing this button causes the display to show one
of the following parameters. Listed in order of priority
i) The maximum value held in the max/min register (if
enabled)
ii) The display at which 20mA is re-transmitted on the
analogue output (if fitted)
iii) The display corresponding to the upper end of the
calibrated input range.
After 5 seconds of pressing and holding the up button, the
display brightness is increased.
Pressing this button has several effects depending
on what parameters have been programmed. It can
be programmed to display the input signal in actual
units or as a percentage of the input range. It can also be
used to silence alarm outputs, acknowledge latched alarms
and to activate the tare function.
This button has no effect during Normal Display
Mode.
9.1.1) Gaining access to the alarm setpoints.
It may be necessary for an operator to regularly change alarm
setpoints. There is an option to allow quick access to the
setpoints only. This also means that unauthorized access to
the other programming menus can be prevented. To access
the alarm setpoint (if the function has been switched on in
program mode) the up and scroll buttons should be pressed
simultaneously. The operator will then be able to access
either SP1 or SP2 by pressing the up or down button. New
setpoints can then be set with the up, down and scroll buttons
followed by the return button.
A security access code can be programmed to verify
authorized access to the setpoints. If this is the case, the
operator must enter the security access code using the up,
down and scroll buttons, followed by the return button.
9.1.2) Resetting the Max/Min Register
Pressing the up and down buttons simultaneously the
max/min hold register is reset to store the present display
reading.
9.1.3) Display brightness
It is possible to adjust the display brightness of an Advisor at
any time during Normal Display Mode.
To increase the display brightness, press and hold the up
button. After 5 seconds, all the segments on the display will
light up and the brightness with steadily increase to its
maximum. Release the button when the desired brightness is
reached. Likewise, the brightness can be reduced by pressing
and holding the down button. The display brightness is
“remembered” if there is a power failure.
9.1.4) Unlatching alarms and alarm silencing
(if fitted)
A latched alarm is unlatched by pressing the scroll button (to
set an alarm latch see section 8.6.8). The alarm output
changes state and the alarm LED annunciator is extinguished.
An alarm is also silenced (or acknowledged – see section
8.6.7)) with the same button press. With a silenced alarm, the
alarm LED annunciator will remain lit if the signal input is still
within the alarm band.
9.1.5) Tare Function (if fitted)
The tare function is designed primarily for use in weighing
applications and is fitted at the factory. A tare function allows
the instrument display to be zeroed at any stage so that any
further change in input signal can easily be measured. For
example, if the Advisor was showing the weight of a container
as 25kg and an operator wanted to add 18kg of fluid, the
display could be tared and the operator would easily see
when 18kg of fluid had been added. Without the tare function,
the operator would have to calculate the combined weight.
The tare is initiated by pressing and holding the scroll button
for 4 seconds, the word “tArE” is then briefly displayed to let
the operator know that the request has been fulfilled. The
asterisk LED annunciator will also light up to show that the
display is tared. Brief pressing of the scroll button allows the
operator to toggle between the tared (net) display and the
untared (gross) display. The asterisk LED annunciator
switches on and off accordingly. The display can be re-tared
again at any time by pressing and holding the scroll button for
4 seconds. The tare value is stored even if there is a power
failure.
10) - Troubleshooting
There is no display. Check all the connections are correctly
made and check for the correct power on the supply.
The display is not very bright/too bright. Adjust the
brightness by pressing and holding the up or down button.
(Section 9.1.3)
Display doesn’t seem to be responding to a change of
input signal. Check the input signal. It may also be possible
that someone has accidentally re-calibrated the unit to display
the same value over the full input range – check the span and
zero settings in the “cAL” parameters (Section 8.5.6) – if
necessary re-calibrate with the “Int” (internal) settings.
Alternatively, the internal references may have been
accidentally reset – re-program them. (Section 8.5.7)
None of the pushbuttons seem to be working. It may be
that the pushbuttons have been disabled (i.e. anti-tamper
function has been switched on). Enter the button re-enable
sequence. (Section 8.7)
The display is too “jumpy”. Check the signal source, it may
be noisy. If the signal source cannot be “damped” down,
change the resolution of the Advisor. (Section 8.5.2)
I’ve forgotten my password – how do I get access ? Enter
“FPAc” (the emergency code – mnemonic “Forgotten Panel
Access Code”) and re-enter a new password in “F.PAn” menu
option. (Section 8.5.9)
The alarms are on when they should be off and vice
versa. Check the high and low alarm settings (Section 8.6.4)
and/or check you have the normally energized (“nE”)
parameter correctly programmed (Section 8.6.5)
The analogue output current doesn’t seem to be correct.
The analogue output can be adjusted. (Section 8.5.8)
Page 9 of 9
Instruction Manual A70 Version 6 19th April 2004
BEKA associates Ltd, Old Charlton Road, Hitchin, Hertfordshire. SG5 2DA. UK. Tel: +44 (0) 1462 438301
The transducer output is greater than expected. The
transducer supply output is 4 wire i.e. 2 supply lines and 2
sense lines. The sense lines must be connected either directly
to the sensor or the supply outputs otherwise the Advisor will
“hunt” for a sensor and the output voltage will appear to be
excessive. (See section 8.8)
11) Typical Applications
A Position Sensor (0-10V input signal)
Tank Level Display (4/20mA Active Sensor)
Transmitter has its own power supply
Temperature Display (4/20mA Passive – Loop-
powered Transmitter)
24Vdc transmitter power supply option fitted
Weight Display (15Vdc Transducer supply
output, 0-100mV input range)
Transducer power supply fitted.

Other BEKA Measuring Instrument manuals

BEKA BA514G User manual

BEKA

BEKA BA514G User manual

BEKA FOUNDATION BA618CF-F User manual

BEKA

BEKA FOUNDATION BA618CF-F User manual

BEKA BA524D User manual

BEKA

BEKA BA524D User manual

BEKA BA334ND User manual

BEKA

BEKA BA334ND User manual

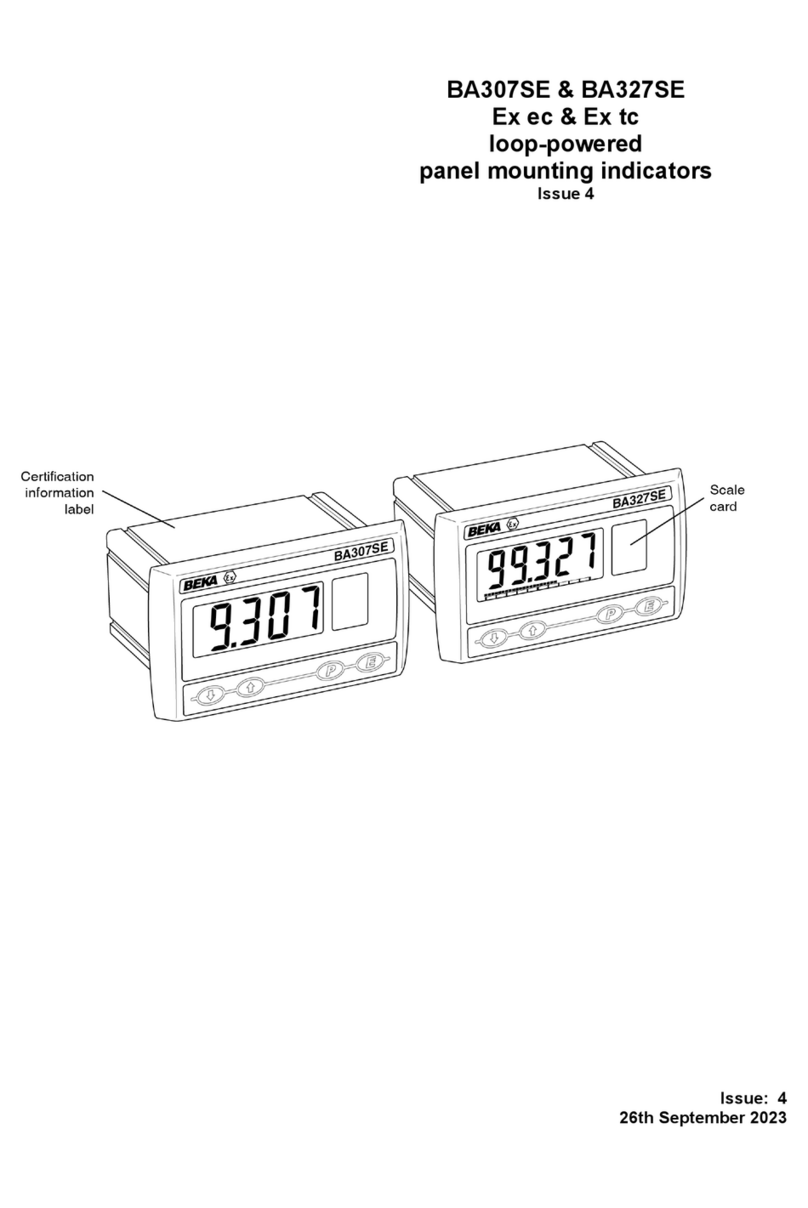
BEKA BA307SE User manual

BEKA

BEKA BA307SE User manual

BEKA BA354NE User manual

BEKA

BEKA BA354NE User manual

BEKA BA648CF-P User manual

BEKA

BEKA BA648CF-P User manual

BEKA PROFIBUS PA BA444DF-P User manual

BEKA

BEKA PROFIBUS PA BA444DF-P User manual

BEKA BA304NC User manual

BEKA

BEKA BA304NC User manual

BEKA BA554E User manual

BEKA

BEKA BA554E User manual

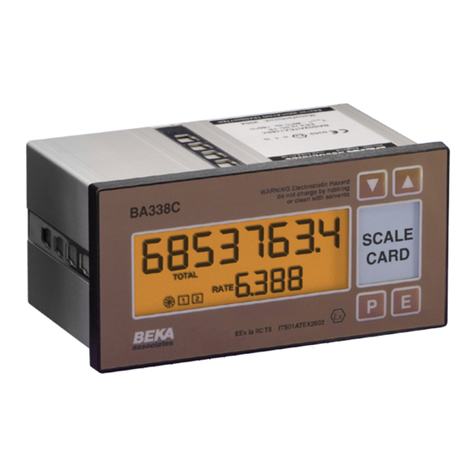
BEKA BA338C User manual

BEKA

BEKA BA338C User manual

BEKA BA324ND User manual

BEKA

BEKA BA324ND User manual

BEKA BA334D User manual

BEKA

BEKA BA334D User manual

BEKA BA384G User manual

BEKA

BEKA BA384G User manual

BEKA Advisor A75 User manual

BEKA

BEKA Advisor A75 User manual

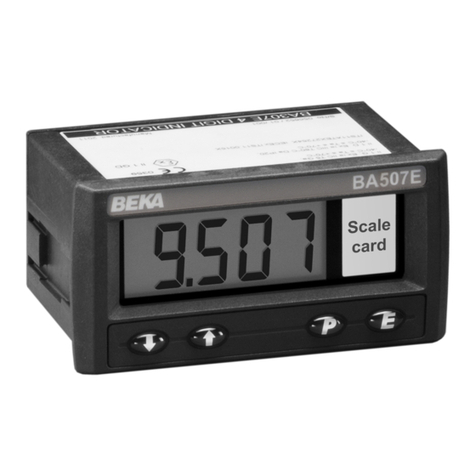
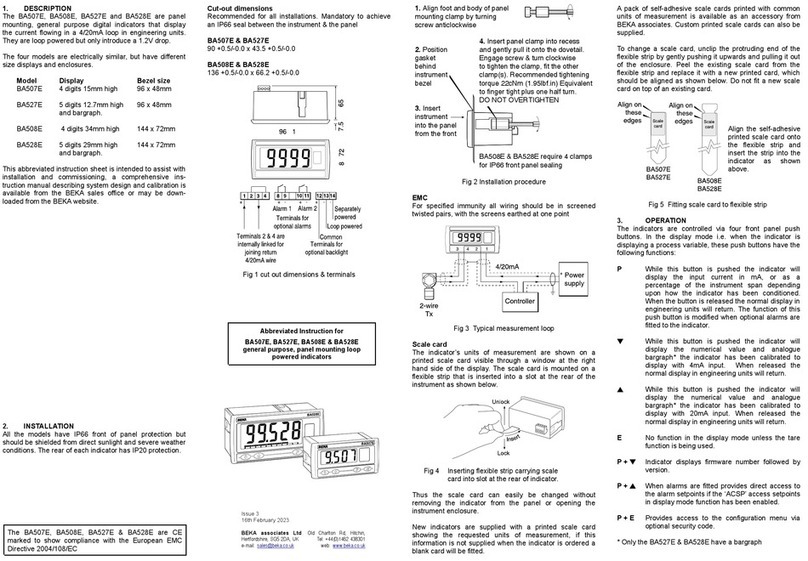
BEKA BA507E Installation and operating instructions

BEKA

BEKA BA507E Installation and operating instructions

BEKA BA507E User manual

BEKA

BEKA BA507E User manual

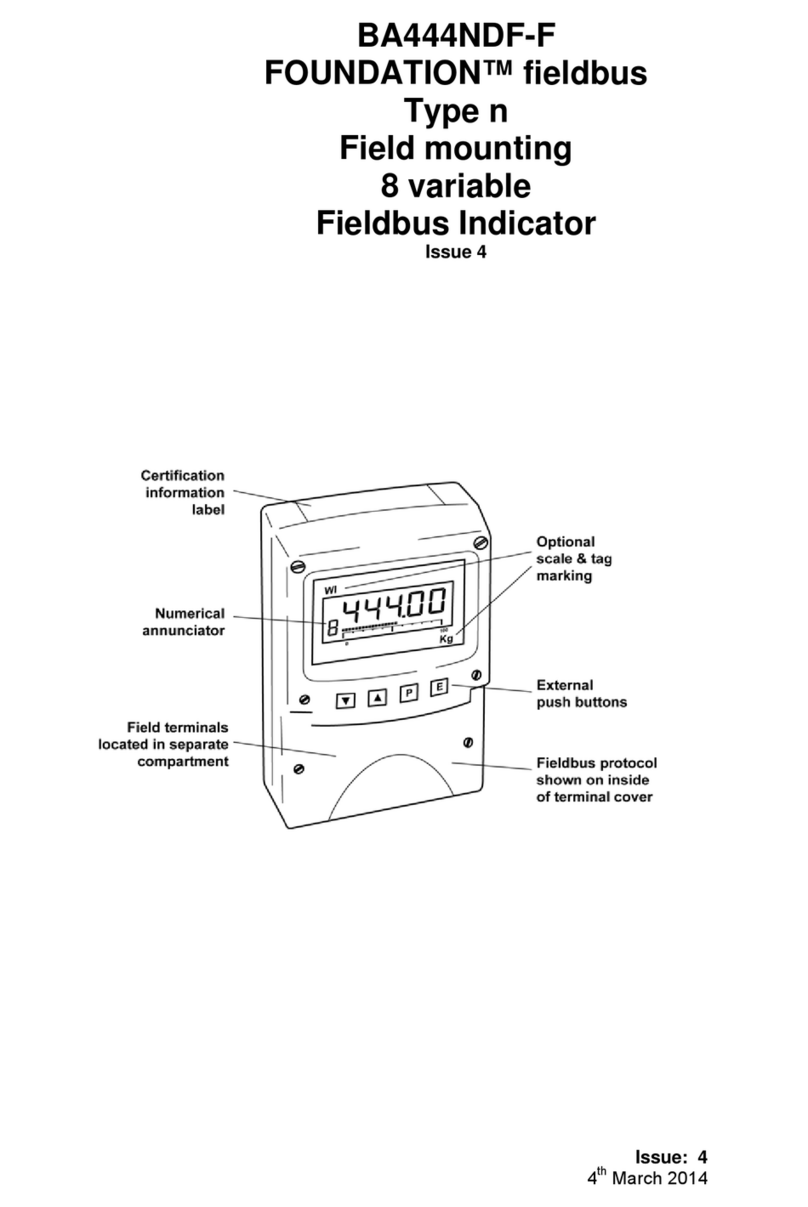
BEKA FOUNDATION BA444NDF-F User manual

BEKA

BEKA FOUNDATION BA444NDF-F User manual

BEKA BA448CF-F User manual

BEKA

BEKA BA448CF-F User manual

BEKA BA354D User manual

BEKA

BEKA BA354D User manual

BEKA BA558E User manual

BEKA

BEKA BA558E User manual

BEKA BA304NG User manual

BEKA

BEKA BA304NG User manual

BEKA A504G-SS-PM User manual

BEKA

BEKA A504G-SS-PM User manual

BEKA BA327NE User manual

BEKA

BEKA BA327NE User manual

Popular Measuring Instrument manuals by other brands

Edaphic Scientific ESCM-18 user manual

Edaphic Scientific

Edaphic Scientific ESCM-18 user manual

Leine & Linde 800 Series user guide

Leine & Linde

Leine & Linde 800 Series user guide

Mid-Continent Instruments 4300-4 Series Installation manual and operating instructions

Mid-Continent Instruments

Mid-Continent Instruments 4300-4 Series Installation manual and operating instructions

Camille Bauer APLUS Safety instructions

Camille Bauer

Camille Bauer APLUS Safety instructions

yellow jacket PLUS A manual

yellow jacket

yellow jacket PLUS A manual

Himmelstein MCRT 48200V troubleshooting guide

Himmelstein

Himmelstein MCRT 48200V troubleshooting guide

Keysight Technologies U2020 X Series Service guide

Keysight Technologies

Keysight Technologies U2020 X Series Service guide

wattwatchers Auditor 6M quick start guide

wattwatchers

wattwatchers Auditor 6M quick start guide

Toolland 3472 user manual

Toolland

Toolland 3472 user manual

LaserLiner CompactPlane-Laser 3D manual

LaserLiner

LaserLiner CompactPlane-Laser 3D manual

HDI 2200 user manual

HDI

HDI 2200 user manual

LI-COR LI-200R instruction manual

LI-COR

LI-COR LI-200R instruction manual

LANDTEC Geotech G100 Series operating manual

LANDTEC

LANDTEC Geotech G100 Series operating manual

Boonton 92EA instruction manual

Boonton

Boonton 92EA instruction manual

mru Air Fair MGAprime quick start guide

mru

mru Air Fair MGAprime quick start guide

PeakTech P 4205 Operation manual

PeakTech

PeakTech P 4205 Operation manual

Foxcroft FX-300-F instruction manual

Foxcroft

Foxcroft FX-300-F instruction manual

Ditel Kosmos series instruction manual

Ditel

Ditel Kosmos series instruction manual

manuals.online logo
manuals.online logoBrands
  • About & Mission
  • Contact us
  • Privacy Policy
  • Terms and Conditions

Copyright 2025 Manuals.Online. All Rights Reserved.