ENGLISH NZ edition
1
- GENERAL SAFETY DEVICES
The boilers produced in our factory are built with care down to the last
componenttoprotectboththeuserandinstallerfromeventualaccidents.
We recommend personel working on the appliance
should payparticular attentionto the wiring, especially the
connections, that must notbeexposed outside the terminal board
to prevent any contact with the live parts of the wiring.
This instructionmanualis an integral part of the product.Make sure it
remains with the boiler, even if it is transferred to another owner
or user.
This boiler may only be installed and serviced by qualified fitters who
Have the appropriate NZ Gas and Electrical qualifications
Install must comply with NZ code
Do not block or reduce the size of the ventilation openings in the room
Do not leave inflammable containers or substances in the room
keep packaging out of reach of children
only use appliance for purposes it is devoted to
Do not lean any object on the boiler
Do not tamper with sealed elements
Do not block the condensate outlet.
The boiler must beservicedat least once a year.
The installer must instruct the user in the operation of the boiler
and its safety devices.
This boiler may only be used for what it was expressly built to do. The
manufacturer declines all contractual and non-contractual liability for
injury to persons or animals or damage to property deriving from errors
made during installation, adjustment and servicing and from improper
use.
If this appliance is used to produce hot water it must be connected
to a heating and/or a domestic hot water system, according to its
performance and power.
After removing the packaging, makesure the contents are undamaged
and complete. If this is not the case, contact your dealer.
The safety valve outlet must be connected to a suitable drain. The
manufacturer declines all liability for anydamage caused by the an
incorrect safetyvalve discharge.
The safety and automatic adjustment devices on the appliance must
never be modified during its lifetime,.
If the appliance develops a fault and/or works badly, switch it off and do
not attempt to repair it yourself.
, inform the user that:
-
in the event of leaks, he/she Must shut off the water supply and
promptly seek professional support.
-
Must check from time to time to make sure
the
symbol is not lit
on the control panel. This symbol means that the pressure in the
water system is incorrect. If necessary, fill the system as described
in the paragraph “Boiler functions”
-
GREEN HE R.S.I.: must periodically check, on the display, that the
pressure value is between 1 and 1,5 bar; if not fill the system as
described in the paragraph “Boiler functions”
-
if the boiler is not planned to be used for a long period, he/she
shouldcallintheTechnicalAssistanceServicetoperformthefollowing
operations:
-
turn off the main boiler and general system switches
-
close the gas and water taps on both the heating (GREEN HE
C.S.I.-GREENHER.S.I.)anddomestichotwatercircuits(GREEN
HE C.S.I.only)
-
drainthe heating (GREENHE C.S.I.-GREENR.S.I.)anddomestic
hot water (GREEN HE C.S.I.only) circuits to prevent freezing.
Connect the outlet collectorto asuitableoutletsystem(referto chapter5).
Safety measures:
Theboilershouldnotbeusedbychildrenorunassisteddisabledpeople
electrical devices or equipment, such as switches, appliances, etc.,
should not be used if there is a smell of gas or fumes. If there is a gas
leak, open all the doors and windows to ventilate the area, turn off the
general gas tap and immediately call theTechnical Assistance Service
do not touch the boiler if your hands are wet or damp
Press the button until “- -”is shown on the display and disconnect the
electricity supply by turning off the two-position system switch, before
cleaning
Do not modify the safety or adjustment devices without the
manufacturer’s permission and relative instructions
Do not pull, detach or twist the wires from the boiler even if they are not
connected to the power supply
2
- BOILER INSTALLATION
Boiler must only be installed by qualified personnel.
Boiler is available in the following models:
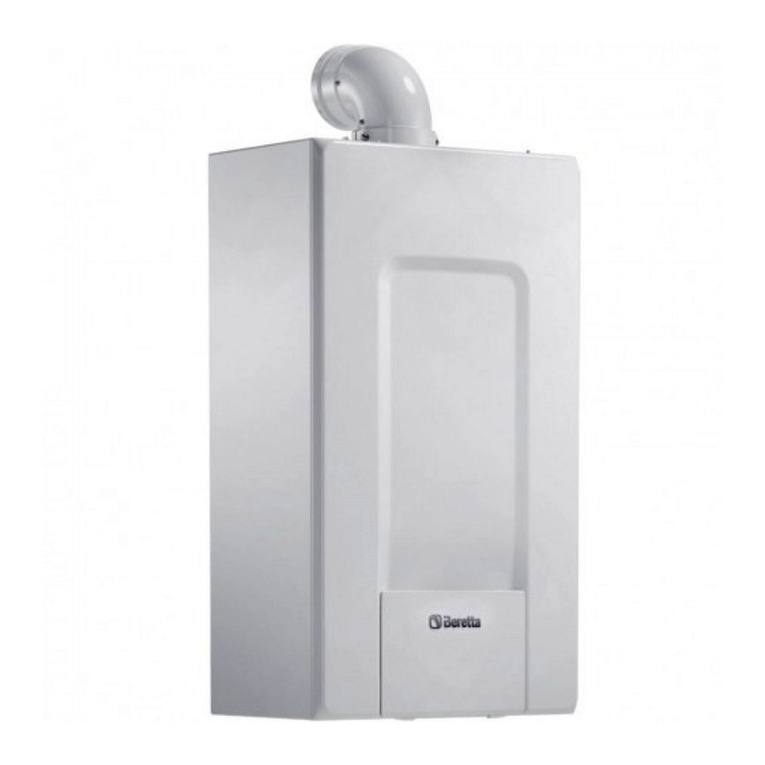
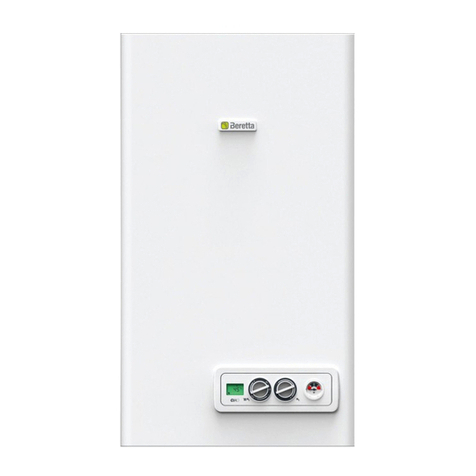
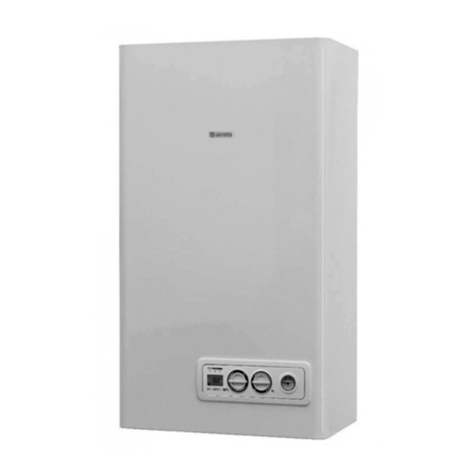
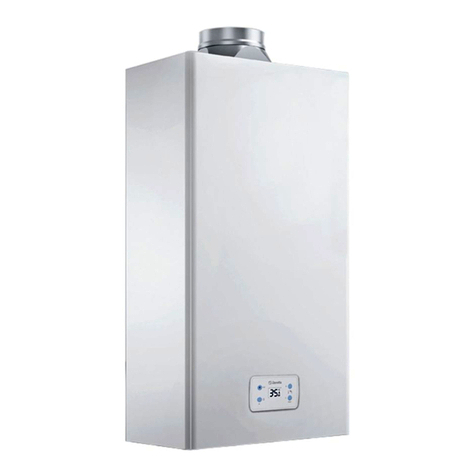
Exclusive GREEN HE C.S.I.
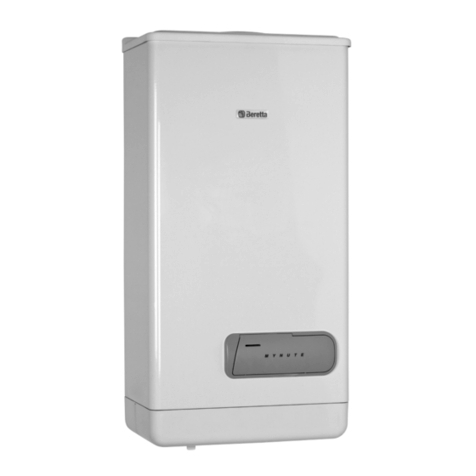
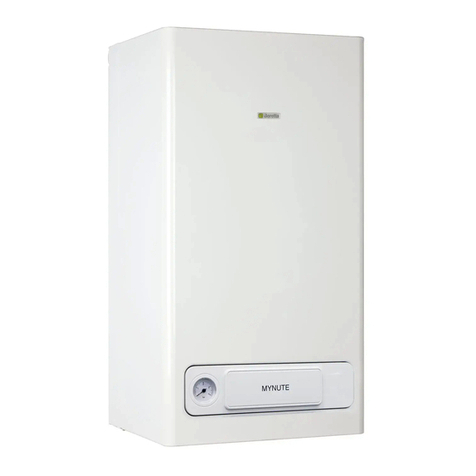
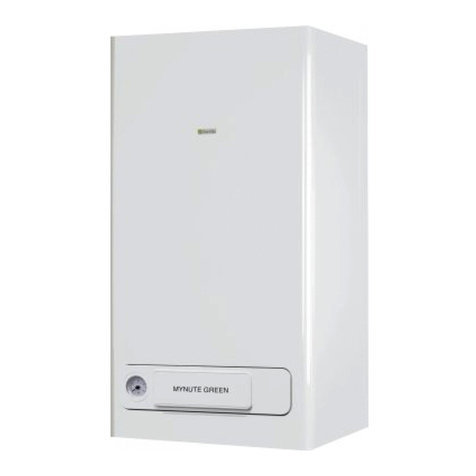
is a C-type condensation wall-mounted boiler for heating and producing
on demand domestic hot water;
Exclusive GREEN HE R.S.I.
Some reference is made to this model within the manual.
Exclusive Green HE boilers are fitted with:
-
Smart pumps with auto speed adjusting
(PWM = Pulse-width modulation))
-
1-10modulation,theboilerisdesignedtoautomaticallymodulatetheflow
rate supplied between a maximum and a minimum (see technical data)
-
Range Rated, indicates that the boiler has a device for adapting to the
system’s heat requirements, making it possible to adjust the boiler’s flow
rate to the energy requirements of the building
The following types of fumes outlet are available for this kind of boiler:
B23P; B53P; C13,C13x; C23; C33,C33x; C43,C43x;C53,C53x; C63,C63x;
C83,C83x, C93,C93x.
In B23P configuration (if installed inside), do not install the apparatus in
rooms used as bedrooms, bathrooms, showers or where there are open
vent stacks without own air exchange. The boiler must be installed in an
adequately ventilated room. See the UNI-CIG 7129-7131 and UNI 11071
standards for detailed instructions on installing vent stacks, gas pipes and
to ventilate the room.
In C configuration the boiler can be installed in any type of room and there
are no limits to aeration conditions and size of room.
FOR CORRECT INSTALLATION, WE REMIND YOU THAT:
-
The boiler must not be installed over a stove or any other cookingequi-
pment or within a bathroom.
-
minimum spaces are to be left in order to allow maintenance operations:
at least 5,0 cm every side and 20 cm under the boiler
-
it is forbidden to leave inflammable substances in theroom
-
suitably fire line any heat-sensitive walls (e.g.: wood lined).
A support plate and integrated pre-installation template are provided for
with
the boiler (FIG. 1.1).
Mounting instructions:
-
fix the boiler support plate (F) with the template (G) to the wall and usea
plumb to check that it is perfectly horizontal
-
trace out 4 holes (Ø 6 mm) for fixing the boiler support plate (F) and 2
holes (Ø 4 mm) for fixing the pre-installation template (G)
-
make sure all the measurements are correct, then drill holes in the wall
using a drill and point with the diameter given previously
-
fix the plate to the wall by the supplied anchorscrews
-
make hydraulicconnections.
After installing the boiler, the screws
D1
(FIG. 1.2) can be removed.
after
installing the boiler and connecting it to the water and gas supplies, fit
the
lower cover (
A-B
, FIG.1.3) so that its hooks slip into the lower paart of the boiler and fix
the lower case with the screw
C
(FIG. 1.4) -
Contained in the documentation envelope
in the boiler.
