11
Dear Customer,
Thank you for choosing one of our products. Our name stands
for high-quality, thoroughly tested products for the applications
in the areas of heat, weight, blood pressure, body temperature,
pulse, gentle therapy, massage and air.
Please read these instructions for use carefully and keep them
for later use, be sure to make them accessible to other users
and observe the information they contain.
Best regards,
Your Beurer Team
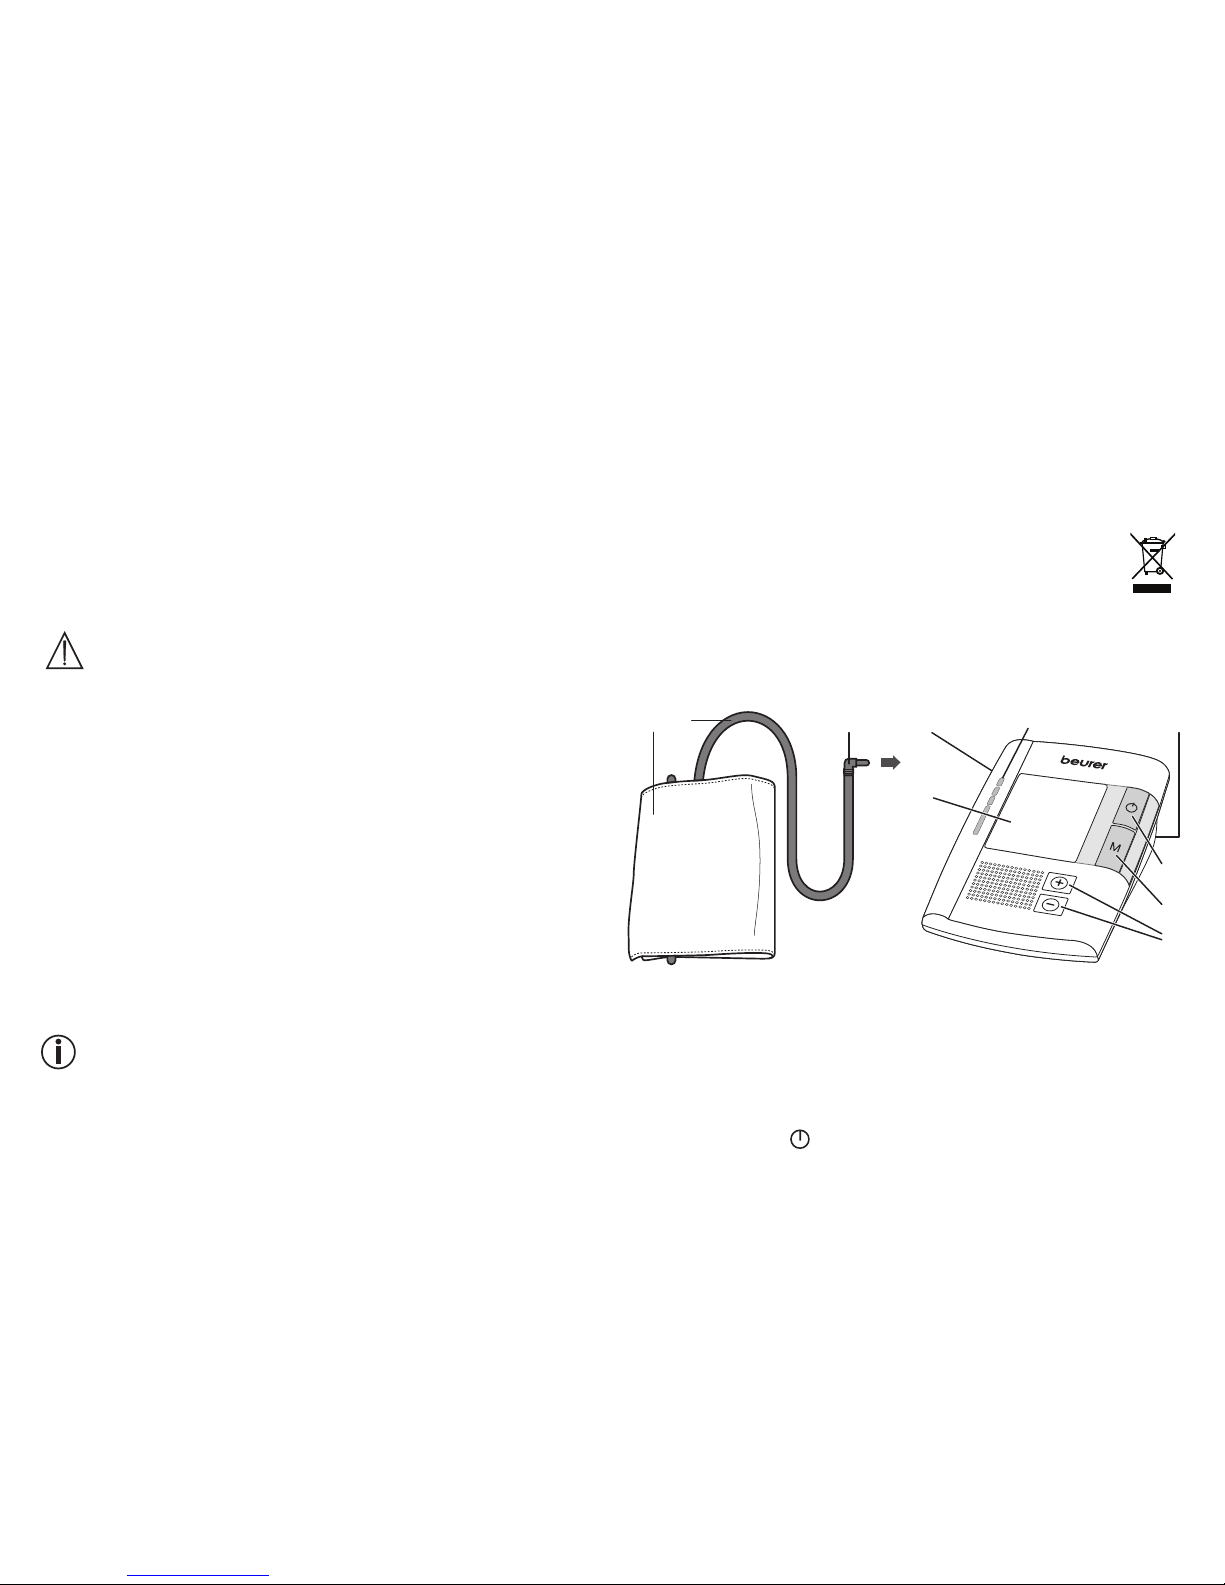
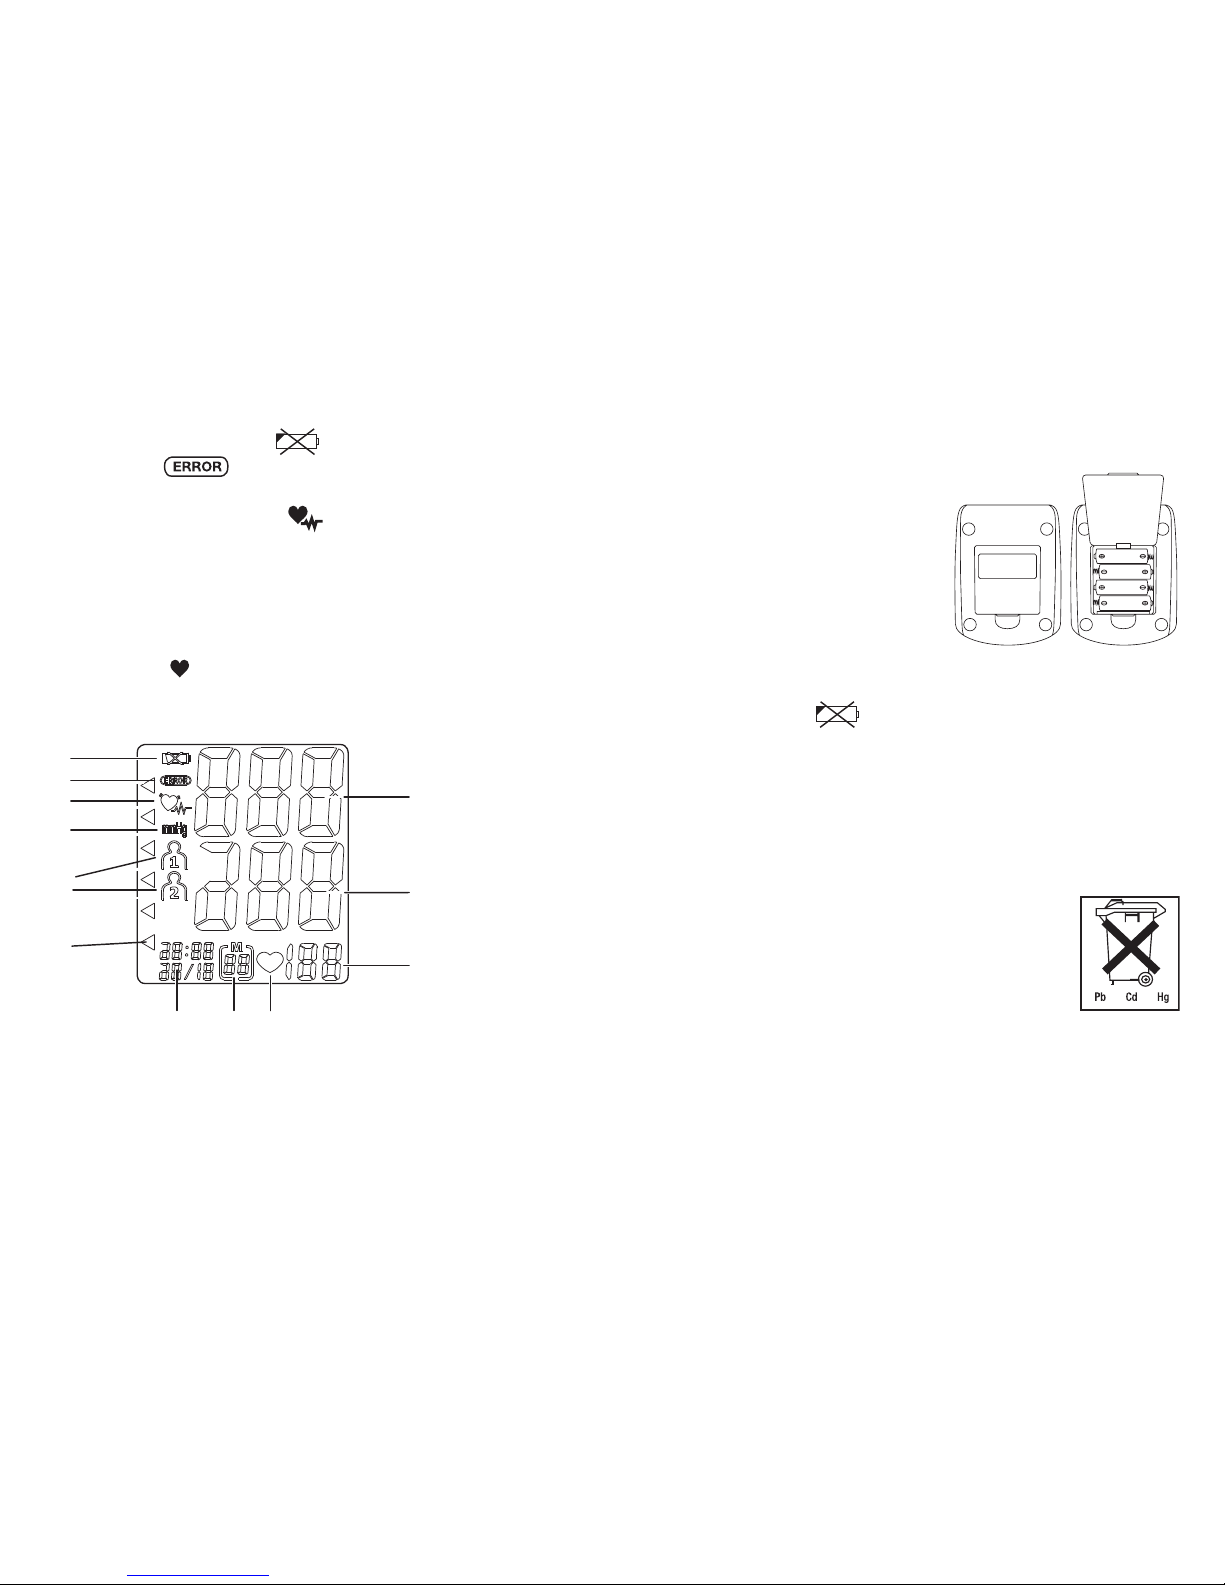
1. Getting to know your instrument
The upper arm blood pressure monitor is used for non-invasive
measurement and monitoring of adults‘ arterial blood pressure.
You can use it to measure your blood pressure quickly and easi-
ly, storing the results and displaying the progression of readings
together with the average.
A warning is issued for anyone suffering from cardiac arrhythmia.
The values determined are classified and graphically evaluated
according to WHO guidelines.
The device also has an acoustic voice output.
Keep these instructions carefully for further use and also let
other users have access to them.
2. Important information
Advice on use
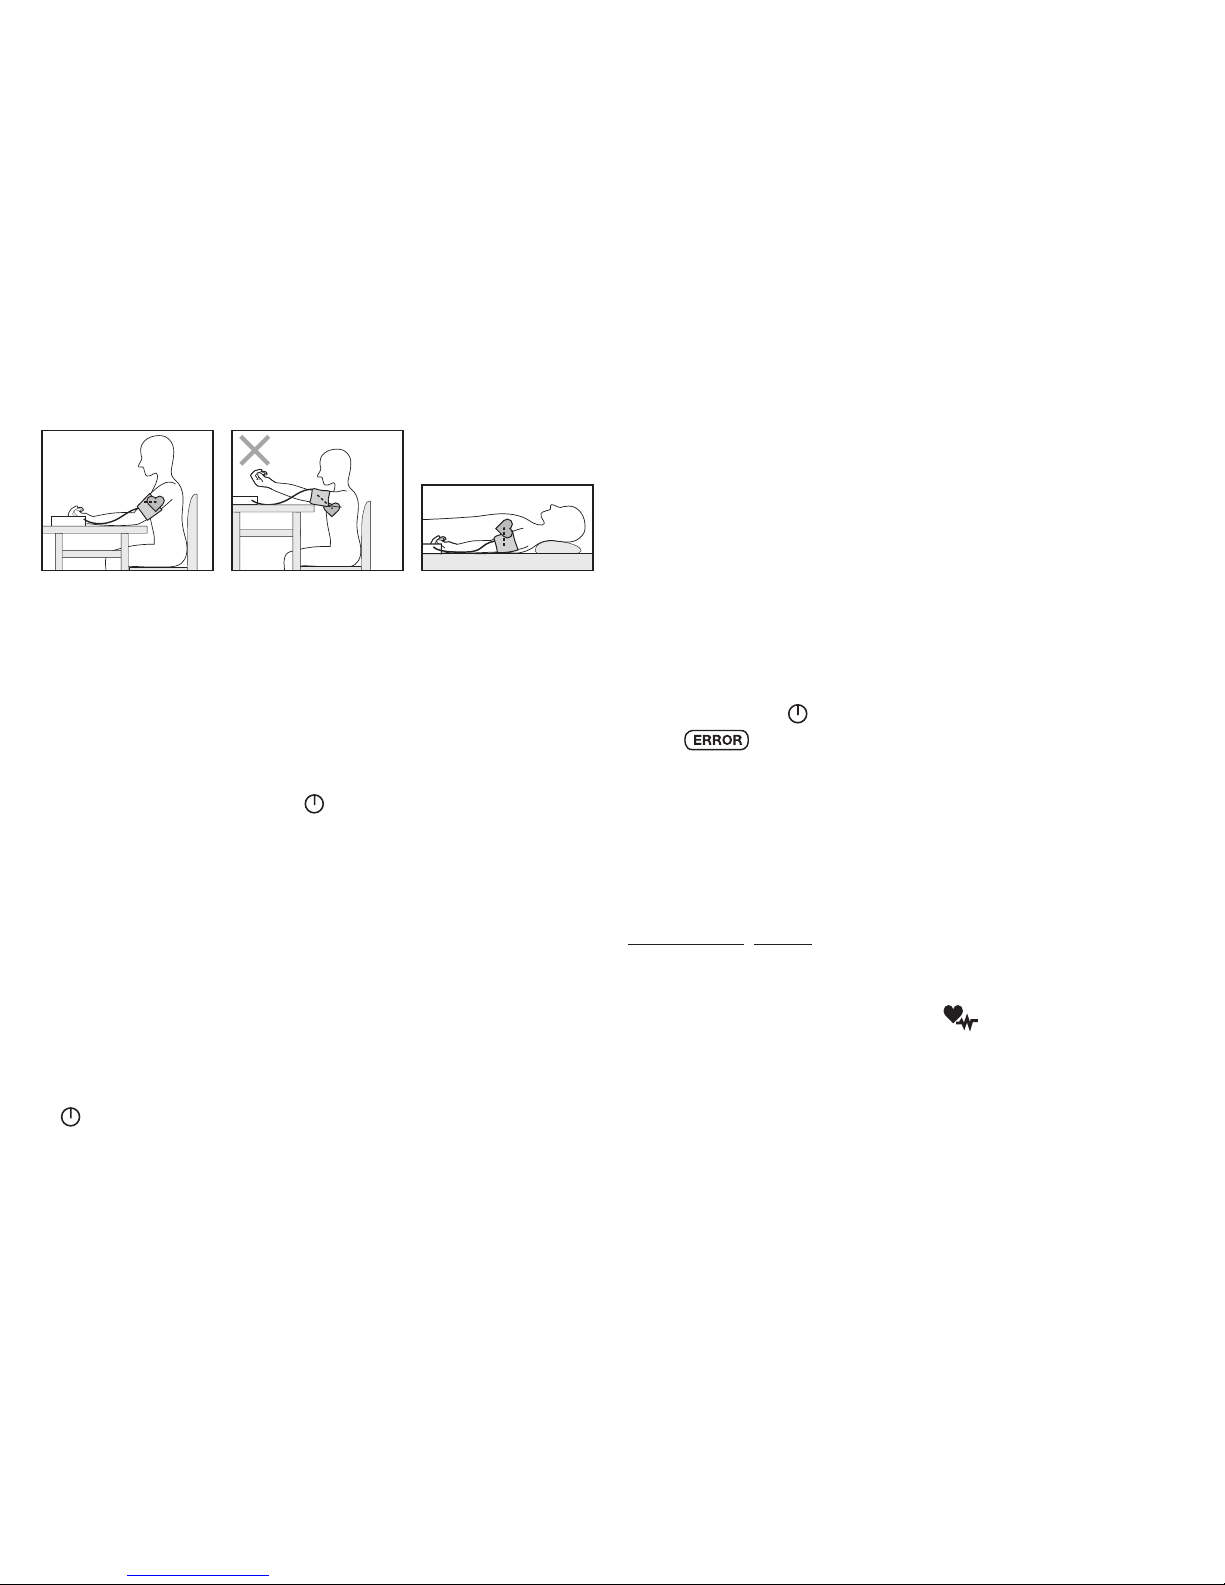
•
Always measure your blood pressure at the sam time of day,
in order to ensure that values are comparable.
•
Relax for approx. 5 minutes before each measurement.
•
You should wait five minutes before measuring a second time.
•
The readings that you take may only be used for information
purposes – they are not a substitute for a medical examination!
Discuss your results with the doctor. Never use them to make
medical decisions independently (e.g. regarding medication
and dosage thereof).
•
There may be incorrect measurements where there is cardiocir-
culatory disease, as well as with very low blood pressure, cir-
culatory disorders, dysrhythmia and other preexisting diseases.
•
Only use the instrument on persons whose upper arm has the
right circumference for the instrument.
•
You can operate the blood pressure monitor with both batteries
and mains. Note that it is only possible to save data when your
blood pressure monitor is receiving power. As soon as the bat-
teries wear out or you disconnect the mains adapter from the
mains, the blood-pressure instrument loses the date and time.
•
The automatic switch-off function switches off the blood pres-
sure monitor in order to preserve the batteries, if no button is
pressed within one minute.
Storage and Care
•
The blood pressure monitor is made up of precision elec-
tronic components. Accuracy of readings and the instru-
ment‘s service life depend on careful handling.
– You should protect the device from impact, moisture, dirt,
major temperature fluctuations and direct exposure to the
sun‘s rays.
ENGLISH