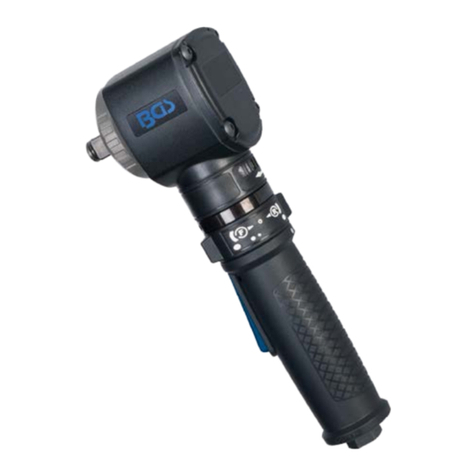
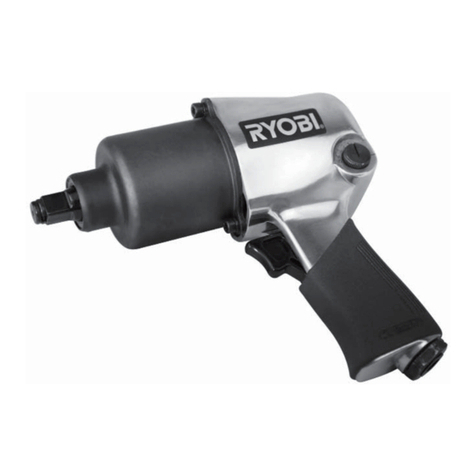
BGS technic 32805 User manual

Art. 32805
Schlagschrauber 20 (3/4)
SPEZIFIKATION
Antrieb: 20 (3/4)
max. Drehmoment: 1600 Nm
max. Luftdruck: 6,2 Bar (90psi)
Durchschnittl. Luftverbrauch: 255 L/min (9 cfm)
max. Drehzahl: 4600 U/min (rpm)
Lufteinlass: 3/8"
Geräuschentwicklung: LpA= 93,7 dB(A)
LwA = 104,7 dB(A)
Vibration: ahd= 4,4 m/s²
K= 1,5 m/s²
Gewicht: 7,6 Kg
WICHTIGE SICHERHEITS-INFORMATIONEN
ACHTUNG!
Lesen, verstehen und befolgen Sie alle Anweisungen und Warnungen vor der Inbetriebnahme
dieses Druckluftgerätes. Andernfalls kann es zu Verletzungen, Sachschäden und zum Erlöschen
der Garantie führen.
Vor jedem Gebrauch das Druckluftgerät mit 4 bis 5 Tropfen Druckluftgeräte-Öl schmieren.
Nur mit Druckluftsystemen betreiben, die über einen korrekten Luftdruck und ausreichend
Luftvolumen (L/min) für dieses Werkzeug verfügen.
1. Sicherstellen, dass das Werkzeug sich in der Position OFF befindet, wenn es mit dem
Druckluftsystem verbunden wird.
2. Bei Verwendung von Druckluft-Werkzeugen immer eine zugelassene Schutzbrille tragen. Tragen
Sie eine geeignete Maske wenn Staub aufgewirbelt wird.
3. Verwenden Sie ausschließlich Zubehör, das für den Einsatz mit Druckluft-Werkzeugen ausgelegt
ist. Zum Beispiel: Bei Schlagschrauber keine gängigen Einsätze verwenden, sondern nur Kraft-
Einsätze.
4. Das Werkzeug von der Druckluftversorgung trennen, bevor Zubehör installiert und Wartungen
durchgeführt wird oder das Gerät nicht in Gebrauch ist.
5. Immer das Werkzeug mit gesundem Menschenverstand betreiben. Tragen Sie keine weite
Kleidung oder Schmuck die von beweglichen Teilen erfasst werden und zu Verletzungen führen
kann. Werkzeug nur in sicherer Entfernung von sich selbst und anderen betreiben.
6. Herstellerangaben des Druckluftsystems bei der Installation von Reglern, Filtern und anderem
Zubehör beachten.

ANLEITUNG
1. Um das Werkzeug auf ein bestimmtes Drehmoment einzustellen, wählen Sie eine Mutter oder
Schraube mit gleicher Güte, Größe und Gewindesteigung und befestigen Sie diese mit dem
Drehmoment mit dem Schrauben später angezogen werden.
2. Drehen Sie den Luftregler auf niedrigste Position und erhöhen Sie die Leistung schrittweise bis
die Mutter bzw. Schraube sich bewegt. Leistung des Schlagschrauber wieder leicht mindern. Das
Werkzeug ist jetzt justiert. Alle Schrauben müssen nach der Montage immer mit einem
Drehmomentschlüssel überprüft werden.
3. Muttern niemals mit höherem Drehmoment wie vorgesehen festziehen. Mutter bzw. Schraube im
Gewinde ansetzen und mehrere Umdrehungen von Hand befestigen. Mit dem Schlagschrauber
die Schraube anziehen, bis diese bündig an der Auflagefläche aufliegt.
LUFTVERSORGUNG
Saubere Luft und korrekter Luftdruck ist für die Versorgung dieses Werkzeugs unumgänglich. Der
maximale Druck für dieses Werkzeug liegt bei 6,3 bar und ist für die meisten Druckluft-Werkzeuge
dieser Klasse empfohlen. Dem Abschnitt Spezifikationen können Daten wie der empfohlenen Luft-
Druck und andere entnommen werden. Eine Erhöhung des Luftdrucks ist erforderlich, wenn Länge
des Luftschlauchs oder andere Umstände zu einer Minderung des Luftdrucks führen. So muss der
Luftdruck von 6,3 eventuell auf 7,2 bar erhöht werden um einen Druck von 6,3 bar am Werkzeug zu
gewährleisten. Wasser im Schlauch und Kompressor führt zur Reduzierung der Leistungsfähigkeit
und Beschädigung der Druckluft-Geräte. Entwässern Sie das Druckluft-System vor jedem Gebrauch.
Verwenden Sie einen Druckregler mit Manometer, wenn der Luftdruck zu hoch ist.
SCHMIERUNG & WARTUNG
Warnung!
Vor jedem Gebrauch das Druckluftgerät mit 4 bis 5 Tropfen Druckluftgeräte-Öl schmieren.
Es ist ausreichend das Öl in den Lufteinlass einzufüllen.
Nur mit Druckluftsystemen betreiben, die über einen korrekten Luftdruck und ausreichend
Luftvolumen (L/min) für dieses Werkzeug verfügen.
Entwässern Sie das Druckluft-System vor jedem Gebrauch.
Wasser in der Druckluftleitung führt zu Zerstörung des Werkzeugs und zu Leistungsverlust.
Reinigen bzw. tauschen Sie Luftfilter im vorgeschriebenen Intervallen aus.
FEHLERBEHEBUNG
Leistungsverlust:
wahrscheinliche Ursache
Lösung
Verschmutzte oder verstopfte
Luftkanäle
Werkzeug schmieren, Kompressor und Zuleitungen
entwässern
Unzureichende Luftzufuhr Luftdruck erhöhen. Sicherstellen, dass der Kompressor
Anforderung an Luftvolumen und Luftdruck erfüllt
Undichtigkeit Verwenden Sie Teflonband zum Abdichten aller Armaturen
und Verbindungsstücke
O-Ringe und Dichtungen
überprüfen Verschlissene bzw. beschädigte Teile bei Bedarf ersetzen
Werkzeug-Einsatz Sicherstellen, dass das Werkzeug die Anforderungen
erfüllen kann.

SW-Stahl und Werkzeugvertriebs GmbH Tel. +49 (0) 2191 / 46438-0
F56essartSresukreveL ax +49 (0) 2191 / 46438-40
ed.lhatsws@ofni:liaM-EdiehcsmeR79824-D
Instruction Manual
BGS technic KG
Bandwirkerstr. 3
42929 Wermelskirchen
Tel.: 02196 720480
Fax.: 02196 7204820
www.bgstechnic.com
© BGS technic KG, Copying and further use not allowed
Art. 32805
3/4" Impact Wrench
SPECIFICATION
Square Drive: 3/4"
Max. Torque: 1600 Nm
Air Pressure: 6.2 Bar (90psi)
Avg. Air Consumption: 255 L/min (9 cfm)
Free Speed: 4600 U/min (rpm)
Air Inlet: 3/8"
Noise: LpA= 93.7 dB(A)
LwA = 104.7 dB(A)
Vibration: ahd= 4.4 m/s²
K= 1.5 m/s²
Weight: 7.6 kg
IMPORTANT SAFETY INFORMATION
WARNING!
Read and understand and follow all instructions and warnings before operating this tool.
Failure to do so may result in personal injury and/or property damage and will void warranty.
Oil tool before each use. 4 to 5 drops of a good grade Air Tool Oil placed in the air inlet is sufficient.
Use proper air pressure and CFM rating listed for this tool.
1. Be sure air is in OFF position when connecting tool to air supply.
2. Always wear approved eye protection when using tools. If raising dust, wear a suitable mask.
3. Use only those accessories that are designed for use with tools. For example, with impact
wrenches do not use ordinary sockets. Use impact sockets for all air tools.
4. Be sure to disconnect tool from air supply before changing accessories, performing service on
tool, and when not in use.
5. As with any tool, use common sense when operating. Do not wear loose clothing or jewelry that
could become caught by moving parts, causing injury. Operate tool a safe distance from yourself
and others in the work area.
6. Follow air source manufacturers directions for connection of regulators, filters, and other
accessories to air source. Do not install quick couplers directly on tool as they put unnecessary
strain on the air inlet threads possibly causing them to wear out prematurely. Instead, install them
on a short length of air hose attached to the tool.

SW-Stahl und Werkzeugvertriebs GmbH Tel. +49 (0) 2191 / 46438-0
F56essartSresukreveL ax +49 (0) 2191 / 46438-40
ed.lhatsws@ofni:liaM-EdiehcsmeR79824-D
Instruction Manual
BGS technic KG
Bandwirkerstr. 3
42929 Wermelskirchen
Tel.: 02196 720480
Fax.: 02196 7204820
www.bgstechnic.com
© BGS technic KG, Copying and further use not allowed
OPERATION
1. To set the tool to desired torque, select a nut or screw of known tightness of the same size, thread
pitch and thread condition as those on the job.
2. Turn air regulator to low position, apply wrench to nut and gradually increase power (turn regulator
to admit more air) until nut moves slightly in the direction it was originally set. The tool is now set
to duplicate that tightness.All bolts must always be checked with a torque wrench after
installation.
3. Do not tighten nuts or screws with higher torque than allowed. Put nut or screw in the thread and
start attach several revolutions by hand. With the impact wrench tighten the screw until it rests
flush against the supporting surface.
AIR SOURCE
Clean air of correct air pressure is recommended for the power supply for this tool. A maximum of 90
PSI at the tool is recommended for most air tools of this class. Check specifications section for
recommended pressure. (Depending on length of air hose and other circumstances, air pressure at
compressor may need to be increased to 100 PSI to ensure 90 PSI at the tool.) Water in the air hose
and compressor tank contributes to reduced performance and damage of the air tool. Drain the air
tank and filters before each use and as necessary to keep the air supply dry. Hose length over 25”
causes loss in line pressure. Increase hose ID or increase compressor pressure to compensate
for the pressure loss. Use an in-line pressure regulator with gauge if air inlet pressure is critical.
LUBRICATION & MAINTENACE
Warning!
Oil tool before each use. 4 to 5 drops Air Tool Oil placed in the air inlet is sufficient.
Use proper air pressure and CFM rating listed for this tool.
Drain water from hoses and compressor tank.
Water in the air supply line demage the tool and loss of power.
Clean or replace air filters at prescribed intervals from.
TROUBLESHOOTING
Insufficient power:
Probable Cause
Solution
Dirty or clogged air passages Flush and lubricate tool, drain air tank and supply line
Insufficient air supply Increase line pressure, make sure compressor matches
tool's air pressure and consumption needs
Air leakage Use teflon tape at all fittings and joints.
Check tool for worn or damaged o-rings & seals.
Worn/damaged wear & tear parts Replace as necessary
Tool matching Be sure you are using a tool suited for the sanding
requirements of the job at hand.

SW-Stahl und Werkzeugvertriebs GmbH Tel. +49 (0) 2191 / 46438-0
F56essartSresukreveL ax +49 (0) 2191 / 46438-40
ed.lhatsws@ofni:liaM-EdiehcsmeR79824-D
Instruction Manual
BGS technic KG
Bandwirkerstr. 3
42929 Wermelskirchen
Tel.: 02196 720480
Fax.: 02196 7204820
www.bgstechnic.com
© BGS technic KG, Copying and further use not allowed
Art. 32805
Llave de impacto 3/4"
ESPECIFICACIONES
Cuadradillo: 3/4"
Torsión máxima: 1600 Nm
Presión de aire: 6.2 Bar (90psi)
Consumo de aire: 255 L/min (9 cfm)
Velocidad en vacio: 4600 U/min (rpm)
Entrada de aire: 3/8"
Ruido audible: LpA= 93.7 dB(A)
LwA = 104.7 dB(A)
Vibración: ahd= 4.4 m/s²
K= 1.5 m/s²
Peso: 7.6 kg
INFORMACION DE SEGURIDAD IMPORTANTE
AVISO!
Lea , entienda y siga todas las instrucciones y avisos antes de usar esta herramienta. Un mal uso
puede causar lesiones personales o daños materiales que anularán la garantía.
Engrase la herramienta antes de cada uso con 4 ó 5 gotas de aceite para herramientas neumáticas
en la entrada de aire es suficiente. Use la presión de aire adecuada y el rango de CFM para esta
herramienta.
1. Asegúrese que el aire esta en posición OFF cuando conecte la herramienta al suministro de aire.
2. Use siempre protección ocular homologada cuando use herramientas. Si se genera polvo use
mascarilla.
3. Use solo los accesorios que están diseñados para usar con herramientas. Por ejemplo, con
vasos de impacto no use vasos normales.
4. Asegúrese de desconectar la herramienta del suministro de aire antes de cambiar de accesorio,
realizar revisiones y cuando no la use.
5. Como con cualquier otra herramienta, use el sentido común. No lleve ropa floja o joyas que
puedan engancharse con las partes móviles causando lesiones. Trabaje con le herramienta a una
distancia de seguridad respecto a usted y al resto de operarios.
6. Siga las instrucciones del fabricante de la fuente de aire para conectar reguladores, filtros y otros
accesorios. No instale enchufes rápidos directamente sobre la herramienta ya que provoca
tensión innecesaria en la rosca de entrada de aire posibilitando el desgaste prematuro. En
cambio, instale en ella un tramo corto de manguera de aire adjunto con la herramienta.

SW-Stahl und Werkzeugvertriebs GmbH Tel. +49 (0) 2191 / 46438-0
F56essartSresukreveL ax +49 (0) 2191 / 46438-40
ed.lhatsws@ofni:liaM-EdiehcsmeR79824-D
Instruction Manual
BGS technic KG
Bandwirkerstr. 3
42929 Wermelskirchen
Tel.: 02196 720480
Fax.: 02196 7204820
www.bgstechnic.com
© BGS technic KG, Copying and further use not allowed
FUNCIONAMIENTO:
1. Para fijar la herramienta en la torsión deseada, seleccione una tuerca o tronillo de estrechez
conocida, de la misma talla,
2. Gire el regulador de aire a posición baja, ajuste la llave a la tuerca y gradualmente incremente la
potencia (gire el regulador para admitir mas aire) hasta que la tuerca se mueva ligeramente en al
dirección en la que originalmente se fijo. La herramienta esta ahora fijada para duplicar esa
tensión. Todos los tornillos han de ser verificados después de su instalación con una llave
de torsión.
3. No apriete tuercas o tornillos con una torsión mayor de lo permitido. Ponga la tuerca o el tornillo
en la rosca y comience a dar varias vueltas manualmente. Con la llave de impacto apriete el
tronillo hasta que este a ras de superficie.
SUMINISTRO DE AIRE:
Se recomienda aire limpio a una presión correcta como fuente de energía de esta herramienta. Para
la mayoría de herramientas de este tipo, se recomienda un máximo de 90 PSI. Compruebe la sección
de especificaciones para ver la presión recomendada. (Dependiendo de la longitud de la manguera
de aire y de otras circunstancias, la presión del aire en el compresor puede necesitar ser
incrementada a 100 PSI para asegurar la presión de 90 PSI en la herramienta.) que haya agua en la
manguera de aire y en el tanque del compresor contribuye a reducir el rendimiento y dañar la
herramienta neumática. Drene el tanque de aire y los filtros antes de cada uso y cada vez que sea
necesario para mantener el suministro de aire seco. Si la longitud de la manguera ronda las 25”
puede causar bajadas en la línea de presión. Incremente la ID de la manguera o la presión del
compresor para compensar la bajada de presión. Use un regulador de presión con manómetro si la
presión de la entrada de aire es crítica.
LUBRICACION Y MANTENIMIENTO:
Aviso:
Engrase la herramienta antes de cada uso. 4 o 5 gotas de aceite de buena calidad para herramientas
neumáticas en la entrada de aire es suficiente.
Use la presión de aire adecuada y la tasación de CFM para esta herramienta.
Drene las mangueras y el tanque del compresor.
Presencia de agua en el suministro de aire, daña la herramienta y disminuye su potencia.
Limpie o reemplace los filtros de aire en intervalos de tiempo prescritos.
SOLUCION DE PROBLEMAS:
Potencia insuficiente:
Causa probable
Solución
Conductos de aire sucios u
obstruidos
Enjuague y engrase la herramienta, drene el tanque de aire
y la toma de suministro
Suministro de aire insuficiente Asegúrese de que el compresor coincida con la presión de
aire de la herramienta y su consumo necesario.
Fuga de aire Use una tapa de teflón en todos los accesorios y juntas.
Compruebe las juntas tóricas y sellados usados o dañados.
Desgaste de las piezas Reemplácelos si es necesario
Herramienta correspondiente Asegúrese de que la herramienta es la adecuada para el
lijado manual.

SW-Stahl und Werkzeugvertriebs GmbH Tel. +49 (0) 2191 / 46438-0
F56essartSresukreveL ax +49 (0) 2191 / 46438-40
ed.lhatsws@ofni:liaM-EdiehcsmeR79824-D
CE-Erklärung
BGS technic KG
Bandwirkerstr. 3
42929 Wermelskirchen
Tel.: 02196 720480
Fax.: 02196 7204820
www.bgstechnic.com
EU-Konformitätserklärung
EC DECLARATION OF CONFORMITY
DÉCLARATION „CE“ DE CONFORMITE
DECLARATION DE CONFORMIDAD UE
Wir erklären in alleiniger Verantwortung, dass die Bauart der:
We declare that the following designated product:
Nous déclarons sous propre responsabilité que ce produit:
Declaramos bajo nuestra sola responsabilidad que este producto:
Druckluft-Schlagschrauber ( BGS Art. 32805 )
Air Impact Wrench
Clé à chocs
Pistola neumática de impacto
folgenden einschlägigen Bestimmungen entspricht:
complies with the requirements of the:
est en conformité avec les réglementations ci-dessous:
esta conforme a las normas:
Machinery Directive 2006/42/EC
Angewandte Normen:
Identification of regulations/standards:
Norme appliquée:
Normas aplicadas:
EN 983-1996+A1-2008
Certification: CONA 12018724/WFI-11072
Test Report: MD 201201087
Wermelskirchen, den 02.06.2014
ppa.
Frank Schottke, Prokurist
BGS technic KG, Bandwirkerstrasse 3, D-42929 Wermelskirchen
Table of contents
Languages:
Other BGS technic Impact Driver manuals
BGS technic
BGS technic 3246 User manual
BGS technic
BGS technic 3238 User manual
BGS technic
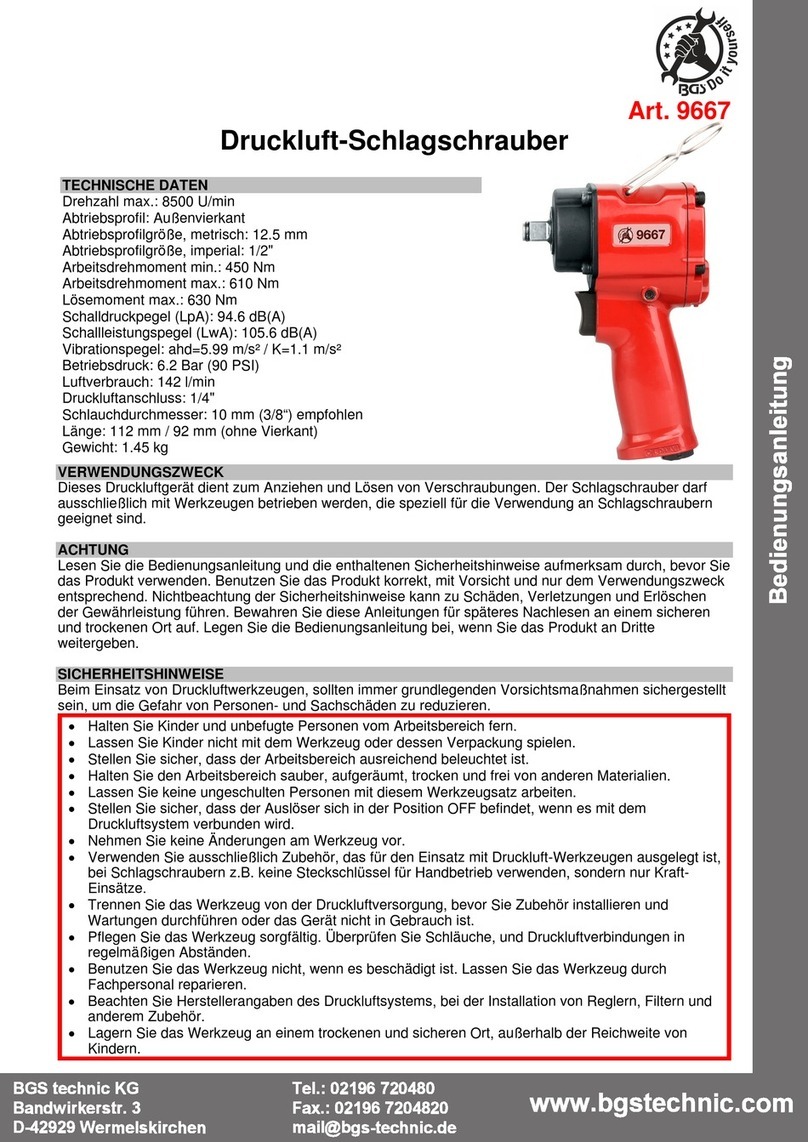
BGS technic 9667 User manual
BGS technic
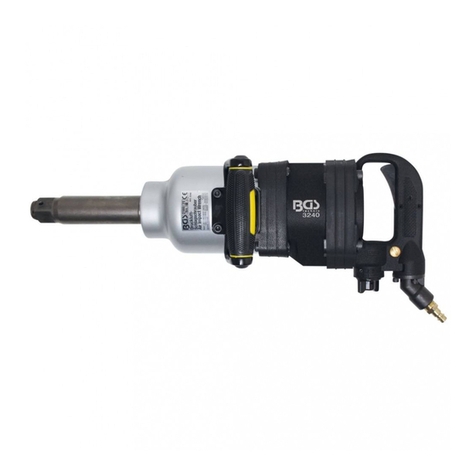
BGS technic 3240 User manual
BGS technic
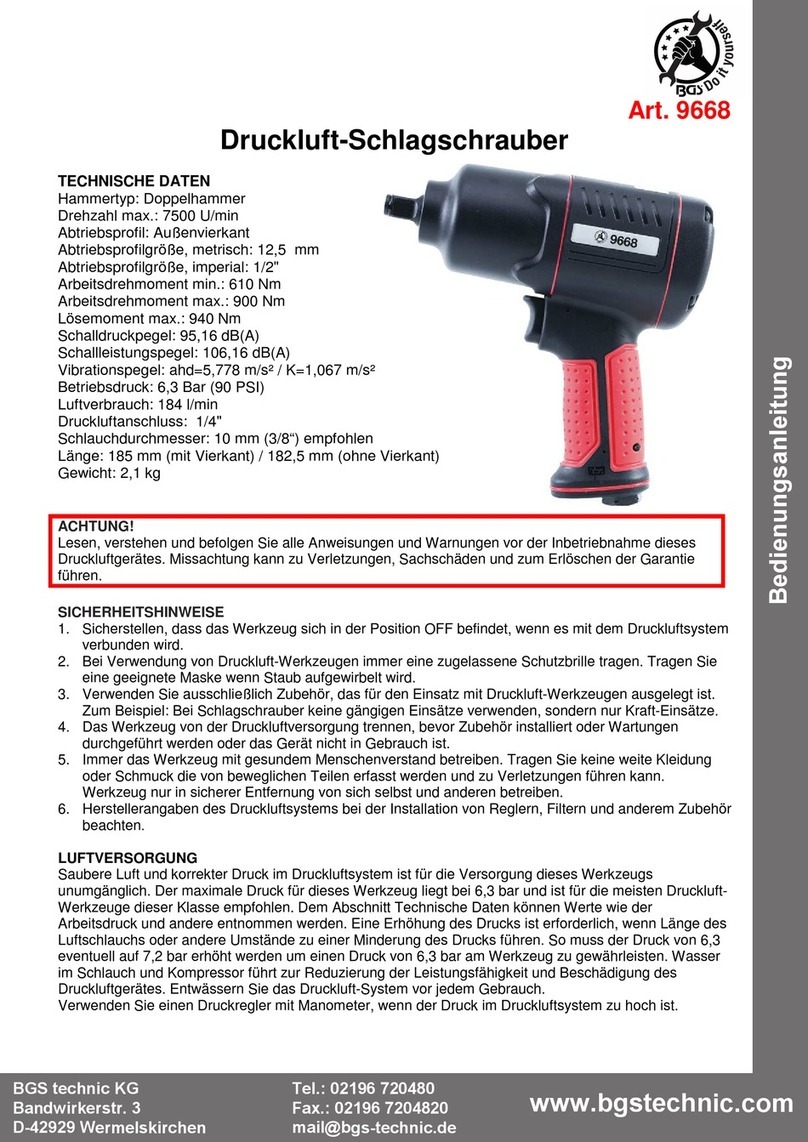
BGS technic 9668 User manual
BGS technic
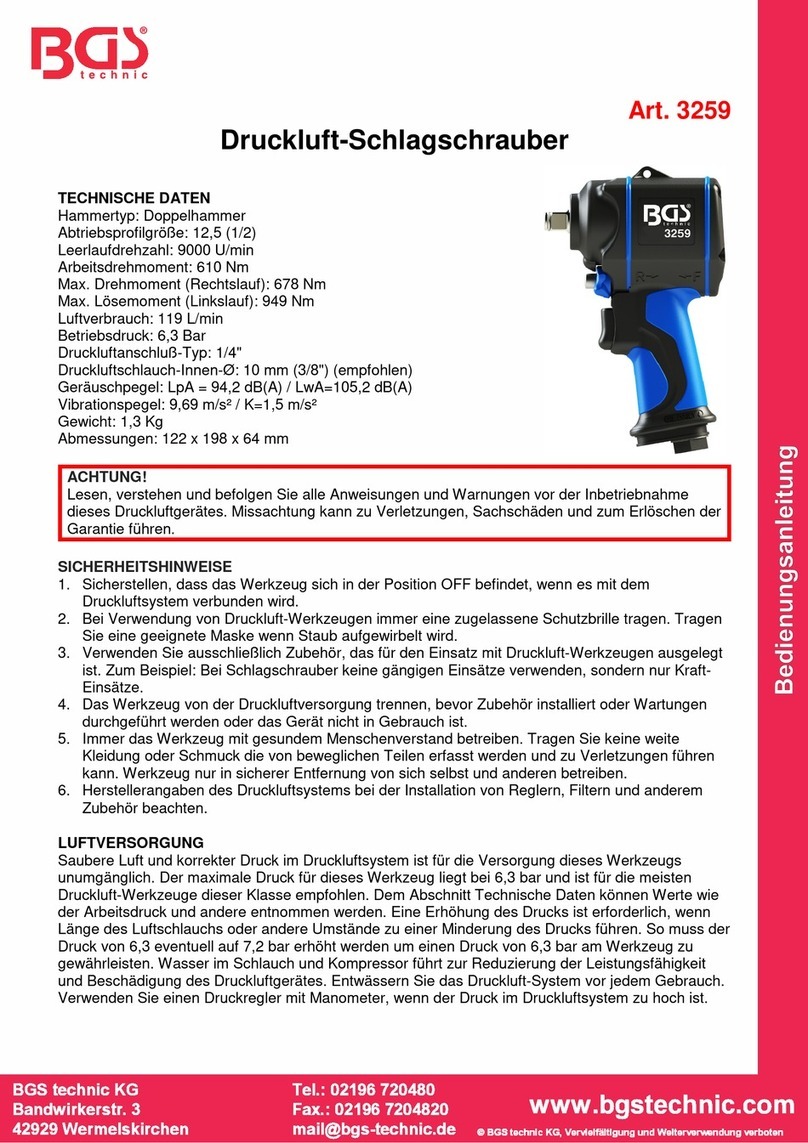
BGS technic 3259 User manual
BGS technic
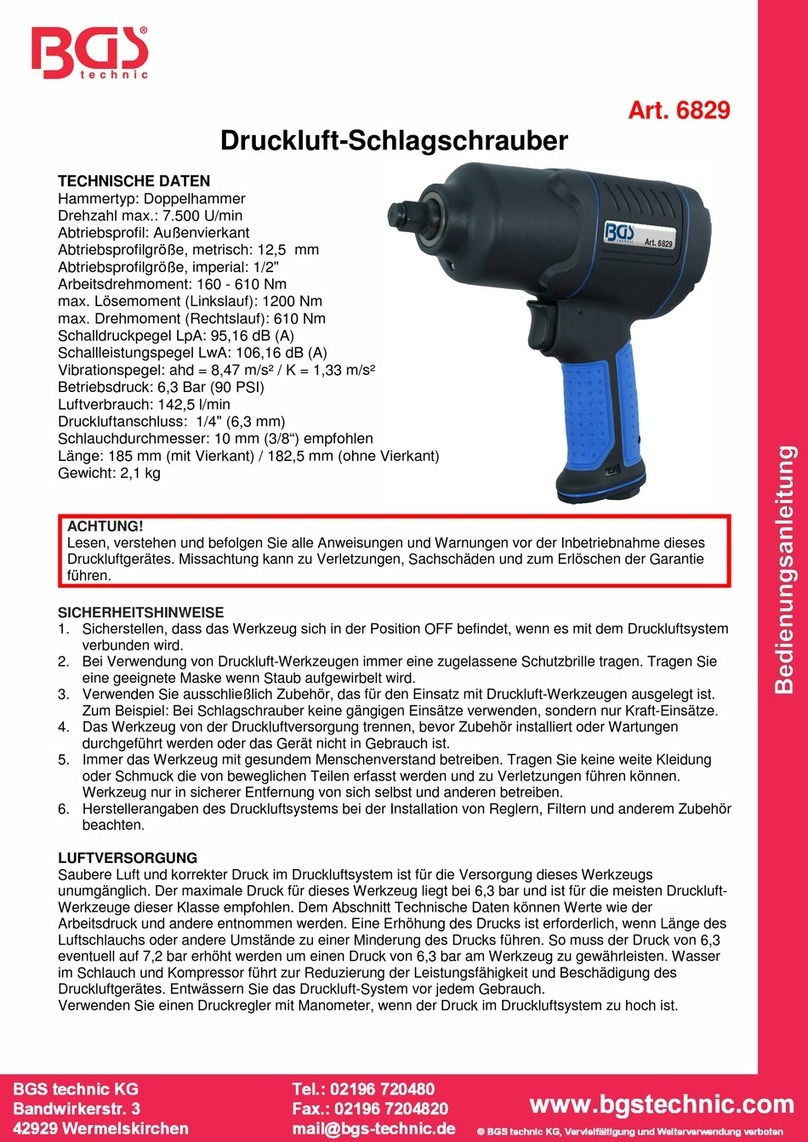
BGS technic BGS 6829 User manual
BGS technic
BGS technic 3280 User manual
BGS technic
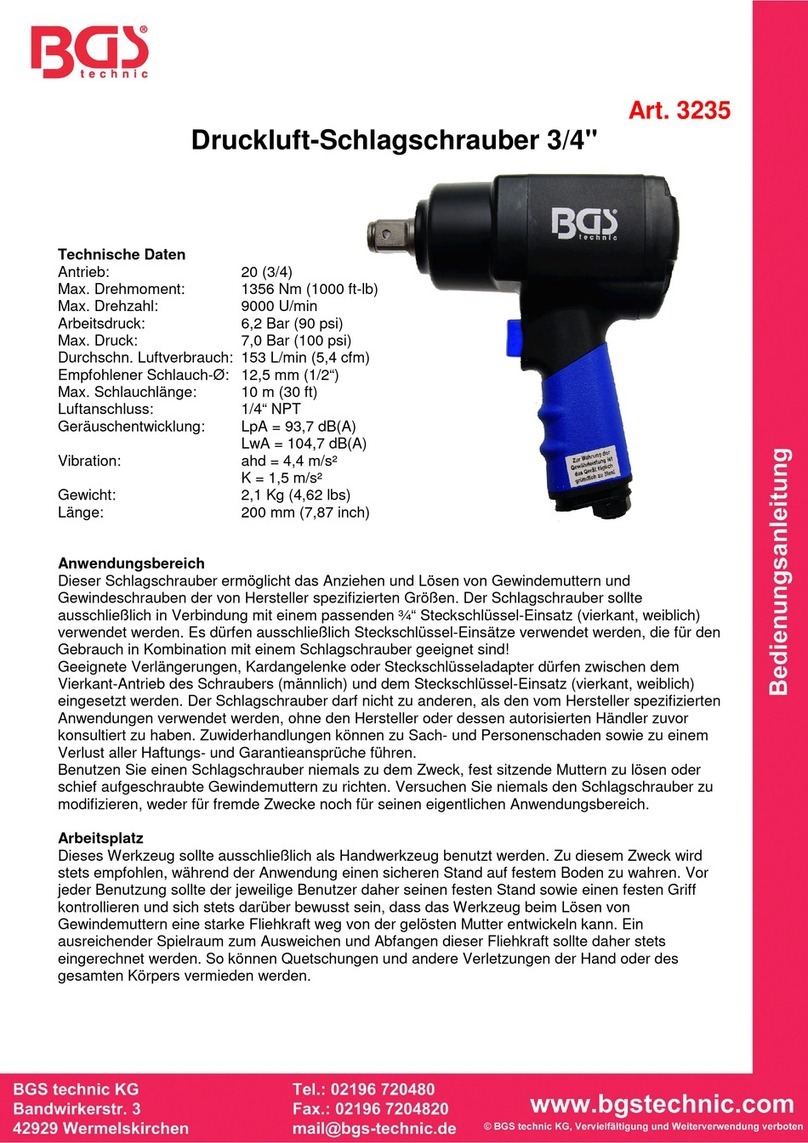
BGS technic 3235 User manual
BGS technic
BGS technic 3245 User manual
