BinTec Communications GmbH, Südwestpark 94
90449 Nürnberg
Telefon: +49 911 / 96 73 - 0
Fax: +49 911 / 688 07 25
www.bintec.de, info@bintec.de
Checking and Installing the TCP/IP Protocol
The TCP/IP protocol is the "language" PCs use to communicate over the
network and to connect to the Internet. Make sure that the TCP/IP pro-
tocol is installed before you start configuring your router. To check the
installation of the TCP/IP protocol or to install the TCP/IP protocol:
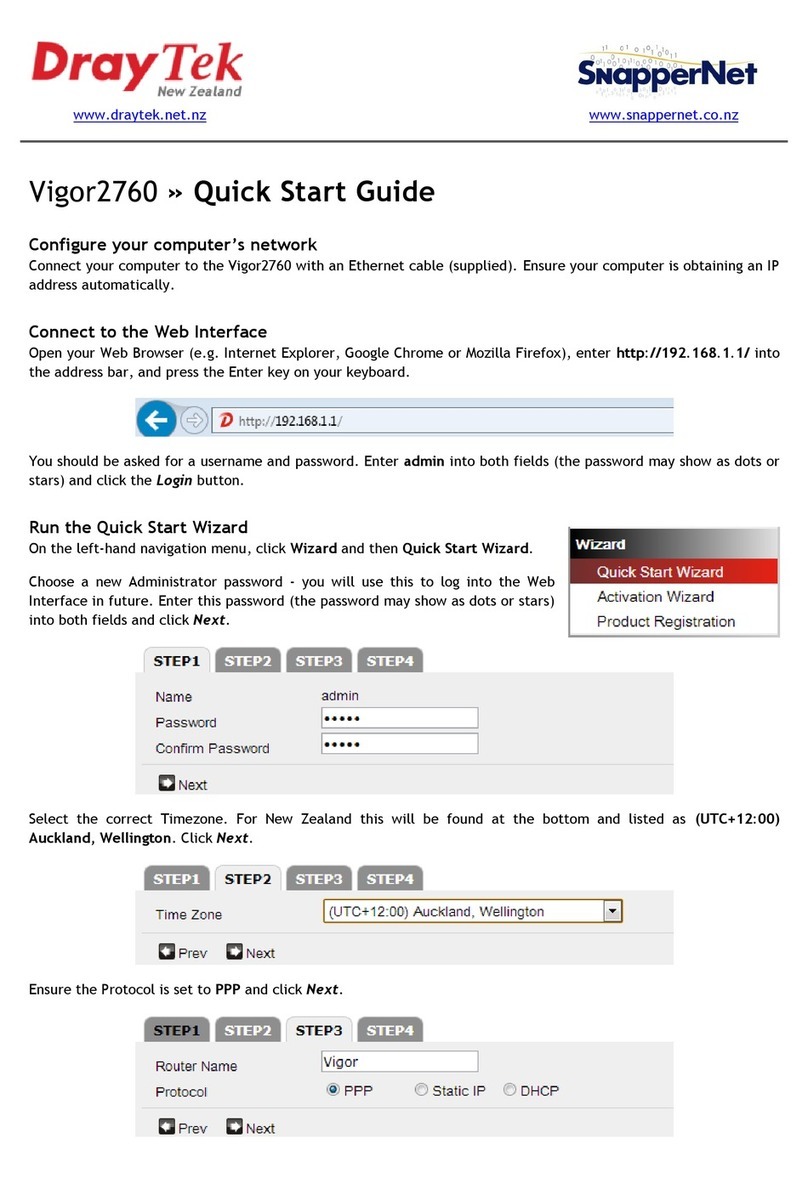
■In the start menu click Settings, in the submenu click Control Pan-
el. Double-click Network.
■Windows 95/98: Search in the network components list for TCP/IP.
■Windows NT: click the tab Protocols. Search in the network proto-
cols list for TCP/IP protocol.
■If you can’t find this entry install the TCP/IP protocol as described
below. Otherwise close the dialog box and start configuration (sec-
tion 3).
To install the TCP/IP Protocol:
■Windows 95/98: In the dialog box Network click Add. In the network
components list select protocol and click Add. In the manufacturers
column click Microsoft and then click Microsoft TCP/IP. Click OK.
In an existing network you might have to configure additional set-
tings. Ask your network administrator. If you are setting up a new
network click OK.
■Windows NT: In the Network dialog box, click the tab Protocols and
click Add. In the network components list click TCP/IP protocol and
click OK. Confirm the question with Yes to set up a new network. In
an existing network ask your network administrator.
■Follow the instructions on the screen and finally restart your PC.
Repeat the installation on all PCs you need access to the Internet.
■Quit all Windows-based programs on your PC.
■Put the BinTec Companion CD in the CD-ROM drive of your PC. Af-
ter a few seconds the start window appears. If the start window does
not appear automatically, click in your Windows Explorer your CD-
ROM drive and double-click setup.exe.
■Click BRICKware to start the setup program.
■Enter the directory BRICKware shall be installed to.
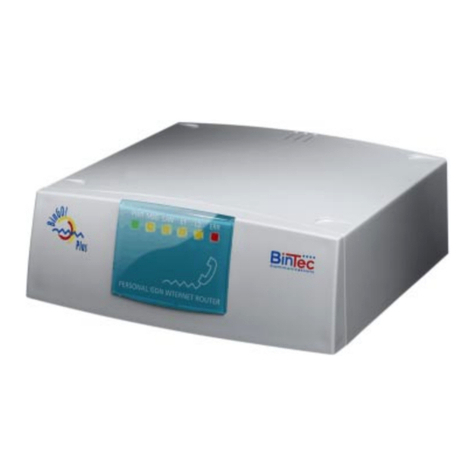
■Select your router, thus BinGO! Plus or BinGO! Professional.
■Select the software components you want to have installed. You can
accept the adjusted values.
■DIME Tools contains mainly tools for configuration, maintenance
and diagnosis. For the basic functions of yourrouter it is not neces-
sary to start DIME Tools automatically with Windows.
■The Configuration Wizard starts.
3 Installing BRICKware
With the Configuration Wizard you configure your router in a quick and
easy way. Please note:
When you configure your router with the Configuration Wizard your rout-
er will be initially reset. Existing configurations – not made by the Config-
uration Wizard – will be lost. So if your router is already configured
transmit theexisting configuration to your PC before starting (see User’s
Guide).
You can carry out the configuration in either quickor expertmode. If you
are unfamiliar in networking technologies choose quick mode.
You can select the following configuration steps: Basic Router Settings
and Internet Access. The Basic Router Settings are required to integrate
the routerin yournetwork and to enabletelematic services. Additionally,
you may configure Internet access on your router to allow all PCs on
your LAN to access the Internet via your BinGO! Plus/Professional.
■Select the desired subjects and follow the instructions on the screen.
■If you have set up a new network and installed the TCP/IP protocol
as described above you have to configure your router as DHCP
server (default).
In this case the PC has to be assigned an IP address at the end of
configuration. Under Windows NT this will be done automatically. Under
Windows 95 or 98 the Configuration Wizard starts the program
WINIPCFG:
■Click Yes to start WINIPCFG. Click Renew All and then click OK.
If you have choosen telematic services (TAPI/CAPI) during configura-
tion, you will be asked to perform CAPI and TAPI configuration now.
CAPI enables, among other things, sending and receiving of fax mes-
sages and an answering machine’s functionality. TAPI enables compu-
ter supported telephoning.
■Click Yes to start configuration. In the Remote TAPI tab enter the IP
address of your router if it isn’t entered already. Also enter user
name and password for users of telematic services as entered pre-
viously before in the Configuration Wizard. Click Use these values.
Repeat these steps for the Remote CAPI tab. Click OK.
To be able to use fax services on your PC you have to install a CAPI ap-
plication like RVS-Com Lite. RVS-Com Lite is included on your BinTec
Companion CD.
■Click RVS-Com Lite in the start window to install RVS-Com Lite (see
subject 3 "Installing BRICKware") and follow the instructions on the
screen. An online help system is also available.
4 Configuring your Router
5 Configuring your PC
You may allow access to Internet via your router for all PCs located in
the same network as your router. For that on the PCs which are not ad-
justed as DHCP client you have to enter your router as gateway and as
DNS server as described below:
■In the start menu click Settings, in the submenu click Control Pan-
el. Double-click Network.
■Click TCP/IP in the network components list (for Windows NT it is on
the Protocol tab) and click Properties.
■Click the Gateway tab and enter the IP address of your router as
New Gateway. (Windows NT: Click the IP Address tab andenterthe
IP address of your router as Standard Gateway). Click Add.
■Click the DNS Configuration tab and enter the IP address of your
router under DNS Server Search Order. Click Add and then OK.
Follow the further instructions on the screen.
You have successfully finishedthe configuration of your router!
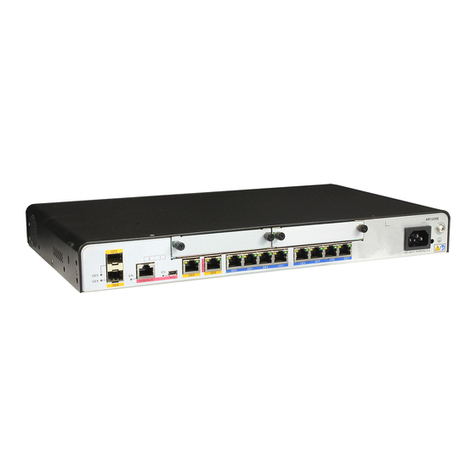
■Remove the cable from the serial port of your router (3) now.
Caution! An incorrect configuration of the devices in your network
may result in unintended connections and increased charges.
Monitor your router and make sure that the system does not
establish unwanted ISDN connections (and charges). Observe the
LED display of your router (LED L1 or L2 is on: Connection
established) or use the monitoring function in the Setup Tool (see
Getting Started and User’s Guide).
■Test the connection to your router. In the start menu click Run. Enter
ping followed by a space followed by the IP address of your router.
A window appears withthe response "Reply from...".
■Now open your Internet Browser and enter www.bintec.de to test the
access to the Internet. At BinTec’s WWW site you will find the latest
news, updates, and documentation.
6 Testing Configuration
!
quickreference_bgp_e.fm Page 2 Monday, October 19, 1998 12:19 PM


