manuals.online logo
Brands
  1. Home
  2. •
  3. Brands
  4. •
  5. Birlea
  6. •
  7. Indoor Furnishing
  8. •
  9. Birlea RICHMOND 6 DRAWER CHEST User manual

Birlea RICHMOND 6 DRAWER CHEST User manual

Vendor: S000180
Page 1 of 8
ASSEMBLY INSTRUCTIONS
RICHMOND 6 DRAWER CHEST
IMPORTANT: READ THESE INSTRUCTIONS CAREFULLY BEFORE ATTEMPTING TO ASSEMBLE OR
USE YOUR RICHMOND 6 DRAWER CHEST
PLEASE KEEP THESE INSTRUCTIONS FOR FUTURE REFERENCE
HEALTH & SAFETY:
DO NOT use this chest if any parts are missing, damaged or worn
DO NOT use this chest unless all fixings are secured
Always use on a level, even surface
CARE & MAINTENANCE:
Assemble on a soft, clean surface to prevent damages
Periodically check all screws fixings to ensure they are secure
DO NOT push the chest as this will damage the feet
Always lift the chest with two people to reposition
Keep any sharp objects away from the chest
www.birlea.com
Vendor: S000180
Page 2 of 8
Parts List Hard are List
Part Description Qty Part Description Qty
1 Left Panel 1 A 3.5 x 12 mm CSK Screw 24
2 Right Panel 1 B 3.5 x 15 mm CSK Screw 16
3 Top Panel 1 C 4.5 x 32 mm CSK Screw 28
4 Lower Front Frame 1 D 4.7 x 38 mm Screw 4
5 Lower Back Frame 1 E 6 x 9 mm Euro Screw 24
6 Lower Front Plinth 1 F 6 x 20 mm Wooden Dowel 38
7 Upper Front Plinth 1 G 8 x 25 mm Wooden Dowel 25
8 Lower Back Plinth 1 H 8 x 50 mm Wooden Dowel 4
9 Division Panel 1 J 24 x 8.5 mm Bolt 28
10 Left Front Frame 2 K
15 x 12 mm Cam Lock
12
11 Right Front Frame 2 L 12 mm Cam Lock 16
12 Support Block 1 M
Metal Cup Handle with Screw
12
13 Drawer Front 6 N1 Drawer Slide CR 6
14 Left Drawer Side 6 N2 Drawer Slide CL 6
15 Right Drawer Side 6 P1 Drawer Slide DR
6
16 Drawer Back 6 P2 Drawer Slide DL 6
17 Drawer Support 6 Q Leg with Screw 1
18 Drawer Base 6 R Backply Stopper 16
19 Back Panel 4 S Glue 3
** You ill need a small mallet and a scre driver for assembly
Vendor: S000180
Page 3 of 8
Step 1: Insert hardware parts F, G and H as shown using hardware part S and a small mallet (not provided)
DO NOT use any po er tools as this may damage the frame and ill invalidate any claim
Step 2: Insert hardware part J as shown using a screwdriver (not provided)
DO NOT use any po er tools as this may damage the frame and ill invalidate any claim
Vendor: S000180
Page 4 of 8
Step 3: Assemble the drawers as shown using hardware parts A, C, L, M, P1, P2 and S with a screwdriver (not
provided)
DO NOT use any po er tools as this may damage the frame and ill invalidate any claim
Step 4: Attach the lower front plinth (6) to the lower front frame (4) using hardware parts K and S with a
screwdriver (not provided)
DO NOT use any po er tools as this may damage the frame and ill invalidate any claim
Vendor: S000180
Page 5 of 8
Step 5: Attach hardware parts N1 and N2 to the left side panel (1), right side panel (2) and division panel (9)
using hardware part E and a screwdriver (not provided)
DO NOT use any po er tools as this may damage the frame and ill invalidate any claim
Step 6: Attach the division panel (9) to the lower back frame (5), lower front frame (4) and support block (12)
using hardware part D and a screwdriver (not provided)
DO NOT use any po er tools as this may damage the frame and ill invalidate any claim
Vendor: S000180
Page 6 of 8
Step 7: Attach the left side panel (1) to the left front frames (10), upper front plinth (7), lower back frame (5)
and lower front frame (4) using hardware parts K and S with a screwdriver (not provided)
DO NOT use any po er tools as this may damage the frame and ill invalidate any claim
Step 8: Attach the right front frames (11) and right panel (2) using hardware parts K and S, then attach
hardware part Q. You will need to use a screwdriver (not provided)
DO NOT use any po er tools as this may damage the frame and ill invalidate any claim
Vendor: S000180
Page 7 of 8
Step 9: Insert the back panels (19)
DO NOT use any po er tools as this may damage the frame and ill invalidate any claim
Step 10: Attach the top panel (3) using hardware parts C, K, L and S and a screwdriver (not provided)
DO NOT use any po er tools as this may damage the frame and ill invalidate any claim
Vendor: S000180
Page 8 of 8
Step 11: Insert the assembled drawers to the frame
DO NOT use any po er tools as this may damage the frame and ill invalidate any claim
Step 12: Secure the back panels (19) using hardware parts B and S with a screwdriver (not provided)
DO NOT use any po er tools as this may damage the frame and ill invalidate any claim
For complete product information, images and dimension
diagrams please visit www.birlea.com

Other Birlea Indoor Furnishing manuals

Birlea VALENTINO 2 DRAWER User manual

Birlea

Birlea VALENTINO 2 DRAWER User manual

Birlea HIG4CHCRO User manual

Birlea

Birlea HIG4CHCRO User manual

Birlea SANTIAGO User manual

Birlea

Birlea SANTIAGO User manual

Birlea EDG2SBBLK User manual

Birlea

Birlea EDG2SBBLK User manual

Birlea DENVER 5 BED PINE User manual

Birlea

Birlea DENVER 5 BED PINE User manual

Birlea FAIRMONT User manual

Birlea

Birlea FAIRMONT User manual

Birlea DIS-STTPACHWHT User manual

Birlea

Birlea DIS-STTPACHWHT User manual

Birlea BERLIN 4’6 BED User manual

Birlea

Birlea BERLIN 4’6 BED User manual

Birlea SIRKKA COFFEE TABLE User manual

Birlea

Birlea SIRKKA COFFEE TABLE User manual

Birlea MERCIA FOUR POSTER BED User manual

Birlea

Birlea MERCIA FOUR POSTER BED User manual

Birlea DIS-DAVHCGCH User manual

Birlea

Birlea DIS-DAVHCGCH User manual
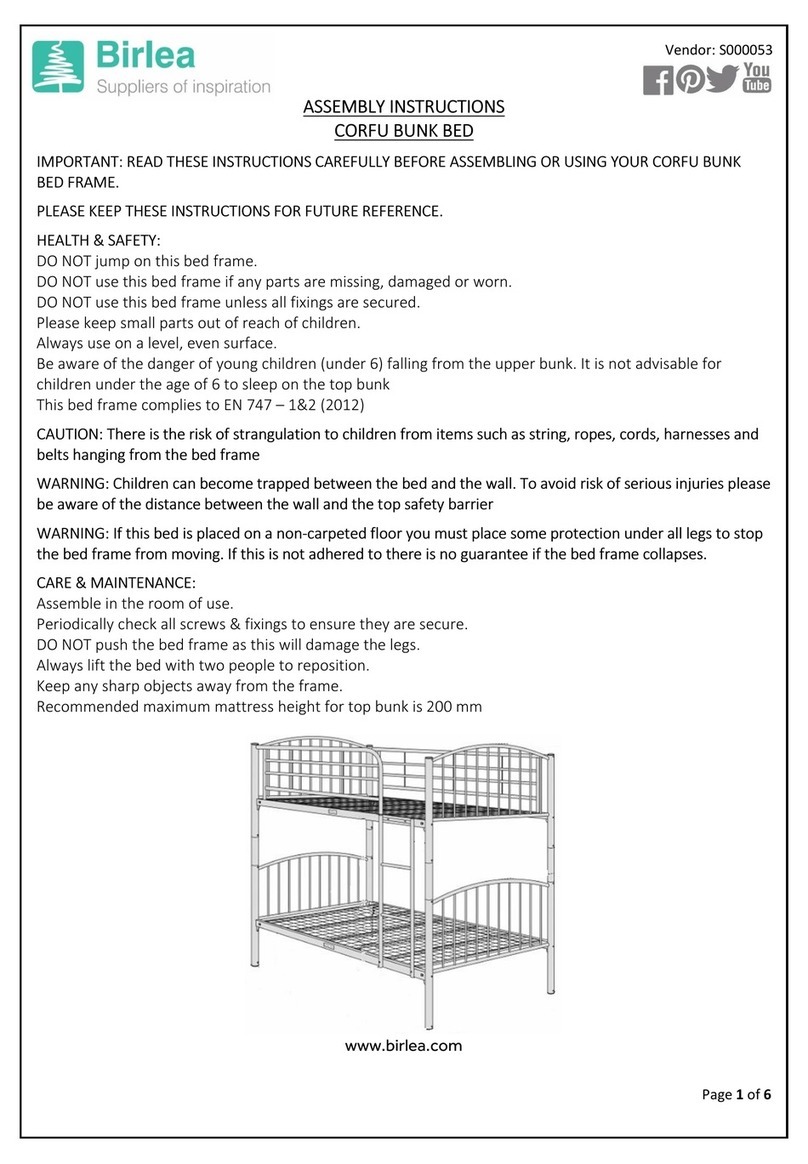
Birlea JESSICA 3' BED User manual

Birlea

Birlea JESSICA 3' BED User manual

Birlea SHARD User manual

Birlea

Birlea SHARD User manual

Birlea MERLIN HIGH SLEEPER User manual

Birlea

Birlea MERLIN HIGH SLEEPER User manual

Birlea BRONTE User manual

Birlea

Birlea BRONTE User manual

Birlea CHABBWHTV2 User manual

Birlea

Birlea CHABBWHTV2 User manual

Birlea URBAN NEST OF TABLES User manual

Birlea

Birlea URBAN NEST OF TABLES User manual

Birlea CORONA 2 DOOR 5 DRW SIDEBOARD User manual

Birlea

Birlea CORONA 2 DOOR 5 DRW SIDEBOARD User manual

Birlea Merlin User manual

Birlea

Birlea Merlin User manual

Birlea CANTERBURY 4' User manual

Birlea

Birlea CANTERBURY 4' User manual

Birlea URBAN COAT RACK AND BENCH User manual

Birlea

Birlea URBAN COAT RACK AND BENCH User manual

Birlea HAVANA 2 DRAWER BEDSIDE CABINET User manual

Birlea

Birlea HAVANA 2 DRAWER BEDSIDE CABINET User manual

Birlea Stratus 4' Bed 5056206616519 User manual

Birlea

Birlea Stratus 4' Bed 5056206616519 User manual

Birlea COTSWOLD User manual

Birlea

Birlea COTSWOLD User manual
Popular Indoor Furnishing manuals by other brands

HATOR GAMING IRONSKY Using Guide

HATOR GAMING

HATOR GAMING IRONSKY Using Guide

rst brands SL-SHSTOR-1 Assembly instructions
rst brands

rst brands SL-SHSTOR-1 Assembly instructions

Trinity TBFPRA-3611 owner's manual

Trinity

Trinity TBFPRA-3611 owner's manual

Teknik 5414873 manual

Teknik

Teknik 5414873 manual

Kvik PU864 manual

Kvik

Kvik PU864 manual

JWA OLTA 69738 Assembly instruction

JWA

JWA OLTA 69738 Assembly instruction

DAM HINGE Assembly

DAM

DAM HINGE Assembly

FourStarGroup 11210630V manual

FourStarGroup

FourStarGroup 11210630V manual

Universal Furniture EXPLORE HOME 637310B instruction sheet

Universal Furniture

Universal Furniture EXPLORE HOME 637310B instruction sheet

Emco asis prestige Mounting instruction

Emco

Emco asis prestige Mounting instruction

Yomei Magix Matrix Assembly instruction

Yomei

Yomei Magix Matrix Assembly instruction

Songmics VASAGLE LSC74 manual

Songmics

Songmics VASAGLE LSC74 manual

EAST COAST Rocking Assembly guide

EAST COAST

EAST COAST Rocking Assembly guide

Sunnydaze Decor TF-634 quick guide

Sunnydaze Decor

Sunnydaze Decor TF-634 quick guide

Cooper Lighting LUMARK HB 16 manual

Cooper Lighting

Cooper Lighting LUMARK HB 16 manual

Steelcase Series 1 instructions

Steelcase

Steelcase Series 1 instructions

Lightolier Calculite C4AD specification

Lightolier

Lightolier Calculite C4AD specification

Furniture of America CM7858Q Assembly instruction

Furniture of America

Furniture of America CM7858Q Assembly instruction

manuals.online logo
manuals.online logoBrands
  • About & Mission
  • Contact us
  • Privacy Policy
  • Terms and Conditions

Copyright 2025 Manuals.Online. All Rights Reserved.