manuals.online logo
Brands
  1. Home
  2. •
  3. Brands
  4. •
  5. Birlea
  6. •
  7. Indoor Furnishing
  8. •
  9. Birlea LOTTIE User manual

Birlea LOTTIE User manual

Thank you for
purchasing a
product.
For a chance to win a Love 2 Shop
voucher simply post a picture of your
new product on your preferred social
channels tagging Birlea Furniture and
using the hashtag
and #Birlea . One winner will be
selected at random each month.
To view our full terms and conditions please visit www.birlea.com
Are you happy with your purchase?
That’s great, we would love to hear more from you. Please leave us a review on our
social media channels or Trustpilot. Your feedback will be greatly appreciated
If for any reason there is something missing, indifferent or incorrect with your order,
please contact the retailer you purchased the item from. We will work with the retailer
to resolve your issue as quickly as possible.
Assembly Instructions
Birlea
#ShareYourStyle
Yes:
No:
Page 1 of 8
If your desired room of choice has a non-carpeted surface please ensure that you use some form of
anti-slip protection and do not place directly on the wooden floor. This will prevent the bed from moving
and therefore collapsing which will void your guarantee..
Assembly Instructions
Page 2 of 8
For Care and Maintenance of your bed...
• Always assemble in your desired room of use.
• Always check all screws and fixings periodically
to ensure they are still secure.
• Do not push or pull this bed as it will cause
damage.
• Always lift this bed with a second person to
prevent damage or injury.
• Keep any sharp objects away from this bed
• Please don't not jump on this Bed.
• Do not use this bed if you find missing, damaged
or worn parts. Please contact your retailer.
• Please do not use this bed until you have fully
secured all fixings.
• Please keep all small components away from
children.
• Please ensure this bed is on an even, level
surface.
Also...
1. Please check you have received the correct product.
2. Unpack all boxes and lay out each component on the floor.
3. Check your product for any damage that may be immediately obvious. If damage is identified,
please contact your retailer.
4. Please read through these instructions thoroughly to ensure you have constructed your bed
correctly.
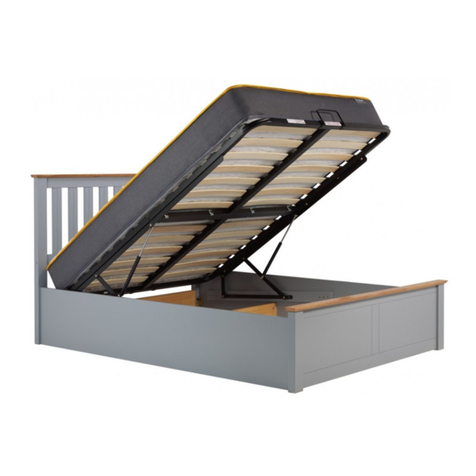
LOTTIE Ottoman Bed - Queen
Before you begin...
For your Health and Safety...
Frame.
J. M8x30mm Bolts (x14)
Y M6x16mm Bolts (x12).
Box 2
Cont...
Z. M8x16mm Bolts (x4) A1. M8x70mm Bolts (x4)
Z1 screw (x16).
J.
M8x30mm Bolts (x8)
S. M8x40mm Bolts (x6) Y M6x16mm Bolts (x16)
V. (X2)
corner bracket
E.metal hook (X2)
B1. Baton (x1)
C1. M4 Allen Key (x1)
Page 3 of 8
Box 1
A.Headboard (x1)
Box 2
B. Side Rails (x2)
F. Footboard (x1)
G. Support Leg (x1) I. Legs (x4)
K. Nuts (x12)
M. Flat Washer (X10) N. Spring Washer (x10)
O. M5 Allen Key (x1)
P
. Spanner (x1)
Q Slat Caps (x28) R. Centre Slat Caps (x14)
U. Pull Strap (x1)
D. Left & Right Frame Rail (x2)
L. M8x45mm Bolts (x10)
BOX 3
C. Centre Support Rail (x1)
T. Bed Cross Bar(x4)
H.Slats(x28)
W.Front and Back Frame Rail(x2) X.Cross Support Bar(x2)
Box 2
B. Side Rails (x2) D. Left & Right Frame Rail (x2)
C. Centre Support Rail (x1)
J. M8x30mm Bolts (x14)
S. M8x40mm Bolts (x6)
Y M6x16mm Bolts (x16)
Page 4 of 8
Step 1
Unpack all components from the boxes and check you are not missing anything. Please check these against the list on
page 3 & 4. Should you identify any missing components, please contact the retailer you purchased the bed from.
Box 2
Cont...
Z. M8x16mm Bolts (x4) A1. M8x70mm Bolts (x4) BOX 3
D1.Support Board(X2)E1.Support Board(X2)
Page 2 of 4Page 2 of 4
Parts listParts list
**You will need a screwdriver(not provided).
2
3
5
1
PARTS LIST HARDWARE LIST(Found in box1)
No No
Qty Qty
1
2
3
4
5
6
7
1
1
1
2
26
A
B
C
D
E
F
G
H
I
J
K
1
8
12
8
1
Item Item
Footboard
Headboard
Side Rails
Slats
Single Slat Caps
4
M5 Allen Key
Bolts(M8x30mm)
Spring Washer
Flat Washer
Nuts
Spanner
Support Legs
2
Bolts(M8x40mm)
4
26
Bolts(M8x70mm)
4
Centre Slat Caps
13
Centre Support Bar
4
Legs
Box
1
1
1
2
1
2
1
Screw
4
4
6
6
7
7
The slats come in the zip compartment in the headboard.
4
Connect 2 legs (I) to 1 headboard (A) with 2 M8 both(J) and 8 screw(Z1), then connect 2 legs (I) to 1
footboard (F) with 2 M8 screws and 8 screw.
Z1 J
Z1
A
B
A
F
B
A
F
A
F
Page 5 of 8
F
Step 3
Attach 2x Side Rails (B) to 1x Headboard (A) and 1x Footboard (F) using 10x M8x30mm Bolt
(J)
,10x Spring Washer (N)
, 10x
Flat Washer (M) and 1x M5 Allen Key (O).
Step 2
to the 1x Headboard
and then attach 2x Legs
Please do not use any power tools for this assembly as it will void your guarantee.
I
J
N
M
O
3
2
H
4
J
N
M
O
J
N
M
O
J
I
I
I
I
M
M
Y
C1
B
A
F
Y
C1
Y
C1
Y
C1
B
A
F
B
A
F
B
A
F
V
C1
C1
Y
Y
V
M4 allen key(C1).
Fix Support Boards 2X(D1)and 2X(E1) to above the Bed Cross Bars (T)
D1 E1E1
E1
D1
D1
D1
Step 4:
To attach the corner bracket (V)to the footboard(F) and side rails(B)you will need to use hardware
parts 4X (Y) and the M4 allen key(C1).M6x16mm Bolts
To fix the 4 X bed cross bar(T) to the side rails ,you will need to use hardware 8X (Y) and the M6x16mm Bolts
DO NOT use any power tools as this may damage the bed frame and will invalidate any claims.
Step 5:
Page 6 of 8
,
,
c
O
Z
Step 6
DO NOT use any power tools, this may damage the bed frame and will invalidate any claims.
To attach the front frame rail(W)and back frame rail(W)to the left frame rail (D)and right frame rail(D),
you will need hardware parts 4 X (Z) with the M5 allen key(O). M8x16mm Bolts
To attach the centre support bar(C) to the front frame rail(W)and back frame rail(W),you will need hardware
parts 4X (S) and 4X (K) with the M5 allen key(O) and the spanner(P). M8x40mm Bolts Nuts
To attach the support leg(G) to the centre support bar(C),you will need hardware parts 2X (S)M8x40mm Bolts
and 2X (K) with the M5 allen key(O) and the spanner(P). Nuts
Insert the metal hook(E) to the front frame rail(W).
headboard
footboard
headboard
d
foot boa r
d
B
A
F
A
B
A
F
B
A
F
SO
S
O
C
G
K
P
K
P
D
W
O
O
O
D
Z
Z
S
OP
K
W
Z
O
Z
E
with the M5 allen key(O) and the spanner(P).
To attach the Baton (B1)TO the footboard(F) you will need to use hardware parts
2x (L) .M8x45mm Bolts wıth the M5 allen key(O)
O
OO
A1
LA1
KK
K
PP
P
O
OL
B1
O
OO
A1
LA1
KK
K
PP
P
O
OL
B1
OL
B1
LO
L
O
C
G
K
P
K
P
D
W
O
O
D
Z
Z
L
OP
K
W
Z
O
Z
E
O
LO
L
O
C
G
K
P
K
P
D
W
O
O
D
Z
Z
L
OP
K
W
Z
O
Z
E
Step 6
DO NOT use any power tools, this may damage the bed frame and will invalidate any claims.
To attach the front frame rail(W)and back frame rail(W)to the left frame rail (D)and right frame rail(D),
you will need hardware parts 4 X (Z) with the M5 allen key(O). M8x16mm Bolts
To attach the centre support bar(C) to the front frame rail(W)and back frame rail(W),you will need hardware
parts 4X (L) and 4X (K) with the M5 allen key(O) and the spanner(P). M8x45mm Bolts Nuts
To attach the support leg(G) to the centre support bar(C),you will need hardware parts 2X (L)M8x45mm Bolts
and 2X (K) with the M5 allen key(O) and the spanner(P). Nuts
Insert the metal hook(E) to the front frame rail(W).
Page 7 of 8
To attach the metal frame(W/C/D) and cross support bar(X)to the gas lift pre-fixed to the side rails,
you will need to use hardware parts 4X (L) and 6x (K) M8x65mm Bolts(A1) , 2 XM8x45mm Bolts Nuts
X
X
Step 7
X
X
c
B
A
F
with the M5 allen key(O) and the spanner(P).
To attach the Baton (B1)TO the footboard(F) you will need to use hardware parts
2x (L) .M8x45mm Bolts wıth the M5 allen key(O)
O
O
A1
A1
K
K
P
P
OL
B1
To attach the metal frame(W/C/D) and cross support bar(X)to the gas lift pre-fixed to the side rails,
you will need to use hardware parts 4X and 4x (K)
M8x70mm Bolts(A1) Nuts
Step 7
X
X
O
L
KP
Page 8 of 8
U
W
Step 8
Q
H
H
B
R
C
Slot each Slat Cap (Q) onto the end of each Slat (H), then slot each Slat (H) into each Centre Slat Cap (R).
Press firmly into each slat rail located on the inside of the side rails (B) and then into the Centre Support Rail (C).
SO
S
O
C
G
K
P
K
P
D
W
O
O
O
D
Z
Z
S
OP
K
W
Z
O
Z
E
with the M5 allen key(O) and the spanner(P).
To attach the Baton (B1)TO the footboard(F) you will need to use hardware parts
2x (L) .M8x45mm Bolts wıth the M5 allen key(O)
O
OO
A1
LA1
KK
K
PP
P
O
OL
B1
Step 6
DO NOT use any power tools, this may damage the bed frame and will invalidate any claims.
To attach the front frame rail(W)and back frame rail(W)to the left frame rail (D)and right frame rail(D),
you will need hardware parts 4 X (Z) with the M5 allen key(O). M8x16mm Bolts
To attach the centre support bar(C) to the front frame rail(W)and back frame rail(W),you will need hardware
parts 4X (S) and 4X (K) with the M5 allen key(O) and the spanner(P). M8x40mm Bolts Nuts
To attach the support leg(G) to the centre support bar(C),you will need hardware parts 2X (S)M8x40mm Bolts
and 2X (K) with the M5 allen key(O) and the spanner(P). Nuts
Insert the metal hook(E) to the front frame rail(W).
Page 6 of 7
To attach the metal frame(W/C/D) and cross support bar(X)to the gas lift pre-fixed to the side rails,
you will need to use hardware parts 4X (L) and 6x (K) M8x70mm Bolts(A1) , 2 XM8x45mm Bolts Nuts
X
X
Step 7

Other Birlea Indoor Furnishing manuals

Birlea MAYFAIR 5' BED User manual

Birlea

Birlea MAYFAIR 5' BED User manual

Birlea Paddington Cabin Bed User manual

Birlea

Birlea Paddington Cabin Bed User manual

Birlea Sienna Fabric Bed Double User manual

Birlea

Birlea Sienna Fabric Bed Double User manual

Birlea TOULOUSE 6 User manual

Birlea

Birlea TOULOUSE 6 User manual

Birlea WINCHESTER S000401 User manual

Birlea

Birlea WINCHESTER S000401 User manual
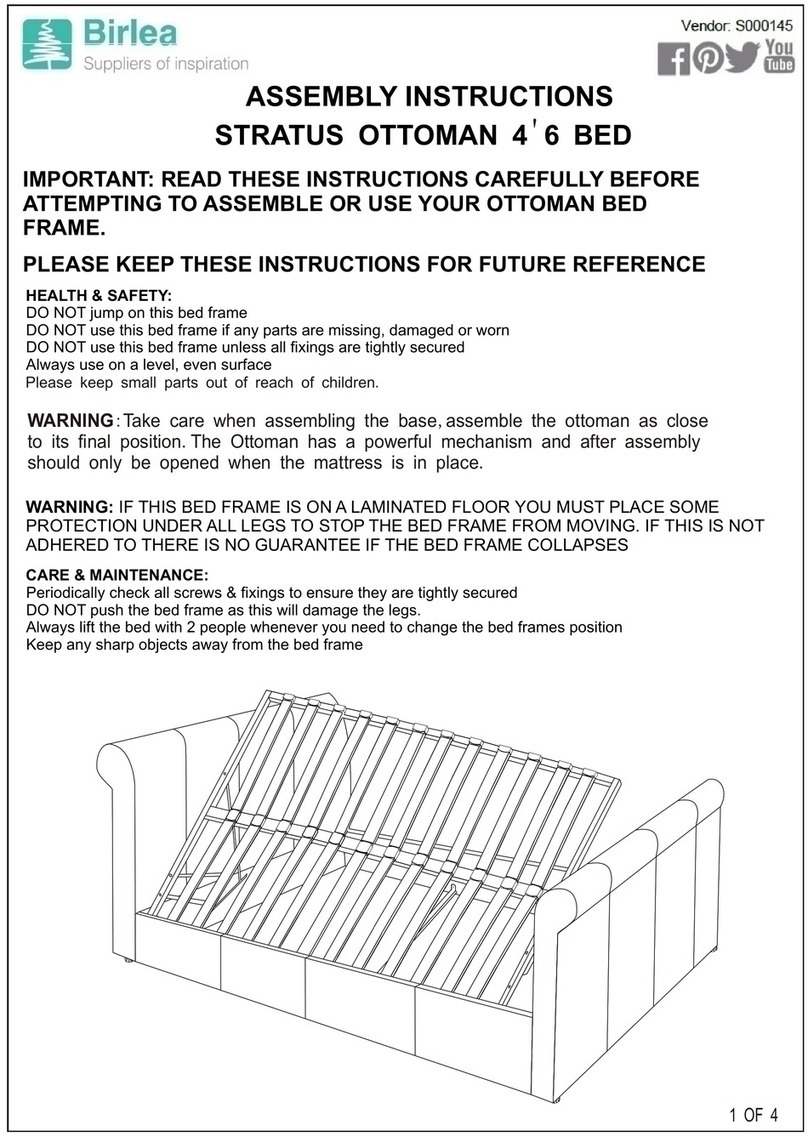
Birlea STRATUS User manual

Birlea

Birlea STRATUS User manual
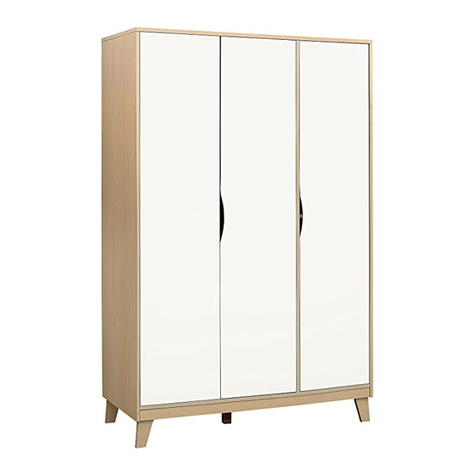
Birlea KINGSTON User manual

Birlea

Birlea KINGSTON User manual
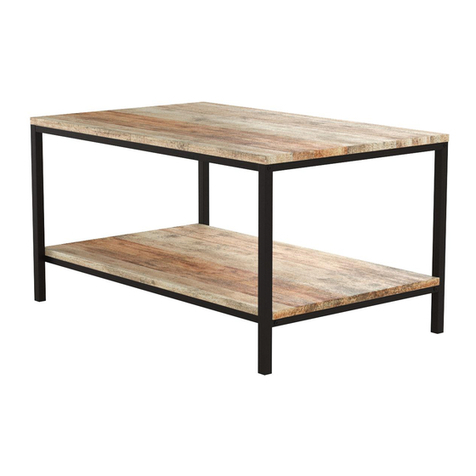
Birlea Urban Coffee Table User manual

Birlea

Birlea Urban Coffee Table User manual

Birlea Croxley 5 Drawer Rattan Chest User manual

Birlea

Birlea Croxley 5 Drawer Rattan Chest User manual

Birlea OPUS CORNER STUDY DESK User manual
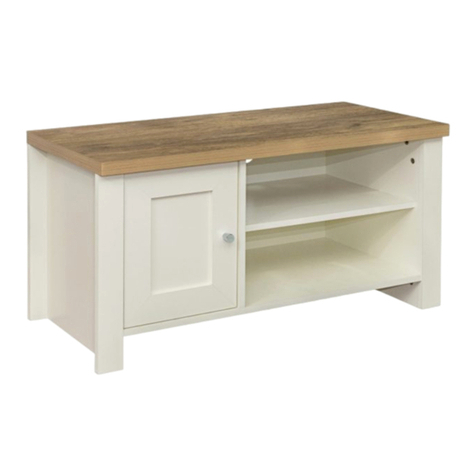
Birlea

Birlea OPUS CORNER STUDY DESK User manual

Birlea Highgate HIGSTVCRO User manual

Birlea

Birlea Highgate HIGSTVCRO User manual

Birlea PEMBROKE 4 DRAWER NARROW CHEST PINE User manual
Birlea

Birlea PEMBROKE 4 DRAWER NARROW CHEST PINE User manual

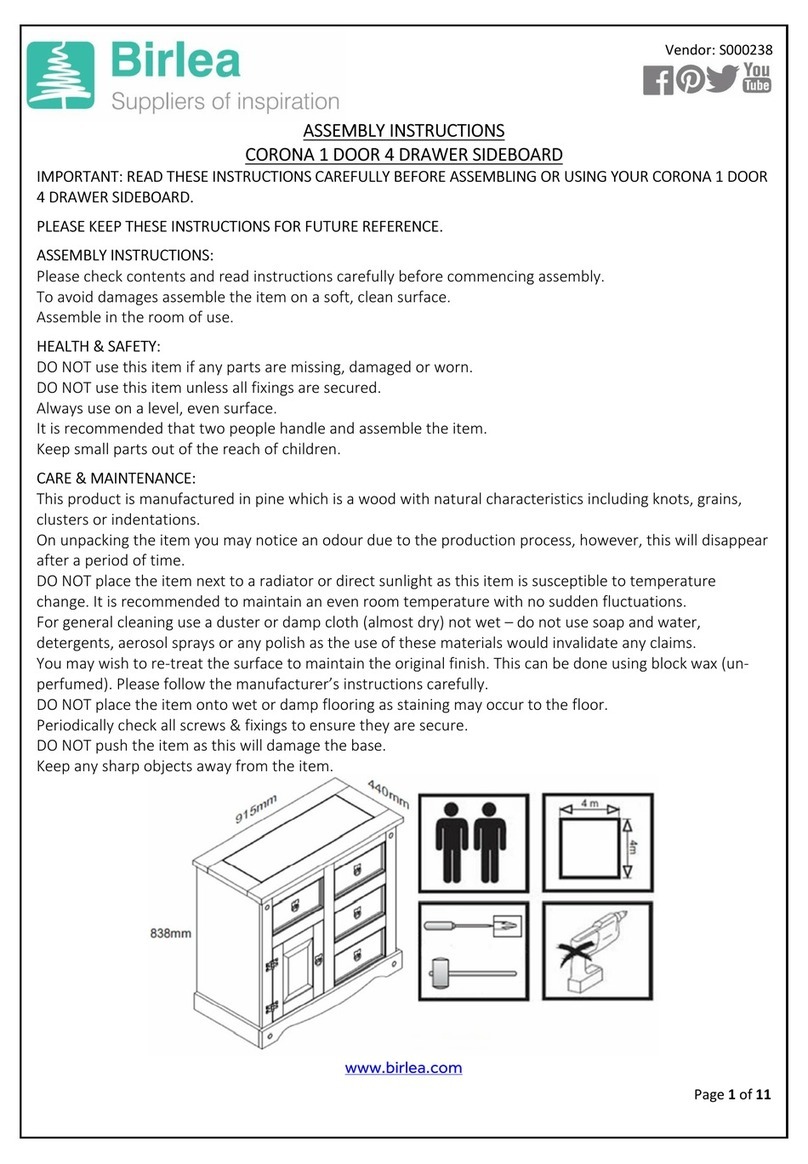
Birlea CORO4SBPIN User manual

Birlea

Birlea CORO4SBPIN User manual
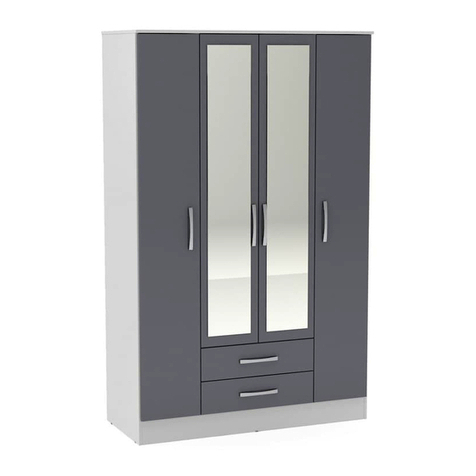
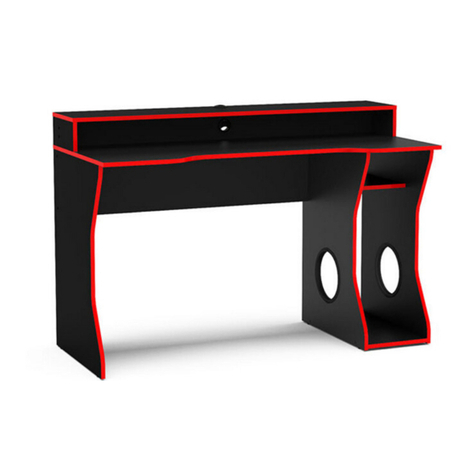
Birlea LYNX 4 DOOR 2 DRAWER ROBE User manual
Birlea

Birlea LYNX 4 DOOR 2 DRAWER ROBE User manual

Birlea ENZO User manual

Birlea

Birlea ENZO User manual

Birlea SOHO 3 BED User manual

Birlea

Birlea SOHO 3 BED User manual
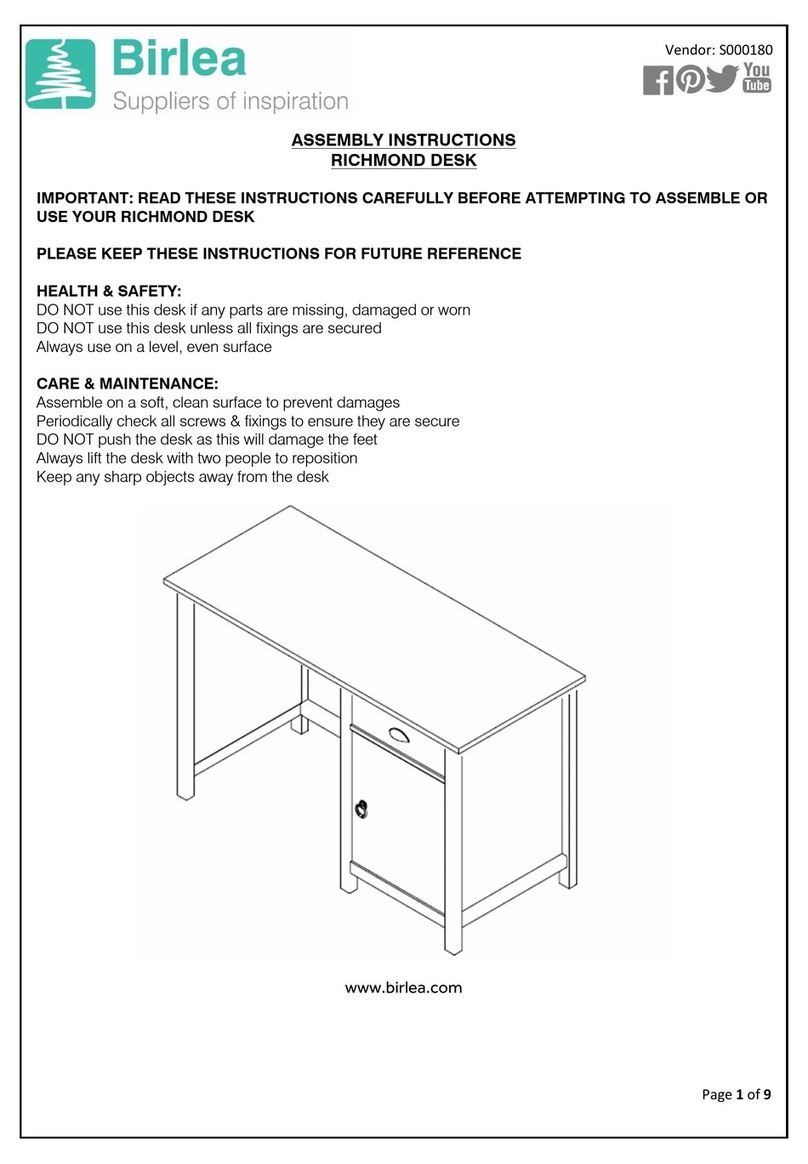
Birlea RICHMOND DESK User manual

Birlea

Birlea RICHMOND DESK User manual
Birlea EDGEWARE SMALL TV UNIT User manual

Birlea

Birlea EDGEWARE SMALL TV UNIT User manual

Birlea ARLO-4 DRAWER CHEST User manual

Birlea

Birlea ARLO-4 DRAWER CHEST User manual

Birlea EMILY 3' BED User manual

Birlea

Birlea EMILY 3' BED User manual

Birlea JESPER User manual

Birlea

Birlea JESPER User manual

Birlea PHONENIX User manual

Birlea

Birlea PHONENIX User manual

Birlea DAKOTA User manual

Birlea

Birlea DAKOTA User manual

Birlea Urban Lamp Table S000350 User manual

Birlea

Birlea Urban Lamp Table S000350 User manual

Popular Indoor Furnishing manuals by other brands
Royal garden ROVSCH201 Assembly instructions

Royal garden

Royal garden ROVSCH201 Assembly instructions

IMS FORINVEST NELLY Assembly instruction

IMS FORINVEST

IMS FORINVEST NELLY Assembly instruction

modway EEI-3020 Assembly instructions

modway

modway EEI-3020 Assembly instructions

Venjakob 6133 Assembly instructions

Venjakob

Venjakob 6133 Assembly instructions

DROMEAS Vip operating instructions

DROMEAS

DROMEAS Vip operating instructions

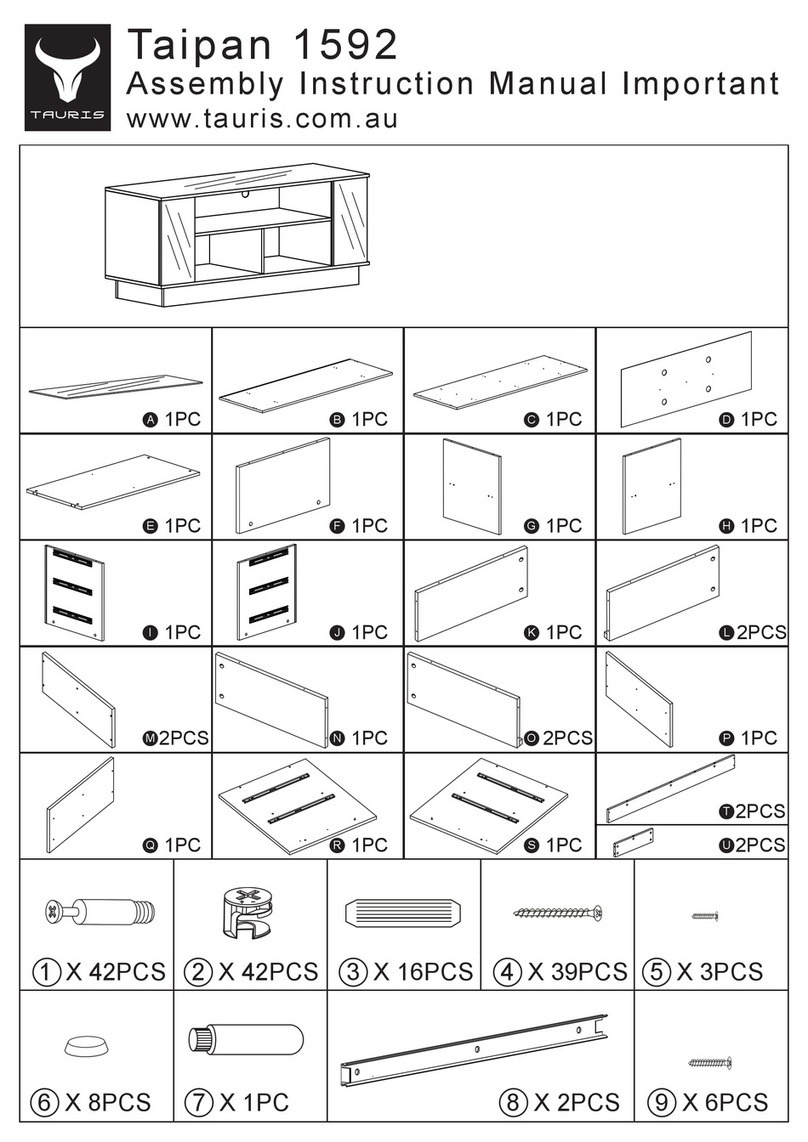
Tauris taipan 1592 Assembly instructions

Tauris

Tauris taipan 1592 Assembly instructions

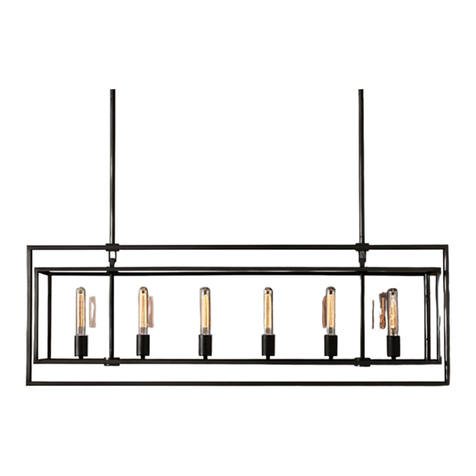
RH BECKMAN RECTANGULAR CHANDELIER 54 quick guide

RH

RH BECKMAN RECTANGULAR CHANDELIER 54 quick guide

TemaHome BOSTON Assembling instructions

TemaHome

TemaHome BOSTON Assembling instructions

WorkSimpli CREDENZA SHELL PL 143GG Assembly instructions

WorkSimpli

WorkSimpli CREDENZA SHELL PL 143GG Assembly instructions

Core Products Boston BT216 Assembly instructions
Core Products

Core Products Boston BT216 Assembly instructions

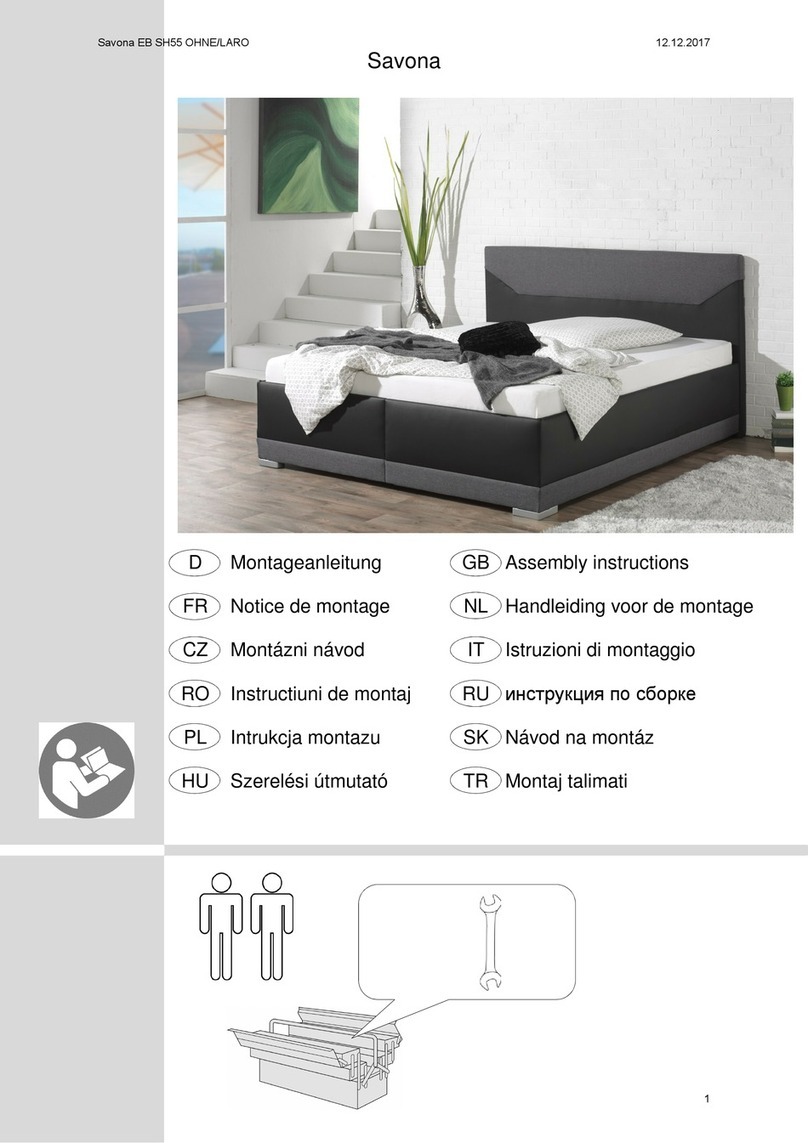
Maintal Savona EB SH55 Assembly instructions
Maintal

Maintal Savona EB SH55 Assembly instructions

RiverRidge 02-251 Assembly instructions

RiverRidge

RiverRidge 02-251 Assembly instructions

meubar T17UME Assembly instruction

meubar

meubar T17UME Assembly instruction

GFW JAKARTA LONG JOHN Assembly instructions
GFW

GFW JAKARTA LONG JOHN Assembly instructions

Moduline Select Series Assembly and installation guide

Moduline

Moduline Select Series Assembly and installation guide

Martin Avanti U-7100 Assembly instructions

Martin

Martin Avanti U-7100 Assembly instructions

hammel Avion quick start guide

hammel

hammel Avion quick start guide

Naterial ORIS Alu Assemby - Use - Maintenance Manual

Naterial

Naterial ORIS Alu Assemby - Use - Maintenance Manual

manuals.online logo
manuals.online logoBrands
  • About & Mission
  • Contact us
  • Privacy Policy
  • Terms and Conditions

Copyright 2025 Manuals.Online. All Rights Reserved.