manuals.online logo
Brands
  1. Home
  2. •
  3. Brands
  4. •
  5. Black Box
  6. •
  7. Cables And Connectors
  8. •
  9. Black Box Mini Driver MP User manual

Black Box Mini Driver MP User manual

ME773A-M/FSP
Mini Driver MP
DCE DTE
BLACK
BOX
DCE DTE
SPECIFICATIONS:
Protocol: Asynchronous.
Speed: Up to 115,200 bps
Range: Up to 15 miles (24.1 km)
Serial Interface: DB25, male or female (DTE/DCE switchable).
Multipoint: Up to 50 Drops.
Surge Protection: 600 W power dissipation at 1 ms and response time of 1 picosecond.
Control Signals: In DCE mode, DSR turns ON immediately after the terminal raises DTR;
DCD turns ON after recognizing the receive signals from the line; CTS turns ON
after the terminal raises RTS.
Operation: 2- or 4-wire, full- or half-duplex.
Connectors: (1) DB25 male or female; (1) RJ-45 female connector.
Carrier: Switch-selected as either Constantly ON or Controlled by RTS.
RTS/CTS Delay: 8 msec. or No Delay.
Power: No power required; uses ultra-low power ( at least 5 volts required) from EIA data
and control signals: Pins 3,5,6,8 and 9 in DTE mode; Pins 2,4,9 and 20 in DCE
mode; 3 to 5 ma @ 10 volts.
Distance Table in miles
ME773A-M/FSP with
(Surge Protection)
DB25M/F CONNECTOR
1 2 3 4 5 6 7 8
ON
DIP Switch is on the
bottom side of PC
board
WIRE GAUGE
19 AWG 22 AWG 24 AWG 26 AWG
3.5 2.6 1.4 .9
52.9 2.2 1.5
7.1 4.6 3.5 2.8
96.5 53.9
DATA
RATE
(bps)
115,200
38,400
9,600
1,200
DESCRIPTION:
The Mini Driver MP requires no AC power or batteries to operate. It supports asynchronous RS-232 speeds of up to 115.2 Kbps over one or two
unconditioned twisted-pair wires. It also supports distances of up to 15 miles (24.1) km) at lower data rates (1.2 Kbps, 19 AWG twisted pair).
The Driver can handle up to 50 terminal drops in a multipoint polling environment. For RS-485 and serial printer applications requiring hardware
handshaking, the Mini Driver MP passes one control signal in each direction. You may configure the Driver for high- or low-impedance operation. Set the
carrier to be Constantly ON or Controlled by RTS. RTS/CTS delay can be set to No Delay or 8 msec. The Driver can also operate with or without echo.
The Mini Driver MP also incorporates Silicon Avalanche Diode technology, which provides 600 watts per wire of protection against harmful data-line
transient surges. CONFIGURATION:
You can configure the Mini Driver MP with an eight-position DIP switch and a DTE/DCE switch. The DIP switch is located on the underside of the PC
board. Setting the DTE/DCE Switch:
For your convenience, the Driver includes a DTE/DCE switch on the outside of the unit. If the device connected to the Driver is a modem or mux (or is
wired like one), set the switch to DTE. This setting causes the Driver to act like data terminal equipment and transmit on Pin 2. If the device connected to the
Driver is a PC, terminal, or host computer (or is wired like one), set the switch to DCE. This setting causes the Driver to act like data communications
equipment and transmit on Pin 3.
Setting the DIP Switches:
The eight switches on switch set S1 configure the Driver for RTS/CTS delay, echo mode, method of carrier control, impedance, and 2-wire/4-wire
operation. These switches are located inside the unit on the Driver's PC board. To access switch set S1, use a small flat-blade screwdriver to pop open the
Driver's case.
Functions of the Configuration Switch:
The descriptions below detail the functions of the eight configuration switches. Read this information carefully before setting the switches.
S1-1 and S1-2: "Transmit OFF" Impedance. Switches S1-1 and S1-2 are set together to determine whether the receiving device "sees" the impedance
of the Driver's transmitter as being "high" or "intermediate" when the transmitter is turned off. The "intermediate" setting is useful in half-duplex environments
where the receiving device does not respond well to the "high" setting.
S1-1 S1-2 Setting
ON ON Intermediate Impedance
OFF OFF High Impedance
S1-3: RTS/CTS Delay: Determines the amount of delay between the time the Driver "sees" RTS and when it sends CTS. Note: RTS/CTS Delay setting
should be based upon transmission timing.
S1-3 Setting
ON 8 ms
OFF No Delay
S1-4: Echo Mode: Determines whether the Driver echoes back to the transmitting device (half-duplex mode only).
S1-4 Setting
ON Echo ON
OFF Echo OFF
S1-5: Carrier Control Method: Determines whether the carrier is "Constantly ON" or "Controlled by RTS". This setting allows for operation in switched
carrier, multipoint, and hardware handshaking applications.
S1-5 Setting
ON Controlled by RTS
OFF Constantly On continued on next page
1 2 3 4 5 6 7 8
RJ-45
S1-6: Receive Impedance: Selects the impedance of the input receiver. You may select either
a "low" impedance or 120 ohms or a "high" impedance of 16K ohms. By selecting the proper
impedance for each drop, you can have up to 50 receivers in one application. The Master and
the last slave should be set for low impedance. Any drops in between them should be set for
high impedance.
S1-6 Setting
ON Low (120 ohm) Terminated
OFF High (16 K) Unterminated
S1-7 and S1-8: 2-wire/4-wire Modes: Both switches are set together to determine whether
the Driver is in 2- or 4-wire operating modes. Note: 2-wire is half-duplex only.
S1-7 S1-8 Setting
ON ON 2-wire mode
OFF OFF 4-wire mode
Configuration Switch Applications:
The table to the left shows you how to set the Driver's configuration switches to fit several
common applications. If you have any questions about the proper settings for you application,
call your supplier.
When You're Finished Configuring:
Once you've finished setting the Mini Driver MP's configuration switches, pause before you
snap the case halves back together. Make sure you have the 4-wire connected to the terminal
blocks set correctly.
INSTALLATION:
Once you've set the configuration switches, you're ready to connect the Driver to your
system. This section tells you how to properly connect two or more Drivers to each other and to
the RS-232 interface.
Twisted-Pair Connection:
Keep these points in mind as you connect the twisted-pair side of the Driver:
The Driver operates over one or two metallic twisted pairs--two or four wires. The wires must be
dry, unconditioned metallic wire between 19 and 26 AWG (lower-number gauges allow the
longest distances). Standard dial-up telephone circuits, or leased circuits that run through signal-
equalization equipment, are not acceptable.
The units must be used in pairs--one at each end of the twisted-pair line. In multipoint
environments, there should be one Driver at the RS-232 host and one at each RS-232 terminal.
Pin Connections for RJ-45 Twisted-Pair Interface:
The 6-wire RJ-11 jack for the Driver is prewired for a standard AT&T wiring environment.
Use the following table as a guide when ordering or constructing twisted-pair cables.
RJ-45 Signal
1 N/C
2 GND
3 RCV-
4 XMT+
5 XMT-
6 RCV+
7 GND
8 N/C
Four-Wire Twisted-Pair Connection: Two-Wire Twisted-PairConnection
Signal Pin# Pin# Signal Signal Pin# Pin# Signal
GND 2 7 GND GND 2 2 GND
RCV- 3 5 XMT- N/C 3 3 N/C
XMT+ 4 6 RCV+ XMT+ 4 4 XMT+
XMT- 5 3 RCV- XMT- 5 5 XMT-
RCV+ 6 4 XMT+ N/C 6 6 N/C
GND 7 2 GND GND 7 7 GND
POSITION FUNCTION FACTORY DEFAULT
S1-1
S1-2
"Transmit OFF" Impedance
OFF High Impedance
OFF
S1-3 RTS/CTS Delay ON 8 msec.
S1-4 Echo Mode OFF Echo OFF
S1-5 Carrier Control OFF Constantly ON
S1-6 Receive Impedance ON 120 Ohms
S1-7
S1-8
2-wire/4-wire
2-wire/4-wire
OFF 4-wire
OFF
DB25M/F CONNECTOR
DB25M/F CONNECTOR
4-wire Full Duplex
1 2 3 4 5 6 7 8
1 2 3 4 5 6 7 8
DB25M/F CONNECTOR
DB25M/F CONNECTOR
2-wire Half Duplex
1 2 3 4 5 6 7 8
1 2 3 4 5 6 7 8
2 7
3 6
4 5
5 4
6 3
7 2
2N/C 2
3N/C 3
4 4
5 5
6N/C 6
7N/C 7
If there is a shield around the telephone cable, it may be connected to "G" on the terminal block. We
recommend connecting the shield at the computer end only to avoid ground loops. A ground wire is not
necessary to properly operate the Driver.

This manual suits for next models

1

Other Black Box Cables And Connectors manuals

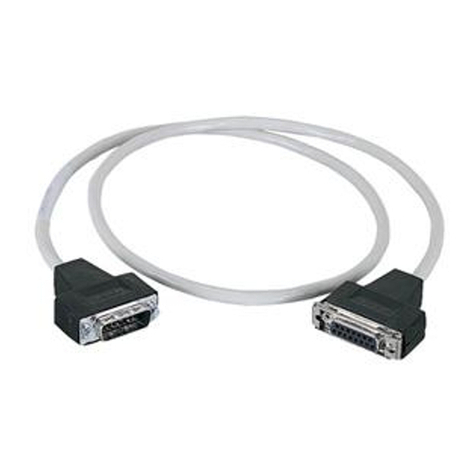
Black Box DVI Cables User manual

Black Box

Black Box DVI Cables User manual

Black Box AC043A-R2 User manual

Black Box

Black Box AC043A-R2 User manual

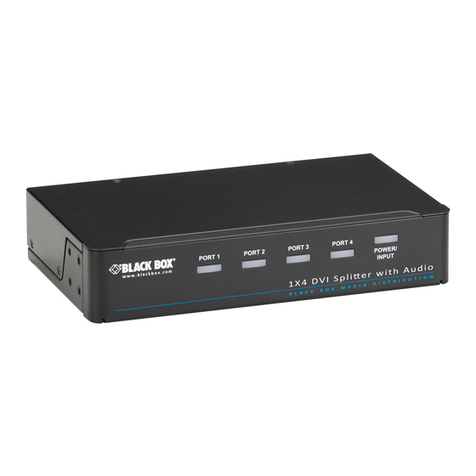
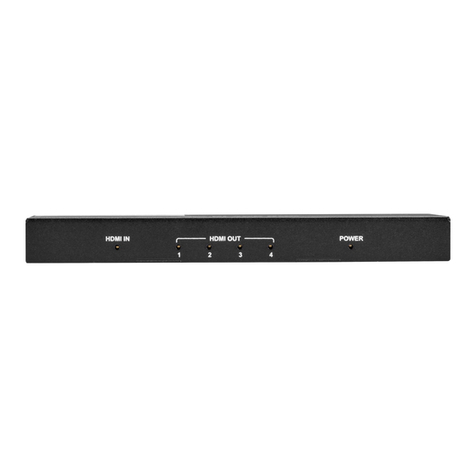
Black Box VSP-HDMI2-1X4 User manual

Black Box

Black Box VSP-HDMI2-1X4 User manual

Black Box Terminated Multimode Fiber Optic Cable User manual

Black Box

Black Box Terminated Multimode Fiber Optic Cable User manual

Black Box PC to Printer Cables User manual

Black Box

Black Box PC to Printer Cables User manual

Black Box MT-RJ Multimode Fiber Optic Cable User manual

Black Box

Black Box MT-RJ Multimode Fiber Optic Cable User manual

Black Box MT243A User manual

Black Box

Black Box MT243A User manual

Black Box VSP-DLDVI1X2 User manual

Black Box

Black Box VSP-DLDVI1X2 User manual

Black Box ME243A-F User manual

Black Box

Black Box ME243A-F User manual

Black Box Fiber Connector Tool Kit User manual

Black Box

Black Box Fiber Connector Tool Kit User manual

Black Box IC149A-R4 User manual

Black Box

Black Box IC149A-R4 User manual

Black Box 26558 User manual

Black Box

Black Box 26558 User manual

Black Box AC074A-R3 User manual

Black Box

Black Box AC074A-R3 User manual

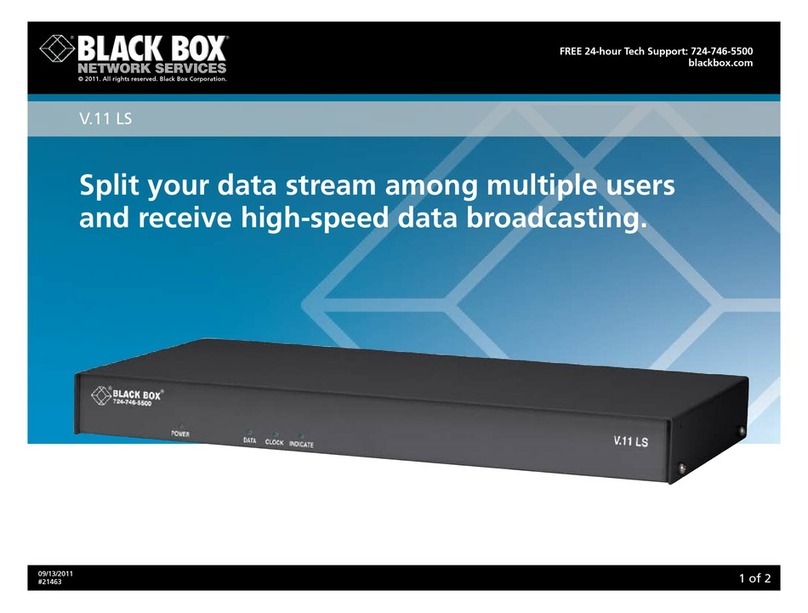
Black Box V.11 LS User manual

Black Box

Black Box V.11 LS User manual

Black Box MD940A-F User manual

Black Box

Black Box MD940A-F User manual

Black Box FA012 User manual

Black Box

Black Box FA012 User manual

Black Box AC043A User manual

Black Box

Black Box AC043A User manual

Black Box CAT3 User manual

Black Box

Black Box CAT3 User manual

Black Box TS220A User manual

Black Box

Black Box TS220A User manual

Black Box AVSP-DVI1X2 User manual

Black Box

Black Box AVSP-DVI1X2 User manual

Black Box TL576A User manual

Black Box

Black Box TL576A User manual

Black Box Ultra2 LVD SCSI Cables and Terminators User manual

Black Box

Black Box Ultra2 LVD SCSI Cables and Terminators User manual

Black Box GigaTrue CAT6 JPM610A-R8 User manual

Black Box

Black Box GigaTrue CAT6 JPM610A-R8 User manual

Black Box MC140A User manual

Black Box

Black Box MC140A User manual

Popular Cables And Connectors manuals by other brands

P.A. SRH10K-24 manual

P.A.

P.A. SRH10K-24 manual

LITEWAY LuxLink OC-1002 operating instructions

LITEWAY

LITEWAY LuxLink OC-1002 operating instructions

JST CN-SAP1190 manual

JST

JST CN-SAP1190 manual

Green Audio HAD 18G user manual

Green Audio

Green Audio HAD 18G user manual

Philips SWV4133W Specifications

Philips

Philips SWV4133W Specifications

HARTING Han 0935 220 0401 Assembly instruction

HARTING

HARTING Han 0935 220 0401 Assembly instruction

Speaka Professional 1331017 operating instructions

Speaka Professional

Speaka Professional 1331017 operating instructions

HY-LINE CLUX-1CAT8H Operation manual

HY-LINE

HY-LINE CLUX-1CAT8H Operation manual

Stihl Smart Connector instruction manual

Stihl

Stihl Smart Connector instruction manual

SATO 8861-90 instruction manual

SATO

SATO 8861-90 instruction manual

ADTRAN 1442200G1 quick start guide

ADTRAN

ADTRAN 1442200G1 quick start guide

FONESTAR FO-552 quick start guide

FONESTAR

FONESTAR FO-552 quick start guide

Converters.TV 15130 Operation manual

Converters.TV

Converters.TV 15130 Operation manual

geratech EGE-6UHD-1410 manual

geratech

geratech EGE-6UHD-1410 manual

Anolis ArcSplitter 4 User instructions

Anolis

Anolis ArcSplitter 4 User instructions

Knoll IR54 installation guide

Knoll

Knoll IR54 installation guide

cable matters 201039 manual

cable matters

cable matters 201039 manual

Schill FT Installation and operating instruction

Schill

Schill FT Installation and operating instruction

manuals.online logo
manuals.online logoBrands
  • About & Mission
  • Contact us
  • Privacy Policy
  • Terms and Conditions

Copyright 2025 Manuals.Online. All Rights Reserved.