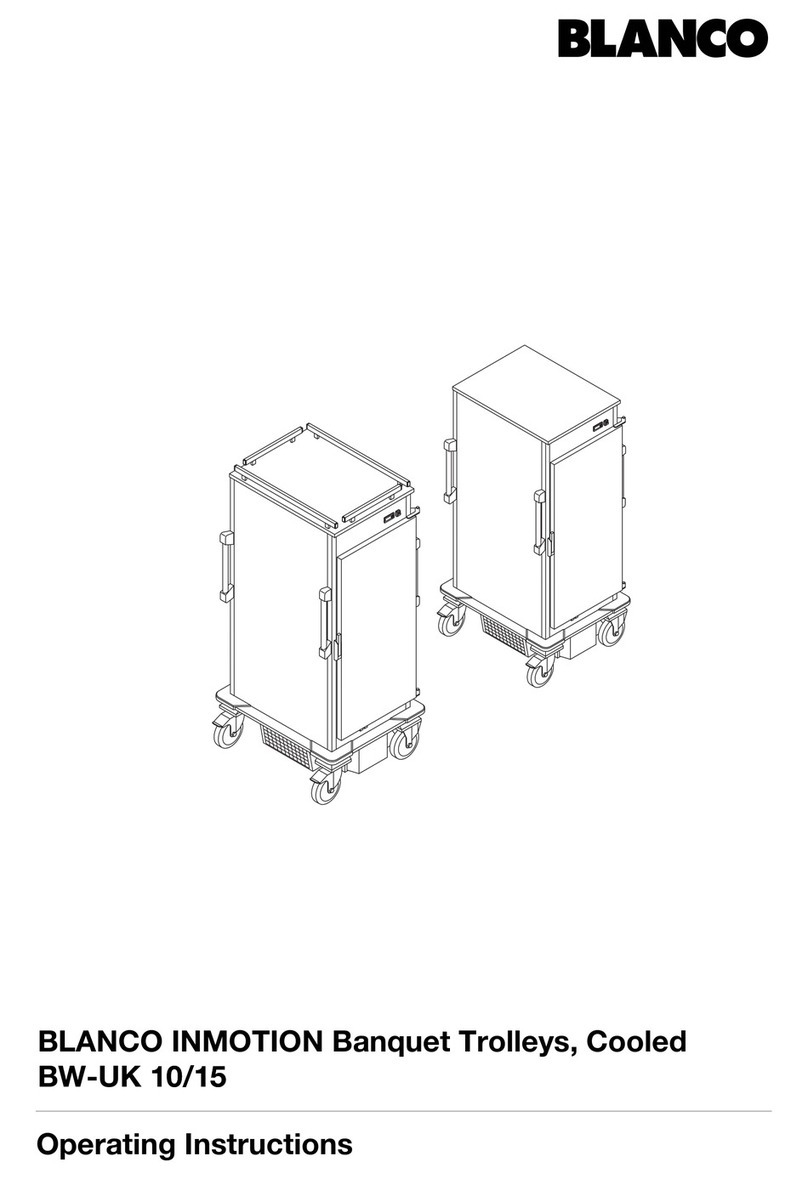
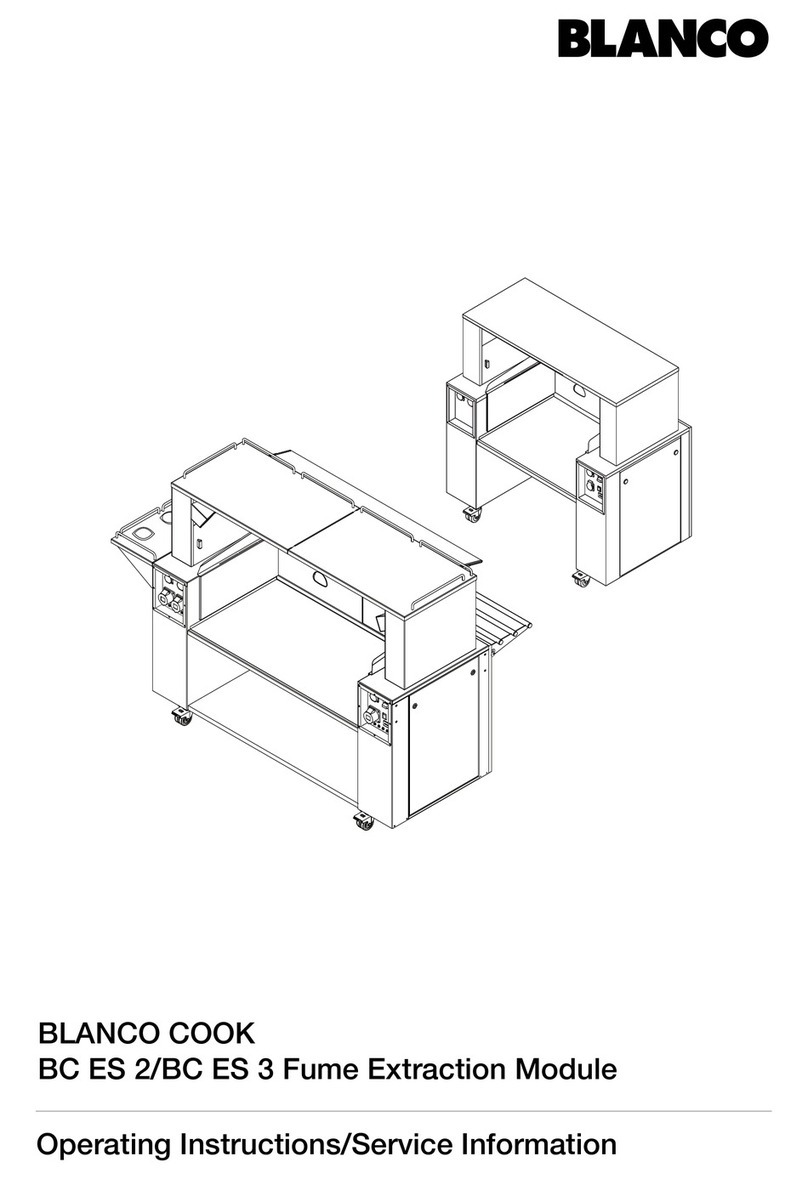
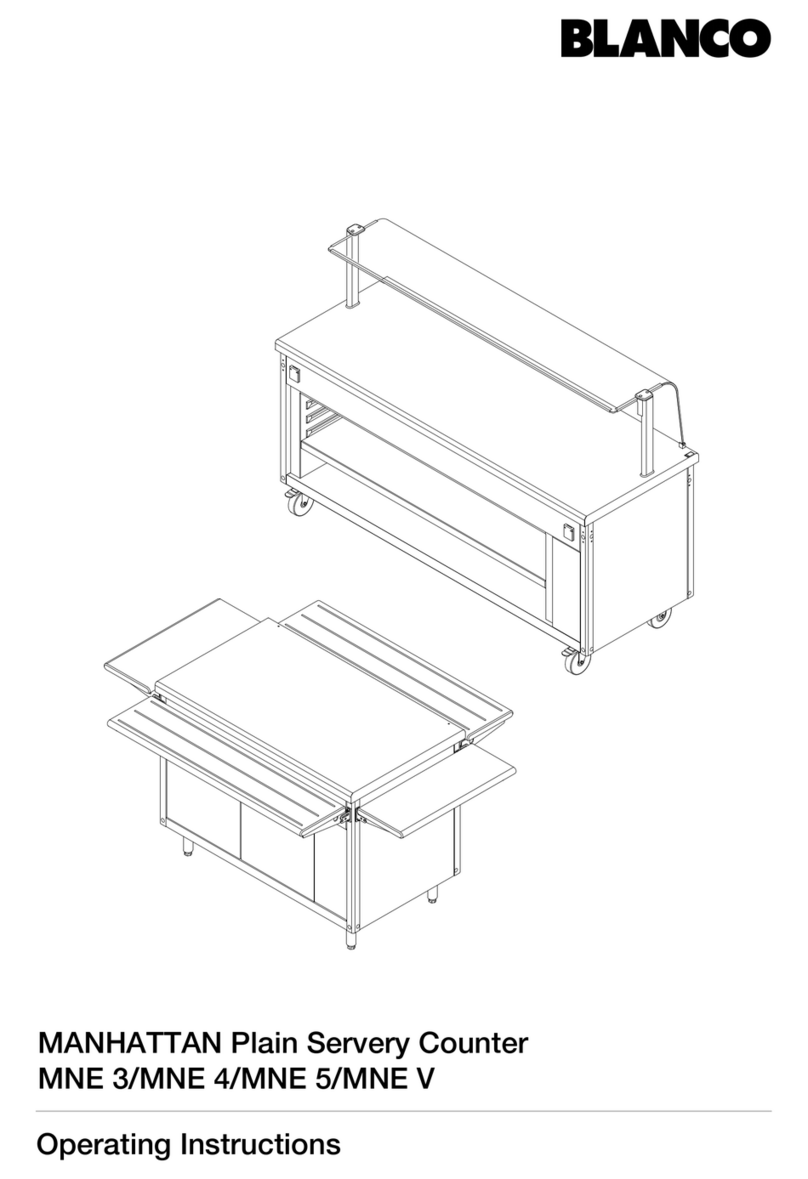
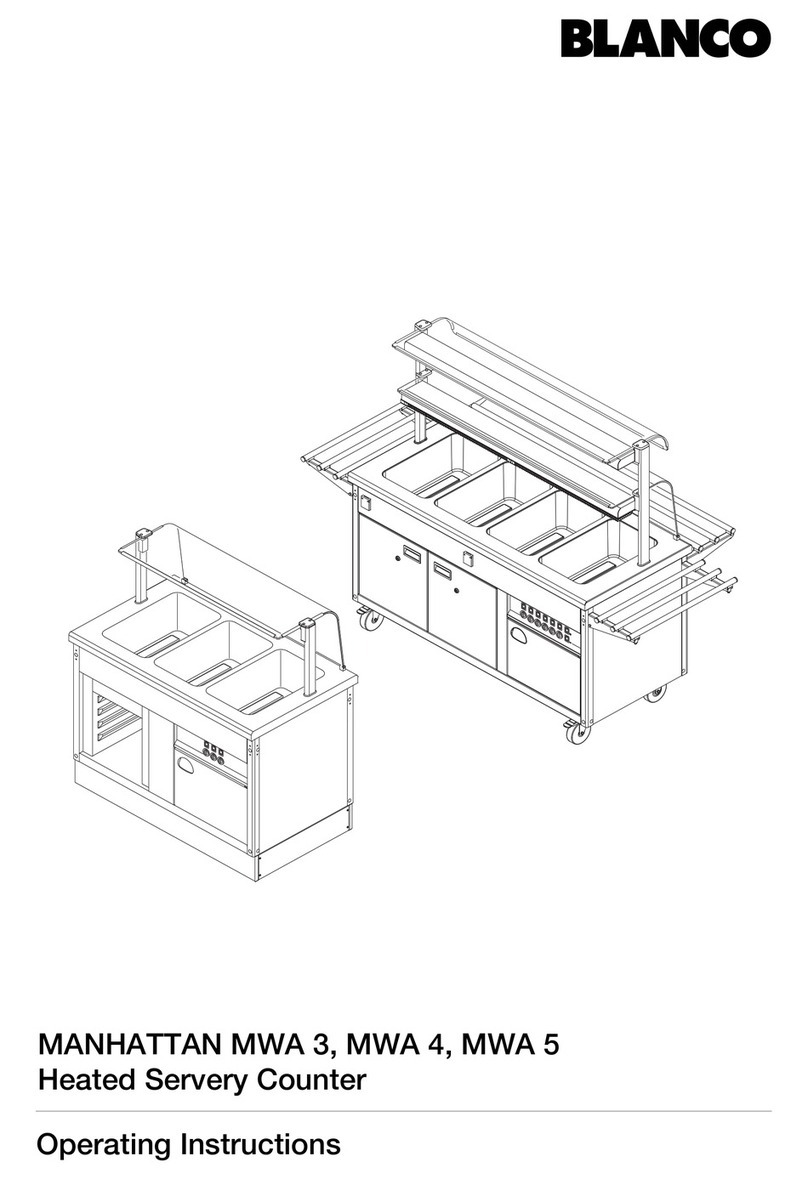
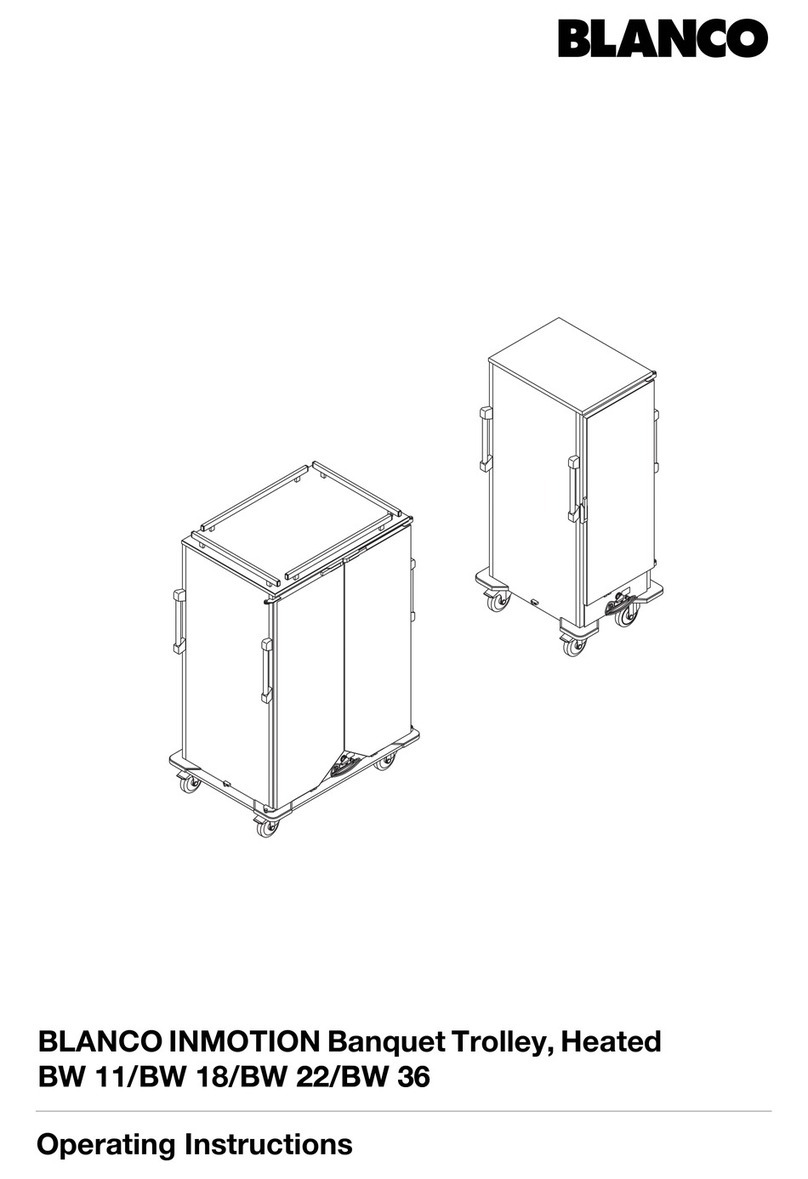
Blanco BW UK 10 User manual

Banquet trolleys, refrigerated
BW UK 10, BW UK 15
Operating Instructions
BA 154 595 -en- 1.0-9/11

Banquet trolleys, refrigerated
General information
Copyright These instructions are protected by copyright. None of this information may
be reproduced, distributed, used to the advantage of our competitors or
made accessible to third parties either completely or in part.
Technical changes Subject to modifications for the purpose of technical improvement.
Product documentation Original operating instructions; Target group: operating personnel, kitchen
directors.
Typographical conventions Important note on special features or special cases.
IExplanatory information in chapters or sections containing instructions.
Cross reference to a chapter, section or external document.
Condition which must be fulfilled before the subsequent steps can be
carried out.
Action or activity which must be carried out.
Unit model XYZ
A section identified in this way applies only to a particular unit model or unit
option.
Warnings
Signal word!
Type and source of danger
Possible consequences of non-compliance with the warnings.
Measure to avoid dangers and the consequences thereof.
The signal word (caution, warning, danger) informs of the level of danger.
Caution warns of possible minor bodily injuries and property damage.
Warning warns of possible serious bodily injuries.
Danger warns of possible extremely severe/fatal bodily injuries.
BA 154 595 -en- 1.0-9/11

Banquet trolleys, refrigerated
Content
About this product Application . . . . . . . . . . . . . . . . . . . . . . . . . . . . . . . . . . . . . . . . . . . . . . . . 1
Conditions of use . . . . . . . . . . . . . . . . . . . . . . . . . . . . . . . . . . . . . . . . . . . 1
Product features . . . . . . . . . . . . . . . . . . . . . . . . . . . . . . . . . . . . . . . . . . . . 1
Standard model . . . . . . . . . . . . . . . . . . . . . . . . . . . . . . . . . . . . . . . . . . . . 2
Options and accessories. . . . . . . . . . . . . . . . . . . . . . . . . . . . . . . . . . . . . . 2
Functional principle Description . . . . . . . . . . . . . . . . . . . . . . . . . . . . . . . . . . . . . . . . . . . . . . . . 2
Safety General information. . . . . . . . . . . . . . . . . . . . . . . . . . . . . . . . . . . . . . . . . . 3
About this product . . . . . . . . . . . . . . . . . . . . . . . . . . . . . . . . . . . . . . . . . . 3
Transport . . . . . . . . . . . . . . . . . . . . . . . . . . . . . . . . . . . . . . . . . . . . . . . . . 3
Initial use. . . . . . . . . . . . . . . . . . . . . . . . . . . . . . . . . . . . . . . . . . . . . . . . . . 4
Operation . . . . . . . . . . . . . . . . . . . . . . . . . . . . . . . . . . . . . . . . . . . . . . . . . 4
Shutting down . . . . . . . . . . . . . . . . . . . . . . . . . . . . . . . . . . . . . . . . . . . . . 6
Cleaning and care. . . . . . . . . . . . . . . . . . . . . . . . . . . . . . . . . . . . . . . . . . . 6
Maintenance . . . . . . . . . . . . . . . . . . . . . . . . . . . . . . . . . . . . . . . . . . . . . . 7
Repairs . . . . . . . . . . . . . . . . . . . . . . . . . . . . . . . . . . . . . . . . . . . . . . . . . . . 7
Standards and guidelines . . . . . . . . . . . . . . . . . . . . . . . . . . . . . . . . . . . . . 7
Product marking . . . . . . . . . . . . . . . . . . . . . . . . . . . . . . . . . . . . . . . . . . . . 7
Transport Checking for/reporting on damage incurred during transportation. . . . . . . 8
Scope of delivery . . . . . . . . . . . . . . . . . . . . . . . . . . . . . . . . . . . . . . . . . . . 8
Unpacking . . . . . . . . . . . . . . . . . . . . . . . . . . . . . . . . . . . . . . . . . . . . . . . . 8
Packaging material disposal . . . . . . . . . . . . . . . . . . . . . . . . . . . . . . . . . . . 8
Overview Unit overview . . . . . . . . . . . . . . . . . . . . . . . . . . . . . . . . . . . . . . . . . . . . . . 9
Temperature control – overview . . . . . . . . . . . . . . . . . . . . . . . . . . . . . . . 10
Initial use Conditions of operation. . . . . . . . . . . . . . . . . . . . . . . . . . . . . . . . . . . . . . 11
Initial cleaning . . . . . . . . . . . . . . . . . . . . . . . . . . . . . . . . . . . . . . . . . . . . . 11
Selecting location . . . . . . . . . . . . . . . . . . . . . . . . . . . . . . . . . . . . . . . . . . 11
Initial use after a long period of disuse. . . . . . . . . . . . . . . . . . . . . . . . . . . 11
Connecting the unit. . . . . . . . . . . . . . . . . . . . . . . . . . . . . . . . . . . . . . . . . 11
Operation Switching refrigeration on and off . . . . . . . . . . . . . . . . . . . . . . . . . . . . . . 13
Setting the setpoint temperature . . . . . . . . . . . . . . . . . . . . . . . . . . . . . . . 14
Locking and unlocking keypad . . . . . . . . . . . . . . . . . . . . . . . . . . . . . . . . 14
Displaying/deleting maximum/minimum temperature . . . . . . . . . . . . . . . 15
Defrosting unit automatically . . . . . . . . . . . . . . . . . . . . . . . . . . . . . . . . . . 16
Starting defrost cycle manually . . . . . . . . . . . . . . . . . . . . . . . . . . . . . . . . 16
Accelerated defrosting of the unit . . . . . . . . . . . . . . . . . . . . . . . . . . . . . . 17
Defrosting the unit by switching off refrigeration . . . . . . . . . . . . . . . . . . . 17
Pre-cooling unit. . . . . . . . . . . . . . . . . . . . . . . . . . . . . . . . . . . . . . . . . . . . 18
Opening a unit door . . . . . . . . . . . . . . . . . . . . . . . . . . . . . . . . . . . . . . . . 18
Locking back the unit door . . . . . . . . . . . . . . . . . . . . . . . . . . . . . . . . . . . 18
Closing the unit door. . . . . . . . . . . . . . . . . . . . . . . . . . . . . . . . . . . . . . . . 19
Turning door lock into transport locking position . . . . . . . . . . . . . . . . . . . 19
Loading the unit . . . . . . . . . . . . . . . . . . . . . . . . . . . . . . . . . . . . . . . . . . . 19
Moving the unit to a new location . . . . . . . . . . . . . . . . . . . . . . . . . . . . . . 20
Traversing ramps, recesses, slanted surfaces . . . . . . . . . . . . . . . . . . . . . 22
Keeping food cool. . . . . . . . . . . . . . . . . . . . . . . . . . . . . . . . . . . . . . . . . . 23
Removing food . . . . . . . . . . . . . . . . . . . . . . . . . . . . . . . . . . . . . . . . . . . . 23
BA 154 595 -en- 1.0-9/11

Banquet trolleys, refrigerated
Shutting down Shutting the unit down . . . . . . . . . . . . . . . . . . . . . . . . . . . . . . . . . . . . . . . 24
Troubleshooting Error messages in the display of the temperature control . . . . . . . . . . . . . 25
Operation indicator LED on On/Off switch does not illuminate . . . . . . . . . 26
Operation indicator LED on On/Off switch illuminates, but unit
does not refrigerate (sufficiently) . . . . . . . . . . . . . . . . . . . . . . . . . . . . . . . . 27
Corrosion of stainless steel parts . . . . . . . . . . . . . . . . . . . . . . . . . . . . . . . 27
The unit has external damage . . . . . . . . . . . . . . . . . . . . . . . . . . . . . . . . . 28
Cleaning and care Stainless steel . . . . . . . . . . . . . . . . . . . . . . . . . . . . . . . . . . . . . . . . . . . . . 29
Cleaning frequency . . . . . . . . . . . . . . . . . . . . . . . . . . . . . . . . . . . . . . . . . 29
Cleaning methods . . . . . . . . . . . . . . . . . . . . . . . . . . . . . . . . . . . . . . . . . . 29
Cleaning agent. . . . . . . . . . . . . . . . . . . . . . . . . . . . . . . . . . . . . . . . . . . . . 29
Cleaning the unit . . . . . . . . . . . . . . . . . . . . . . . . . . . . . . . . . . . . . . . . . . . 30
Removing/installing the air baffle . . . . . . . . . . . . . . . . . . . . . . . . . . . . . . . 31
Emptying condensation-water catch tray . . . . . . . . . . . . . . . . . . . . . . . . . 31
Removing areas of corrosion on stainless steel . . . . . . . . . . . . . . . . . . . . 32
Maintenance Having unit serviced regularly . . . . . . . . . . . . . . . . . . . . . . . . . . . . . . . . . . 33
Having refrigeration unit serviced regularly . . . . . . . . . . . . . . . . . . . . . . . . 33
Inspecting the door seal. . . . . . . . . . . . . . . . . . . . . . . . . . . . . . . . . . . . . . 33
Checking castor brakes . . . . . . . . . . . . . . . . . . . . . . . . . . . . . . . . . . . . . . 33
Having the electrical safety reinspected periodically . . . . . . . . . . . . . . . . . 33
Inspecting the connection cable and mains plug . . . . . . . . . . . . . . . . . . . 33
Having refrigeration system serviced regularly . . . . . . . . . . . . . . . . . . . . . 33
Changing cooling parameters . . . . . . . . . . . . . . . . . . . . . . . . . . . . . . . . . 33
Repairs Authorised persons . . . . . . . . . . . . . . . . . . . . . . . . . . . . . . . . . . . . . . . . . 34
Description of defect . . . . . . . . . . . . . . . . . . . . . . . . . . . . . . . . . . . . . . . . 34
Replacing components . . . . . . . . . . . . . . . . . . . . . . . . . . . . . . . . . . . . . . 34
Spare parts . . . . . . . . . . . . . . . . . . . . . . . . . . . . . . . . . . . . . . . . . . . . . . . 35
Address . . . . . . . . . . . . . . . . . . . . . . . . . . . . . . . . . . . . . . . . . . . . . . . . . . 35
Disposal Disposing of the unit . . . . . . . . . . . . . . . . . . . . . . . . . . . . . . . . . . . . . . . . 35
Technical data General data . . . . . . . . . . . . . . . . . . . . . . . . . . . . . . . . . . . . . . . . . . . . . . 36
Electrical data . . . . . . . . . . . . . . . . . . . . . . . . . . . . . . . . . . . . . . . . . . . . . 36
Environment. . . . . . . . . . . . . . . . . . . . . . . . . . . . . . . . . . . . . . . . . . . . . . . 37
Refrigeration system . . . . . . . . . . . . . . . . . . . . . . . . . . . . . . . . . . . . . . . . 37
Ordering information Banquet trolley BW-UK 10 . . . . . . . . . . . . . . . . . . . . . . . . . . . . . . . . . . . 38
Banquet trolley BW-UK 15 . . . . . . . . . . . . . . . . . . . . . . . . . . . . . . . . . . . 38
Operating Instructions . . . . . . . . . . . . . . . . . . . . . . . . . . . . . . . . . . . . . . 38
Accessories Gastronorm grates, GR 2/1 . . . . . . . . . . . . . . . . . . . . . . . . . . . . . . . . . . . 38
Gastronorm containers . . . . . . . . . . . . . . . . . . . . . . . . . . . . . . . . . . . . . . 38
Cloches . . . . . . . . . . . . . . . . . . . . . . . . . . . . . . . . . . . . . . . . . . . . . . . . . . 38
Plate carriers . . . . . . . . . . . . . . . . . . . . . . . . . . . . . . . . . . . . . . . . . . . . . . 38
BLANCO microfibre cleaning cloth . . . . . . . . . . . . . . . . . . . . . . . . . . . . . . 38
Stainless steel cleaning and care agent BLANCOPOLISH . . . . . . . . . . . . 38
BA 154 595 -en- 1.0-9/11

Banquet trolleys, refrigerated
– 1 –
About this product
Application Fully prepared, pre-portioned food on plates covered with cloches or food in
covered Gastronorm containers is kept cool in the cooled banquet trolley.
The refrigerated banquet trolley is not suitable for cooling down inserted
warm dishes and food.
The storage and transport of flammable goods or those which negatively
affect food are not permissible.
The refrigerated banquet trolley is particularly suitable for catering in social
facilities (clinics, retirement homes, day care centres), hotels, the food service
industry (banquets, party services) and in company catering (canteens, dining
halls).
Conditions of use Surroundings
The refrigerated banquet trolley may be used when the ambient temperature
is between +15 °C and +32 °C and at normal humidity (without moisture
condensation).
Instruction of third parties
If the refrigerated banquet trolley is lent to third parties, these persons must
be instructed in the safe handling of the unit, and possible hazards must be
pointed out.
Product features General information
The refrigerated banquet trolley is made of stainless steel as a standard.
The unit body is double-walled and insulated. The front of the unit is closed
by a double-walled, insulated unit door.
The chassis of the refrigerated banquet trolley with one compartment
consists of four steering castors, two of which have brakes.
The refrigerated banquet trolley is equipped with active convection cooling.
The following banquet trolley models are available:
Banquet trolley BW-UK 10: 10 ledge pairs
Banquet trolley BW-UK 15: 15 ledge pairs
Operation
Vertical push handles allow easy movement of the banquet trolley. All-round
bumper rails protect the unit from damage.
The unit doors have been provided with a self-closing door lock. The doors
can be opened approx. 270° and locked to the exterior sides.
The interior side walls feature support ledges.
Refrigeration is started and ended with the On/Off switch on the front of the
unit.
The refrigeration parameters can be set down to the degree using
temperature regulation with a digital temperature indicator. The operation
indicator in the display of the temperature regulation show the current
operating mode of the unit.
The adjustment range of the temperature regulation lies between –10 °C
(+2 °C optional) and +8 °C.
BA 154 595 -en- 1.0-9/11

Banquet trolleys, refrigerated
– 2 –
Standard model The standard model of the refrigerated banquet trolley features:
Double-walled unit body made of stainless steel
Push-in synthetic profiles for thermal separation of interior and exterior
body
Double-walled hinged door
Door sealing profile(s), all-round and removable
Self-closing door lock with 2-point lock and integrated safety position
Lockable unit door
Either 10 or 15 ledge pairs, depending on the unit model
Space between ledges of 115 mm (BW-UK 10) or 75 mm (BW-UK 15)
2 push handles on each side wall of the unit
All-round bumper rail
4 steering castors, 2 of which have brakes
Castor arrangement "A": castors at the unit corners
Can be regulated down to the degree from –10 °C to +8 °C
Options and accessories The refrigerated banquet trolley is available with the following optional
equipment:
Can be regulated down to the degree from +2 °C to +8 °C
Various castor models and arrangements
Gastronorm containers
Gastronorm grates
Stainless-steel plate carriers
Stainless steel cloche with grip hole
Functional principle
Description The refrigerated banquet trolley is equipped with active convection cooling.
Convection cooling operates based on the following principle:
The evaporator of the refrigeration system extracts heat from the air in the
interior of the unit. An evaporator fan causes the refrigerated air to circulate
through the unit. This functional principle results in:
Quick cooling of the unit interior
Lower cooling temperature possible than with active contact cooling
Even temperature distribution
The unit interior has a drain for condensation water which collects in the
condensation-water catch tray on the exterior.
BA 154 595 -en- 1.0-9/11

Banquet trolleys, refrigerated
– 3 –
Safety
General information The unit has been built using state-of-the-art technology. Accordingly, all the
requirements necessary for safe operation have been fulfilled. Nevertheless,
residual risk does exist when operating the unit. The safety precautions and
warnings in these operating instructions should help you protect yourself
against these sources of danger.
Safety precautions
Thoroughly read and observe the safety precautions in this chapter.
The operator is responsible for observing the safety precautions in these
operating instructions.
Warnings
Observe the warnings with the danger symbol (warning triangle) in the text.
Operating Instructions
These operating instructions must be read carefully prior to initial use.
The operator is responsible for ensuring that all users have read these
instructions before operating the unit for the first time.
Keep these operating instructions in a location which is always accessible to
operating personnel.
About this product Application
The unit may only be used for the applications specified.
The operator is responsible for the appropriate and proper use of the unit.
Conditions of use
The unit may only be operated under the permissible ambient conditions.
Users of the unit must be instructed in its operation and must have
understood these operating instructions.
Transport Upright transport position
Transport the unit in an upright position only.
If the unit was not transported upright, wait 2 hours prior to initial use.
Transporting with a truck or delivery vehicle
The unit may only be transported in a truck or delivery vehicle with a loading
ramp. The loading ramp may not exceed an angle of inclination of 10°.
Transport the unit only with released castor brakes. Secure the unit to prevent
shifting. Only locking the castor brakes is insufficient transport security.
Secure the unit against vertical movement during transport.
Use padded locking bars.
BA 154 595 -en- 1.0-9/11

Banquet trolleys, refrigerated
– 4 –
Initial use Location
Never operate the unit next to equipment which generates large amounts of
steam (e.g. dishwasher). The steam can cause moisture condensation on the
unit.
When the unit is connected to the mains, there is a danger of the moisture
film causing a short-circuit or an electric shock.
Keep the ventilation slits of the refrigeration unit on the underside of the unit
clear. Ensure that there are not any objects between the unit castors.
Blocked ventilation slits can cause the refrigeration unit to overheat and fail.
Initial use after a storage period
When the unit is brought from a cold storage room into a kitchen, moisture
contained in the room air condenses on the surface and inside of the unit.
When the unit is connected to the mains, there is a danger of the moisture
film causing a short-circuit or an electric shock.
Do not operate the unit until it has reached room temperature.
Mains connection
The mains voltage and frequency specified on the rating plate must match the
corresponding values of the mains socket outlet.
The unit may not be used if the insulation on the mains cable or the mains
plug is damaged.
Only unplug by pulling on the mains plug housing.
Operation General information
The user must be aware of the dangers involved with the unit and be able to
assess them.
The unit may only be used by persons whose physical, sensory or mental
abilities are not subject to any restrictions relevant to operating the unit.
The unit may only be used when it is in proper working order.
If the unit is damaged, secure the unit against accidental use and have repairs
carried out immediately by one of the authorised service agencies listed
under Repairs.
Always secure the unit from rolling away by setting the castor brakes. The unit
can cause injury and property damage if allowed to roll away accidentally.
Avoid opening the unit door unnecessarily during refrigeration. Only open the
unit briefly to load or remove food.
Loading
Always cover food on plates with cloches. Always cover Gastronorm
containers containing food with lids.
To prevent shifting of the centre of gravity to the unit top, the unit should
generally be loaded from the bottom up.
When loading with Gastronorm containers, fully load the support ledges, e.g.
with two Gastronorm containers GN 1/1 on each support ledge, so that the
containers cannot slide when changing locations.
BA 154 595 -en- 1.0-9/11

Banquet trolleys, refrigerated
– 5 –
Load-bearing capacities
Do not place objects on the unit top.
The upper weight limits specified in the technical data may not be exceeded
when loading.
Condensation-water catch tray
The unit is equipped with an automatic defroster and a condensation-water
catch tray. Empty the condensation-water catch tray regularly. A danger of
slipping exists if condensation water runs out of the unit onto the floor.
Hygiene regulations
Observe the corresponding food-specific regulations and the properties of
the food when retaining the cold of food.
Danger of children being trapped inside
Ensure that empty banquet trolleys cannot be accessed by children. Children
who climb into empty units cannot free themselves if the unit door is locked
from the outside. Place the empty banquet trolleys with the unit door side
toward the wall or place them in an area inaccessible to children.
Before locking the unit doors, always make sure that there are no children in
the unit.
Change of location
Unplug the mains plug before any change of location. Otherwise, the power
connection cable or the customer-supplied mains socket outlet can be
damaged.
Empty the condensation-water catch tray before a change of location.
Keep unit doors closed while changing its location. Otherwise, grates or
Gastronorm containers can fall out of the unit when it is pushed.
Lock the unit door lock when changing its location.
The unit is to be pushed only, never pulled.
When moving the unit, ensure that persons or objects located in the way of
the unit are not overlooked. If the person pushing the banquet trolley cannot
see over it, a second person must walk in front of the unit when it is being
pushed to allow the unit to be moved safely.
Always push the unit with both hands on the handles on the side of the unit
with the steering castors and castor brakes. Depending on the weight, you
may not be able to slow the unit down quickly enough if you push it with just
one hand.
Be careful not to get your hands caught (danger of being crushed) between
the unit and walls or other objects (e.g. cabinets).
To minimise the danger of damage to the castors, avoid overloading the
castors:
Do not move the unit when the castor brakes are locked
Avoid impacts
Move the unit carefully (without momentum) over thresholds or steps.
If the unit is located on a slanted surface, it must be secured against rolling
away with further measures (e.g. castor chocks) in addition to locking the
castor brakes.
With the doors closed and standing still, the unit can be tilted to an angle up
to 10°. Only slanted surfaces with an incline of <10° may be traversed.
BA 154 595 -en- 1.0-9/11

Banquet trolleys, refrigerated
– 6 –
When being pushed over a slanted surface, the unit can swerve sideways.
Two people (one at each side of the unit) are required to move the unit over
ramps or recesses.
Shutting down Unplugging the mains plug
Insert and remove mains plug only while the unit is switched off, as the unit
electronics can otherwise be damaged.
Only unplug the mains plug by pulling on the mains plug housing.
Cleaning and care Mains plug
Unplug the mains plug before cleaning the unit. Water penetrating into the
unit can cause a short-circuit. If this happens, there is a risk of electric shock.
Hygiene
The provisions of the hygiene guidelines 93/43/EEC as well as your national
hygiene regulations must be observed.
The unit fulfils the requirements of the hygienic design HS.
Cleaning frequency
Clean the unit thoroughly after each use.
The unit is equipped with an automatic defroster and a condensation-water
catch tray. The condensation-water catch tray must be emptied manually
after each use.
Cleaning method
Use only approved cleaning methods.
Do not use steam jet units, high-pressure cleaners, water sprayers or similar
cleaning devices.
General information on cleaning agents
Do not use metal parts for cleaning. Metal parts can damage the unit and/or
lead to corrosion.
Do not use pointed or sharp objects for cleaning. They can damage the unit.
Do not use scouring agents. Scouring agents scratch the surface.
Cleaning agents for synthetic parts
Do not use scouring agents. Scouring agents scratch the surface.
Do not use the following cleaning agents or cleaning agents containing the
following substances (damage to material!):
Ethyl alcohol, isopropyl alcohol and higher alcohols
Acetone
Benzene
Turpentine
Acetic ester
Cleaning water
Thoroughly dry the unit after cleaning. Remove cleaning water from the floor
of the unit interior.
A danger of slipping exists if cleaning water runs out onto the floor during or
after cleaning.
Completely wipe up water which reaches the floor.
BA 154 595 -en- 1.0-9/11

Banquet trolleys, refrigerated
– 7 –
Maintenance Periodical electrical safety inspection
At least once every six months, have the unit reinspected for electrical safety
by a professional electrician in accordance with the DIN VDE 0701-0702
series of standards.
Connection cable and mains plug
At least once every six months, check the connection cable and mains plug
for mechanical damage and signs of excessive deterioration in accordance
with BGV A 3 or the corresponding national regulations.
Castor brake
Regularly check the effectiveness of the castor brakes.
If locking is insufficient, have the defective castor(s) replaced immediately by
one of the service centres listed under Repairs.
Unit doors
Check the door seal for damage and excessive deterioration after each
cleaning (visual inspection).
Repairs Authorised persons
The unit may only be repaired by the following service centres:
In-house, BLANCO-trained professional
External, BLANCO-trained customer service
BLANCO Service
For repairs to the refrigeration system: contact a specialist refrigeration
company
Repairs during the warranty period must be reported to BLANCO and
approved by BLANCO before being carried out.
The warranty will be voided if the unit is repaired by anyone else or without
authorisation.
Replacing components of the unit electrical system
Components of the unit electrical system (e.g. switches, power cable, etc.)
may only be replaced by qualified personnel (e.g. a professional electrician),
and only parts with the same specifications may be used.
Standards and guidelines Observe the valid standards, guidelines and safety regulations.
The operator is responsible for compliance with the valid standards,
guidelines and safety regulations.
Product marking The unit is provided with a rating plate. The warranty is voided if the rating
plate is removed.
BA 154 595 -en- 1.0-9/11

Banquet trolleys, refrigerated
– 8 –
Transport
Checking for/reporting on
damage incurred during
transportation
It is imperative that the unit be checked immediately after delivery for
damage incurred during transportation (visual inspection).
Document (description of defect) any damage incurred during transport
on the waybill in the presence of the carrier.
Have the carrier confirm the damage (signature).
Retain the unit and notify BLANCO of the damage, enclosing the waybill.
– or –
Do not accept the unit and return it to BLANCO via the carrier.
This procedure will ensure correct processing of claims. Transport
damage reported later has to be proven accordingly by the receiver of the
unit.
Scope of delivery
(1) Banquet trolley, refrigerated
(2) Operating Instructions
(3) Instructions for temperature control
The exact scope of delivery and the unit model can be found in the delivery
documentation.
Unpacking Open the transport packaging at the places provided. Do not rip or cut it!
Check the scope of delivery.
Packaging material
disposal The packaging materials are recyclable.
Recycle packaging materials in a proper, environmentally sound manner
in accordance with the applicable statutory requirements.
dixell XR60CX
Kühlstellenregler
Programmieranleitung
Bankettwagen, gekühlt
BW UK 10, BW UK 15
Betriebsanleitung
1
2
3
BA 154 595 -en- 1.0-9/11

Banquet trolleys, refrigerated
– 9 –
Overview
Unit overview
(1) Unit door, locked at side wall
(2) Push handle
(3) Support ledge
(4) Mains plug and mains plug holder
(5) Air baffle
(6) Power cable
(7) Steering castor with castor brake
(8) Temperature control
(9) On/Off switch
(10) Castor brake
(11) Steering castor
(12) Bumper rail
(13) Condensation-water catch tray
89
2
3
7
6
1
11
10
12
4
5
13
BA 154 595 -en- 1.0-9/11

Banquet trolleys, refrigerated
– 10 –
Temperature control – overview
(1) Temperature indicator:
Actual temperature, setpoint temperature, minimal temperature,
maximal temperature, information messages.
(2) Temperature scale indicator:
displays the temperature scale, flashes during the programming phase
(3) "UP" button: increase parameter value
(4) "DOWN" button: decrease parameter value
(5) "Switch refrigeration On/Off" button: without function
(6) "Alarm" operation indicator
(7) "SET" button: displays or changes setpoint temperature.
(8) "Defrost" button: start manual defrosting
(9) "Light" button: not activated
(10) "Defrost ON" operation indicator
(11) "Refrigeration ON" operation indicator
(12) "Ventilation ON" operation indicator:
The "Refrigeration ON" operation indicator illuminates as long as
refrigeration is switched on, i.e. the refrigeration unit is in operation. If the
"Refrigeration ON" operation indicator is flashing, it signalises the
refrigeration unit is restarting after the minimum downtime has elapsed.
The "Defrost ON" operation indicator illuminates as long as a defrost
cycle is active.
The "Defrost ON"operation indicator flashes during the drainage time
after defrosting.
The "Defrost ON" operation indicator illuminates as long as the fan is
switched on.
The "Alarm" operation indicator illuminates as soon as the unit door
remains open longer than 1 minute before being closed or until the
temperature is within the control range again if a temperature above or
below the control range is registered for an extended period.
1 210 11 12
9
8
75
4
3
6
BA 154 595 -en- 1.0-9/11

Banquet trolleys, refrigerated
– 11 –
Initial use
Conditions of operation Protective film removed from unit body
Unit has reached room temperature and is dry
The unit is clean
Unit and mains plug have no known defects or visible damage
Castor brakes locked
The unit is switched off
Initial cleaning IAfter delivery, initial cleaning of the unit must be carried out.
Remove all cardboard, protective paper layers, film and adhesive tape.
Clean surfaces with suitable cleaning agents.
Chapter "Cleaning and care" on page 29.
Selecting location To ensure the best possible refrigeration of the food, note the following
points when selecting where to place the unit:
Operate the unit far away from possible heat sources (such as
radiators, ovens, sunlight).
Operate the unit far away from equipment which generates large
amounts of steam (e.g. dishwasher).
Initial use after a long period of
disuse Before initial use after a long period of disuse, the unit must be cleaned
and various inspections must be carried out.
Cleaning
Thoroughly clean the unit
Chapter "Cleaning and care" on page 29.
Safety inspection
Have the electrical safety reinspected in accordance with the DIN VDE
0700-0701 series of standards.
Check the connection cable and mains plug for mechanical damage and
excessive deterioration.
In case of defect, secure the unit against accidental use and notify one of
the service centres listed under "Repairs":
Section "Authorised persons" on page 34.
Functional testing
Check the function of castors, castor brakes, doors, door locks, door
seals and handles.
Chuck the function of the refrigeration system.
In case of defect, secure the unit against accidental use and notify one of
the service centres listed under "Repairs":
Section "Authorised persons" on page 34.
BA 154 595 -en- 1.0-9/11

Banquet trolleys, refrigerated
– 12 –
Connecting the unit If transported upright as specified, the unit can be started up
immediately. If the unit was transported in another position, e.g. at an
extreme angle, wait 2 hours before connecting the unit to the power
supply.
The unit is switched off
Caution!
Damage to the unit electronics!
If the unit is not rated for the mains voltage or frequency which is available,
the unit electronics may suffer permanent damage.
Before connecting, ensure that the mains voltage and frequency listed on
the rating plate match the corresponding values of the mains socket
outlet.
Move the unit into its designated location and lock the castor brakes.
Section "Moving the unit to a new location" on page 20.
Ensure that the ventilation slits of the refrigeration unit in the underside of
the unit are not covered by anything (unimpeded air outlet).
Make sure that the condensation-water catch tray is pushed into the
opening on the unit exterior.
Before initial use, make sure the unit interior is in an absolutely hygiene
condition.
Remove the mains plug from the mains plug holder (1.) and plug it into
the socket outlet (3.). In doing so, make sure that the cable is guided
below the lower door hinge (2.).
3.
1.
2.
BA 154 595 -en- 1.0-9/11

Banquet trolleys, refrigerated
– 13 –
Operation
Switching refrigeration on and off The temperature control is only functional if refrigeration is activated.
The "Refrigeration ON" operation indicator illuminates while the
refrigeration unit is running. As soon as the set setpoint temperature is
reached, the refrigeration unit switches off until the actual temperature
has risen by a preset amount. The "Refrigeration ON" operation indicator
goes out during this time. The evaporator fan is still in operation.
The evaporator fan circulates the air inside the unit over the fins of the
refrigerant evaporator. When refrigeration has been switched on, the
evaporator fan starts after a switch-on delay of approx. 1 minute has
elapsed. Operation of the evaporator fan is interrupted if the door is
opened for longer than 1 minute or defrosting is active.
Switching on refrigeration
Unit connected to power supply
Start refrigeration with the On/Off switch.
The operation indicator LED illuminates.
"888" appears briefly in the display of the temperature regulation.
The current actual temperature inside the unit is then displayed.
The temperature in the unit interior is lowered depending on the set
setpoint temperature.
Switching off refrigeration
End refrigeration with the On/Off switch.
The operation indicator LED of the On/Off switch goes out.
BA 154 595 -en- 1.0-9/11

Banquet trolleys, refrigerated
– 14 –
Setting the setpoint temperature If refrigeration is switched on, the actual temperature in the unit interior
appears in the display of the temperature control.
The setpoint temperature is set to +2 °C at the factory. If a temperature
is set which is too low, it results in continuous operation of the
refrigeration unit (as also happens when the ambient temperature is too
high). Possible consequences:
Increased icing on the evaporator
Frequent defrosting necessary
Longer defrosting period necessary
Increased energy consumption
Displaying setpoint temperature
Unit connected to power supply
Refrigeration switched on (The operation indicator LED of the On/Off
switch illuminates)
The display shows the actual temperature
Briefly press the "SET" button.
Setpoint temperature is displayed. The actual temperature reappears in
the display after approx. 5 seconds or if the "SET" button is briefly
pressed again.
Changing the setpoint temperature
Unit connected to power supply
Refrigeration switched on (The operation indicator LED of the On/Off
switch illuminates)
Press and hold the "SET" button for at least 2 seconds.
The setpoint temperature is displayed. The display °C flashes.
Use the "UP" button to increase the setpoint temperature.
– or –
Use the "DOWN" button to reduce the setpoint temperature.
If the "UP" or "DOWN" buttons remain pressed, the temperature setting
changes continuously. The rate of change is increased when the "UP"
or "DOWN" button is pressed for a longer period of time.
To save the changed setpoint temperature, press the "SET" button
briefly.
– or –
Wait approx. 15 seconds.
The setpoint temperature is saved.
The actual temperature is displayed.
BA 154 595 -en- 1.0-9/11

Banquet trolleys, refrigerated
– 15 –
Locking and unlocking keypad Locking keypad
The keypad lock protects against unauthorised access to temperature
control, e.g. change to the setpoint temperature.
Only the following functions can be executed when the keypad is locked:
Displaying setpoint temperature
Displaying minimum temperature
Displaying maximum temperature
Press and hold both buttons of the button rocker "Up/Down arrow" for
approx. 3 seconds.
"PoF" flashes in the display.
Release both buttons.
The keypad is locked, and the actual temperature is indicated in the
display.
If you try to call up a locked function, "PoF" flashes in the display.
Unlocking keypad
Press and hold both buttons of the button rocker "Up/Down arrow" for
approx. 3 seconds.
"Pon" flashes in the display.
Release both buttons.
The keypad is unlocked, and the actual temperature is indicated in the
display.
Displaying/deleting maximum/
minimum temperature
IThe temperature control saves the maximum and minimum measured
actual temperature.
Display saved maximum temperature
Display of the temperature control displays the actual temperature
Press the "UP" button
"Hi" appears in the display, followed by the highest measured
temperature.
To return to the display of the actual temperature, press the "UP" button
again.
– or –
Wait approx. 5 seconds
Display saved minimum temperature
Display of the temperature control displays the actual temperature
Press the "DOWN" button
"Lo" appears in the display, followed by the lowest measured
temperature.
To return to the display of the actual temperature, press the "DOWN"
button again.
– or –
Wait approx. 5 seconds
BA 154 595 -en- 1.0-9/11

Banquet trolleys, refrigerated
– 16 –
Delete minimum/maximum temperature memory
Call up saved minimum temperature
– or –
Call up saved maximum temperature
Press and hold the "SET" button.
"rST" appears in the display.
"rST" flashes in the display after approx. 5 seconds.
The memory of the selected temperature is deleted.
Defrosting unit automatically The unit defrosts automatically cyclically. Additional manual defrosting is
only necessary if the actual temperature increasingly deviates upward
from the set setpoint temperature.
Caution!
Danger of slipping
There is a danger of slipping if the resulting condensation water runs out onto
the floor during defrosting.
Empty the condensation-water catch tray regularly to avoid overflowing.
Section "Emptying condensation-water catch tray" on page 31.
Completely wipe up any condensation water which has run out.
Starting defrost cycle manually Manual defrosting is only necessary if the actual temperature increasingly
deviates upward from the set setpoint temperature.
Usually it will suffice to allow the unit to defrost briefly by starting manual
defrosting. It may occasionally be necessary to defrost the unit with
accelerated defrosting or by switching off refrigeration for at least 24
hours.
No food to be refrigerated in the unit
Caution!
Danger of slipping
There is a danger of slipping if the resulting condensation water runs out onto
the floor during defrosting.
Empty the condensation-water catch tray regularly to avoid overflowing.
Section "Emptying condensation-water catch tray" on page 31.
Completely wipe up any condensation water which has run out.
To start defrosting manually, press the "Defrost" button for approx. 2
seconds.
Refrigeration is stopped and defrosting starts.
The "Defrost ON" operation indicator appears in the display.
IManual defrosting can be cancelled by switching refrigeration off and
then on again.
IAfter the preset time for manual defrosting has elapsed, the unit
automatically switches back to refrigeration. Defrosting has now been
completed.
If defrosting does not resolve the problem (indication described above is
still present), the unit must be defrosted in another way.
BA 154 595 -en- 1.0-9/11
This manual suits for next models
3
Table of contents
Other Blanco Commercial Food Equipment manuals

Blanco
Blanco INMOTION TTW-FPK 16-105 DSZE User manual

Blanco
Blanco MANHATTAN MNE 3 User manual

Blanco
Blanco Cook BC ES 2 User manual

Blanco
Blanco MANHATTAN MWA 3 User manual

Blanco
Blanco INMOTION TTW-F 16-105 DBZE User manual

Blanco
Blanco INMOTION BW-UK 10 User manual

Blanco
Blanco INMOTION BW 11 User manual

Blanco
Blanco INMOTION TTW-F 16-105 ESZE User manual

Blanco
Blanco BLANCOTHERM 320 KB User manual