BLUEFIN Fitness 4D Vibration Plate User manual
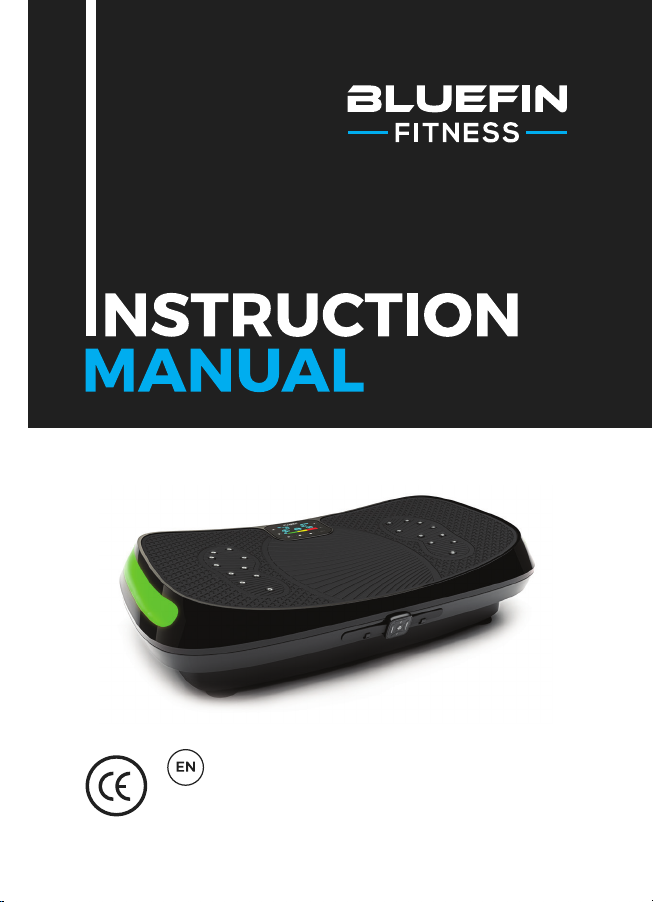
For use with BLUEFIN FITNESS 4D Vibration Plate


WHAT’S IN
THE BOX?
1 x Bluefin 4D Vibration Plate
1 x Bluefin Foam Mat
1 x Wearable Remote Control
1 x US Power Cable
1 x Instruction Manual
1 x Workout + Nutrition Guide
1 x Exercise Poster
1 x Pair of Resistance Cords
Using Accessories:
Your 4D plate comes with 2 bungee cables (resistance cords) for use in
upper body exercises in conjunction with the plate. Attach the silver clips
on the bungees to the corresponding brackets on either side of the bottom
of the plate. Do not attempt to attach or detach accessories from the plate
while in use.

Unbox your Bluefin 4D Vibration Plate and place it on top of its foam mat on
a flat, hard surface. If the surface is slightly uneven, adjust the feet under
the plate by turning them counter clockwise. If you live in an apartment
building we recommend placing the Bluefin Foam Mat (included) beneath
the plate to absorb any noise. Bluefin fitness plates are quiet but all
vibration plates do make at least some noise.
Insert the power cable into the back of the plate and plug the other end into
an electrical outlet. Make sure the plate is close enough to the electrical
outlet that the cord is not stretched. Ensure that the power switch on
the back of the plate next to the power cable is turned on. If the switch is
illuminated, the machine is on. When not in use, turn the machine off and
ensure that this button is not illuminated.
Familiarise yourself with the the screen and remote before stepping onto
the plate. Place your feet evenly on either side of the plate for the ideal
stance and best balance. Please be sure to step onto the 4D plate slowly and
carefully before starting any workout setting. We recommend beginning with
speeds below 15 in manual mode before moving to higher speeds or the
programmed functions.
Your wearable remote comes with a battery. To replace it, slip the remote
control out of the wearable strap and open the back. Insert 1 x Lithium
CR2032 battery inside. Be sure to replace the back cover and click it into
place before putting the remote in its strap.
GETTING
STARTED CONTROLS

Your 4D vibration plate can be controlled with either the touch screen panel or the weara-
ble remote control. There are 7 manual settings and 3 programmed settings (P1, P2, P3).
The maximum duration of each setting is 10 minutes. Before beginning a workout you
can adjust the time to less than 10 minutes when using manual settings only. You can not
exceed 10 minutes at any point on either manual or programmed options.
Once the workout has begun on either manual or programmed functions, the time can
not be changed. You can stop the workout at anytime by pressing the power button at the
center of your remote control or on the plate’s control panel.
Speed can be increased or decreased mid workout when using the manual functions. Use
the speed buttons on either side of the remote control or the arrow buttons on the left of
the control panel.
You may find it easier to wear the remote control on your wrist rather than attempting to
bend down mid workout at vigorous speed.
CONTROLS

Operating Your Vibration Plate:
Operate your 4D vibration plate with either the control screen on the plate or the wearable
remote control. The control screen displays the workout setting in use, the duration of
your workout in minutes, estimated calories used and the speed of the machine. Speeds
begin at 0 and reach a maximum of 30.
Use the program button on the screen to cycle through programmed options P1, P2,
P3. The Auto Mode button on the remote control corresponds to these, press it to cycle
through the same 3 settings.
To use any of the 7 manual options, press the manual button towards the bottom of
the control panel until the desired setting is reached. The Manual Mode button on the
remote control corresponds to the same 7 options and can be pressed to scroll between
them. Just count the number of clicks and refer to the images on the control screen. For
example, 5 clicks corresponds to Manual setting 5 using either the control screen or the
remote control.
Once you’ve scrolled to the desired workout, use the “On” button on the right hand side of
the screen to begin. Use the same button to end it if you’d like to finish early.
When using manual settings, speed can be increased or decreased by pressing the
speed buttons but time cannot be adjusted. Neither speed or time can be adjusted in
programmed settings P1 through P3.
You will notice the lights on the control screen and the side of the plate change from green
to orange to red. This is a visual cue to let you know what intensity your workout is with
green the easiest, orange medium and red the most challenging.
CONTROLS

CONTROLS
Manual Workouts:
Use the manual settings to exercise with one kind of movement or
combination of movements for the duration of your workout. Manual settings
4 through 6 offer combinations of movements which occur in unison rather
than cyclically. Each manual setting can be used at a speed of 1 to 30, 30
being the most intense.
Keep in mind that sustaining use of these settings at high intensities for
a full 10 minute workout can be extremely strenuous without breaks. We
recommend you build intensity and duration slowly and do not progress until
you are comfortable.
Primary Manual Motions:
These 3 settings comprise the plate’s primary motions and are the building
blocks of every workout. Use them to familiarise yourself with new types
of motion before proceeding to the manual combination settings or
Programmed settings.
Manual 1 - Linear Vibration
Linear settings are great for challenging stability. Flinch and release
your core when using this setting to add a new dimension to your
workout. This is a medium intensity setting and is excellent for building
a fitness and stability base.
WORKOUT
SETTINGS
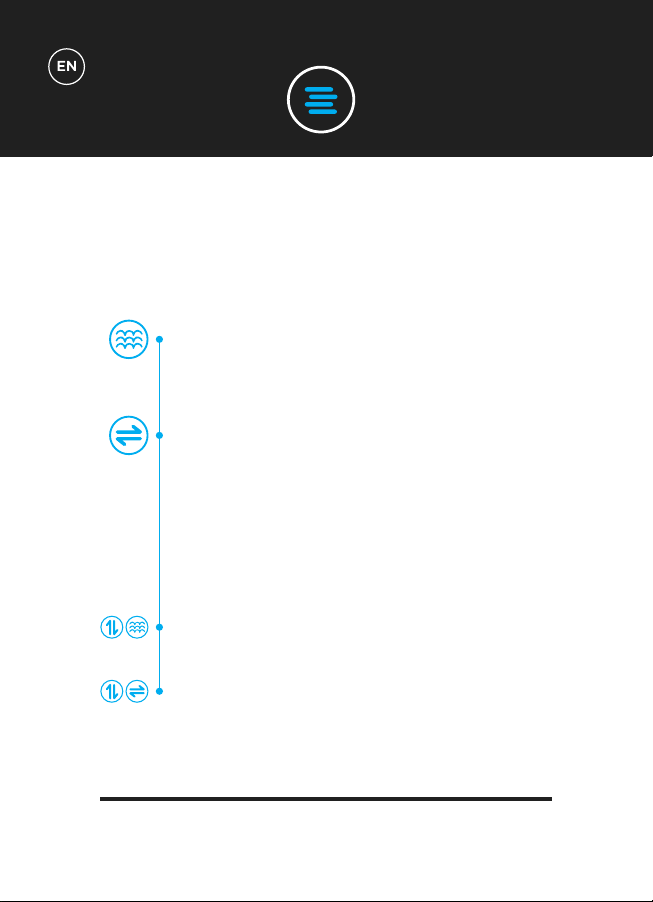
Manual 2 - Micro Oscillation
This setting is excellent at low speeds for a gentle massage or at
higher speeds for vigorous stimulation. We recommend stepping on the
metallic pressure beads with bare feet for the best massage. This is
the most mild setting.
Manual 3 - Horizontal Oscillation
Of the 3 primary motions in isolation, this is the most intense. Begin
use of this setting on lower speeds under 15 and work up to higher
speeds gradually. This mode will challenge your balance in new ways,
flinching and releasing your leg muscles will increase the intensity
further. This is the most difficult setting.
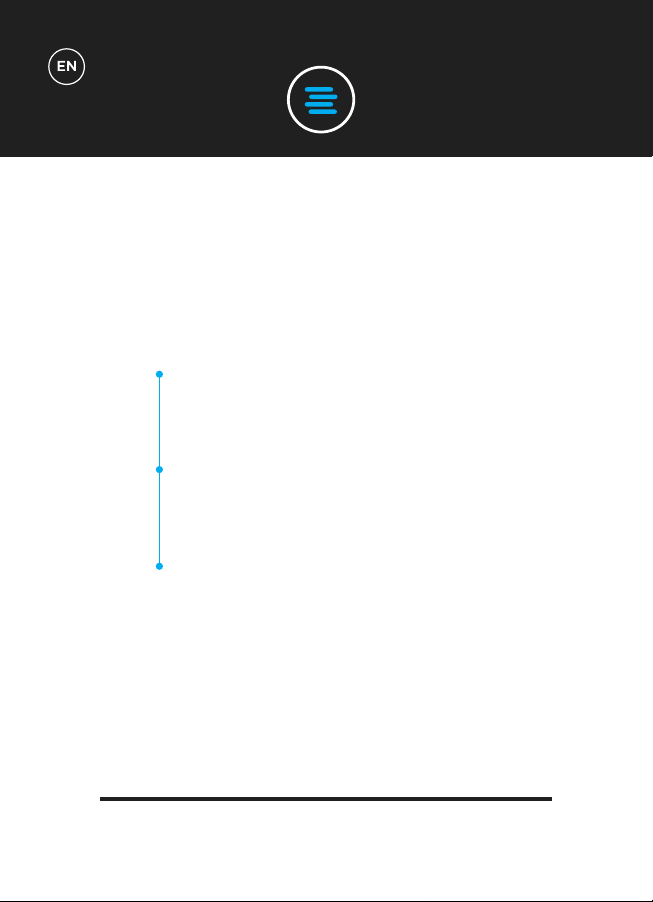
Manual Combination Settings:
Combinations of the plates primary 3 motions designed to challenge
your body in new and unfamiliar ways.
Manual 4 - Micro Oscillation + Linear Vibration
Combines our gentle and medium manual motions to produce an
interesting linear movement with micro oscillations.
Manual 5 - Linear + Horizontal Oscillation
The 3D setting will challenge you on both horizontal and linear planes.
Familiarize yourself with speeds under 15 before gradually increasing.
WORKOUT
SETTINGS

Manual 6 - Micro Vibration + Horizontal Oscillation
This unique setting will stimulate your muscles while challenging your
stability.
Manual 7 - 4D Mode Linear Vibration + Horizontal Oscillation + Micro
Vibration
Our most intense workout setting, 4D combines all 3 of the plate’s
primary movements for extremely challenging exercise. We
recommend using this at lower speeds corresponding to the green
lights on your plate.
WORKOUT
SETTINGS
Programmed Workouts:
30 second intervals of manual 1, 2 and 4.
Intensity: Medium
This workout focuses on primarily linear movements and has been
designed to challenge your stability. Focus on flinching and relaxing
your core to add extra dimension to your exercise.
30 second intervals of manual 3, 1 and 5.
Intensity: High
Our highest intensity programmed setting will keep your body guessing
with Linear vibration, horizontal oscillation and a combination of both
for 3D motion.
30 second intervals of manual settings 2, 3 and 6.
Intensity: Mild
This program combines horizontal oscillation and micro vibration for
a mild workout that is still challenging. Although it may be the lowest
intensity of the programmed options, it is still a dynamic workout and
you should be sure that you are comfortable with the primary manual
movements before attempting it.
WORKOUT
SETTINGS
P1
P2
P3
BLUETOOTH

BLUETOOTH
1
2
3
Ensure your device has Bluetooth
turned on and the device is ‘discov-
erable’.
Turn your Bluefin Vibration Plate
‘ON’. The Bluetooth module stimply
turns on once the Vibration Plate
has powered up.
The Vibration Plate will now appear
in the Bluetooth devices list on
your phone or tablet. You are now
connected to the Vibration Plate and
are ready to go!
ZZ
CONTROL YOUR MUSIC & VOLUME
DIRECTLY FROM YOUR DEVICE!

The footplate of your 4D vibration plate comes with Magnetic Massage Beads. These
beads are optimally placed to stimulate the soles of your feet for an added massage
while exercising on your plate. If you’re not in the mood to exercise, just sit on a
chair and rest your bare feet on the plate for a gentle massage. Using your plate
for massage can be very soothing for sore muscles and joints. The If the magnetic
beads are too stimulating for you, we recommend wearing shoes or slippers when
you exercise.
Bluefin’s Foam Mat has been included with the 4D plate to help absorb any
vibrations from the machine which may otherwise reverberate through the floor. This
is particularly useful for those of you exercising in apartment buildings. You can also
use the mat as extra padding to perform any other workouts you choose on the floor.
Your 4D plate comes with Resistance Cords for use in upper body exercises in
conjunction with the plate. Attach the the cable by looping it through the metal
rings on either side of the bottom of the plate. Do not attempt to attach or detach
accessories from the plate while in use.
The Workout and Nutrition Guide has been carefully designed by a dietary and
fitness expert to give you ideas for healthy, delicious meals to compliment your new
exercise regimen. Flip through the guide for inspiration when you’d like to prepare
a tasty meal with your waistline in mind. You can also refer to the guide for workout
scheduling and programming inspiration.
As a bonus, a Bluefin Exercise Poster has been included with your plate. Use this
poster for tutorials to help you implement the plans in your exercise guide.
USING
ACCESSORIES TECH
SPECS

TECH
SPECS
MOTOR
FUNCTIONS
POWER REQUIRED
LEVELS
PROGRAMS
MANUAL FUNCTION
USER WEIGHT
UNIT WEIGHT
WARRANTY
3 x Motors
4D: Oscillation, Vibration, Massage
AC 100-240v / 50-60Hz
30 levels
3 built in programs
Variable levels & variable time control
Maximum: 330 lbs
42 lbs
Lifetime Motor Warranty

WARRANTY
General wear and marks from use.
Water damage.
Damage due to impromper use.
Chassis damage and scratching due to impromper use or dropping.
Electronic damage due to impromper use or dropping.
The Bluefin warranty covers any technical faults with your item. If you need to make
a warranty claim contact us via email at support@bluefintrading.co.uk
Your warranty begins on receipt of delivery, technical faults are covered for 12
months and the motor is covered for life!
If you have any questions regarding your warranty please email us at:
support@bluefintrading.co.uk
Your warranty does not cover the following:
LIFETIME MOTOR WARRANTY

WARRANTY

support@bluefintrading.co.uk
www.bluefinfitness.com
Other manuals for 4D Vibration Plate
1
Table of contents
Other BLUEFIN Fitness Fitness Equipment manuals

BLUEFIN Fitness
BLUEFIN Fitness BLADE AIR User manual

BLUEFIN Fitness
BLUEFIN Fitness suuv User manual

BLUEFIN Fitness
BLUEFIN Fitness Blade Aqua W-1 User manual

BLUEFIN Fitness
BLUEFIN Fitness 4D Vibration Plate User manual

BLUEFIN Fitness
BLUEFIN Fitness CURV MiNI User manual

BLUEFIN Fitness
BLUEFIN Fitness Ultra Slim User manual

BLUEFIN Fitness
BLUEFIN Fitness Weights Bench User manual

BLUEFIN Fitness
BLUEFIN Fitness Lift User manual

BLUEFIN Fitness
BLUEFIN Fitness DRUM T-1 User manual

BLUEFIN Fitness
BLUEFIN Fitness BLADE AQUA M-1 User manual


