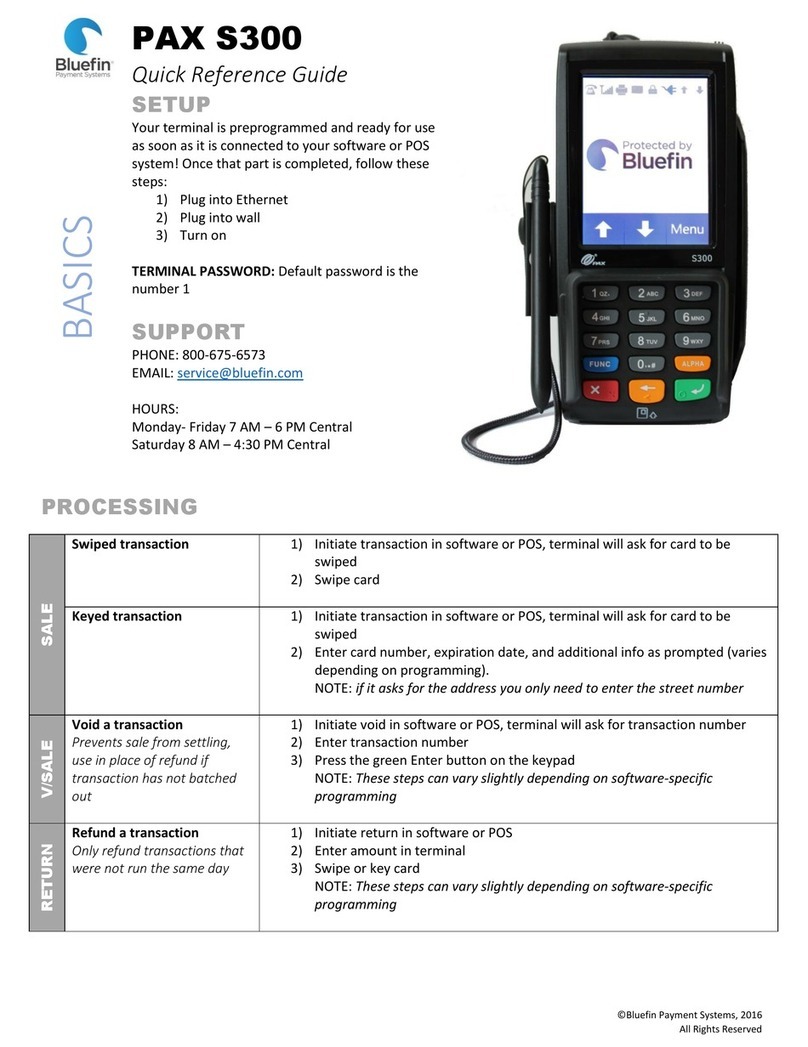
bluefin PAX A80 User manual

1
Bluefin /Springbrook P2PE Implementation Guide
© 2021 Bluefin Payment Systems.
All Rights Reserved. Privileged and Confidential.
Bluefin & Springbrook
P2PE Client Implementation Guide
User Guide v2.0
Issued 3/3/2021

2
Bluefin /Springbrook P2PE Implementation Guide
© 2021 Bluefin Payment Systems.
All Rights Reserved. Privileged and Confidential.
©Bluefin Payment Systems, 2021
Table of Contents
Overview..................................................................................................................................................................................... 2
Log-in to the P2PE Manager ....................................................................................................................................................... 2
Device Shipment: What’s in the box?......................................................................................................................................... 6
PAX Device Assembly.................................................................................................................................................................. 6
Setting up Your Terminal............................................................................................................................................................ 8
Accessing the App....................................................................................................................................................................... 9
Common Device Settings............................................................................................................................................................ 9
Customer Support..................................................................................................................................................................... 10
Overview
Springbrook has partnered with Bluefin to add PCI-Validated Point-to-Point-Encryption (P2PE) for all Springbrook
customers.
PCI-Validated P2PE revolves around the concept of encrypting credit card data in the device the moment it is swiped or
keyed, and not decrypting it until it reaches Bluefin’s offsite Hardware Security Module (HSM). The credit card data is
then “tokenized” into a unique code which can be securely saved and later used to reissue or refund transactions.
Using PCI-Validated P2PE and tokenization prevents credit card data from ever being in your network, effectively
outsourcing credit card data security to Bluefin and removing your processing environment from PCI compliance scope.
This guide provides instructions for receiving your P2PE device within Bluefin’s environment and activating and using your
Bluefin device inside the Springbrook software.
Bluefin Chain of Custody
When your device arrives in the mail, you must follow these instructions to receive and activate your device. The
documentation tab of the P2PE Manager includes instructional videos and our User Guide.
•
NOTE: These instructions are also mailed with the device
Log-in to the P2PE Manager
Prior to the device being shipped, there will be login credentials for the P2PE Manager user sent via email from Bluefin.
1) Navigate to https://bluefin.p2pemanager.com
2) Enter Username and Password and click “Log In”

3
Bluefin /Springbrook P2PE Implementation Guide
© 2021 Bluefin Payment Systems.
All Rights Reserved. Privileged and Confidential.
Check in Your Shipment
Video Available in Documentation Tab
1) Navigate to the “Shipments” tab at the top.
2) Click on the eye view button on the left side of the shipment you would like to receive.
3) All devices will be listed per shipment. Click on the “Receive”button next to the device.

4
Bluefin /Springbrook P2PE Implementation Guide
© 2021 Bluefin Payment Systems.
All Rights Reserved. Privileged and Confidential.
4) IMPORTANT: Open the box but DO NOT OPEN THE TAMPER BAG. Your P2PE hardware will be wrapped in a tamper
evident bag with a numbered tamper seal on the closure. You will need to input information from both the hardware unit
and tamper seal into the P2PE Manager. DO NOT REMOVE THE DEVICE FROM THE BAG UNTIL AFTER STEP 6.
5) Look through the bag to find the serial number on the device and tamper label number from the outside of the bag.
Tamper Label Number:
On the outside of the tamper bag
Serial Number:
Viewable through the tamper bag
6) Enter both the serial number and tamper label number into P2PE Manager.
7) If you are ready to activate the device immediately and process payments, then check the box to auto activate the
device and then click “Receive.”
If you are not ready to activate the device at this time, then leave the box unchecked and click “Receive.”
8) The device will be received and put into a “stored” state. When you are ready to use your device, please continue with
the next step on how to activate your device.
PLEASE NOTE: You will not be able to use your device until it is in an “Activating” state.

5
Bluefin /Springbrook P2PE Implementation Guide
© 2021 Bluefin Payment Systems.
All Rights Reserved. Privileged and Confidential.
Activate Your Device
Video Available in Documentation Tab
1) Navigate to the “Devices”tab.
2) Locate the device that you would like to activate and click on the pencil icon on the left.
3) Change the “Device State”to “Activating”in the drop-down menu and press “Save.” Your device is now ready to
be used.
•
NOTE: Once you begin processing cards, your device will automatically change from “Activating” to
“Activated”

6
Bluefin /Springbrook P2PE Implementation Guide
© 2021 Bluefin Payment Systems.
All Rights Reserved. Privileged and Confidential.
Device Shipment: What’s in the box?
The PAX A80 Standalone / Semi-Integrated device and associated components.
The following image is for general illustration. The packaging and appearance of the security / tamper seals can change
over time.
Important: Inspect your device and verify that the secure bag is sealed closed and tamper free. Do not throw away the
secure bag! If you have not already activated your device, you will need the security seal number to activate it.
Your device includes the following
components:
1. A80 device in a secure bag
2. Receipt paper roll
3. AC Power Supply and Power Adapter
4. LAN / CAT 5 Cable (if applicable)
5. Phone Cord
IMPORTANT: The device must always be
plugged in to have power. No battery is
available for purchase.
PAX Device Assembly
IMPORTANT: You should have already performed the Device Activation steps. If
you have NOT, stop now and log receipt of the device and activate it before
continuing.
After opening the secure bag, inspect your device and verify that the “No Tear”
sticker is intact and tamper free! The sticker is typically located on the side of the
device. If the device has been tampered with, stop now and follow the steps for
Tampered Device above.
To assemble your new device, do the following:
1. Attach the AC Adapter to the Power Adapter and plug the Power Adapter into your device.
IMPORTANT: The device must always be plugged in to have
power. No battery is available for purchase.
TIP: We recommend plugging the power supply into a surge
protector to protect your device.
2. Optional

7
Bluefin /Springbrook P2PE Implementation Guide
© 2021 Bluefin Payment Systems.
All Rights Reserved. Privileged and Confidential.
When applicable, plug the LAN cable into the LAN port on the
back of the device. (Insert the opposite end of the cable into
your modem.)
3. Open the paper cover and insert the paper roll.
Place your finger under the paper lid where
indicated and lift up.
Unwrap the receipt paper and insert it.
IMPORTANT: To avoid paper jams, ensure
the paper is inserted thermal side up as
indicated.
Pull out about 2 inches of paper. Then close the lid until it snaps into place. Tear off any excess paper.
Tip: When you need to replace the roll, the paper width is 58 mm and the diameter is 40 mm.
•Device Health Check
• URL: t.paxstore.us
• PORT: 9080
• Static IP address: 199.102.65.180
•Transactions URL
•URL: secure.payconex.net
•PORT: 443
The URL listed below is where the terminal needs to connect to

8
Bluefin /Springbrook P2PE Implementation Guide
© 2021 Bluefin Payment Systems.
All Rights Reserved. Privileged and Confidential.
Setting up Your Terminal
ETHERNET
Connecting with Ethernet
From the terminal home screen select the Android Settings app and then
do the following:
1) Enter the password and select OK.
(The default password is 9876 or pax9876@@)
2) From Wireless & Networks, select Ethernet.
•Enable Ethernet by selecting the on/off switch.
STATIC IP
Setting Static IP
1. Scroll down to the bottom of the menu and select Ethernet
Configuration
2. On the menu that appears choose either DHCP or Static IP
If you choose Static IP, enter in the
IP Address
Subnet Mask
Gateway IP
DNS IP
DATE / TIME
Setting the Date & Time
From the terminal home screen select the Android Settings app and then
do the following:
Part 1: Review device date, time, and time zone:
1) Enter the password and select OK.
2) Scroll down to System and select Date & time.
3) Review the Date, Time and Time Zone. If any of these are
incorrect, continue with the steps below.
Part 2:
IMPORTANT: Follow the sequence of these exactly.
1) Disable Automatic date & time.
2) Disable Automatic time zone.
3) Tap Select time zone and scroll to select your time zone.
4) Based on your preference, select Use 24-hour format to toggle
the 24-hour format on/off
5) Select Set date and then manually select the date and tap OK.
6) Select Set time and then manually select the hour, minutes,
AM/PM and select OK.
7) Select the back arrow at the top of the screen when you’re
finished.

9
Bluefin /Springbrook P2PE Implementation Guide
© 2021 Bluefin Payment Systems.
All Rights Reserved. Privileged and Confidential.
Accessing the App
From the home screen, select the BroadPOS Bluefin App.
Common Device Settings
NOTE: The default password for the Bluefin app is today’s date in the following format: MM:DD: YYYY
SECURITY
Password Protect certain
transaction types
Toggle between enabling
and disabling password
protection.
1) Select > Settings.
2) Enter the password and select Confirm.
3) Select Merchant Settings.
4) Select one of Transaction Types (Credit, Debit)
5) Choose the transaction type you want to password protect. (Scroll to
see all options: Auth, Post-Auth, Forced, Return, Void Sale, Void Post,
Void Forced)
6) Select Password Protected.
GENERAL
Sound
Touch-sound volume
From the terminal home screen select the Android Settings app and then do the
following:
1) Enter the password and select OK.
2) Under Device select Sound & notification:
- Adjust the slider bars for Media and Ring volume.
- Select ringtones for Phone and Default notifications.
- Modify based on your preference Boot music: Sound that plays when
powering device on - Enable/Disable
- Modify based on your preference Key Tone: Sound when pressing
the keypad -- Enable/Disable
Access Demo Mode for
training or testing.
Toggle between demo
mode and normal mode.
1) Select > Settings.
2) Enter the password and select Confirm.
3) Select Operation Settings.
4) From Operation Mode, select Demo Mode to toggle between Enabled
/ Disabled.
RECEIPTS
Customer Receipt
Toggle setting to print /
cancel printing receipt.
1) Select > Settings.
2) Enter password and press Enter.
3) Select Operation Settings and under FPS Setup select and option (Visa,
MasterCard, Other.)
4) Enable FPS.
5) From Receipt Mode, select an option.
Pre-print Receipt
Toggle setting to preprint
/ cancel preprinting
receipt.
1) Select > Settings.
2) Enter password and press Enter.
3) Select Operation Settings.
4) From Receipt Print, select Pre-Print to toggle between
Enabled/Disabled.

10
Bluefin /Springbrook P2PE Implementation Guide
© 2021 Bluefin Payment Systems.
All Rights Reserved. Privileged and Confidential.
Change Receipt Header or
Trailer
The following format is typically
used:
Header Text 1= Merchant Name
Header Text 2= Street address
Header Text 3= City, State or
Province, Postal Code
Header Text 4= Phone
Header Text 5= (Text based on your
preference)
NOTE:Once updated, restart your terminal and the new text should appear.
To manually change the text, do the following:
1) Select Settings.
2) Enter password and press Enter.
3) Select Other Settings.
4) Select Edit Header to modify the top of the receipt or Edit Trailer to
modify the bottom of the receipt.
5) Select the Header/Trailer line of text to edit.
Customer Support
For merchant assistance, please contact Springbrook Customer Support at 866-777-0069
Or email Support@sprbrk.com.
Table of contents
Other bluefin Payment Terminal manuals
