7
EN
2. INSTALLATION
2.1 Prerequisites
2.1.1 Installation environment
Select the place where the clock will be installed while making sure that the radio reception is correct.
The radio receiver clock should be installed in a place free from electrical interferences (transformers,
neon and halogen lights...).
Avoid xing the clock directly to a metallic or reinforced concrete wall.
2.1.2 Light exposure of the clock
The power supply of the clock is provided by its cells that capture ambient light. The clock runs via
exposure to natural or articial light. As such, it is best choosing a well-lit place (near a bay window,
a light source...). Windows tted with an anti-UV lter reduce light exposure.
In order for the clock to keep running continuously, it has to be exposed to 150 lux for
10 hours, 5 days a week.
The minimum operating and charging level is 100 lux.
2.2 Installation process
1- Unpack the clock with its xing disc and check the content of the package.
2- Charge the product via the Type B micro-USB connector. The red LED switches on during the
charging process.
The clock must be charged by USB only during the installation process and in the
event of complete discharge.
Respect the 5W charging power (5V, 1A charger).
3- Disconnect the USB charger from the clock when the green LED switches on: the initial charging
(lasting about 2 minutes) is then complete.
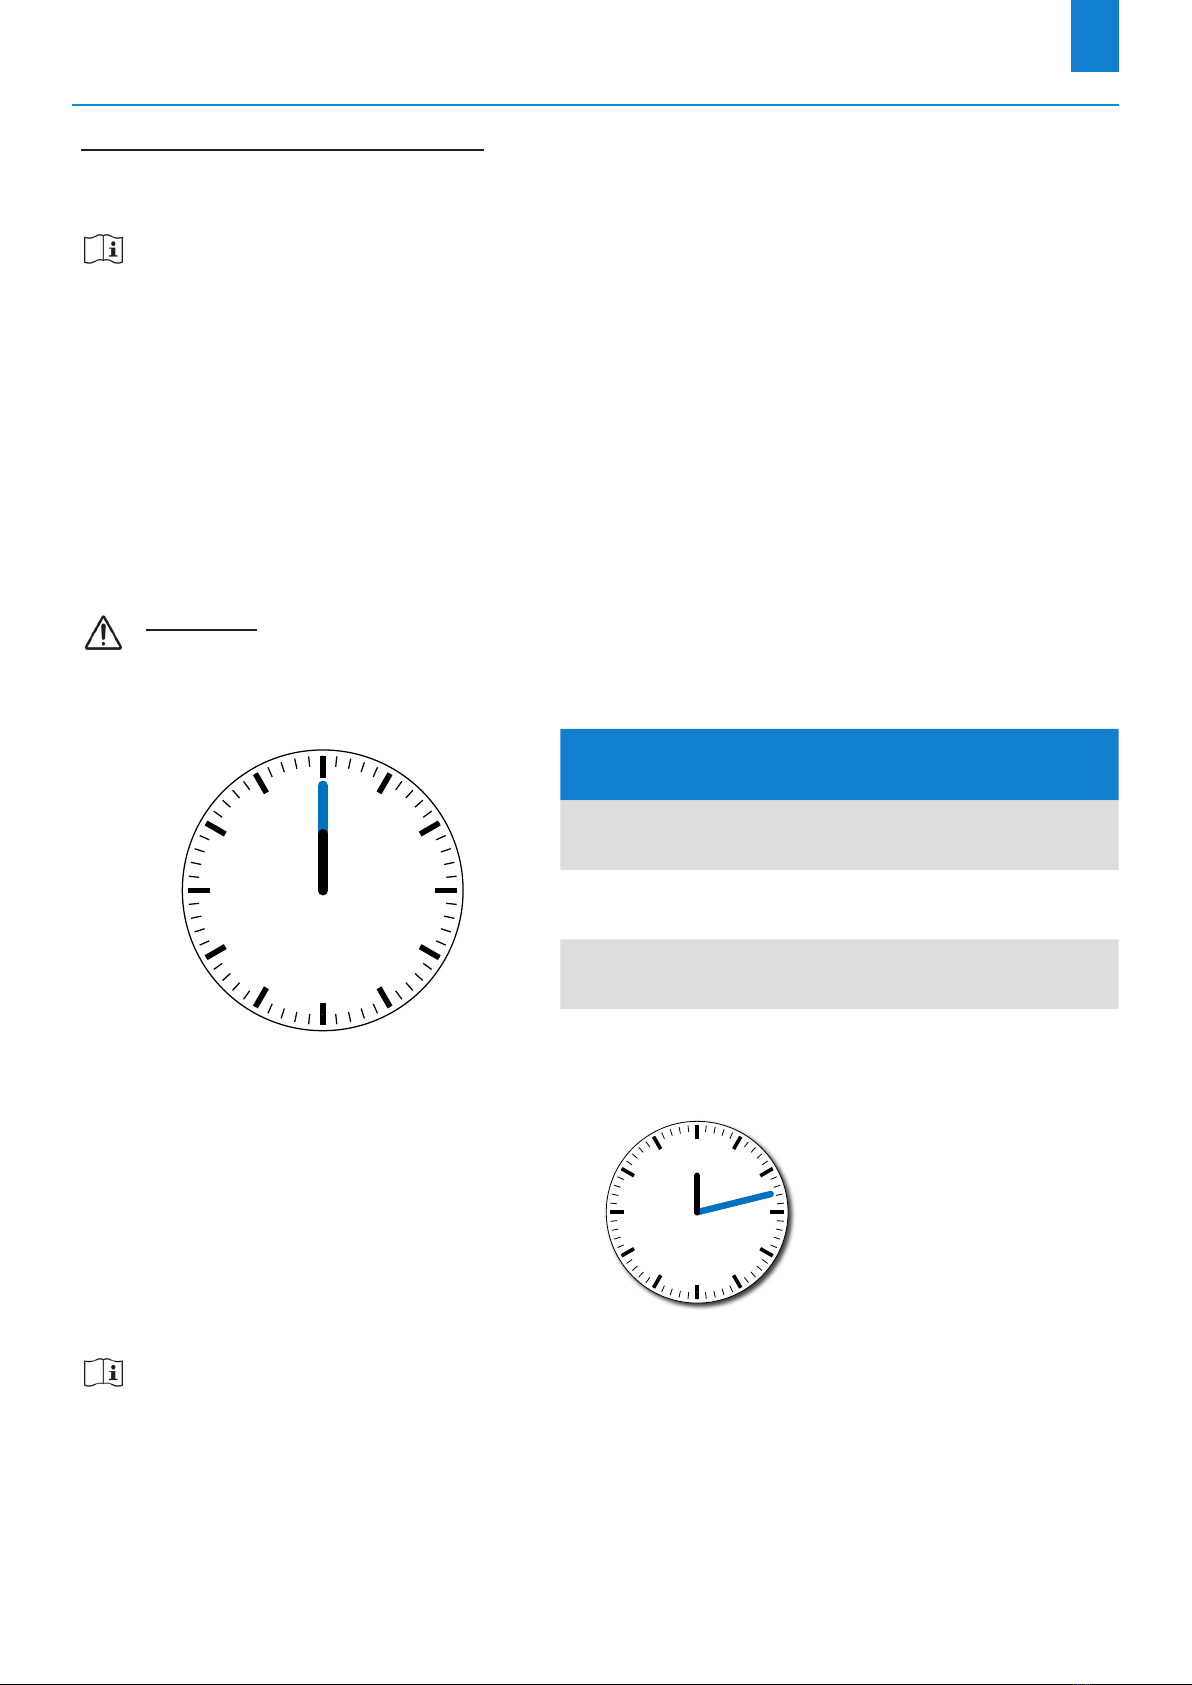
4- Set the switch on “ON” mode: the product switches on and the hands are set at noon.
5- The clock tries to synchronise on the ALS or DCF radio signal (according to your model).
The clock can take up to 12 minutes to synchronise.
6- When the clock is synchronised, the hands move into position and the clock is on time.
7- Proceed with the mechanical installation of the clock, according to the desired mounting option (wall
or double-sided mounting). See chapters 2.3.1 Wall mounting and 2.3.2. Double-sided mounting.