manuals.online logo
Brands
  1. Home
  2. •
  3. Brands
  4. •
  5. Body Solid
  6. •
  7. Fitness Equipment
  8. •
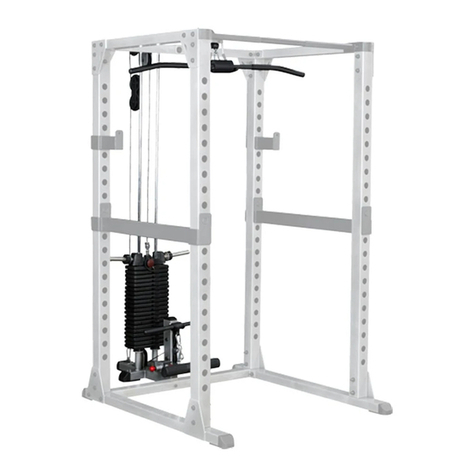
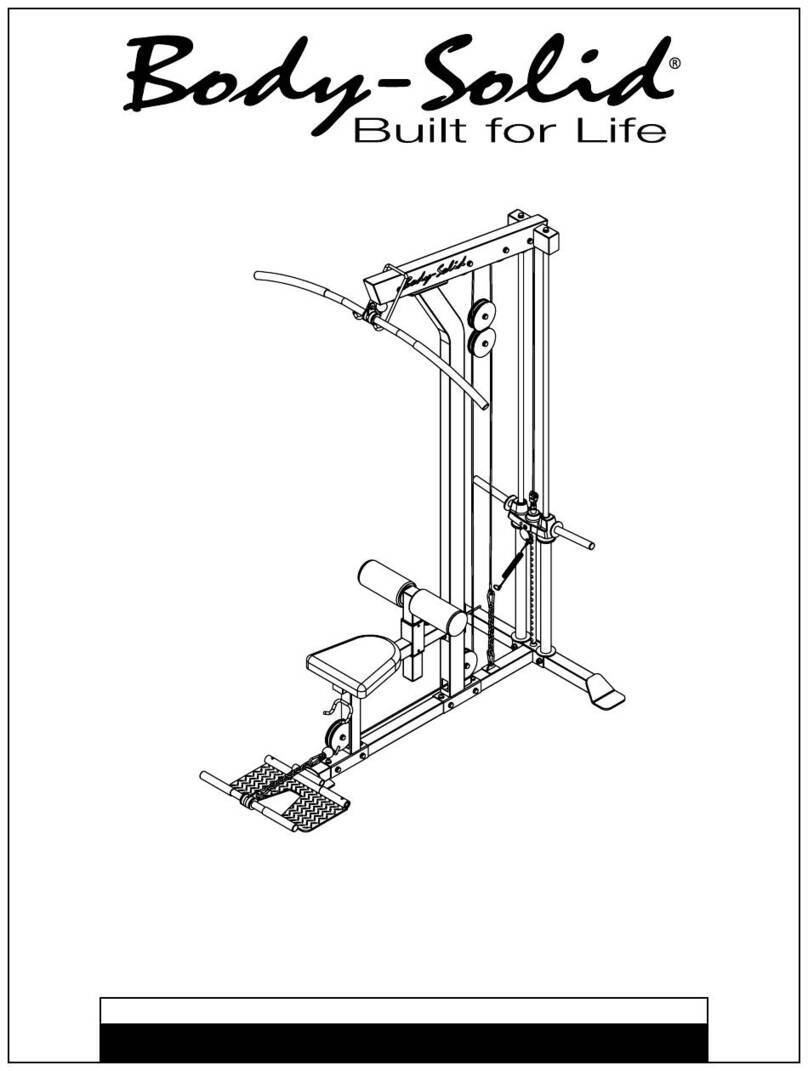
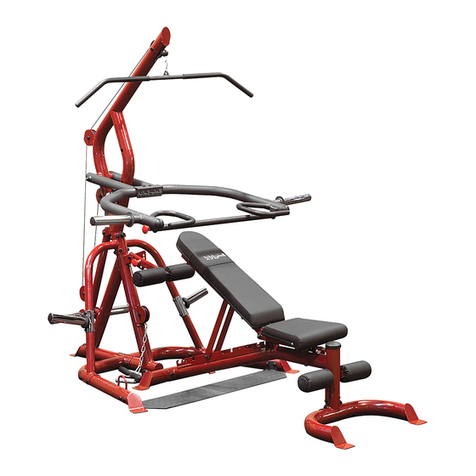
  9. Body Solid FLP Quick start guide

Body Solid FLP Quick start guide

O W N E R ’ S M A N U A L
A s s e m b l y I n s t r u c t i o n s
&
FLP
O W N E R ` S M A N U A L
A s s e m b l y I n s t r u c t i o n s
&
FLP
2
1
S T E P
Be careful to assemble all components
in the sequence they are presented.
NOTE:
Finger tighten all hardware in this step. Do Not wrench tighten until end of step 6.
A. Connect Mainframe (A) to Linkage Frame (L) and Plate (J) by using:
Four A1 (M10x130 hex dbolt)
Eight C1 (M10 washer)
Four B1 (M10 nylon lock nut)
B. Connect gym to Linkage Frame (L) and Plate (K) by using:
Two A9 (M10x80 hex head bolt)
Four C1 (M10 washer)
Two B1 (M10 nylon lock nut)
1
S T E P
3
Above shows STEP
assembled and completed
1
A1X4
C1X4
J
L
B1X4
C1X4
B1X2
C1X2 KC1X2
A9X2
A
4
2
S T E P
Be careful to assemble all components
in the sequence they are presented.
NOTE:
Finger tighten all hardware in this step. Do Not wrench tighten until end of step 6.
A. Connect Upright Frame (E) to Mainframe (A) using:
Four A13 (M12x40 hex head bolt)
Four C2 (M12 washer)
Four B2 (M12 nylon lock nut)
B. Slide Shaft (D11) through Leg Frame (D) and Mainframe (A) and tighten using:
Two A14 (M10x20 hex head bolt)
Two C1 (M10 washer)
2
S T E P
5
Above shows STEP
assembled and completed
2
D
E
B2X4
C2X4
A13X4
A14X2
C1X2
A
D11
6
3
S T E P
Be careful to assemble all components
in the sequence they are presented.
NOTE:
Finger tighten all hardware in this step. Do Not wrench tighten until end of step 6.
A. Install Connector Frame (E) to Leg Frame (D) and Upright Frame (E) by using:
Two D12 (M8 Shaft)
Four A15 (M8z20 allen head bolt)
Four C5 (M8 washer)
B. Insert End Caps (D4) to Foot Plate (G).
C. Connect Foot Plate (G) to Connector Frame (C) using:
Two A2 (M12x80 hex head bolt)
Four C2 (M12 washer)
Two B2 (M12 nylon lock nut)
3
3
S T E P
7
Above shows STEP
assembled and completed
3
C
D4X2
G
C2X4
B2X2
A2X2
D12X2
C3X4
A15X4
D
E
8
4
S T E P
Be careful to assemble all components
in the sequence they are presented.
NOTE:
Finger tighten all hardware in this step. Do Not wrench tighten until end of step 6.
A. Install Pulleys (D1-A) and (D1-B) into Mainframe (A) by using:
Two A10 (M10x60 hex head bolt)
Two D5 (steel bushing)
Two B1 (M10 nylon lock nut)
B. Install Pulleys (D1-C) and (D1-D) into Connector Frame (E) using:
Two A6 (M10x50 hex head bolt)
Four C1 (M10 washer)
Two B1 (M10 nylon lock nut)
C. Attach Handle Bar (B) to Mainframe (A) using:
Two A1 (M10x130 hex head bolt)
Four C1 (M10 washer)
Two B1 (M10 nylon lock nut)
D. Insert End Cap (D8) into Pulley Frame (H). Attach Pulley Frame (H) to Mainframe (A) using:
One A1 (M10x130 hex head bolt)
Two C1 (M10 washer)
One B1 (M10 nylon lock nut)
E. Connect Pulley (D1-E) to Pulley Frame (H) using:
One Q ("L" pulley cable plate)
One C1 (M10 washer)
One B1 (M10 nylon lock nut)
F. Attach Pulley Mount (O) to Linkage Frame (L) using:
One A5 (M10x75 hex head bolt)
Two C1 (M10 washer)
One B1 (M10 nylon lock nut)
G. Assemble Pulley (D1-F) to Pulley Mount (O) using:
One Q ("L" pulley cable plate)
One A4 (M10x45 hex head bolt)
Two C1 (M10 washer)
One B1 (M10 nylon lock nut)
4
S T E P
9
A
Above shows STEP
assembled and completed
B1X2
C1X2
A6x2 C1x2
D1-C
A1
C1
HD1-E
B1
C1
A4
C1X2
QD1-F
A5
O
B1
C1
B1
C1X2
B1X2
A1X2
C1X4
A10X2
D5X4
D1-A
B1X2
Q
D8X2
B1
4
B
D1-B
L
A
D1-D
E
Above shows STEP
assembled and completed
4
10
5
S T E P
Be careful to assemble all components
in the sequence they are presented.
NOTE:
Finger tighten all hardware in this step. Do Not wrench tighten until end of step 6.
A. Connect Seat Pad (M) to Mainframe (A) by using:
One A11 (M8x80 hex head bolt)
One A7 (M8x100 hex head bolt)
Two C4 (M8 spring lock washer)
Two C3 (M8 washer)
B. Insert End Caps (D2) to ends of Back Pad support (F).
C. Connect Plastic Sleeve (D3) to Mainframe (A) as shown in the diagram. Insert End Cap
into the end of Back Pad Support (F).
D. Slide Back Pad Support (F) through Mainframe (A) as shown in the diagram.
E. Connect Back Pad (N) to Back Pad Support (F) by using:
Two A8 (M8x50 hex head bolt)
Two C4 (M8 spring lock washer)
Two C3 (M8 washer)
F. Slide Pad Wrap onto Back Pad (N).
5
S T E P
11
Above shows STEP
assembled and completed
5
N
M
D2X2
C3X2
C4X2
A8X2
D3X2
F
A11
C4X2
C3X2
D7
A7
D10
12
6
S T E P
Be careful to assemble all components
in the sequence they are presented.
NOTE:
Finger tighten all hardware in this step. Do Not wrench tighten until end of step 6.
A. Attach the Stamped Eye End of Cable (D6) to the gym using:
One A12 (M10x20 allen head bolt)
One B1 (M10 nylon lock nut)
B. Route Cable (D6) across (D1-F) and (D1-E). Bring the cable under (D1-A), around (D1-D), (D1-A) and (D1-C).
C. Connect Snap Link (D9) to the Chain Link End of steel Cable (D6).
D. Connect Cable (D6) to Mainframe (A) as shown in Diagram B using:
One A10 (M10x60 hex head bolt)
Two C1 (M10 washer)
One B1 (M10 nylon lock nut)
6
S T E P
13
D6. 3610mm STEEL CABLE
6
Stamped Eye End Chain Link End
B
Above shows STEP
assembled and completed
B
A10
C1X2
B1
A12
B1
D6
D9
D6
6
D1-A
D1-B
D1-D
D1-C
D1-E
D1-F
Above shows STEP
assembled and completed
6
F L P H a r d w a r e
( A c t u a l S i z e S h o w n )
14
A1.M10X130L HEX HEAD BOLT----------------------------------------------[7PCS]
A2.M12X80L HEX HEAD BOLT------------------------------------------------[2PCS]
A4.M10X45L HEX HEAD BOLT------------------------------------------------[1PCS]
A5.M10X75L HEX HEAD BOLT------------------------------------------------[1PCS]
A6.M10X50L HEX HEAD BOLT-----------------------------------------------[2PCS]
A7.M8X100L HEX HEAD BOLT-----------------------------------------------[1PCS]
A8.M8X50L HEX HEAD BOLT-------------------------------------------------[2PCS]
A9.M10X80L HEX HEAD BOLT----------------------------------------------[2PCS]
A10.M10X60L HEX HEAD BOLT----------------------------------------------[3PCS]
40
20 60 80 100 140 160
120
F L P H a r d w a r e
( A c t u a l S i z e S h o w n )
15
( s h o w n i n a c t u a l s i z e )
B1.M10 NYLON LOCK NUT--------------------------------------------------[18PCS]
B2.M12 NYLON LOCK NUT----------------------------------------------------[6PCS]
C1.M10 WASHER---------------------------------------------------------------[31PCS]
C2.M12 WASHER---------------------------------------------------------------[8PCS]
40
20 60 80 100 140 160
120
A11.M8X80L HEX HEAD BOLT----------------------------------------------[1PCS]
A12.M10X20L ALLEN HEAD BOLT------------------------------------------[1PCS]
A13.M12X40L HEX HEAD BOLT--------------------------------------------[4PCS]
A14.M10X40L HEX HEAD BOLT--------------------------------------------[2PCS]
A15.M10X20L ALLEBN HEAD BOLT---------------------------------------[4PCS]
40
20 60 80 100 140 160
120
A15.M10X20L ALLEBN
40
20 60 80 100 140 160
120
A11.M8X80L
F L P H a r d w a r e
16
D1.Ø110 PULLEY (9213-002)----------------------------------------------------[6PCS]
D2.CONVEX END CAP (9211-086)---------------------------------------------[2PCS]
D4.CONVEX END CAP (9211-087)--------------------------------------------[2PCS]
D3.40X80 NYLON BUSHING (9211-123)-------------------------------------[2PCS]
D5.STEEL BUSHING(8530-014)------------------------------------------------[4PCS]
D6.3610mm STEEL CABLE-----------------------------------------------------[1PCS]
D7.CONVEX END CAP (9261-061)--------------------------------------------[1PCS]
D8.CONVEX END CAP (9211-128)--------------------------------------------[2PCS]
C3.M8 WASHER----------------------------------------------------------------------[8PCS]
C4.M8 SPRING LOCK WASHER------------------------------------------------[4PCS]
F L P H a r d w a r e
17
D9.SPRING SNAP LINK(8810-002)--------------------------------------------[1PCS]
D10. PAD WRAPS (9630-134)---------------------------------------------------[1PCS]
D11. M10 (8210-110)--------------------------------------------------------------[1PCS]
D12. M10 (8210-091A)--------------------------------------------------------------[1PCS]
40
20 60 80 100 140 160
120
A11.M8X80L
F L P H a r d w a r e
18
A[1PCS] B[1PCS] C[1PCS]
D[1PCS] E[1PCS] F[1PCS] G[1PCS] L[1PCS]
H[1PCS] O[1PCS] J[1PCS] K[1PCS]
Q[2PCS] N[1PCS]
M[1PCS]

Other manuals for FLP

2

Other Body Solid Fitness Equipment manuals
Body Solid GAB300 Quick start guide

Body Solid

Body Solid GAB300 Quick start guide

Body Solid GS-348Q User manual

Body Solid

Body Solid GS-348Q User manual

Body Solid GCC0150S User manual

Body Solid

Body Solid GCC0150S User manual

Body Solid LPH-1100.1 User manual

Body Solid

Body Solid LPH-1100.1 User manual

Body Solid GLM85B User manual

Body Solid

Body Solid GLM85B User manual
Body Solid GPR400 User manual

Body Solid

Body Solid GPR400 User manual

Body Solid GLP2500 User manual

Body Solid

Body Solid GLP2500 User manual

Body Solid Powerline PSM-144X User manual

Body Solid

Body Solid Powerline PSM-144X User manual

Body Solid GPA-3 User manual

Body Solid

Body Solid GPA-3 User manual
Body Solid Fitness Equipment User manual
Body Solid

Body Solid Fitness Equipment User manual

Body Solid FMH User manual

Body Solid

Body Solid FMH User manual

Body Solid POWERLINE PLT200 User manual

Body Solid

Body Solid POWERLINE PLT200 User manual

Body Solid GMR20 Quick start guide

Body Solid

Body Solid GMR20 Quick start guide

Body Solid LVLE User manual

Body Solid

Body Solid LVLE User manual

Body Solid POWERLINE PSS-60X User manual

Body Solid

Body Solid POWERLINE PSS-60X User manual

Body Solid POWERLINE PPR500 User manual

Body Solid

Body Solid POWERLINE PPR500 User manual

Body Solid Pro Club Line SR-FPU Quick start guide

Body Solid

Body Solid Pro Club Line SR-FPU Quick start guide

Body Solid SPR500P2 User manual

Body Solid

Body Solid SPR500P2 User manual

Body Solid S2FT User manual

Body Solid

Body Solid S2FT User manual

Body Solid K8439 Quick reference guide

Body Solid

Body Solid K8439 Quick reference guide

Body Solid GLGS100 User manual

Body Solid

Body Solid GLGS100 User manual

Body Solid Endurance R300 User manual

Body Solid

Body Solid Endurance R300 User manual

Body Solid G-STACK User manual

Body Solid

Body Solid G-STACK User manual

Body Solid GS-348 User manual

Body Solid

Body Solid GS-348 User manual

Popular Fitness Equipment manuals by other brands

Kayakpro SpeedStroke Gym - Kayak instructions

Kayakpro

Kayakpro SpeedStroke Gym - Kayak instructions

IRONEDGE Wall Mounted Cable Station Setup instructions

IRONEDGE

IRONEDGE Wall Mounted Cable Station Setup instructions

Goalsetter Systems Junior Hoop Installation & owner's instructions

Goalsetter Systems

Goalsetter Systems Junior Hoop Installation & owner's instructions

Abisal PREMIUM CRUNCH Manual instruction

Abisal

Abisal PREMIUM CRUNCH Manual instruction

Nobol PhysioPedal user guide

Nobol

Nobol PhysioPedal user guide

Crivit 278448 Instructions for use

Crivit

Crivit 278448 Instructions for use

LSG GBH-300 owner's manual

LSG

LSG GBH-300 owner's manual

Weider PRO 345 user manual

Weider

Weider PRO 345 user manual

Hudora Back Trainer 65218 INSTRUCTIONS ON ASSEMBLY AND USE

Hudora

Hudora Back Trainer 65218 INSTRUCTIONS ON ASSEMBLY AND USE

ProMOTION EV1 user manual

ProMOTION

ProMOTION EV1 user manual

Savaria Roby Usage and maintenance

Savaria

Savaria Roby Usage and maintenance

Northern Lights AVALANCHE4 MULTI-GYM Assembly instructions

Northern Lights

Northern Lights AVALANCHE4 MULTI-GYM Assembly instructions

Sunny Health & Fitness SF-XF922059 user manual

Sunny Health & Fitness

Sunny Health & Fitness SF-XF922059 user manual

Precor Commercial Adaptive Motion Trainer C100i Service manual

Precor

Precor Commercial Adaptive Motion Trainer C100i Service manual

SPRI SLAM BALL Exercise guide

SPRI

SPRI SLAM BALL Exercise guide

BLK BOX 21-0169 Owner's manual & quick start guide

BLK BOX

BLK BOX 21-0169 Owner's manual & quick start guide

Crivit 103761 Instructions for use

Crivit

Crivit 103761 Instructions for use

BH ATOM X quick guide

BH

BH ATOM X quick guide

manuals.online logo
manuals.online logoBrands
  • About & Mission
  • Contact us
  • Privacy Policy
  • Terms and Conditions

Copyright 2025 Manuals.Online. All Rights Reserved.