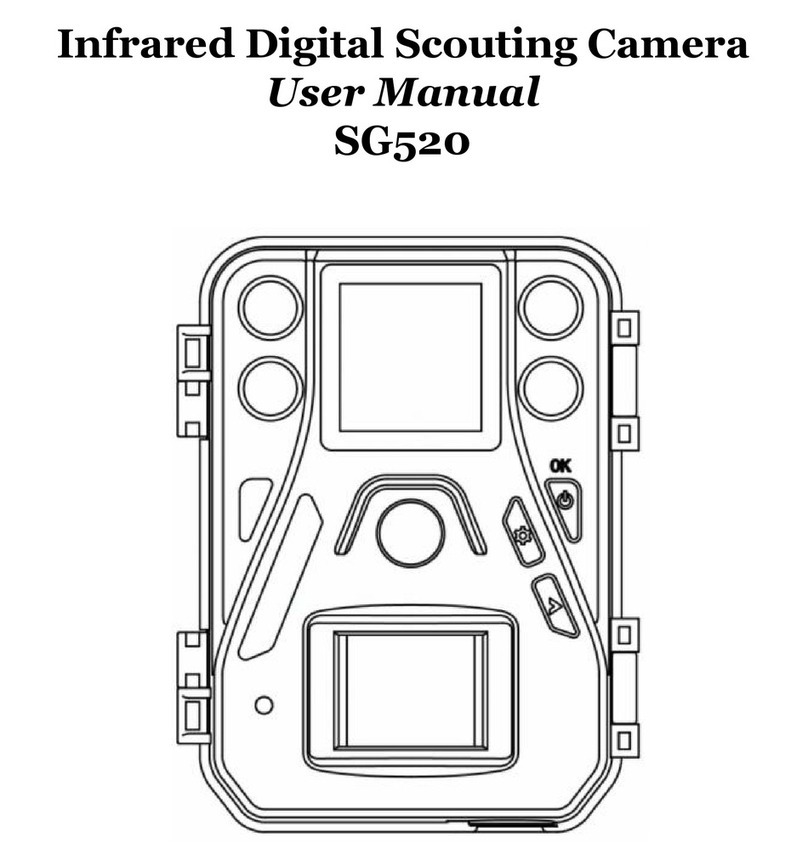
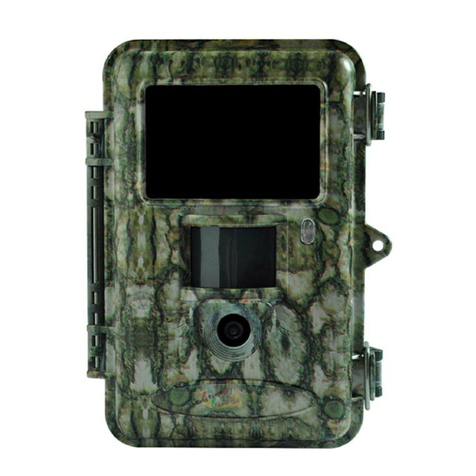
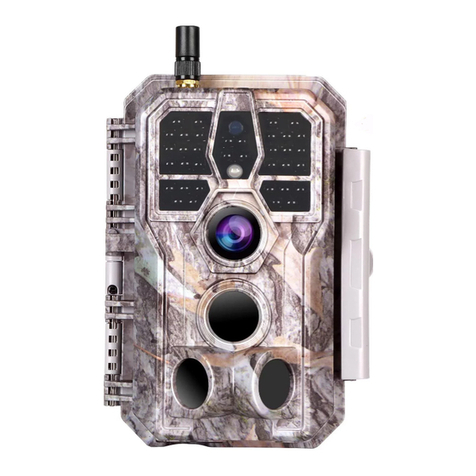
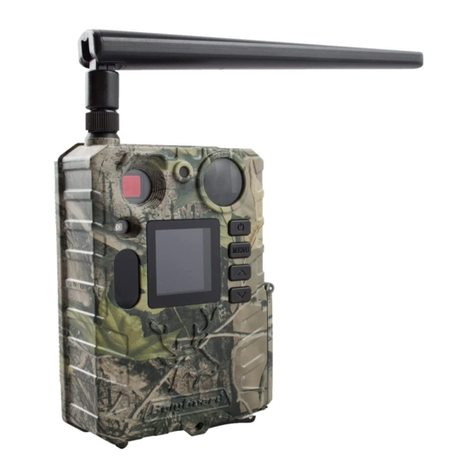
Boly SG520 User manual

SG520 Series Trail Camera
Boly Inc. | User Manual 03/01/2017
1
Table of Contents
1. Getting Started.............................................................................................................. 1
2. Camera Operations...................................................................................................... 2
2.1 Batteries / Power Supply..................................................................................... 2
2.2 SD Card Information............................................................................................ 2
2.3 Wi-Fi Functionality (Model SG520-W only)...................................................... 2
2.4 Camera Modes......................................................................................................3
2.5 Trigger Modes....................................................................................................... 3
3. Camera Setup Settings & Display............................................................................. 4
3.1 Settings Interface & Display................................................................................4
3.2 Manual Image / Video Capturing....................................................................... 4
3.3 Manage Images and/or Videos.......................................................................... 4
3.4 Camera Setup Options........................................................................................ 5
4. Technical Specifications.............................................................................................. 6
1. Getting Started

SG520 Series Trail Camera
Boly Inc. | User Manual 03/01/2017
2
2. Camera Operations
2.1 Batteries / Power Supply
The camera is powered by four or eight AA batteries - High-density, high-performance alkaline, rechargeable
Alkaline or NiMH batteries are recommended. When the batteries are low, the camera will beep twice and
automatically shut down.
A DC 6-Volt, 2 Amp external power supply adapter can also be used to power the camera (not included).
2.2 SD Card Information
Insert the SD card into the camera before turning on the camera
This camera supports up to a 32GB capacity SD card and has no built-in internal memory. The camera
will not function without the SD card properly inserted into the camera.
Make sure the SD card is unlocked before inserting the SD card into the camera
The camera will operate normally with a locked SD card inserted, but the card will not be able to store
captured images or videos taken by the camera.
Do not remove the SD card while the camera is on
By removing the SD card while the camera is on risks damaging the internal components of the camera.
If you experience any problems with an inserted SD card
Try reformatting the SD card, utilizing the camera’s main settings option.
2.3 Wi-Fi Functionality (Model SG520-W only)
For camera model SG520-W, WIFI functionality is supported via the WIFI-SD card included with the camera and
utilizing the FlashAir application on your mobile device or PC.
For Apple/Android devices:
Download and install the FlashAir App on your mobile device through the Apple Apps store or
Google Play.
When the camera is turned on in any mode, press the ON button on the remote to turn on the
cameras WIFI.
Search for the WIFI signal on your device and enter the WIFI password to connect. The
default password is 12345678
Open the FlashAir APP
For PC:
Go to the website: http://www.toshiba.co.jp/p-media/wwsite/flashair.htm
Click the Configuration Software Download option and save the file on your computer
Execute the downloaded file and install

SG520 Series Trail Camera
Boly Inc. | User Manual 03/01/2017
3
2.4 Camera Modes
The different modes are accessed by pressing the OK button, marked on the camera:
OFF Mode
To turn off the camera, when the display screen is active, press and hold the OK button until the screen
powers off. The camera will still consume a small amount of power while in OFF mode. It is
recommended to remove the batteries if the camera will not be used for a long period of time.
ON Mode
To turn on the camera, press and hold the OK button, until the display screen activates. Camera will take
pictures or video when motion is detected and/or at specific time intervals, according to the programmed
settings. After switching the camera to the ON position and if the camera is left alone for more than 10
seconds, the camera will automatically switch to Hunting Mode, as described below.
Hunting Mode
This mode is when the camera is turned on and is now available to capture photos and video. Hunting
mode is automatically activated, if the camera is turned on and left alone for more than ten seconds.
Before activating hunting mode, the motion indicator LED (red) will blink for about 10 seconds and then
turn off. This preset time allows you to adjust the cameras position if needed, before the camera becomes
active. To “wake” the camera and access the camera menu functions, press and hold the OK button,
until the display becomes active.
2.5 Trigger Modes
There are 3 different trigger modes for the camera: PIR Trigger/Sensitivity, Time Lapse, and a combined
PIR/Time Lapse mode. These modes are activated by three different menu options (PIR Trigger/Sensitivity, PIR
Interval, and Time Lapse).
PIR Trigger/Sensitivity
The camera will activate when motion is detected. If the PIR Trigger/Sensitivity option is set to OFF, the
camera will not respond to any motion within the camera’s range.
Time Lapse
The camera will activate at the set time interval regardless of motion detection. If the Time Lapse option is
set to OFF, this trigger function will be disabled.
Combined PIR/Time Lapse
For the combination of both PIR and Lapse triggering, the following settings must be set correctly:
PIR Trigger/Sensitivity must NOT be set to OFF
The Time Lapse interval must be set to a non-zero value.
The camera will capture pictures or video when motion is detected and at the preset time, regardless of
motion detection.
Additional PIR settings to note:
PIR Interval
This setting indicates how long the PIR sensor will be disabled after each camera triggering. During this
interval time, the camera will not react to any detected motion or activate at the scheduled Time Lapse
interval.
Further detailed information about the trigger modes can be found in Camera Setup Options section of the
manual.

SG520 Series Trail Camera
Boly Inc. | User Manual 03/01/2017
4
3. Camera Setup Settings & Display
3.1 Settings Interface & Display
To update the camera settings, turn the camera on to activate the display screen.
OK/Power: Save parameter settings and view pictures
Settings/Sprocket: Switch between Test/Setup and On modes
►: Capture a photo or record a video manually
When the camera is in ON Mode, the screen will activate and display the following:
3.2 Manual Image / Video Capturing
Place the camera in ON mode and press ►to manually capture photos or record video. Press ►again to stop
capturing video.
3.3 Manage Images and/or Videos
Place the camera in TEST/SETUP mode and press OK/POWER button to view images or videos.
The latest image or video will be shown on the LCD screen. Press the ► or OK/POWER buttons to cycle
through the pictures and videos taken.
NOTE: Video cannot be viewed directly through the camera.

SG520 Series Trail Camera
Boly Inc. | User Manual 03/01/2017
5
3.4 Camera Setup Options
To view the camera settings menu, slide the power switch to TEST/SETUP mode and press MENU on the
remote. Use ▲ or ▼ keys to select the sub-menu. Use ◄ or ► keys to select the different options. Press “OK”
to save the settings.
After changing EACH setting in the Setup menu, you must press OK or the camera will retain the previous setting.
Dependent on the model and firmware version, not all Menu options may be available on your specific camera.
Menu Options
Descriptions
Language
Choose the language you prefer. Language options include: English,
Finnish, German and Swedish, French, Spanish and Czech.
Default: English
Camera Mode
Choose between capturing images, videos or both at the same time:
Photo, Video, Pic+Video
Default: Photo
Set Clock
Set the cameras date and time. The date format is month/day/year.
The time format is hour: minute: second. The valid values for the
year is between 2015 and 2050.
Photo Size
Choose the image size: 5MP, 10MP, or 12MP (mega pixel) options
are available.
Default: 12 MP
Photo Burst
Choose the number of photos taken after the camera is triggered: 1
Photo, 2 Photo, or 3 Photo. If Pic+Video is selected, Photo burst
defaults to 1 photo, regardless of entered value.
Default: 1 Photo
Video Size
Choose the video size: 1280x720 or 640x480.
Default: 1280 x 720
Video Length
Choose the duration of the video recording: Valid values extend from
10, 30 or 60 seconds with a one second delay.
Default: 10 seconds
Time Lapse
The camera can capture images or videos at a preset time interval
regardless of motion detection. Changing this setting to a non-zero
value turns on Time Lapse mode and the camera will take photos at
the set interval time
If PIR Trigger/Sensitivity and Time Lapse options are BOTH OFF,
the camera will not capture any photos or videos.
Default:OFF
PIR Trigger/Sensitivity
This setting is for the sensitivity of the PIR sensor. There are four
sensitivity parameters: High, Normal, Low and Off. It is
recommended to use HIGH sensitivity in areas with little
environmental interference and also for warmer, humid temperatures
or climates. Use LOW sensitivity for areas that have a lot of
interference. The sensitivity of the PIR is effected by temperature.
Higher temperatures leads to lower sensitivity.
If PIR Trigger/Sensitivity and Time Lapse options are BOTH OFF,
the camera will not capture any photos or videos.
Default: Normal
PIR Interval
This setting indicates how long the PIR sensor will be disabled after
each camera triggering. During this time the PIR sensor will not react
to any detected motion or scheduled timer functions. The PIR
Interval can be set between zero seconds to a maximum of 1 hour.
Press LEFT or RIGHT to decrease or increase the desired PIR
Interval time.
Default: 5 seconds

SG520 Series Trail Camera
Boly Inc. | User Manual 03/01/2017
6
Menu Options
Descriptions
Format SD
All information on the SD card will be deleted. Make sure that you
have made a backup of important data already on the SD card.
Version
Shows firmware and IMEI (International Mobile Equipment Identity)
information of the camera.
Default Settings
Restore all settings back to the default values.
4. Technical Specifications
SG520
SG520-W
SG520-BW
Picture Resolution
5/10/12 MP
5/10/12 MP
5/10/12 MP
Video Resolution
1280x720 / 640x480
1280x720 / 640x480
1280x720 / 640x480
Video Length
10 to 60 sec
10 to 60 sec
10 to 60 sec
Detection Range
85ft.
85ft.
85ft.
Illumination Distance
70ft.
70ft.
70ft.
Image Sensor
5MP Color CMOS
5MP Color CMOS
5MP Color CMOS
Aperture
ƒ/ 2.2
ƒ/ 2.2
ƒ/ 2.2
Field of View
55 Degrees
55 Degrees
55 Degrees
Trigger Time
< 1.2 sec
Memory Card
32GB max
Display Screen
Built-In 1.44” LCD
Built-In 1.44” LCD
Built-In 1.44” LCD
Photo Burst
1 to 3 photos*
1 to 3 photos*
1 to 3 photos*
Sound Recording
Yes
Yes
Yes
Operating Ambient Temperature
-20 degrees to + 60 degrees C
Non-Operating Temperature
-30 degrees to + 70 degrees C
Relative Humidity
5% to 90% noncondensing
Dimensions
107x76x40 mm
107x76x40 mm
107x76x40 mm
Unit Weight
~ 0.18kg
~ 0.19kg
~ 0.18kg
Power Supply
4 AA batteries or 6v, 2A external power supply
Standby Power Consumption
<300uA
Compliances
FCC, CE, RoHS
* When Camera Mode is set to Pic+Video, Photo Burst option automatically disables, resulting in only one picture captured
along with the video. When Camera Mode is set to Photo, Photo burst option will operate normally as specified.
Boly Inc is constantly involved in development, engineering, and production – Accordingly, we reserve the right to modify, at any time, any product,
product specification and data without notice to improve reliability, function, design or otherwise. The information contained herein is based on tests and
data that Boly Inc. believes to be reliable, but the accuracy or completeness is not guaranteed. No warranty of any kind is made with respect to any of
the above representations. No reproduction, copy or use thereof may be made without the express written consent of Boly Inc.and Boly Holding Co. Ltd
Other manuals for SG520
1
Table of contents
Other Boly Scouting Camera manuals

Boly
Boly BG710 Series User manual

Boly
Boly SG520 User manual

Boly
Boly MG984G Series User manual

Boly
Boly MG984G Series User manual

Boly
Boly SG2060 Series User manual

Boly
Boly BG636 Series User manual

Boly
Boly BG320 User manual

Boly
Boly MG984G-30M User manual

Boly
Boly BG962-K30W User manual

Boly
Boly BG962 Series User manual