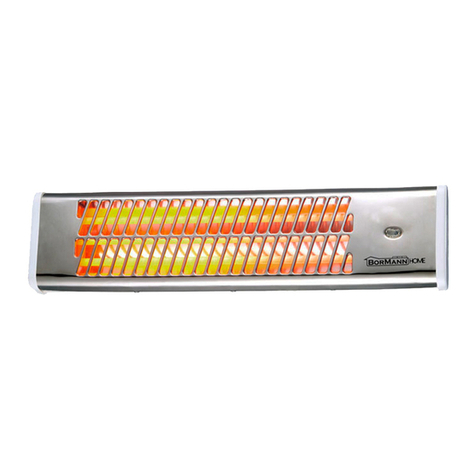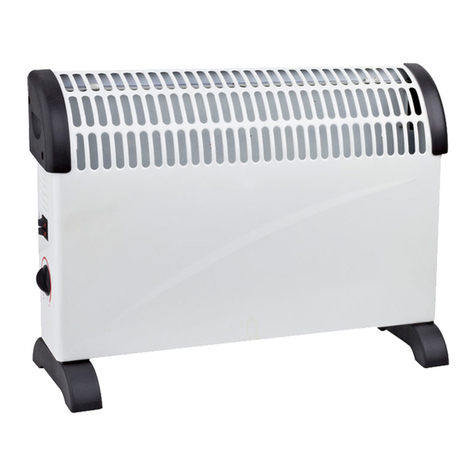
2
www.BormannTools.com
GB
Important: Read these instructions fully before using the heater. Retain these instructions for future reference.
Note: The frost protector with thermostat is for keeping small. It is for use within the home or for similar purposes. The heater
may only be used in a fixed position and only for the purpose described.
It is not for outdoor use!
SAFETY INSTRUCTIONS (to be read before operating the heater)
1) This product is a wall mounting appliance, never use it as portable appliance.
2) Do not use the heater unless the feet are correctly attached if the heater is used as portable appliance (Depending on the
model purchased).
3) This heater in designed for wall mounting and must be used with the warm air vent facing downwards. This heater should not
be used in any other orientation and should not be used as a free standing portable appliance.
4) This heater must be installed so that switches and other controls (except the pull cord- *if supplied) cannot be touched by
person in the bath or shower
5) This product is suitable for installation on surfaces with normal flammability e.g. wood, plasterboard, and masonry. It is not
suitable for use on highly flammable surface (e.g. polystyrene, textiles)
6) The heater is to be installed so that switches and other controls cannot be touched by a person in the bath or shower.
7) Before making fixing hole(s), check that there are no obstruction hidden beneath the mounting surface such as pipes or cables.
8) The chosen location of your new heater should allow for the product to be securely mounted(e.g. to a firm wall) and safely
connected to mains supply
9) Ensure the power supply to the socket into which the heater is plugged is in accordance with the rating label on the heater and
that the socket is earthed.
10) Keep the mains lead away from the hot body of the heater.
11) Do not use outdoors.
12) Do not cover or obstruct any of the heat outlet grilles or the air intake openings of the heater.
13) Do not place the heater on carpets having a very deep pile.
14) Always ensure that the heater is placed on a firm level surface. Ensure that the heater is not positioned close to curtains or
furniture as this could create a fire hazard.
15) Do not position the heater in front of, or immediately below, a wall socket.
16) Do not insert any object through the heat outlet or air intake grilles of the heater.
17) Do not use the heater in areas where flammable liquids are stored or where flammable fumes may be present.
18) Particular care should be taken when the heater is situated in areas occupied by children or invalids.
19) Always unplug the heater when moving it from one location to another.
20) Do not use the heater if the power cord is damaged. If the power cord is damaged it must be replaced by a recognised service
agent or other qualified person.
21) Only use a suitable 220-240V electrical socket.
22) The room which is to be heated should not contain any easy inflammable materials (e.g., petrol, solvents, spray canisters etc.)
or other easy combustible materials (e.g., wood or paper). Keep such materials away from equipment. Risk of fire!!
23) This appliance is not intended for use by persons (including children) with reduced physical, sensory or mental capabilities, or
lack of experience and knowledge, unless they have been given supervision or instruction concerning use of the appliance by a
person responsible for their safety. Children should be supervised to ensure that they do not play with the appliance.
Overview
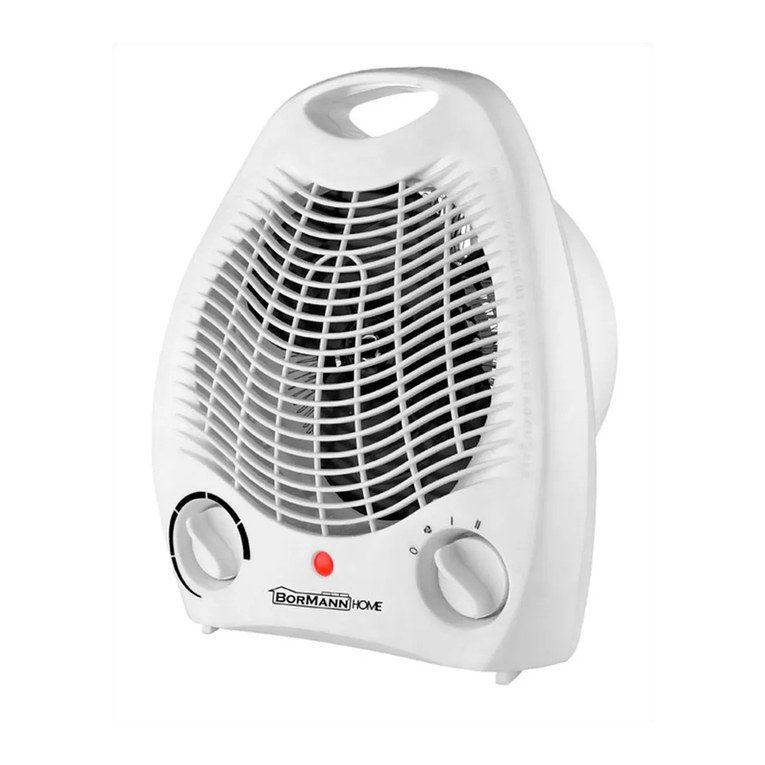
1. Power indicator light
2. Temperature control
MAX & MIN: when the room has reached the required turn the right
thermostat knob (where included) in an anti-clockwise direction up to the point
where the appliance switches off and not beyond, the temperature fixed in this
way will be automatically regulated and kept at a constant level by the
thermostat.
3. Power control
1) Only power on the fan: place the switch to setting 1
2) Heating at reduced power:place the switch to setting .2(1000W)
3) Heating at full power: place the switch to setting 3. (2000W)
4) Switching off: place the switch to setting 0.
