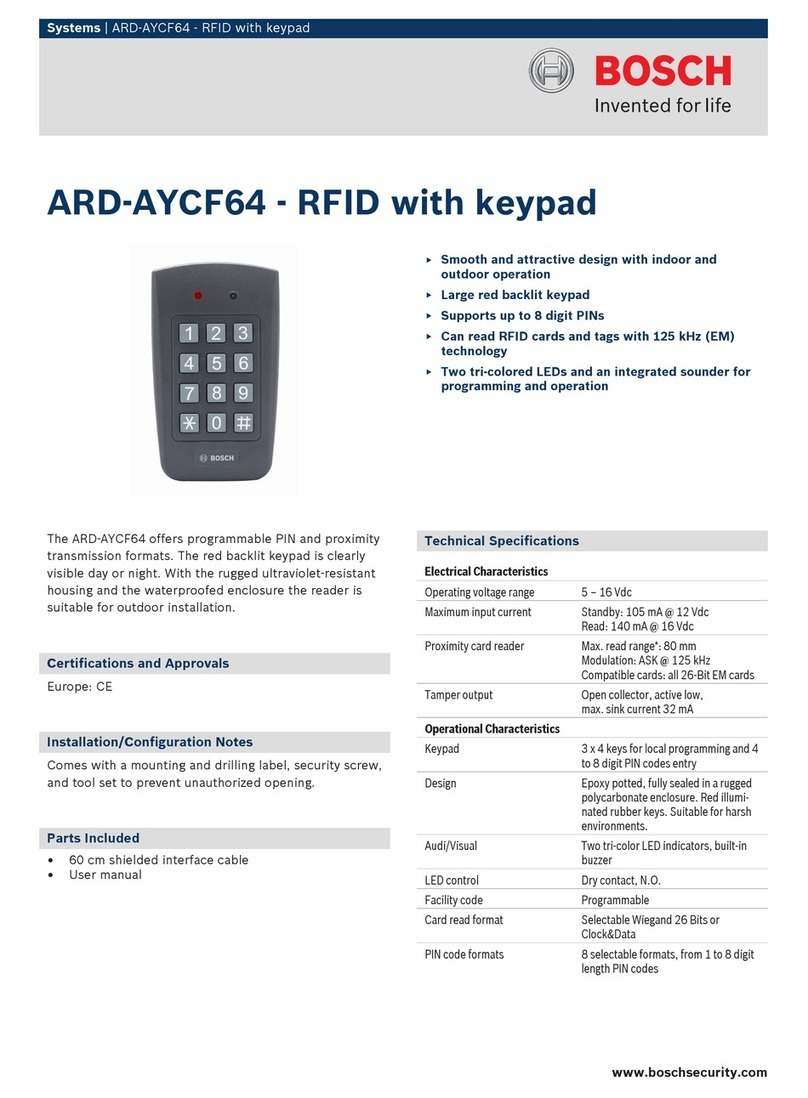
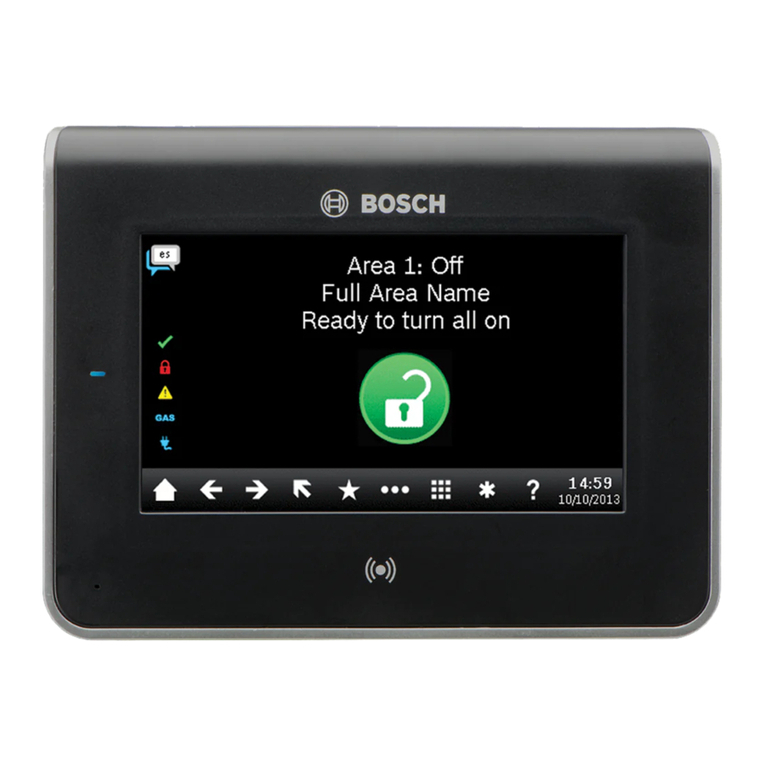
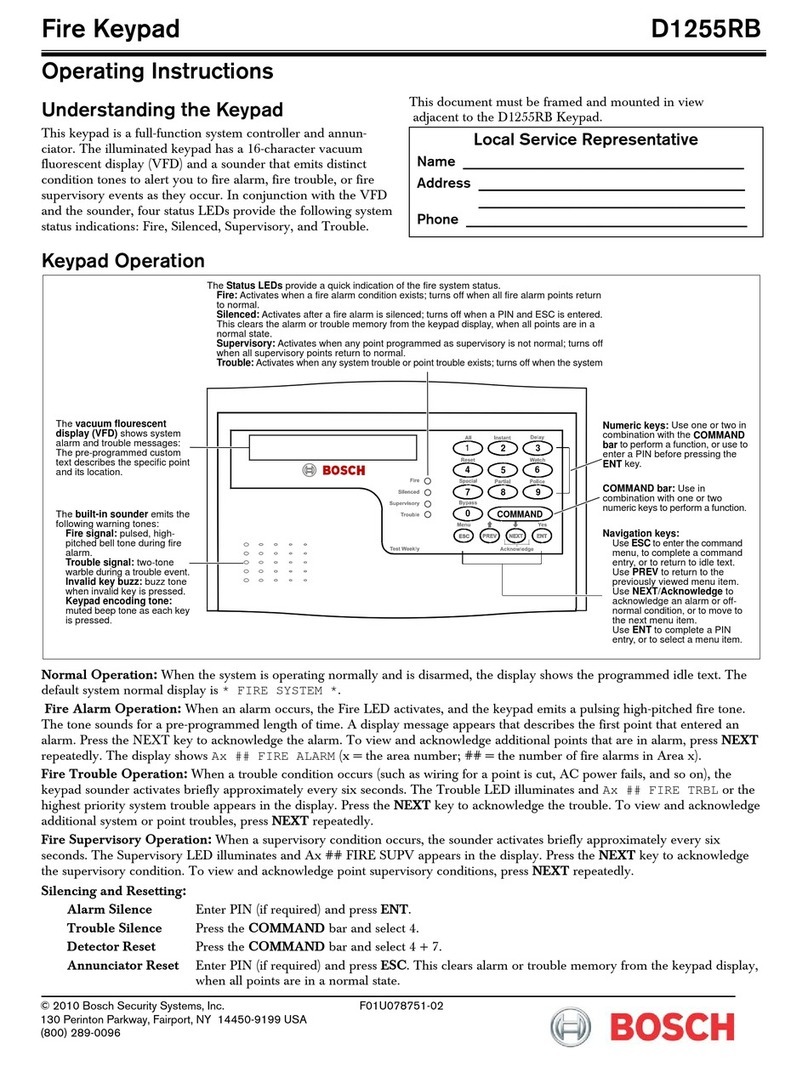
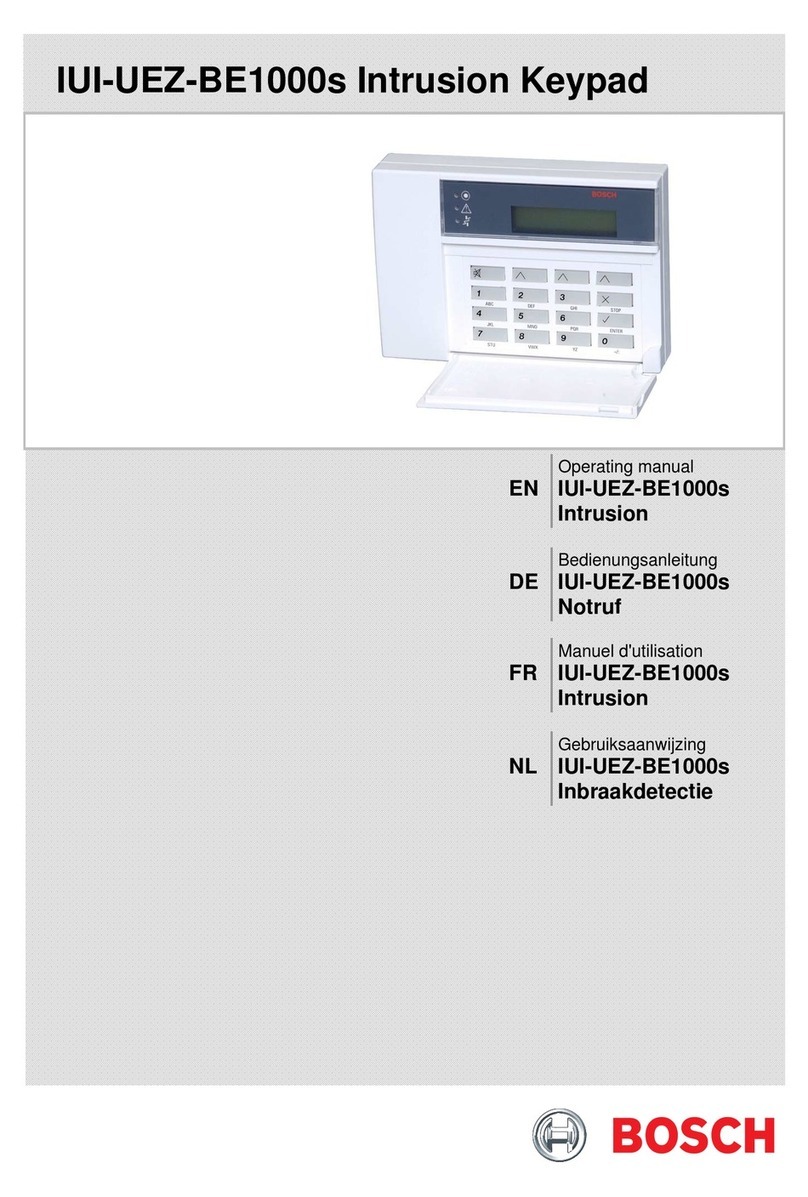
Bosch AMAX 2100 User manual

AMAX
2100 / 3000 / 4000
en User Guide


Table of contents
1Safety 5
2Short information 6
2.1 Introduction 6
2.2 Keypads 7
2.3 Keypad Indicators 8
2.4 Quick Keypad Operations Instructions 10
2.5 User Menu 13
3Arming and Disarming the System 14
3.1 Arming the System 14
3.1.1 Arming in AWAY Mode 14
3.1.2 Arming in STAY Mode 15
3.1.3 Forced Arming 15
3.1.4 Arming with a Master Keypad 16
3.2 Disarming the System 17
3.2.1 Disarming with Code 17
3.2.2 Disarming with Key Switch 17
3.2.3 Disarming with RADION RF Keyfob 17
3.2.4 Disarming with a Master Keypad 17
4Changing the Menu Language 18
5System Test 19
5.1 Siren Test 19
5.2 Communication Test 19
5.3 Walk Test Mode 19
6Bypassing 20
6.1 Bypassing/Unbypassing Zones 20
6.1.1 How to Bypass/Unbypass a Zone via Text Keypad 20
6.1.2 How to Bypass/Unbypass a Zone via LED/LCD Keypad 20
6.2 Bypassing Faults or Tamper Conditions 20
7Schedules 21
8Macros 22
8.1 Recording Macros 22
8.2 Playing Macros 23
9Codes 24
9.1 Add/Change User Codes 24
9.2 Change Individual Code 25
10 Keypad Alarm Operation Commands 26
10.1 Keypad Panic Alarm 26
10.2 Keypad Fire Alarm 26
10.3 Keypad Medical Alarm 26
11 Domestic Dialing 27
11.1 Domestic Dialing Alarm 27
11.2 Confirming the Domestic Call 27
12 Event Log Recall Mode 28
12.1 How to Select All Event Log Recall Mode 28
12.2 How to Select EN Event Log Recall Mode 28
12.3 How to Select Dialer Event Log Recall Mode 28
AMAX Table of Contents | en 3
Bosch Sicherheitsysteme GmbH User Guide 2014.09 | 03 | F.01U.295.569

13 Faults and Tamper Conditions 29
13.1 System Fault or Tamper Analysis Mode via Text Keypad 29
13.2 System Fault or Tamper Analysis Mode via LED/LCD Keypad 29
14 Resetting the Control Panel 33
15 Troubleshooting 34
4en | Table of Contents AMAX
2014.09 | 03 | F.01U.295.569 User Guide Bosch Sicherheitsysteme GmbH

Safety
Danger!
Electricity
Injuries due to electricity are possible if the system is not operated correctly or if the system
is opened or modified.
– Never open or modify the system.
– Please contact your installer if you want to get your system modified.
!
Caution!
Sensitive components
Damage of sensitive components is possible if the system is not handled carefully or if the
system is opened or modified.
– Always handle the system carefully.
– Never open or modify the system.
–Please contact your installer if you want to get your system modified.
1
AMAX Safety | en 5
Bosch Sicherheitsysteme GmbH User Guide 2014.09 | 03 | F.01U.295.569

Short information
Introduction
This User Guide contains information on how to operate the system easily and quickly. The
guide describes the main steps required for operation of the AMAX panel 2100/3000/4000
together with a text and/or a LED/LCD keypad described in Keypads, page 7. It is possible
to add an optional text keypad as a master keypad.
Detailed information about the installation of this and other modules and devices, advanced
settings and programming can be found in the Installation Guide. Information on the main
steps required for basic system installation and setup can be found in the Quick Start Guide.
2
2.1
6en | Short information AMAX
2014.09 | 03 | F.01U.295.569 User Guide Bosch Sicherheitsysteme GmbH

Keypads
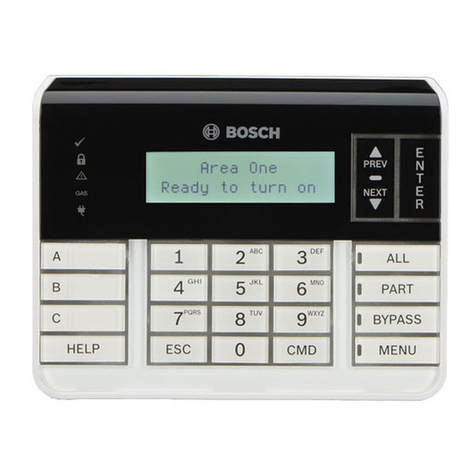
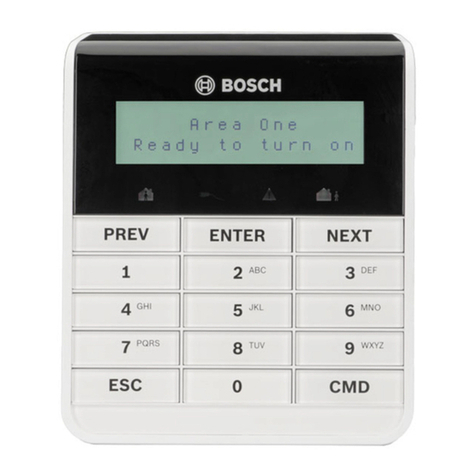
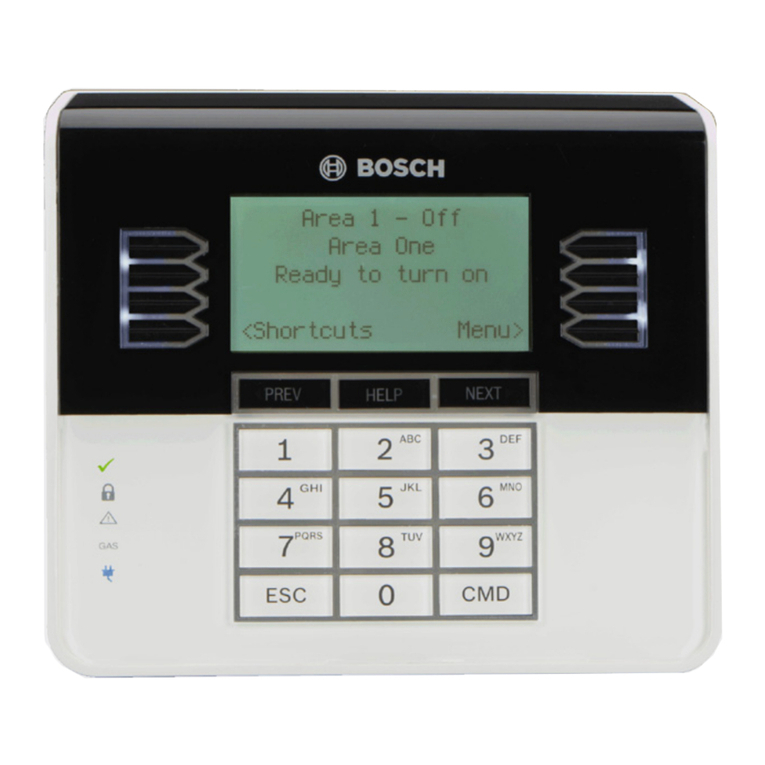
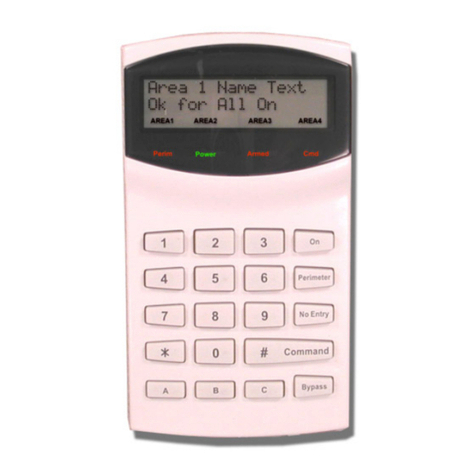
The following text keypad can be used for operating AMAX panel 2100/3000/4000.
IUI-AMAX4-TEXT
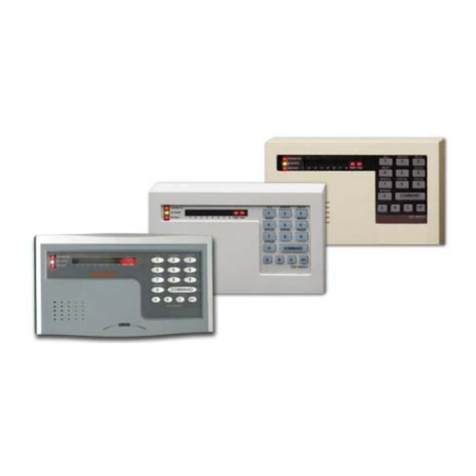
The following LED/LCD keypads can be used for operating AMAX panel 2100/3000/4000.
IUI-AMAX3-LED8 IUI-AMAX3-LED16
IUI-AMAX-LED8 IUI-AMAX-LCD8
Notice!
Only a text keypad can be used as a master keypad.
2.2
AMAX Short information | en 7
Bosch Sicherheitsysteme GmbH User Guide 2014.09 | 03 | F.01U.295.569

Keypad Indicators
The following table shows an overview and a description of the keypad indicator icons.
Keypad Indicator
Icons
Status Definition
1 2 3 ….
ZONE (1-8)
on Zone is triggered.
off Zone is normal.
Fast flash (0.25 seconds lights on/
0.25 seconds lights off)
Zone was alarmed or is in alarm
status.
Slow flash (1 second lights on/1
second lights off)
Zone is manually bypassed or
interior Zone is in STAY arm mode.
AWAY
on System is armed in AWAY mode.
off System not armed in AWAY mode.
Slow flash (1 second lights on/1
second lights off)
Exit time.
Fast flash (0.25 seconds lights on/
0.25 seconds lights off)
Programming mode or code
function mode. STAY indicator
flashes simultaneously.
STAY
on System is armed in STAY mode.
off System not armed in STAY mode.
Slow flash (1 second lights on/1
second lights off)
Exit time.
Fast flash (0.25 seconds lights on/
0.25 seconds lights off)
Programming mode or code
function mode. AWAY indicator
flashes simultaneously. When
bypass function is performed, only
the STAY indicator flashes.
MAINS
on AC main power is normal.
Slow flash (1 second lights on/1
second lights off)
AC main power supply failed.
FAULTS
on System fault or Tamper condition
is present.
off System is in normal status.
Flashes System fault or tamper condition
must be acknowledged.
on System is disarmed.
2.3
8en | Short information AMAX
2014.09 | 03 | F.01U.295.569 User Guide Bosch Sicherheitsysteme GmbH

The following table shows an overview and a description of the keypad sound icons.
Sound Indicator Definition
Short beep A keypad button has been pressed.
Short beep, followed by a one-second
beep
The requested operation is refused. Incorrect
operation signal.
Two short beeps The system accepted the code. The system executed
the requested function.
One short beep every minute Fault tone, unacknowledged system failure.
One short beep every two seconds Exit time started.
Continued sound – Last 10 seconds on exit time
–Keypad fault or tamper sound (fault or tamper
to be acknowledged)
–Keypad alarm sound
Continuous 0.5 second beep, stops
for 0.5 seconds
– Entry delay time (until alarm ends or system is
disarmed)
– Exit delay time (stops 10 seconds before exit
delay stops)
AMAX Short information | en 9
Bosch Sicherheitsysteme GmbH User Guide 2014.09 | 03 | F.01U.295.569

Quick Keypad Operations Instructions
The following table shows an overview of the quick keypad operations and the corresponding
user permissions. For information on changing codes and defining user permission levels,
please refer to Codes, page 24.
Function Command
Default User Code = 2580
D A B S M
1
M
2
I
N
Arm/Disarm
AWAY Arm [code] + [#] / [#] for 3 sec. (quick arm) √ √ √ √ √ √ √
AWAY Arm All Areas (only
on master keypad)
[code] + [0] [0] + [#] √ √ √ √ √ √ √
Direct AWAY Arm (only on
master keypad
[code] + [2-digit area no.] + [#] √ √ √
STAY Arm [code] + [*] / [*] for 3 sec. (quick arm) √ √ √ √ √ √ √
STAY Arm All Areas (only
on master keypad)
[code] + [0] [0] + [*] √ √ √ √ √ √ √
Direct STAY Arm (only on
master keypad
[code] + [2-digit area no.] + [*] √ √ √
Disarm [code] + [#] √ √ √ √ √ √
Disarm All Areas (only on
master keypad)
[code] + [#] √ √ √ √ √ √
Display
Display Info (Fault/Tamper
Analysis)
[code] + [2] [1] + [#] √ √ √
Bypass
Bypass/Unbypass Zone [code] + [3] [1] + [#] + [2-digit zone no.]
+ [#]
√√√√√
Bypass Fault/Tamper [code] + [3] [4] + [#] √ √ √
Reset
Reset Fault/Tamper (In
some country versions only
the installer can reset a
tamper alarm)
[code] + [6] + [#] √ √ √
Macros
Record Macro 1 [code] + [8] [1] + [#] + operation + [#]
for 3 sec.
√ √ √ √
2.4
10 en | Short information AMAX
2014.09 | 03 | F.01U.295.569 User Guide Bosch Sicherheitsysteme GmbH

Record Macro 2 [code] + [8] [2] + [#] + operation + [#]
for 3 sec.
√ √ √ √
Record Macro 3 [code] + [8] [3] + [#] + operation + [#]
for 3 sec.
√ √ √ √
Play Macro 1 [code] + long press [1] / [1] for 3 sec.
(quick macro)
******√
Play Macro 2 [code] + long press [2] / [2] for 3 sec.
(quick macro)
******√
Play Macro 3 [code] + long press [3] / [3] for 3 sec.
(quick macro)
******√
Alarm commands
Keypad Emergency Alarm long press [1] and [3] or [*] and [#] √ √
Keypad Fire long press [4] and [6] √ √
Keypad Medical Alarm long press [7] and [9] √ √
Other Commands
Switch to Master Keypad [code] + [0] [0] [0] + [#] (only on text
keypad)
√ √ √ √
Switch to Area 01-16 [code] + [0] [2-digit area no.] + [#] (only
on text keypad)
√ √ √ √
Display all Event Log [code] + [2] [2] + [#] (only on text
keypad)
√ √
Display EN Event Log [code] + [2] [3] + [#] (only on text
keypad)
√ √
Display Dialer Event Log [code] + [2] [4] + [#] (only on text
keypad)
√ √
Siren Test [code] + [4] [1] + [#] √ √ √
Communication Test [code] + [4] [2] + [#] √ √ √
Walk Test [code] + [4] [3] + [#] √ √ √
Daylight Saving Time (+1h) [code] + [5] [2] + [#] √ √ √
Daylight Saving Time (-1h) [code] + [5] [3] + [#] √ √ √
Add/Change User Code [code] + [5] [4] + [#] √ √ √
Change Individual Code [code] + [5] [5] + [#] √ √ √
Call Back [code] + [5] [7] + [#] √ √ √
Change Language [code] + [5] [8] + [#] + [2-digit no. for
available languages] + [#]
01=EN; 02=DE; 03=ES; 04=FR ; 05=PT;
06=PL; 07=NL; 08=SE
√√√
AMAX Short information | en 11
Bosch Sicherheitsysteme GmbH User Guide 2014.09 | 03 | F.01U.295.569

Installer Access [code] + [7] [1] + [#] (enable)
[code] + [7] [2] + [#] (disable)
√√
System Reset [code] + [9] [9] [8] [9] + [#] √ √ √
D = Duress User
A = Arming User
B = Basic User
S = Super User
M1 = Master User 1
M2 = Master User 2
IN = Installer
* This function can be enabled/disabled individually for every user. For further information,
please refer to Add/Change User Codes, page 24.
12 en | Short information AMAX
2014.09 | 03 | F.01U.295.569 User Guide Bosch Sicherheitsysteme GmbH

User Menu
The following table shows an overview of the user menu.
FAULT/TAMP INQUIRE
[ / ]USER MENU
ARM/DISARM
ARM AWAY
ARM STAY
DISARM
ZN/FLT/TAMP BYPASS
ZONE BYPASS
BYPASS INQUIRE
BYPASS FLT./ TAMP.
INQUIRE
ALL EVENT RECALL
EN EVENT RECALL
DIAL EVENT RECALL
EVENT PRINT
PRINTER ENABLE
RESET
SYSTEM TEST
SIREN TEST
COMMUNICATIN TEST
WALK TEST
RECORD :END # 3s
AREA SWITCH
SYSTEM SETTINGS
DAYL.SAV.TIME +1h
DAYL.SAV.TIME -1h
ADD/CHG USER CODE
CHANGE INDIV CODE
INITIATE CALL BACK
CHANGE LANGUAGE
MACRO START
INPUT MACRO No 1-3
START PLAY
SCHEDULE ENABLE
INSTALLER ACCESS
ENABLE INSTALLER
DISABLE INSTALLER
2.5
AMAX Short information | en 13
Bosch Sicherheitsysteme GmbH User Guide 2014.09 | 03 | F.01U.295.569

Arming and Disarming the System
Arming the System
Notice!
When the number of incorrect code entries on the keypad reaches a specified limit
(configured by the installer), the keypad will automatically lock for 180 seconds and an alarm
is reported. If the keypad is idle for one minute, the system will automatically exit from any
operational mode.
Arming in AWAY Mode
The AWAY Mode is used to arm the premises to detect a would-be intruder, when you leave
the premises and require that all zones are activated in a ready state.
Keypad Arming
There are two methods to arm your system in AWAY mode.
Method 1:
4Enter your code and press [#].
PThe system beeps twice, the AWAY indicator flashes slowly and exit time starts. After the
exit time, the AWAY indicator is lit.
Method 2 (Quick Arm):
4Press and hold [#] until the system beeps twice.
PThe AWAY indicator flashes slowly and exit time starts. After the exit time, the AWAY
indicator is lit.
Please contact your installer to enable/disable this function.
Telephone Remote Arming
Users can use a telephone to arm the system.
1. Dial the control panel number.
The control panel answers the call and issues a long beep.
2. Press [#].
PWhen the panel receives the signal it confirms the arming of the control panel with a high
tone.
Please contact your installer to enable/disable this function.
Notice!
Telephone remote arming is only possible when the system has only one assigned area.
Key Switch Arming
Users can use a key switch to arm the system.
4Activate the key switch.
PThe AWAY indicator flashes slowly and exit time starts. After exit time, the AWAY indicator
is lit.
Please contact your installer to enable/disable this function.
3
3.1
3.1.1
14 en | Arming and Disarming the System AMAX
2014.09 | 03 | F.01U.295.569 User Guide Bosch Sicherheitsysteme GmbH

RADION RF Keyfob Arming
Users can use a RADION RF keyfob to arm the system.
4Press the arming button of the RADION RF keyfob.
PThe AWAY indicator flashes slowly and exit time starts. After exit time, the AWAY indicator
is lit.
Please contact your installer to enable/disable this function.
Arming in STAY Mode
The STAY Mode is used to arm the perimeter and unused areas of the premises to detect a
would-be intruder, while at the same time being able to move freely within an area that is
automatically isolated.
Keypad Arming
There are two methods to arm your system in STAY mode.
Method 1:
4Enter your code and press [*].
PThe system beeps twice, the STAY indicator flashes slowly and exit time starts. After the
exit time, the STAY indicator is lit.
PThe lights corresponding to all zones programmed as automatically isolated zones
(Interior Instant Zone) begin to flash and continue until the exit time is finished.
Method 2 (Quick Arm):
4Press and hold [*] until the system beeps twice.
PThe STAY indicator flashes slowly and exit time starts. After the exit time, the STAY
indicator is lit.
Please contact your installer to enable/disable this function.
RADION RF Keyfob Arming
Users can use a RADION RF four button keyfob to arm the system via the third button.
4Press the third button of the RADION RF four button keyfob.
PThe STAY indicator flashes slowly and exit time starts. After the exit time, the STAY
indicator is lit.
Please contact your installer to enable/disable this function.
Forced Arming
Arming the system when a zone is not sealed is known as forced arming.
If the AWAY indicator is not lit and a long beep sounds when you attempt to arm the system in
AWAY mode, then forced arming is not permitted. In this case, you have to seal all zones or
manually isolate them before you can arm the system.
Please contact your installer to enable/disable this function.
3.1.2
3.1.3
AMAX Arming and Disarming the System | en 15
Bosch Sicherheitsysteme GmbH User Guide 2014.09 | 03 | F.01U.295.569

Arming with a Master Keypad
An optional master text keypad can be added if there is more than one assigned area on your
system.
Please contact your installer to enable/disable this function.
The master keypad can be used to arm single or all assigned areas.
How to Arm All Areas in AWAY Mode:
4Enter your code + [0] [0] and press [#].
PThe system beeps twice, the AWAY indicator flashes slowly and exit time starts. After the
exit time, the AWAY indicator is lit and all areas are displayed as armed.
How to Arm All Areas in STAY Mode:
4Enter your code + [0] [0] and press [*].
PThe system beeps twice, the STAY indicator flashes slowly and exit time starts. After the
exit time, the STAY indicator is lit and all areas are displayed as armed.
How to Arm a Single Area in AWAY Mode (Direct Arm):
1. Enter your code and the two-digit number of the area you want to arm.
2. Press [#].
PThe AWAY indicator flashes slowly and exit time starts. After the exit time, the AWAY
indicator is lit and the selected area is displayed as armed.
4Repeat step 1 if you want to arm multiple areas.
How to Arm a Single Area in STAY Mode (Direct Arm):
1. Enter your code and the two-digit number of the area you want to arm.
2. Press [*].
PThe STAY indicator flashes slowly and exit time starts. After the exit time, the STAY
indicator is lit and the selected area is displayed as armed.
4Repeat step 1 if you want to arm multiple areas.
3.1.4
16 en | Arming and Disarming the System AMAX
2014.09 | 03 | F.01U.295.569 User Guide Bosch Sicherheitsysteme GmbH

Disarming the System
Disarming with Code
4Enter your code and press [#].
PThe system beeps twice and the AWAY or STAY indicator is extinguished.
Disarming with Key Switch
4Deactivate the key switch.
PThe system is disarmed and the AWAY or STAY indicator is extinguished.
Please contact your installer to enable/disable this function.
Disarming with RADION RF Keyfob
4Press the disarming button of the RADION RF keyfob.
PThe system is disarmed and the AWAY or STAY indicator is extinguished.
Please contact your installer to enable/disable this function.
Disarming with a Master Keypad
An optional master text keypad can be added if there is more than one assigned area on your
system.
Please contact your installer to enable/disable this function.
The master keypad can be used to disarm all assigned areas.
How to Disarm All Areas
There are two methods to disarm your system via a master keypad.
Method 1:
1. Enter your code and press [#].
2. The system beeps twice and the AWAY or STAY indicator is extinguished. All areas are
disarmed.
Method 2 (Quick Disarm):
4Press and hold [#] until the system beeps twice
PThe AWAY or STAY indicator is extinguished. All areas are disarmed.
How to Disarm a Single Area (Direct Disarm):
1. Enter your code and the two-digit number of the area you want to disarm.
2. Press [#].
PThe system beeps twice and the AWAY or STAY indicator is extinguished. The selected
area is disarmed.
4Repeat step 1 if you want to disarm multiple areas.
3.2
3.2.1
3.2.2
3.2.3
3.2.4
AMAX Arming and Disarming the System | en 17
Bosch Sicherheitsysteme GmbH User Guide 2014.09 | 03 | F.01U.295.569

Changing the Menu Language
The menu language of the AMAX panel can be changed.
Notice!
This function can only be operated with a text keypad.
How to Change the Menu Language:
1. Enter your code + [5] [8] and press [#].
The available menu languages are displayed.
2. Enter the two-digit number for the desired language.
3. Press [#].
PThe system beeps twice and the menu language is changed.
4
18 en | Changing the Menu Language AMAX
2014.09 | 03 | F.01U.295.569 User Guide Bosch Sicherheitsysteme GmbH

System Test
Siren Test
This function allows the users to test the siren.
4Enter your code + [4] [1] and press [#].
PThe system beeps twice and the siren is activated for one second.
Communication Test
This function allows the users to send a test report to a central monitoring station.
1. Enter your code + [4] [2] and press [#].
The system beeps twice and a test report is send.
The keypad displays the status of the test report for all communication paths.
2. Press [#] to exit.
Walk Test Mode
This function allows users to test detection devices to ensure they are functioning correctly.
Bypass any zones that are not required for testing before activating the walk test mode.
During the walk test, no walk test report is sent out to the control panel system.
How to Select Walk Test Mode:
1. Enter your code + [4] [3] and press [#].
The system beeps twice and the STAY and AWAY indicators flash.
2. Unseal and seal the zones to be tested.
PThe system beeps. The siren beeps once each time a zone status is changed.
How to Exit Walk Test Mode:
4Enter your code + [4] [3] and press [#].
5
5.1
5.2
5.3
AMAX System Test | en 19
Bosch Sicherheitsysteme GmbH User Guide 2014.09 | 03 | F.01U.295.569

Bypassing
Bypassing/Unbypassing Zones
One or more zones can be disabled for one arming cycle. After bypassing a zone, you can arm
the system even when a zone is in alarm state.
How to Bypass/Unbypass a Zone via Text Keypad
1. Enter your code + [3] [1] and press [#].
The STAY indicator flashes fast. The available zones are shown. Already bypassed zones
are checked. Unavailable zones are marked with an x.
2. Use [▲] and [▼] to display all zones.
3. Enter the two-digit zone number you wish to bypass/unbypass.
The selected zone is checked/unchecked.
4. Repeat step 3 if you want to bypass/unbypass multiple zones.
5. Press [#] to confirm.
6. Press [#] to exit.
How to Bypass/Unbypass a Zone via LED/LCD Keypad
1. Enter your code + [3] [1] and press [#].
The STAY indicator flashes fast. The lit number indicators show the bypassed zones. If no
numbers are lit, no zones are bypassed yet.
2. Enter the zone number you want to bypass/unbypass.
3. Press [*].
The system beeps twice. The corresponding number indicator is lit/extinguished.
4. Repeat step 2 if you want to bypass/unbypass multiple zones.
5. Press [#] to exit.
Bypassing Faults or Tamper Conditions
One or more faults or tamper conditions can be disabled for one arming cycle. After bypassing
a fault or tamper condition, you can arm the system even when a fault or tamper condition
exists.
Only zone tampers can not be bypassed.
How to bypass a Fault or Tamper Condition
4Enter your code + [3] [4] and press [#].
PThe system beeps twice and fault or tamper conditions are bypassed.
6
6.1
6.1.1
6.1.2
6.2
20 en | Bypassing AMAX
2014.09 | 03 | F.01U.295.569 User Guide Bosch Sicherheitsysteme GmbH
Other manuals for AMAX 2100
6
This manual suits for next models
2
Table of contents
Other Bosch Keypad manuals

Bosch
Bosch D7212G Quick start guide

Bosch
Bosch Security System User manual

Bosch
Bosch CP799B How to use

Bosch
Bosch D223A Series User manual

Bosch
Bosch SDI2 User manual

Bosch
Bosch D223TD User manual

Bosch
Bosch RF3341 User manual

Bosch
Bosch AVENAR 8000 User manual

Bosch
Bosch D1260 Series User manual

Bosch
Bosch D1265 User manual

Bosch
Bosch B920 User manual

Bosch
Bosch DS7446KP User manual

Bosch
Bosch AMAX 2100 User manual

Bosch
Bosch B930 User manual

Bosch
Bosch ICP-CP4TS User manual

Bosch
Bosch D1265 User manual

Bosch
Bosch CK-M12 Instruction manual

Bosch
Bosch D202A Series User manual

Bosch
Bosch D8229 User manual

Bosch
Bosch B915I User manual