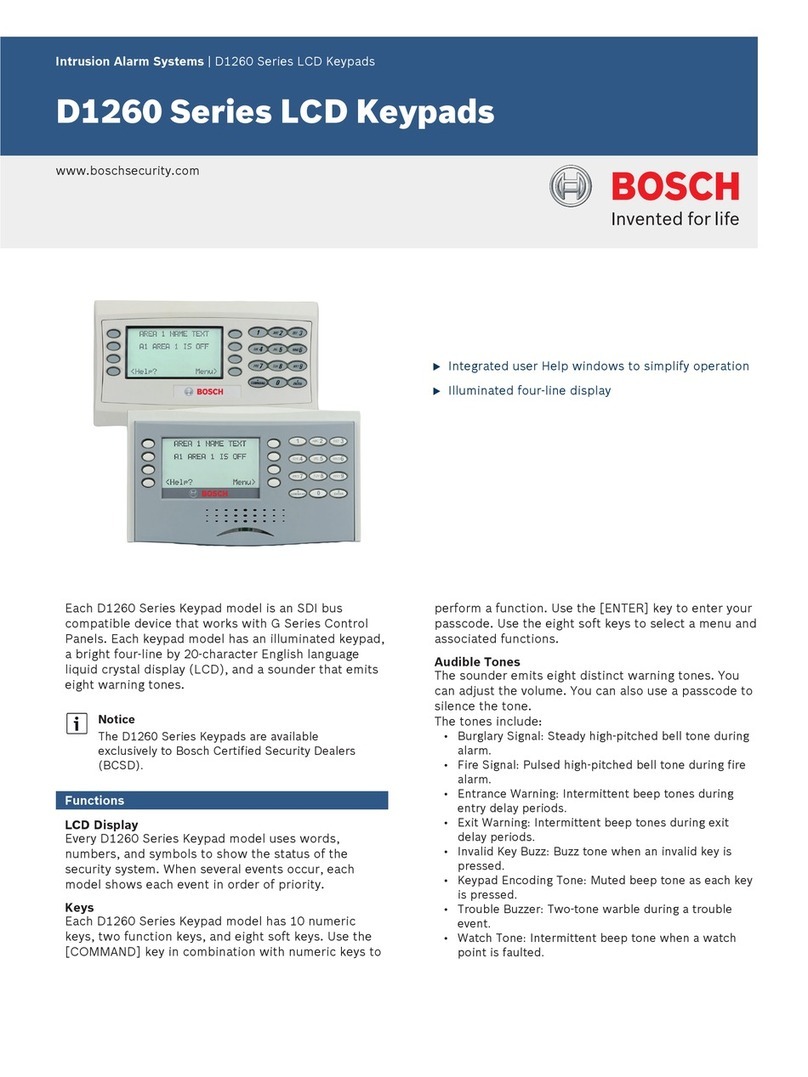
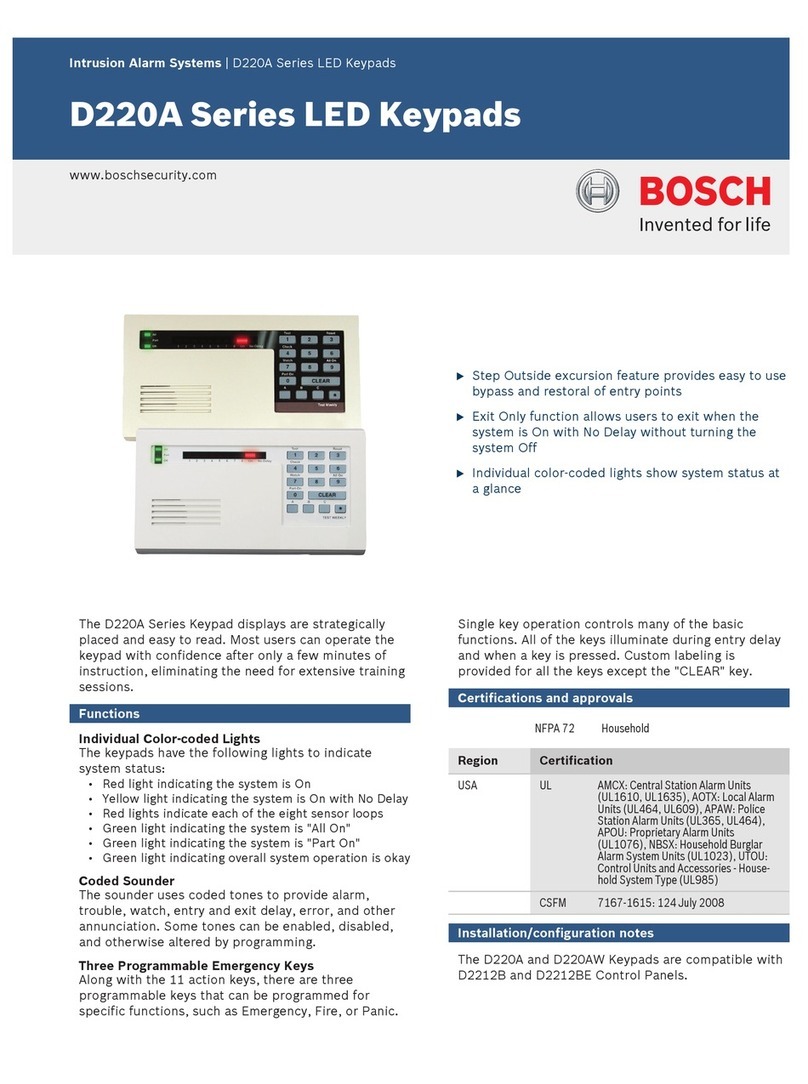
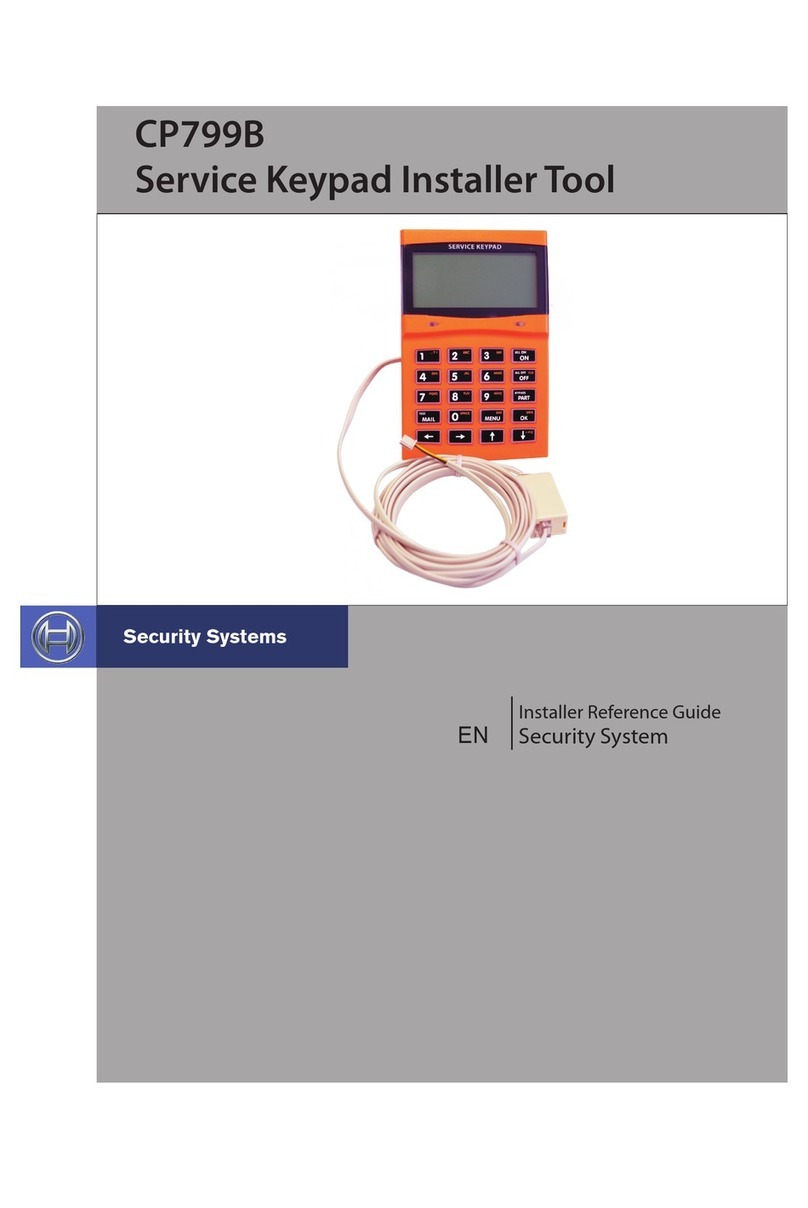
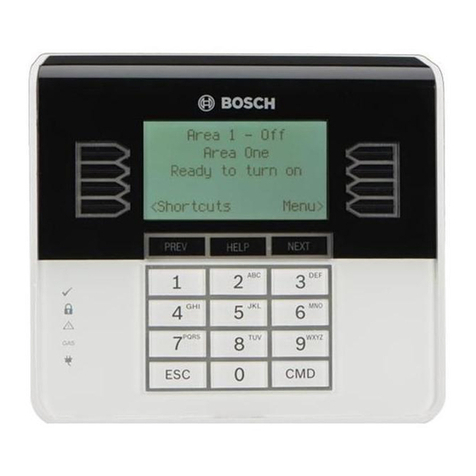
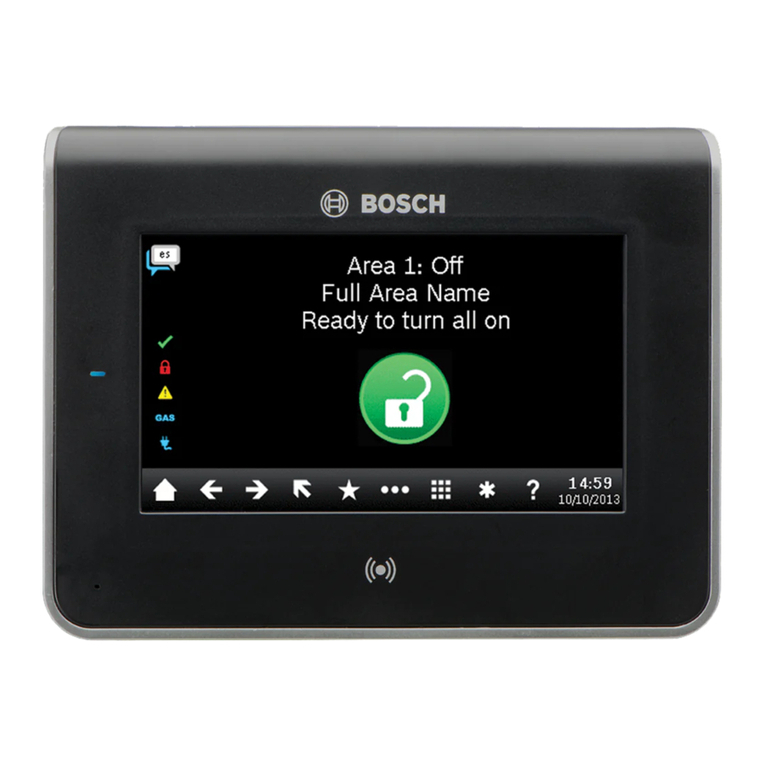
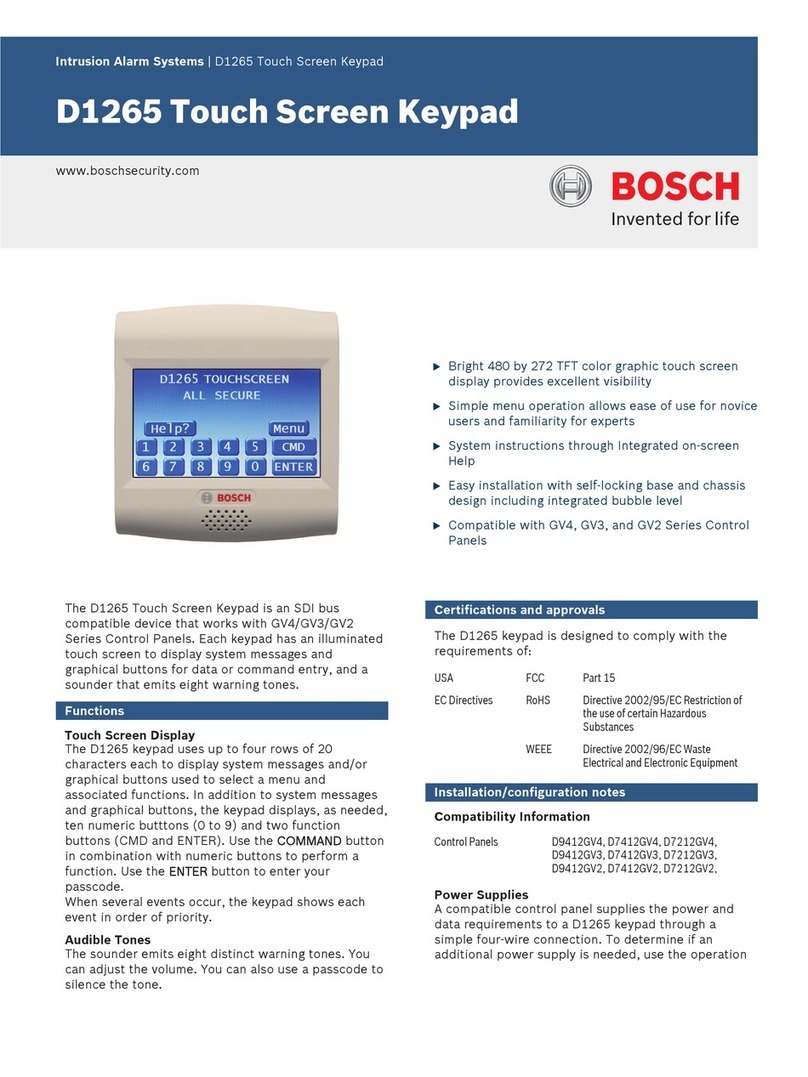
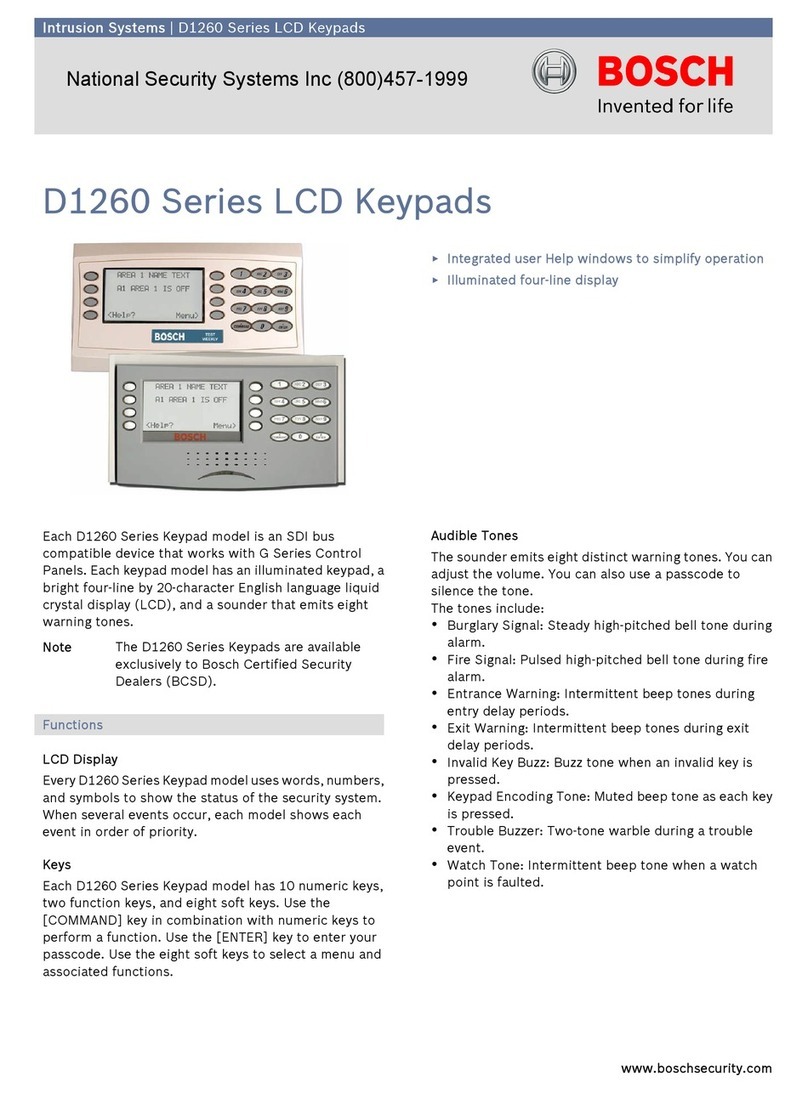
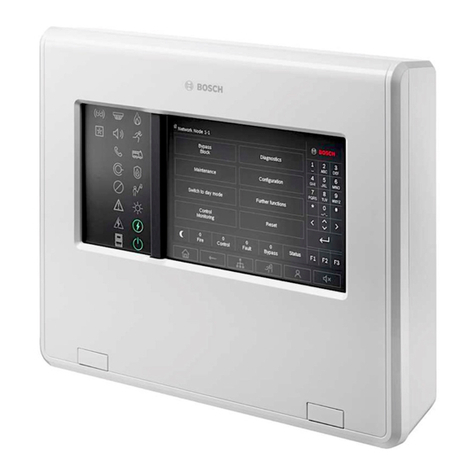
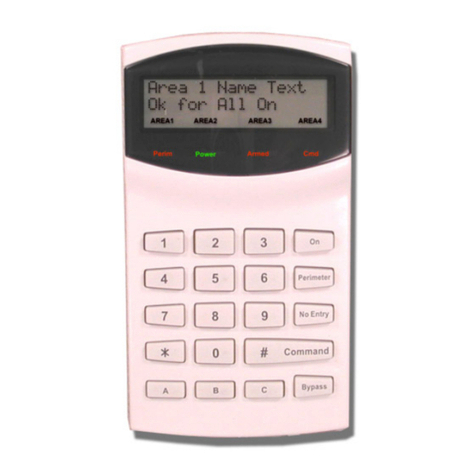
Bosch ICP-CP4TS User manual

Installation Guide
Security System
EN
Security Systems
ICP-CP4TS 4.3”

“Touch Classic” Installation Guide
The Touch Classic touch screen codepad has been developed to provide an updated
user interface for SolutionTM Classic control panels. It is very simple to install and
program with an intuitive interface and rich feature set. Please read the following guide
to familiarise yourself with the functions and limitations of the product.
Compatibility
The Touch Classic has been designed to be compatible with the following three
Solution Classic control panels.
1. Solution 16 2. ICP– CC488 3. ICP– CC404
Other Solution Classic series may be supported through a later software release
dependent on demand.
Wall Mounting/Removal
The Touch Classic is supplied with a wall mount plate that should be fixed to the wall
using the supplied screws or similar. It is important that the screw heads do not foul the
indentations in the rear of the codepad. Pan head screws of 6G size are recommended.
Once the wall plate mounting is complete, the plug and lead should be soldered to the
4 core cable from the alarm panel. Now connect the plug to the socket and clip onto the
wall plate.
Note: Ensure the Touch Classic is orientated so that the light sensor ( Fig 1) can
receive adequate room lighting for effective automatic brightness adjustment.
The orientation of the screen can be changed to be either vertical or horizontal to suit
the installation. See Settings => Installation => Touchpad.
To remove the Touch Classic from the wall plate insert a long thin screwdriver blade in
the release hole and gently press until the unit “pops” off of the wall plate.
Touch Classic is optimised for viewing from one direction. Ie: left/right or above/below.
The installer may have to reverse the mounting direction to obtain the best image.
Connection to the Control Panel
The Touch Classic should be powered up with the CLOCK wire disconnected at the
control panel to allow setting of the panel type.
Light sensorFig 1: Release catch
To access panel programming + Installation -Panel (Basic) or Panel
(Enhanced) enter the installer code. You will be presented with the below.
Basic screen Enhanced screen
In Basic programming mode data entry is as per the LED/ICON codepads. Enter the
address and #. The data at that location will be displayed. Enter new data press *.
The (X) button provides a backspace function.
In Enhanced programming mode separate windows are provided to display address
and data. You can move between these windows by touch selection. Entering an
address followed by the Enter button will display the data at that address. A new data
entry may then be made ( note position of the green window outline ) followed by the
enter key.The address locations may be stepped through one at a time by using the
or buttons. When programming is complete touch the HOME button. There
is no requirement to enter the familiar 960 away command with the Touch Classic.
Diagnostics
From the settings menu touch Diagnostics and the installer will be presented with all
of the usual test functions as well as the Alarm Memory. The Alarm memory event
recall process steps through events as per the standard codepad however each is
displayed in numbered order on the screen.
The Walk Test function “ticks” off zones as they are tripped and moves them to the
bottom of the screen. The horn beep function is retained.
Warranty
THREE Years��

With the CLOCK line disconnected “Alarm System Communication Failure” will be
displayed. No codes are required in this mode to access settings for the touch panel.
Selecting Control Panel
1. Touch 2. Select “ Installation “ 3. Select “Touchpad”
4. Select “Panel Type” from the Configurations Options.
5. Select Alarm Panel type.
The CLOCK line can now be connected at the control panel. The default panel is
ICP-CC404. Note: there is a selection “Demonstration”. This selection allows the
touch panel to operate without an alarm panel for sales purposes.
Touch Panel Settings
The settings menu contains User settings and Installer settings. Installer settings
must be set correctly during installation. The touch panel settings do not affect the
alarm panel. Changes to the alarm panel configuration must be made through the
Control Panel programming section ( see next page). Installer settings are always
protected with the panel’s installer code. User settings may be protected if desired. In
this case the entry of a valid master code will permit access.
The Touch Classic only accepts user codes with the length specified in Configuration
Options => PIN Code Digits” . All user codes and the installer code must have
the same number of digits.
On all screens where an ENTER button is present, this button must be pressed for
settings to take effect. In all other cases, settings take effect immediately. Eg: YES/
NO and ON/OFF switches that are presented on various screens.
Scrolling Menus
Where a menu contains more options than can be displayed on the screen at once
the screen will scroll. Place your finger on an menu item and drag up or down to
move through menu items. The Touch Classic will not respond to “flicking” the screen
Installation Settings ( Touch Classic )
The Touch Classic allows customisation of settings for each unit via the
Installation =>Touchpad => Configuration Options menu.
1. Panel Type = Set the model of Solution panel
2. Orientation = Screen rotation
3. Partitioning = Set Area partition for the Touch Classic
4. Active Zones = Set which zones will be displayed
5. Active Outputs = Select outputs that will be displayed
6. Active Areas = Select areas to be displayed ( partition)
7. PIN Code Digits = Select from 4 to 7 digit codes ( both user
and installer codes must be same length)
8. Contact Details = Select to enter installer contact details
The next five options effect what buttons are made available for ARMING of the
system. If NO is selected then that button will not be made available to the user.
These options are -Away Arm -Stay Arm -Stay 2 Arm -All Areas Arm -All
Areas Disarm.
The next five options all ask whether a PIN code is required for various functions.
They are Code for Away -Code for Stay -Code for Stay Disarm -Code for
Isolate -Code for Day alarm.
The next four options relate to Duress/ Panic functions. They are Codepad Duress -
Medical Panic -Fire Panic -Police Panic. If any of the Panic functions are set
as NO then they will not be displayed on the Emergency screen.
The RF Fobs option when set as YES allows the user to add remote controls via the
Radio Keyfobs option in the Settings menu. This is used for WE800EV2. When
RF Devices is set to YES the installer is able to add Bosch Ultima wireless
equipment by selecting RF Devices from the Settings -Installation menu.
The next two options decide whether Output Control and Output Reset are available to
the user.
When Domestic Dialling is set as YES the user is able to view and alter the numbers
dialled by the alarm panel via the Settings -Dialling option.
The next two options in the menu decide whether Day Alarm is available to the user
and whether this can be reset via the Day Alarm Reset.
Call Forwarding option set to YES will redirect incoming calls to another number
when the system is armed in Away.
Erase All Settings will revert all programming back to the factory defaults.
Control Panel Programming
The control panel can be fully programmed from the Touch Classic. There are two
available programming modes. The first uses the familiar method as per a LED or
ICON codepad. The second mode is an enhanced version with added features.

“Touch Classic” Installation Guide
The Touch Classic touch screen codepad has been developed to provide an updated
user interface for SolutionTM Classic control panels. It is very simple to install and
program with an intuitive interface and rich feature set. Please read the following guide
to familiarise yourself with the functions and limitations of the product.
Compatibility
The Touch Classic has been designed to be compatible with the following three
Solution Classic control panels.
1. Solution 16 2. ICP– CC488 3. ICP– CC404
Other Solution Classic series may be supported through a later software release
dependent on demand.
Wall Mounting/Removal
The Touch Classic is supplied with a wall mount plate that should be fixed to the wall
using the supplied screws or similar. It is important that the screw heads do not foul the
indentations in the rear of the codepad. Pan head screws of 6G size are recommended.
Once the wall plate mounting is complete, the plug and lead should be soldered to the
4 core cable from the alarm panel. Now connect the plug to the socket and clip onto the
wall plate.
Note: Ensure the Touch Classic is orientated so that the light sensor ( Fig 1) can
receive adequate room lighting for effective automatic brightness adjustment.
The orientation of the screen can be changed to be either vertical or horizontal to suit
the installation. See Settings => Installation => Touchpad.
To remove the Touch Classic from the wall plate insert a long thin screwdriver blade in
the release hole and gently press until the unit “pops” off of the wall plate.
Touch Classic is optimised for viewing from one direction. Ie: left/right or above/below.
The installer may have to reverse the mounting direction to obtain the best image.
Connection to the Control Panel
The Touch Classic should be powered up with the CLOCK wire disconnected at the
control panel to allow setting of the panel type.
Light sensorFig 1: Release catch
To access panel programming + Installation -Panel (Basic) or Panel
(Enhanced) enter the installer code. You will be presented with the below.
Basic screen Enhanced screen
In Basic programming mode data entry is as per the LED/ICON codepads. Enter the
address and #. The data at that location will be displayed. Enter new data press *.
The (X) button provides a backspace function.
In Enhanced programming mode separate windows are provided to display address
and data. You can move between these windows by touch selection. Entering an
address followed by the Enter button will display the data at that address. A new data
entry may then be made ( note position of the green window outline ) followed by the
enter key.The address locations may be stepped through one at a time by using the
or buttons. When programming is complete touch the HOME button. There
is no requirement to enter the familiar 960 away command with the Touch Classic.
Diagnostics
From the settings menu touch Diagnostics and the installer will be presented with all
of the usual test functions as well as the Alarm Memory. The Alarm memory event
recall process steps through events as per the standard codepad however each is
displayed in numbered order on the screen.
The Walk Test function “ticks” off zones as they are tripped and moves them to the
bottom of the screen. The horn beep function is retained.
Warranty
THREE Years��

Bosch Security Systems
21 Solent Circuit,
Baulkham Hills, NSW 2153
Australia
T: +61 13000 BOSCH (26724)
F: +61 (2) 8850 2230
Product Specifications
Operating Voltage 12 to 15VDC
Standby Current 85mA
Housing ABS Plastic
Dimensions 122 x 90 x 14mm ( L x W x H )
Weight 130 grams
Touchscreen Resistive type
LCD Display 4.3” TFT Colour WQVGA resolution
480 x 272 pixels
Operating Temperature (Display) -20C - +70C
Table of contents
Other Bosch Keypad manuals

Bosch
Bosch B921C User manual

Bosch
Bosch DS7446KP User manual

Bosch
Bosch ARD-AYCF64 User manual

Bosch
Bosch B942 User manual

Bosch
Bosch DS7060 User manual

Bosch
Bosch SOLUTION 6000 Instruction manual

Bosch
Bosch AMAX 2100 User manual

Bosch
Bosch B930 User manual

Bosch
Bosch AMAX 2100 User manual

Bosch
Bosch D223A Series User manual