manuals.online logo
Brands
  1. Home
  2. •
  3. Brands
  4. •
  5. Bosch
  6. •
  7. Security Sensor
  8. •
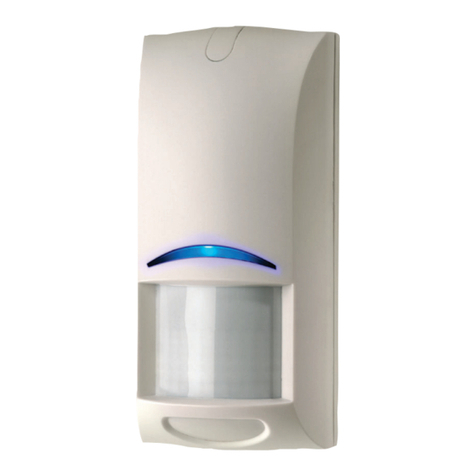
  9. Bosch ISN-AP1-T User manual

Bosch ISN-AP1-T User manual

This manual suits for next models

1

Other Bosch Security Sensor manuals

Bosch RF920 User manual

Bosch

Bosch RF920 User manual

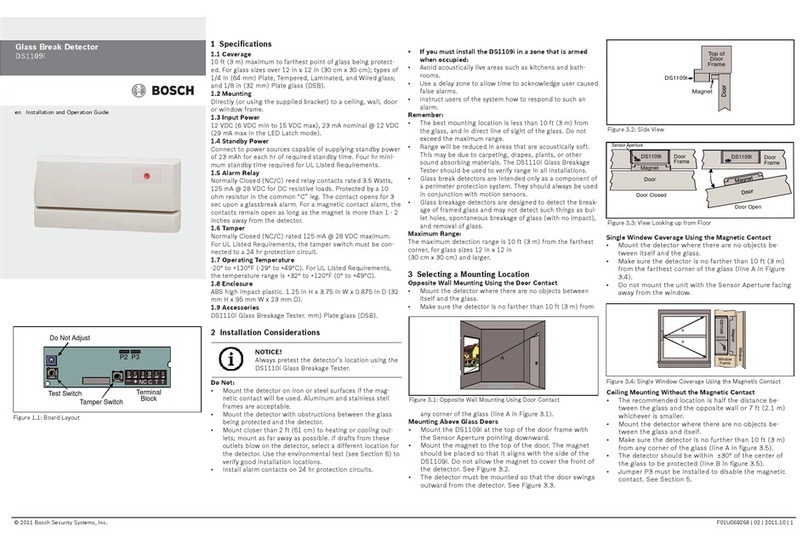
Bosch DS1109i Operating instructions

Bosch

Bosch DS1109i Operating instructions

Bosch ISW-EN1262 User manual

Bosch

Bosch ISW-EN1262 User manual

Bosch ISC-BDL2-WP6 User manual

Bosch

Bosch ISC-BDL2-WP6 User manual

Bosch ISC-PDL1-W18H User manual

Bosch

Bosch ISC-PDL1-W18H User manual

Bosch D-tect 150 User manual

Bosch

Bosch D-tect 150 User manual

Bosch 200 C Use and care manual

Bosch

Bosch 200 C Use and care manual

Bosch DS9360 User manual

Bosch

Bosch DS9360 User manual

Bosch PROFESSIONAL wallSCANNER D-TECT 100 concrete User manual

Bosch

Bosch PROFESSIONAL wallSCANNER D-TECT 100 concrete User manual

Bosch F220 User manual

Bosch

Bosch F220 User manual

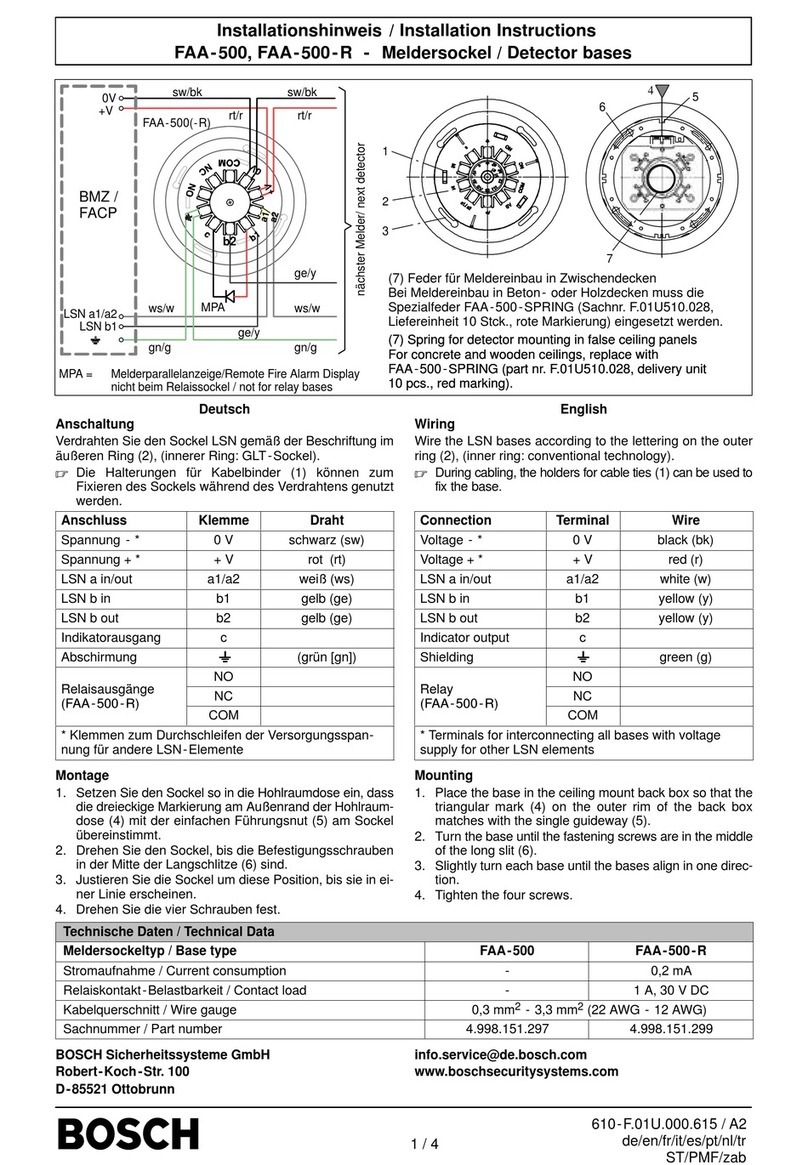
Bosch FAA-500 User manual

Bosch

Bosch FAA-500 User manual

Bosch ISC-SM-90 User manual

Bosch

Bosch ISC-SM-90 User manual

Bosch 440 Series User manual

Bosch

Bosch 440 Series User manual

Bosch 0603683000 User manual

Bosch

Bosch 0603683000 User manual

Bosch Blue Line D1-P User manual

Bosch

Bosch Blue Line D1-P User manual

Bosch DS306E User manual

Bosch

Bosch DS306E User manual

Bosch UniversalDetect User manual

Bosch

Bosch UniversalDetect User manual

Bosch FCP-320 Series User manual

Bosch

Bosch FCP-320 Series User manual

Bosch ISC-BDL2-WP12 User manual

Bosch

Bosch ISC-BDL2-WP12 User manual

Bosch ISC-CDL1-WA15H User manual

Bosch

Bosch ISC-CDL1-WA15H User manual

Bosch DS1103i User manual

Bosch

Bosch DS1103i User manual

Bosch FCS-LWM-1 User manual

Bosch

Bosch FCS-LWM-1 User manual

Bosch Blue Line P1 User manual

Bosch

Bosch Blue Line P1 User manual

Bosch DS820i Series User manual

Bosch

Bosch DS820i Series User manual

Popular Security Sensor manuals by other brands

Honeywell Home PROSiXCOCN Installation and setup guide

Honeywell Home

Honeywell Home PROSiXCOCN Installation and setup guide

Duevi SIRPZ-RB-868 Operation

Duevi

Duevi SIRPZ-RB-868 Operation

RKI 65-2483RK Operator's manual

RKI

RKI 65-2483RK Operator's manual

Nortech PD160 Enhanced Series user manual

Nortech

Nortech PD160 Enhanced Series user manual

Omron K8AC-H2 manual

Omron

Omron K8AC-H2 manual

Agilent Technologies G8610 Series Quick reference card

Agilent Technologies

Agilent Technologies G8610 Series Quick reference card

Shinko SE2EA-1-0-0 instruction manual

Shinko

Shinko SE2EA-1-0-0 instruction manual

Det-Tronics X Series instructions

Det-Tronics

Det-Tronics X Series instructions

ACR Electronics COBHAM RCL-300A Product support manual

ACR Electronics

ACR Electronics COBHAM RCL-300A Product support manual

TOOLCRAFT 1712612 operating instructions

TOOLCRAFT

TOOLCRAFT 1712612 operating instructions

Elkron IM600 Installation, programming and functions manual

Elkron

Elkron IM600 Installation, programming and functions manual

THORLABS PDA10JT user guide

THORLABS

THORLABS PDA10JT user guide

Waeco UV-DETECT operating manual

Waeco

Waeco UV-DETECT operating manual

Intermatic IOS-DSIMF manual

Intermatic

Intermatic IOS-DSIMF manual

Siemens AZL66 Series manual

Siemens

Siemens AZL66 Series manual

BTI Profiline Multi Finder operating instructions

BTI

BTI Profiline Multi Finder operating instructions

Challenger SL01 instruction manual

Challenger

Challenger SL01 instruction manual

DMP Electronics 1122INT installation guide

DMP Electronics

DMP Electronics 1122INT installation guide

manuals.online logo
manuals.online logoBrands
  • About & Mission
  • Contact us
  • Privacy Policy
  • Terms and Conditions

Copyright 2025 Manuals.Online. All Rights Reserved.

© 2011 Bosch Security Systems, Inc. F.01U.004.504 | 06| 2011.5 | 1
2
2,0 m - 2,8 m
(6.6 ft - 9.2 ft)
1
EN50131-2-2, Grade 2
-0oC - +49oC (+32oF - +120oF)
<95%
SELV 安全低电压
Connect all wiring to a safety extra-low voltage (SELV) circuit only. Current Draw:
15 mA @ 12 VDC standby, <25 mA in alarm; Humidity: 0 to 95% non-condensing
Veškerou kabeláž připojujte pouze k bezpečným obvodům s velmi nízkým napětím
(SELV). Odběr proudu: 15 mA při 12 V DC v pohotovostním režimu, <25 mA při
poplachu; Vlhkost vzduchu: 0 až 95 %, nekondenzující
Alle Ausgänge dürfen ausschließlich an SELV-Stromkreise (Schutzkleinspannungs-
Stromkreise) angeschlossen werden. Stromaufnahme: 15 mA bei 12 VDC Standby,
<25 mA im Alarmzustand; Luftfeuchtigkeit: 0 bis 95 %, nicht kondensierend
Συνδέστε όλες τις καλωδιώσεις σε ένα μόνο κύκλωμα εξαιρετικά χαμηλής τάσης
ασφάλειας (SELV). Κατανάλωση ρεύματος: 15 mA στα 12 VDC αναμονής, <25 mA
σε συναγερμό; Υγρασία: 0 έως 95% χωρίς συμπύκνωση
El cableado sólo debe conectarse a un circuito de seguridad de muy baja tensión
(SELV). Consumo de corriente:
15 mA a 12 VCC en reposo, <25 mA en situación de alarma; Humedad: del 0 al
95% (sin condensación).
Tous les fils ne doivent être connectés qu’aux circuits SELV (safety extra-low
voltage). Appel de courant 15 mA à 12 Vcc en mode veille ; < 25 mA en mode
alarme; Humidité : 0 à 95 %, sans condensation
Collegare tutti i cavi esclusivamente a circuiti SELV (safety extra-low voltage).
Consumo corrente: 15 mA a 12 VDC standby, <25 mA in allarme; Umidità: da 0 a
95%, senza condensa
Sluit alle kabels alleen aan op een circuit met extra lage veiligheidsspanning
(SELV). Stroomverbruik: 15 mA bij 12 VDC stand-by, <25 mA bij alarm;
Vochtigheid: 0 tot 95%, niet-condenserend
Wszystkie przewody należy podłączaćwyłącznie do zabezpieczonych obwodów
bardzo niskiego napięcia (SELV). Pobór prądu: 15 mA przy 12 VDC w trybie
gotowości, <25 mA w trybie alarmowym; Wilgotność: 0 do 95%, bez kondensacji
Ligue todos os cabos a um circuito de extra-baixa tensão (SELV) apenas. Consumo
de corrente: 15 mA @ 12 Vdc em standby, <25 mA em alarme; Humidade: 0 a 95%
sem condensação
Tüm kablolarıyalnızca güvenlikli ekstra düşük gerilim (SELV) devresine bağlayın.
Akım Sarfiyatı: 15mA @ 12VDC bekleme, <25 mA alarmda; Nem Oranı: %0 - %95
yoğuşmasız
仅限将所有的线路与安全低电压 (SELV) 电路连接。 电流消耗:待机时为
15 毫安,12 伏直流;警报时为 <25 毫安 湿度:0 至 95% 非冷凝
The unit is intended to be connected to a UL Listed Class 2 control unit or Listed
burglar alarm power supply that has a voltage range between 9-15VDC and
provides a minimum of 4 hours of standby power.
ISN-AP1-T-CHI is not investigated by UL
For CUL, the units are intended to be connected to a CUL Listed
Control Unit or power supply. The unit shall be installed in accor-
dance with National Electrical Code NFPA 70 and Part 1 of the Cana-
dian Electrical Code CS C22.1. Relay Contact is Resistive Load only.
PIR Detector with Tamper
ISN-AP1-T, ISN-AP1-T-CHI
© 2011 Bosch Security Systems, Inc. 130 Perinton Parkway Fairport, NY 14450 F.01U.004.504 | 06 | 2011.5 | 2
3
B335

5
4
6
- + NC C T T
-+
9 - 15 VDC
7
Tamper Contact: Connect to a 24-hour protection circuit
Ochranný kontakt: připojte k 24hodinové smyčce.
Sabotagekontakt: an eine Meldelinie mit 24-Std. Überwachung anschließen
Επαφή προστασίας από επέμβαση: Σύνδεση σε κύκλωμα 24ωρης προστασίας
Contacto de sabotaje: debe conectarse a un circuito de protección de 24 horas
Contact d’autosurveillance : connecter à un circuit de protection 24 heures
Contatto antimanomissione: connesso al circuito di protezione 24 ore su 24
Sabotagecontact: aansluiten op een 24-uurs beveiligingscircuit
Styk zabezpieczenia antysabotażowego: podłączyćdo zabezpieczonego obwodu 24-godzinnego
Contacto contra sabotagem: ligue a um circuito de protecção de 24 horas
Sabotaj Kontağı: 24 saat koruma devresine bağlayın.
防拆接点: 与 24 小时保护电路连接
Maximum rating 125 mA, 28 VDC, 3 W
Maximální jmenovité hodnoty 125 mA, 28 V DC, 3 W
Maximale Belastbarkeit: 125 mA, 28 VDC, 3 W
Μέγιστες τιμές 125 mA, 28 VDC, 3 W
Potencia máxima: 125 mA, 28 VCC, 3 W
Courant nominal maximum de 125 mA à 28 Vcc, 3 W
Portata massima 125 mA, 28 VDC, 3 W
Nominaal maximum 125 mA, 28 VDC, 3 W
Maksymalne wartości znamionowe: 125 mA, 28 VDC, 3 W
Valor nominal máximo 125 mA, 28 Vdc, 3 W
Maksimum değer 125 mA, 28 VDC, 3 W
最大额定值 125 毫安,28 伏直流电,3 瓦。
Alarm Relay
Poplachové relé
Alarmrelais
Ρελέ συναγερμού
Relé de alarma
Relais d’alarme
Relè di allarme
Alarmrelais
Przekaźnik alarmowy
Relé de alarme
Alarm Rölesi
警报继电器
Melder einschalten. Mindestens 2 Minuten warten. Die Alarmdauer beträgt
4 Sekunden. Hinweis: Einmal pro Jahr sollte ein Meldertest durchgeführt
werden.
Τροφοδοτήστε τον ανιχνευτή με ρεύμα. Περιμένετε τουλάχιστον 2 λεπτά.
Ηδιάρκεια του συναγερμού είναι 4 δευτερόλεπτα.Σημείωση:Ένας
τεχνικός εγκατάστασης πρέπει να ελέγχει τον ανιχνευτή τουλάχιστον μία
φορά ετησίως.
Encienda el detector. Espere al menos 2 minutos. La duración de la alarma
es de 4 segundos. Nota: asegúrese de que un instalador compruebe el
detector al menos una vez al año.
Mettez le détecteur sous tension. Patientez au moins 2 min. La durée de
l’alarme est de 4 secondes. Remarque : faites tester le détecteur au moins
une fois par an par un installateur.
Attivare l’alimentazione sul rilevatore. Attendere almeno 2 minuti. La durata
dell’allarme è di 4 secondi. Nota: è necessario effettuare un test sul rileva-
tore almeno una volta l’anno.
Voorzie de detector van voedingsspanning. Wacht ten minste 2 min. Het
alarm duurt 4 seconden. Opmerking: laat de detector minstens eenmaal per
jaar testen door een installateur.
Włączyćzasilanie czujki. Odczekaćco najmniej 2 minuty. Czas trwania
alarmu wynosi 4 sekundy. Uwaga: Przynajmniej raz w roku zaleca się
sprawdzenie czujki przez instalatora.
Ligue o detector. Aguarde pelo menos 2 minutos. A duração do alarme é de
4 segundos. Nota: o detector deve ser testado uma vez por ano, preferen-
cialmente pelo instalador do sistema de segurança.
Dedektöre güç verin. En az 2 dakika boyunca bekleyin. Alarm süresi 4
saniyedir. Not: Dedektörü en az yılda bir kez olmak üzere kurulumcuya test
ettiriniz.
为探测器供电。 等候至少两分钟。 报警持续时间为 4 秒。
备注: 请安装人员测试探测器,至少每年一次。
8
Power the detector. Wait at least 2
minutes. Alarm duration is 4 seconds.
Note: Have an installer test the detec-
tor yearly.
Zapněte napájení detektoru. Počkejte
alespoň2 minuty. Doba trvání poplachu je
4 sekundy. Poznámka: Nechte detektor
zkontrolovat alespoňjednou
LED