manuals.online logo
Brands
  1. Home
  2. •
  3. Brands
  4. •
  5. BOSS ILLUMINATION
  6. •
  7. Outdoor Light
  8. •
  9. BOSS ILLUMINATION MAGNA 2 User manual

BOSS ILLUMINATION MAGNA 2 User manual

www.bia.lighting | [email protected]page 1 / 2
PRODUCT MANUAL
COPYRIGHT BIA ©2020 V11.20
WARRANTY STATEMENT This product is covered by a 5 year replacement warranty.
BIA guarantees this product to be free of defects from the date of purchase for the stated period above. If product fails within the warranty period, BIA will x
or replace the product. This excludes any costs associated with the removal or installation of product. This warranty is subject to the terms and conditions stated
on www.bia.lighting. Failure to comply with installation guidelines will automatically void the warranty. Please retain purchase receipt. For more information on
warranty please visit www.bia.lighting/warranty
BIA reserves the right to change specications and other information, modify products and discontinue items without prior notication.
PRODUCT VARIANTSPRODUCT SPECIFICATIONS
Power : 2W
Input Voltage : 24V DC
Operating Temperature : -10 to 40°C
Dimming : No
Material : Stainless Steel 316
Cutout size : Ø33mm
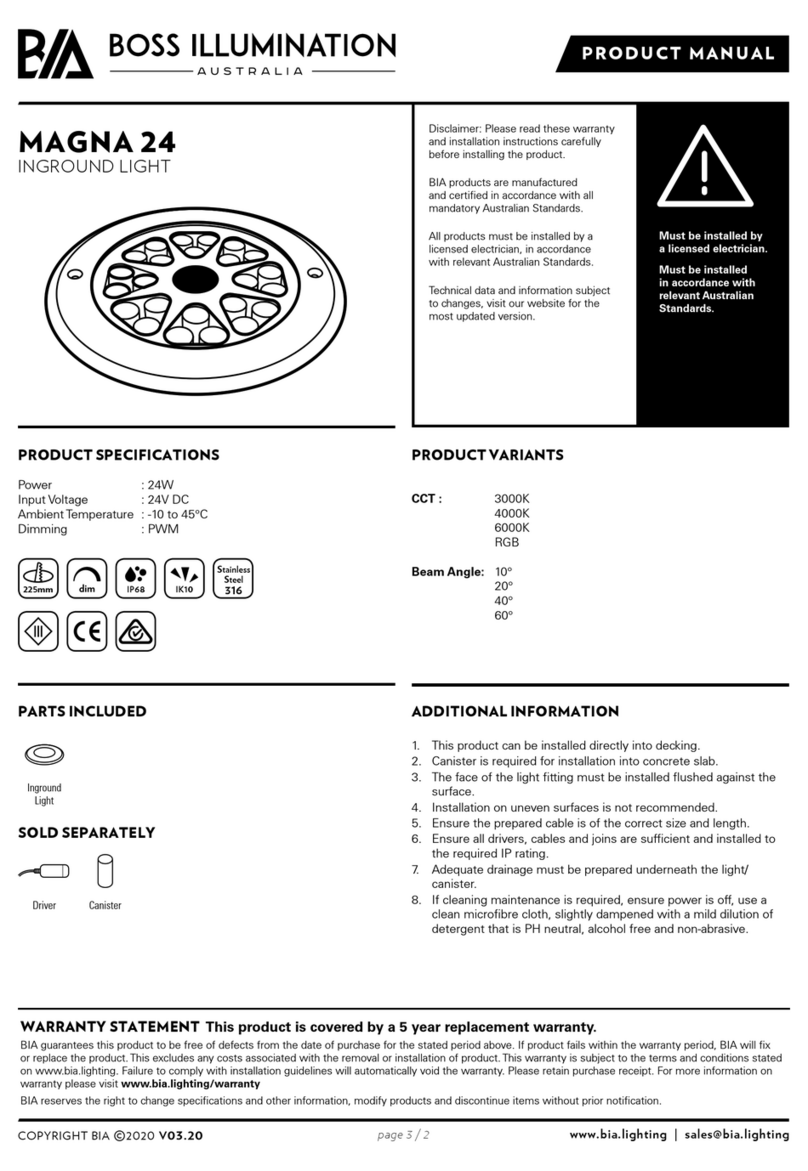
MAGNA 2
INGROUND LIGHT
Must be installed by
a licensed electrician.
Must be installed
in accordance with
relevant Australian
Standards.
PARTS INCLUDED
Driver
IP68 IK10
x1
Disclaimer: Please read this product
manual carefully before installing the
product.
Warranty is void if installation
guidelines are disregarded, if the
product has been modied, or if
damage is caused by misuse or
improper installation.
Images, drawings and diagrams are for
illustrative purposes only.
BIA products are manufactured
and certied in accordance with all
mandatory Australian Standards.
Technical data and information subject
to changes. Please visit our website
for latest version.
Luminaire
Canister
OPTIONAL COMPATIBLE PARTS sold separately
ADDITIONAL INFORMATION
1. This product can be installed directly into decking.
2. Canister is required for installation into concrete slab.
3. The face of the light tting must be installed ushed against the
surface.
4. Installation on uneven surfaces is not recommended.
5. Ensure the prepared cable is of the correct size and length.
6. Ensure all drivers, cables and joins are sufcient and installed to
the required IP rating.
7. Adequate drainage must be prepared underneath the light/
canister.
8. If cleaning maintenance is required, disconnect from mains
supply and allow luminaire to cool. Use a clean microbre cloth,
slightly dampened with a mild dilution of detergent that is PH
neutral, alcohol free and non-abrasive.
9. Do not use harsh chemicals or solvents. Do not use high pressure
cleaners.
10. Care must be taken during installation and maintenance to
prevent accidental damage to the surface of the luminaire. These
damages may result in corrosion.
CCT : 2700K
3000K
4000K
6000K
Beam Angle: 20°
60°
www.bia.lighting | [email protected]page 2 / 2
PRODUCT MANUAL
COPYRIGHT BIA ©2020 V11.20
DIMENSION DIAGRAM
5
4
4
3
2
24V single
conduit
+
-
canister
42mm 1100mm
Ø31mm
Ø50mm
Ø35mm
150mm
Ø50mm
INSTALLATION INSTRUCTIONS
A DIRECT INSTALLATION INTO
DECKING
1. Before commencing installation, ensure the main power is
switched off.
2. Measure and cut hole to 33mm.
3. Lay conduit and prepare wiring.
4. Connect and waterproof cables accordingly.
5. Hold the clips and gently push luminaire into place. The face
of the luminaire must be ushed against the installed surface.
B INSTALLING INTO A CANISTER
1. Before commencing installation, ensure the main power is
switched off.
2. Canisters are to be installed prior to concrete work. Please
plan accordingly and allow for adequate drainage.
3. Secure canisters into intended position. Lay conduit and
prepare wiring.
4. Connect and waterproof cables accordingly.
5. After the concrete has cured, install luminaire by holding the
clips and gently push luminaire into canister. The face of the
luminaire must be ushed against the installed surface.
33mm
IMPORTANT NOTE:
All connections made must be
waterproofed to the appropriate
IP rating for the application.
Warranty is void if connection
IP ratings are not met.
Basic wiring chart
Control gear and wiring requirements may differ
depending on quantity and application. Please
verify before installation.

Other BOSS ILLUMINATION Outdoor Light manuals
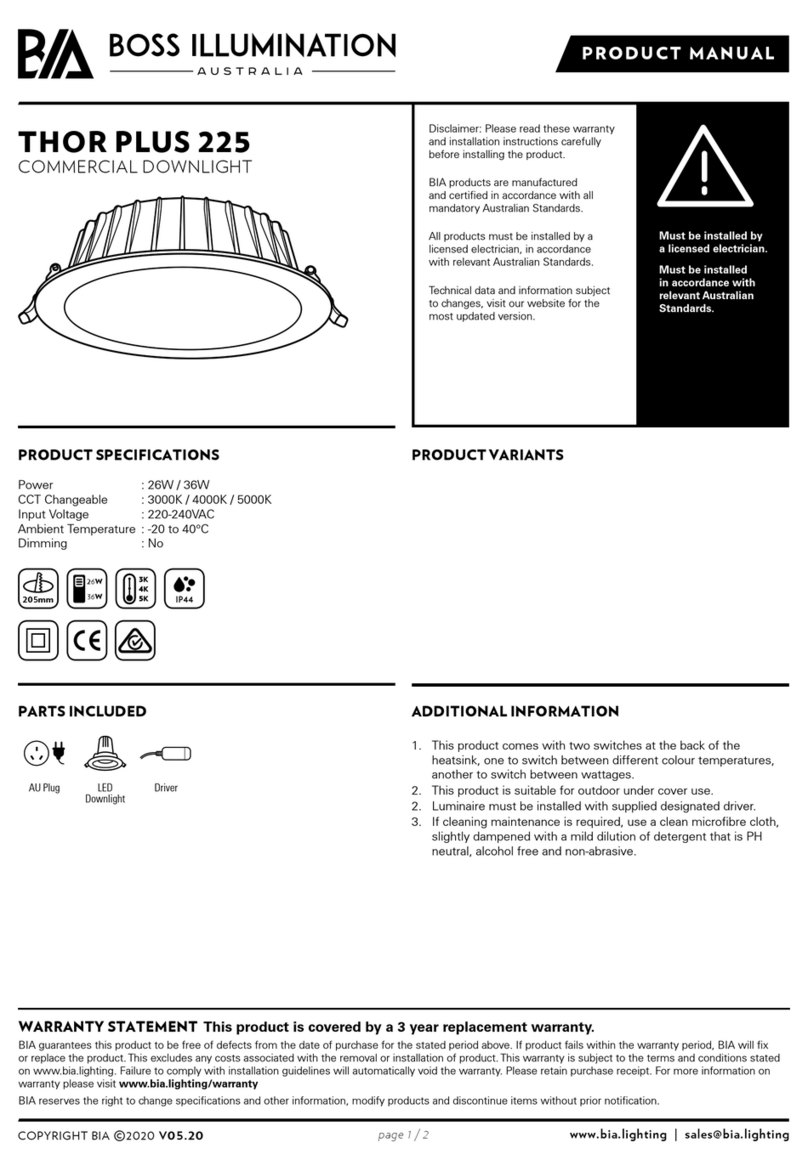
BOSS ILLUMINATION THOR PLUS 225 User manual
BOSS ILLUMINATION

BOSS ILLUMINATION THOR PLUS 225 User manual

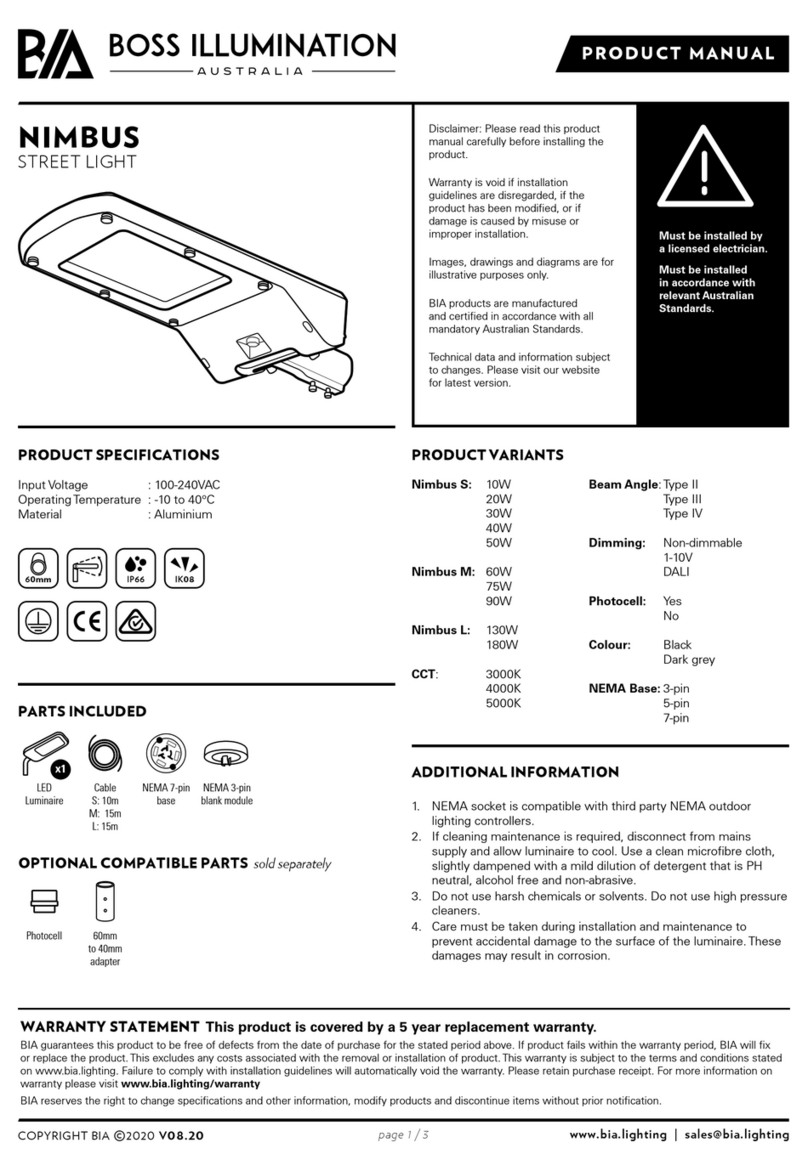
BOSS ILLUMINATION NIMBUS S User manual
BOSS ILLUMINATION

BOSS ILLUMINATION NIMBUS S User manual

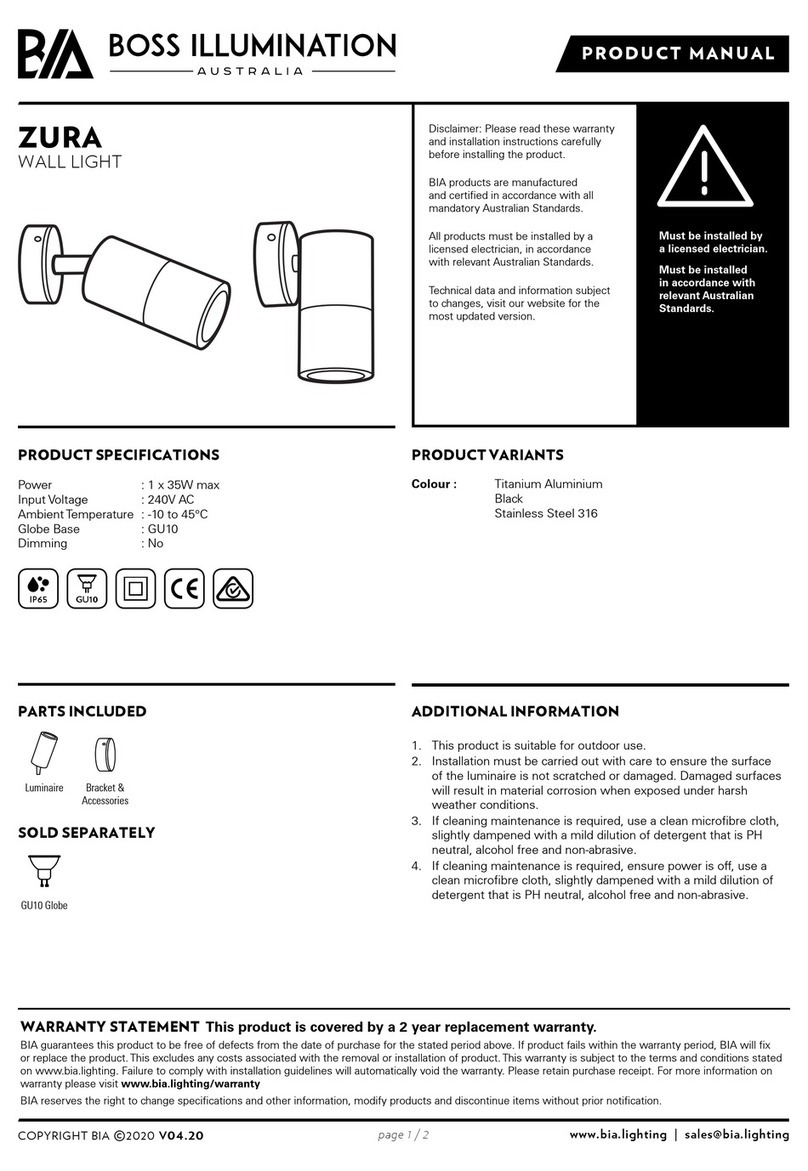
BOSS ILLUMINATION ZURA User manual

BOSS ILLUMINATION

BOSS ILLUMINATION ZURA User manual
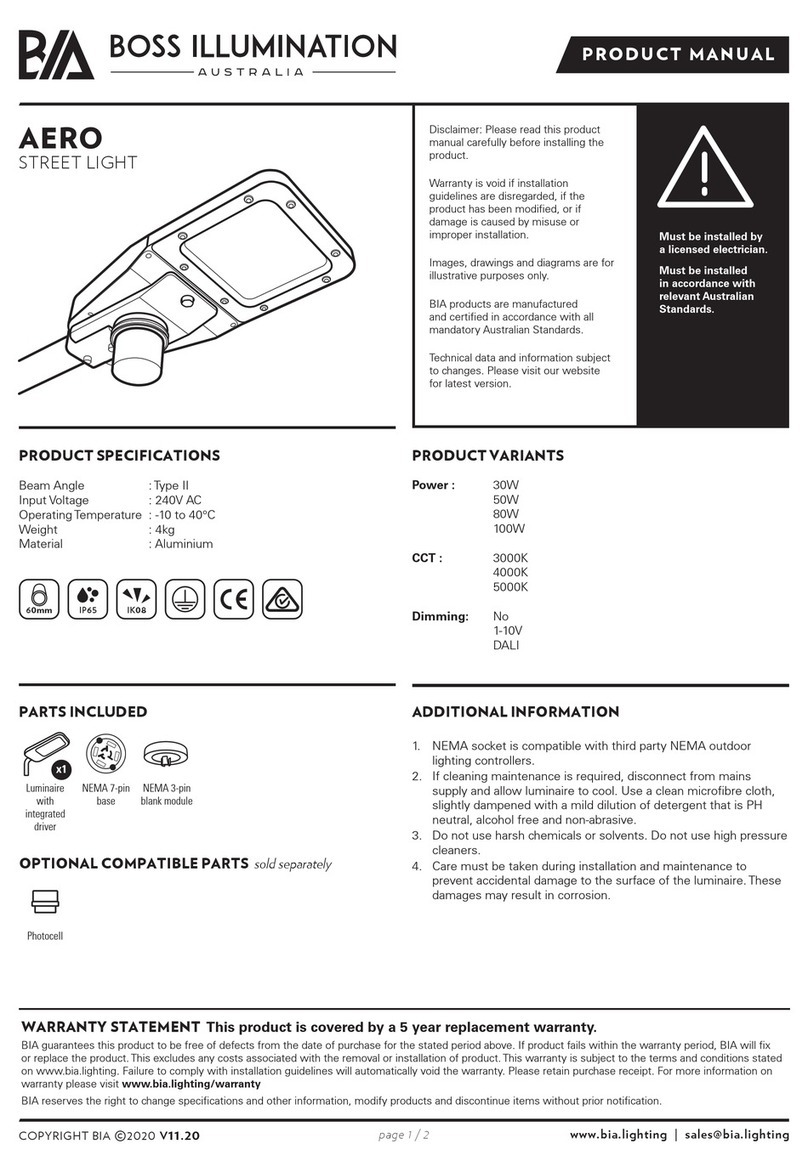
BOSS ILLUMINATION AERO User manual

BOSS ILLUMINATION

BOSS ILLUMINATION AERO User manual
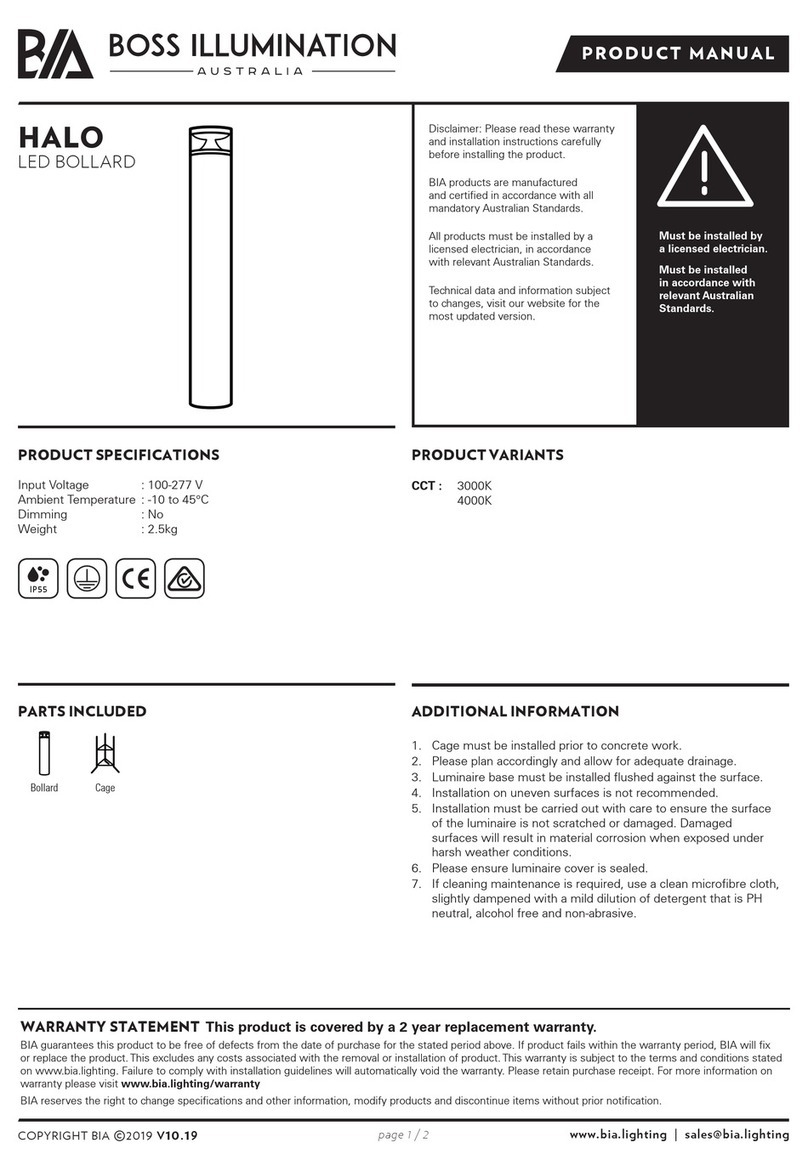
BOSS ILLUMINATION HALO User manual

BOSS ILLUMINATION

BOSS ILLUMINATION HALO User manual
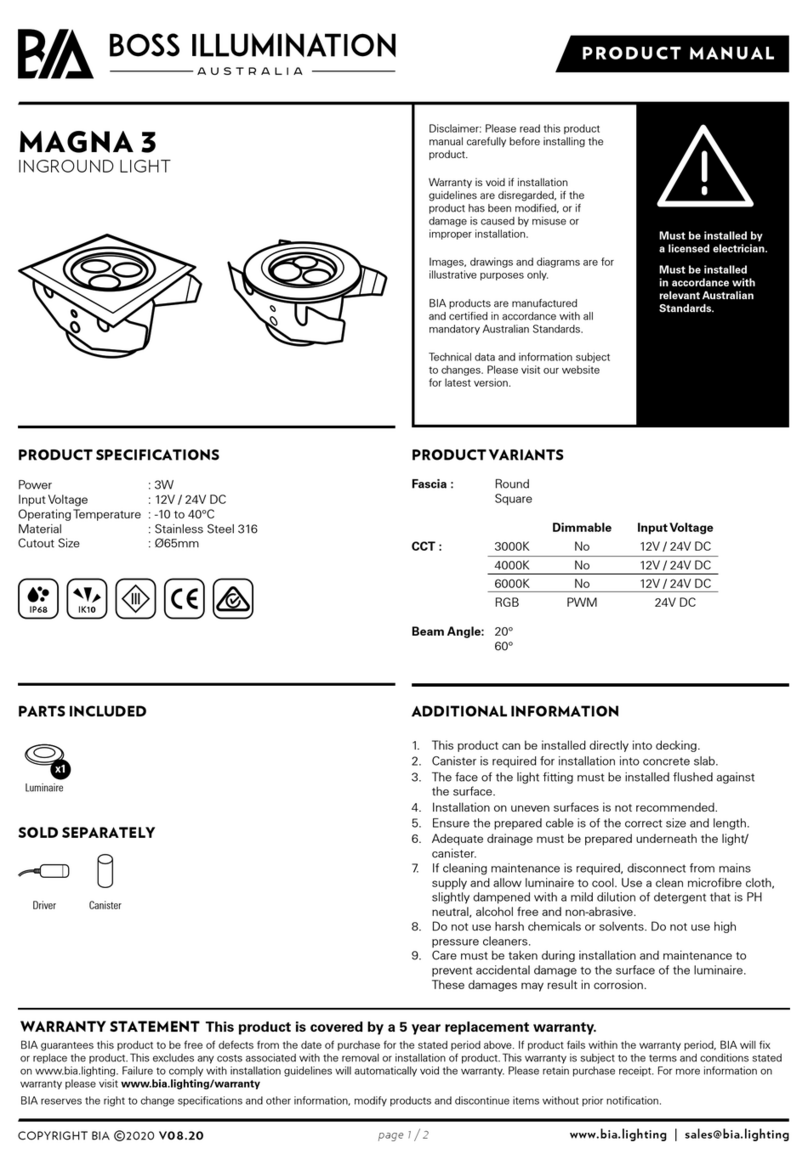
BOSS ILLUMINATION MAGNA 3 User manual

BOSS ILLUMINATION

BOSS ILLUMINATION MAGNA 3 User manual

BOSS ILLUMINATION IRON User manual

BOSS ILLUMINATION

BOSS ILLUMINATION IRON User manual
BOSS ILLUMINATION VIO User manual

BOSS ILLUMINATION

BOSS ILLUMINATION VIO User manual
BOSS ILLUMINATION RIM 100 User manual

BOSS ILLUMINATION

BOSS ILLUMINATION RIM 100 User manual
BOSS ILLUMINATION PARK II User manual

BOSS ILLUMINATION

BOSS ILLUMINATION PARK II User manual

BOSS ILLUMINATION VIO.S User manual

BOSS ILLUMINATION

BOSS ILLUMINATION VIO.S User manual

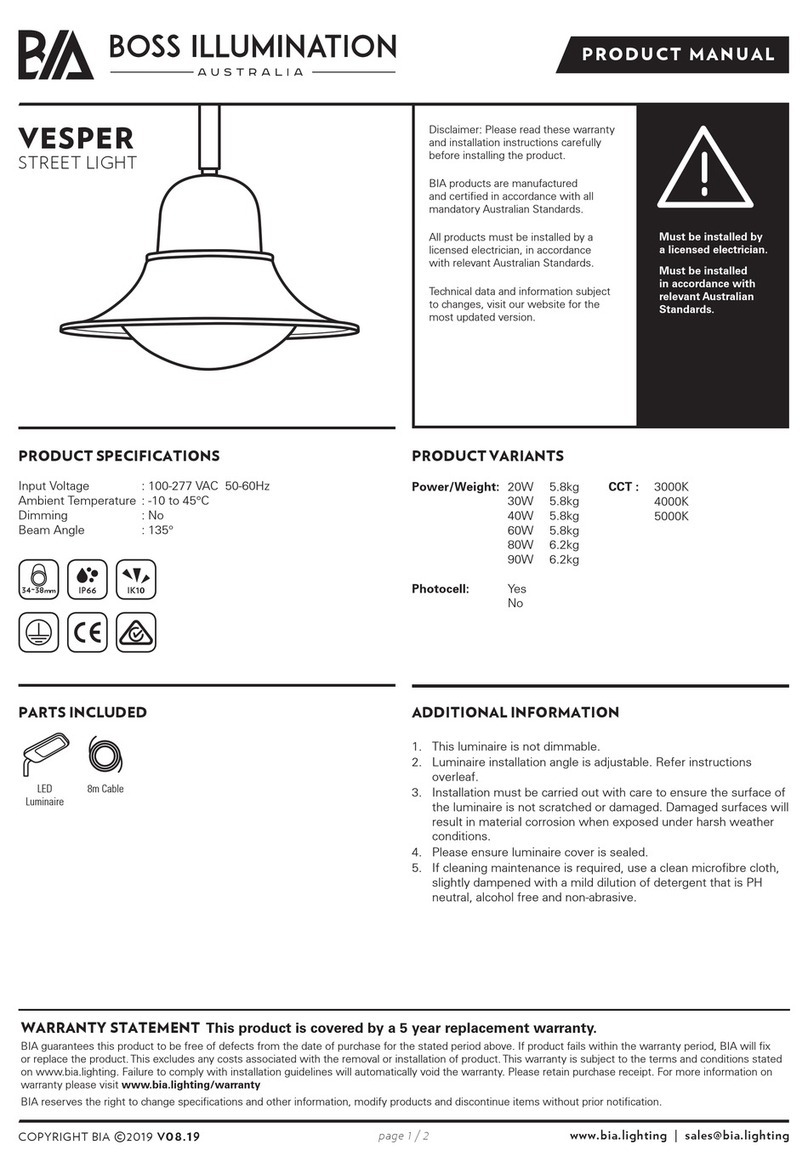
BOSS ILLUMINATION MAGNA 24 User manual

BOSS ILLUMINATION

BOSS ILLUMINATION MAGNA 24 User manual

BOSS ILLUMINATION VESPER User manual

BOSS ILLUMINATION

BOSS ILLUMINATION VESPER User manual

Popular Outdoor Light manuals by other brands

Kichler Lighting HELEN 37536 instructions

Kichler Lighting

Kichler Lighting HELEN 37536 instructions

Thorn OXANE L installation instructions

Thorn

Thorn OXANE L installation instructions

esotec Solar Globe Light multicolor 20 operating instructions

esotec

esotec Solar Globe Light multicolor 20 operating instructions

mitzi HL200201 ELLIS Assembly and mounting instructions

mitzi

mitzi HL200201 ELLIS Assembly and mounting instructions

HEPER TILA S AFX 3 Module Installation & maintenance instructions

HEPER

HEPER TILA S AFX 3 Module Installation & maintenance instructions

Designplan TRON 180 installation instructions

Designplan

Designplan TRON 180 installation instructions

Sealey LED37 instructions

Sealey

Sealey LED37 instructions

nordlux VEJERS Mounting instruction

nordlux

nordlux VEJERS Mounting instruction

SImx ELITE LED LHTC637 installation instructions

SImx

SImx ELITE LED LHTC637 installation instructions

GEV CAROLINE 10833 manual

GEV

GEV CAROLINE 10833 manual

WE-EF PFL540 LED Installation and maintenance instructions

WE-EF

WE-EF PFL540 LED Installation and maintenance instructions

HEPER DOGO Side LW6048.585-US Installation & maintenance instructions

HEPER

HEPER DOGO Side LW6048.585-US Installation & maintenance instructions

BEGA 84 253 Installation and technical information

BEGA

BEGA 84 253 Installation and technical information

HEPER LW8034.003-US Installation & maintenance instructions

HEPER

HEPER LW8034.003-US Installation & maintenance instructions

HEPER MINIMO Installation & maintenance instructions

HEPER

HEPER MINIMO Installation & maintenance instructions

LIGMAN BAMBOO 3 installation manual

LIGMAN

LIGMAN BAMBOO 3 installation manual

Maretti TUBE CUBE WALL 14.4998.04 quick start guide

Maretti

Maretti TUBE CUBE WALL 14.4998.04 quick start guide

Maxim Lighting Carriage House VX 40428WGOB installation instructions

Maxim Lighting

Maxim Lighting Carriage House VX 40428WGOB installation instructions

manuals.online logo
manuals.online logoBrands
  • About & Mission
  • Contact us
  • Privacy Policy
  • Terms and Conditions

Copyright 2025 Manuals.Online. All Rights Reserved.