NOTE: These instructions only apply if the robot’s default wired network settings have not been
changed
1. Connect an ethernet cable from Spot to a computer.
2. Manually set the computer IP address. Spot’s default requirements for a computer’s IP
address is in the range of 10.0.0.* (For example, 10.0.0.100).
3. Apply settings.
4. Use a web browser to navigate to Spot’s static IP address. The factory default address is:
https://10.0.0.3
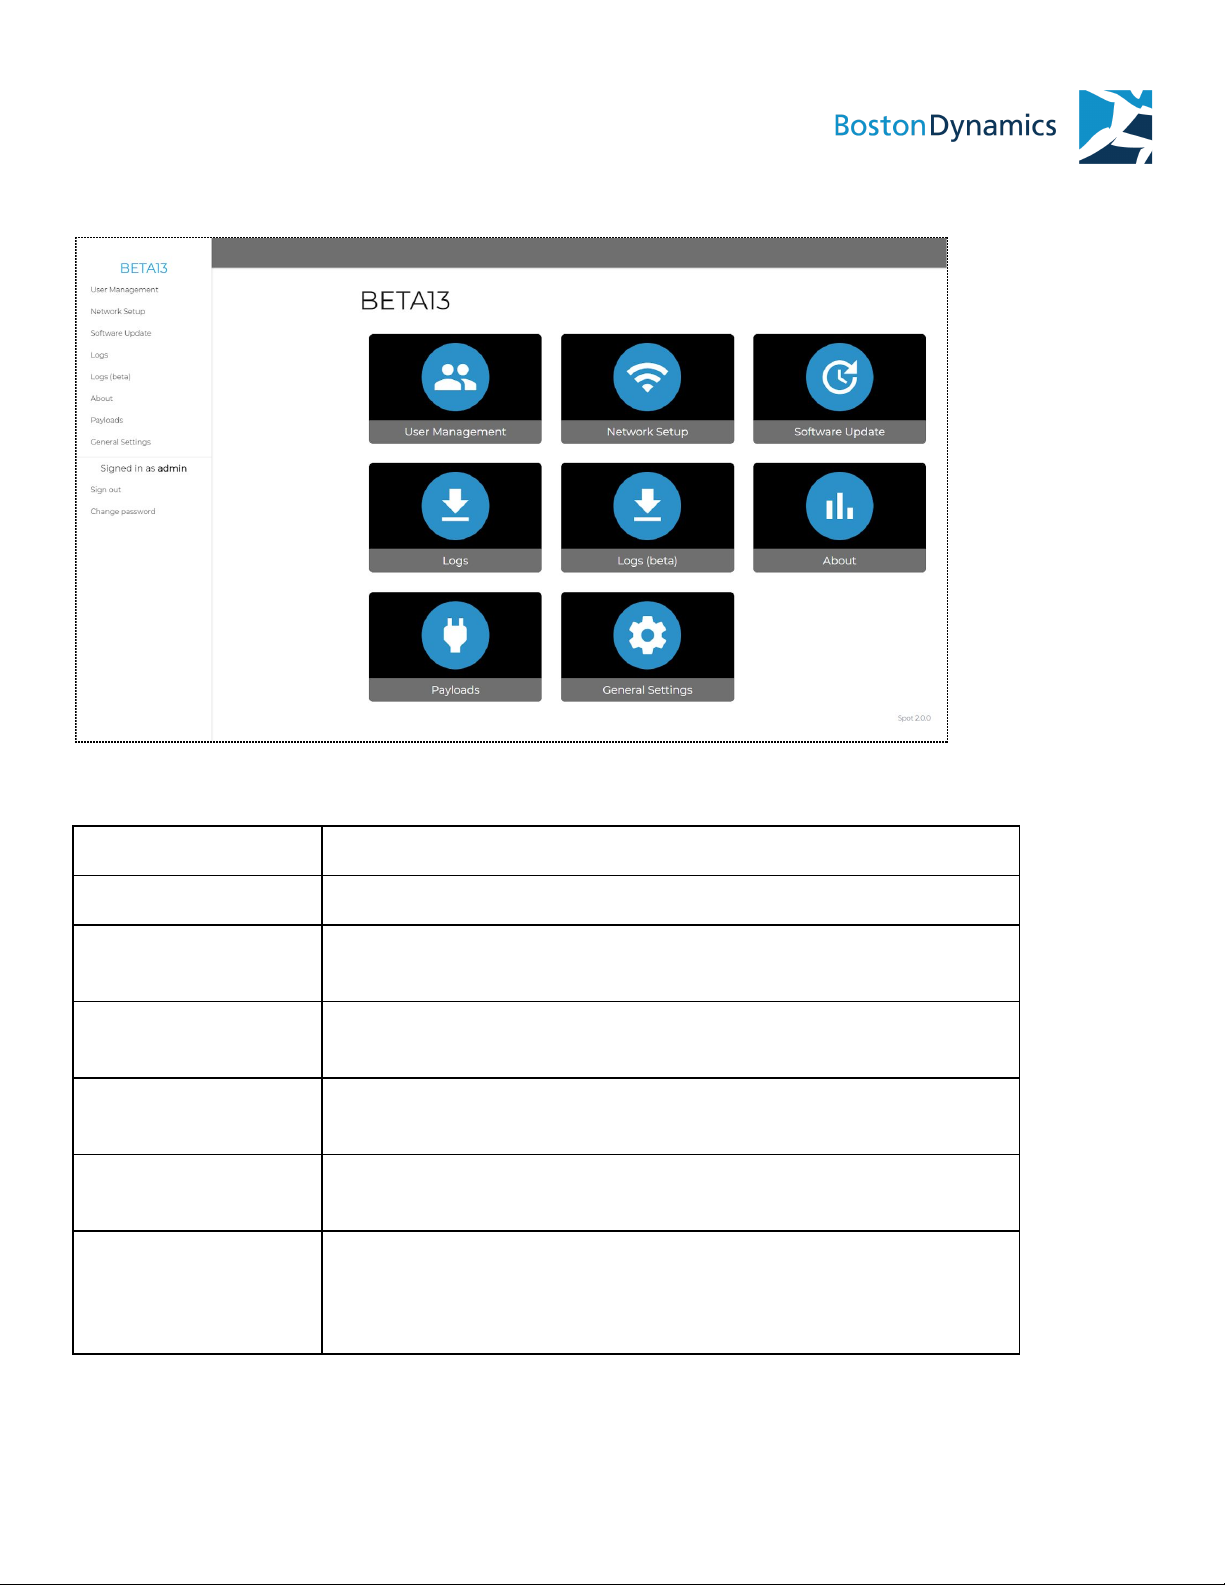
5. The login page for the console should appear. If it does not, check the laptop’s network
settings before contacting support.
6. Log in with default username and password.
CONNECTING SPOT TO A SHARED WIFI NETWORK
NOTE: Settings in advanced sections should be modified by users with experience in networking
and system administration.
Spot wifi operates only at 2.4GHz.
This is useful for joining company or site-specific WiFi networks, for example, when operating
Spot around a large office building. If using a controller to operate a robot on a shared WiFi
network, be sure to also configure the controller to join that network.
On a computer:
1. Connect to the admin console over ethernet.
2. Go to the Network page.
3. Switch robot to “client” mode.
4. Enter network name and password for the desired network.
5. Enter desired static IP address for robot. IP address must be valid on the network.
6. Apply settings.
7. A green confirmation box at the top of the page should appear indicating that settings
have applied.
8. Spot’s WiFi access point will no longer be available.
BOSTON DYNAMICS PROPRIETARY AND CONFIDENTIAL 8