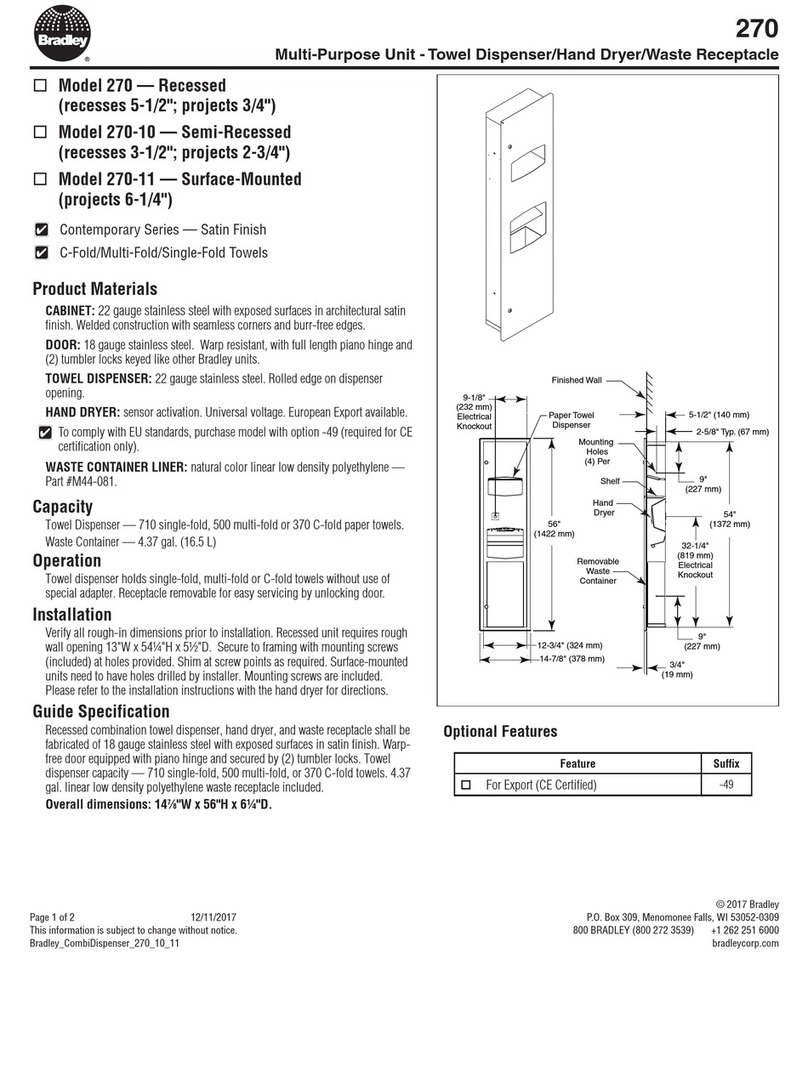
Bradley Elvari 6B1 Series Product manual
Other Bradley Dispenser manuals
Bradley
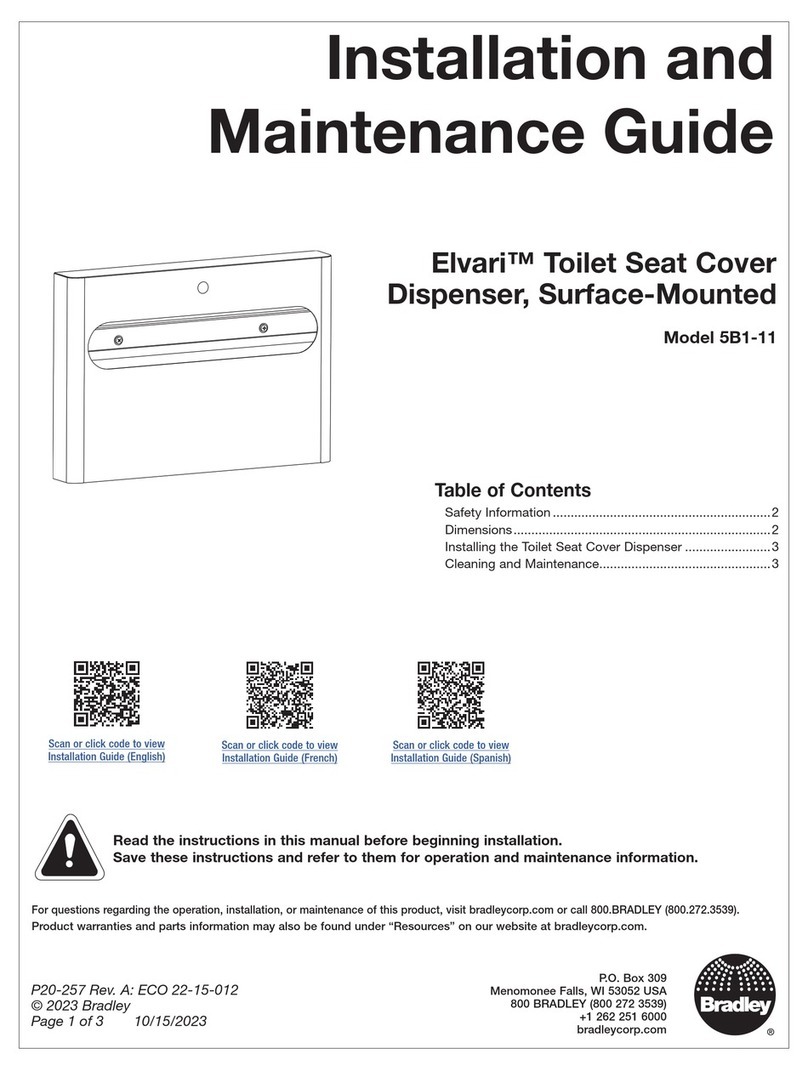
Bradley Elvari 5B1-11 Product manual

Bradley
Bradley 6A01-110000 User manual
Bradley
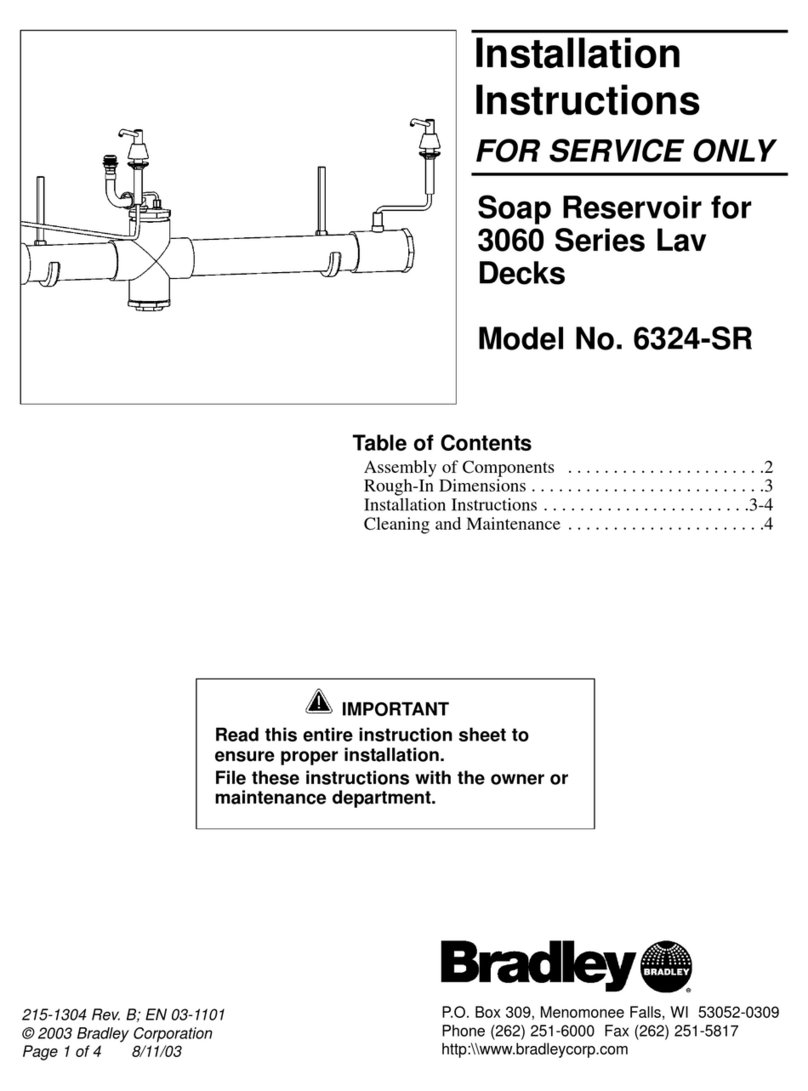
Bradley 6324-SR User manual

Bradley
Bradley Elvari 6B1-11 User manual
Bradley
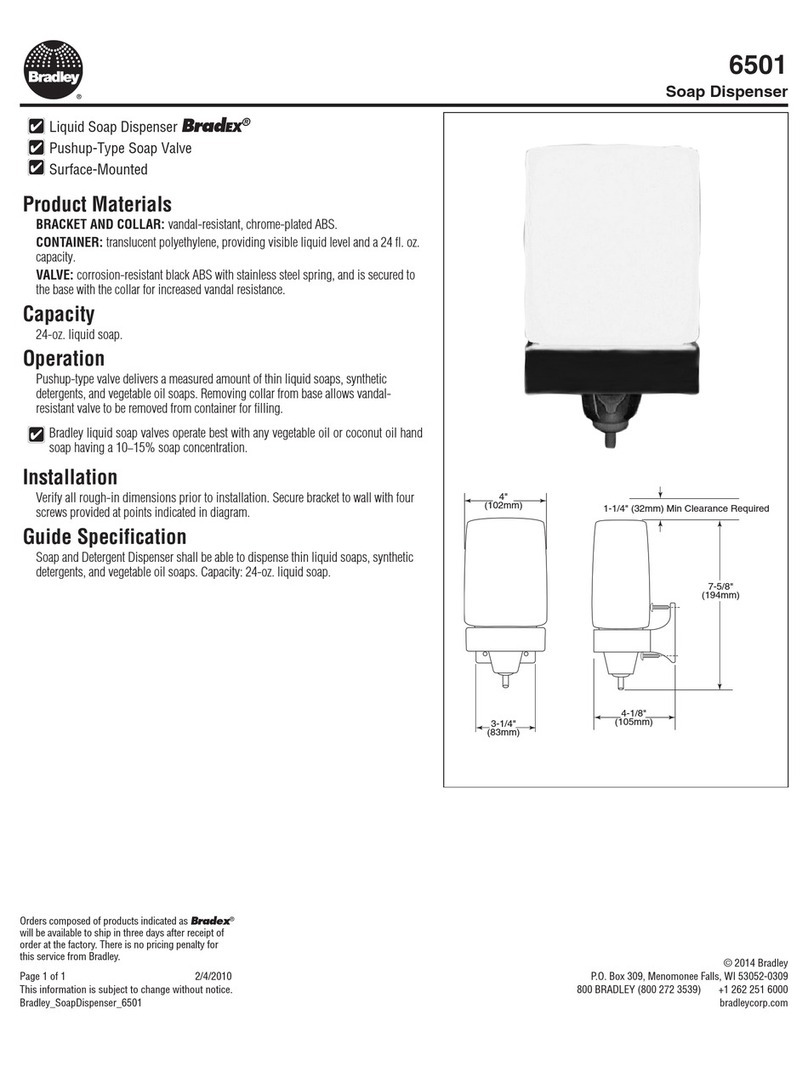
Bradley 6501 User manual
Bradley
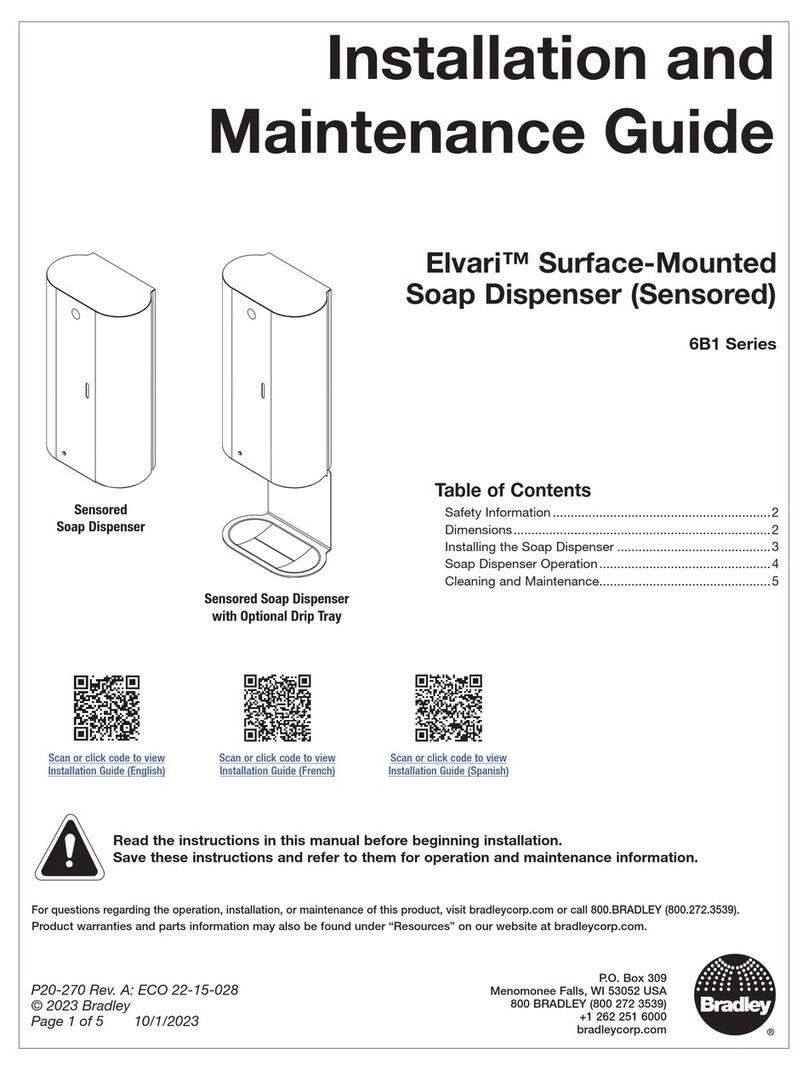
Bradley Elvari 6B1 Series Product manual
Bradley
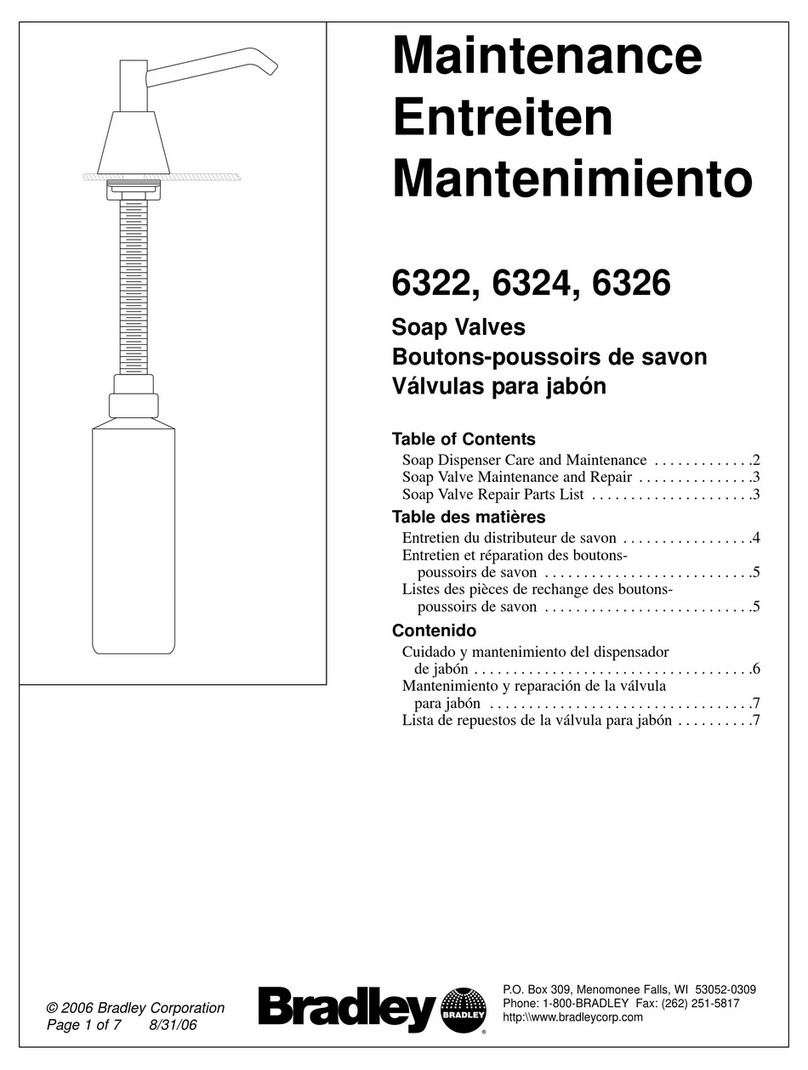
Bradley 6322 Maintenance manual

Bradley
Bradley Verge Crestt Series Manual

Bradley
Bradley 6A01-110000 User manual

Bradley
Bradley Verge Crestt Series Manual
Popular Dispenser manuals by other brands

Silver King
Silver King Majestic SK12MAJ Technical manual and replacement parts list

Franke
Franke F3Dn Twin Service manual

STIEBEL ELTRON
STIEBEL ELTRON UltraHot Plus Operation and installation instructions

DAN DRYER
DAN DRYER 282 installation guide

Essity
Essity Tork 473208 manual

CBS
CBS SD300BU-88 COMPONENT MAINTENANCE MANUAL WITH ILLUSTRATED PARTS LIST

